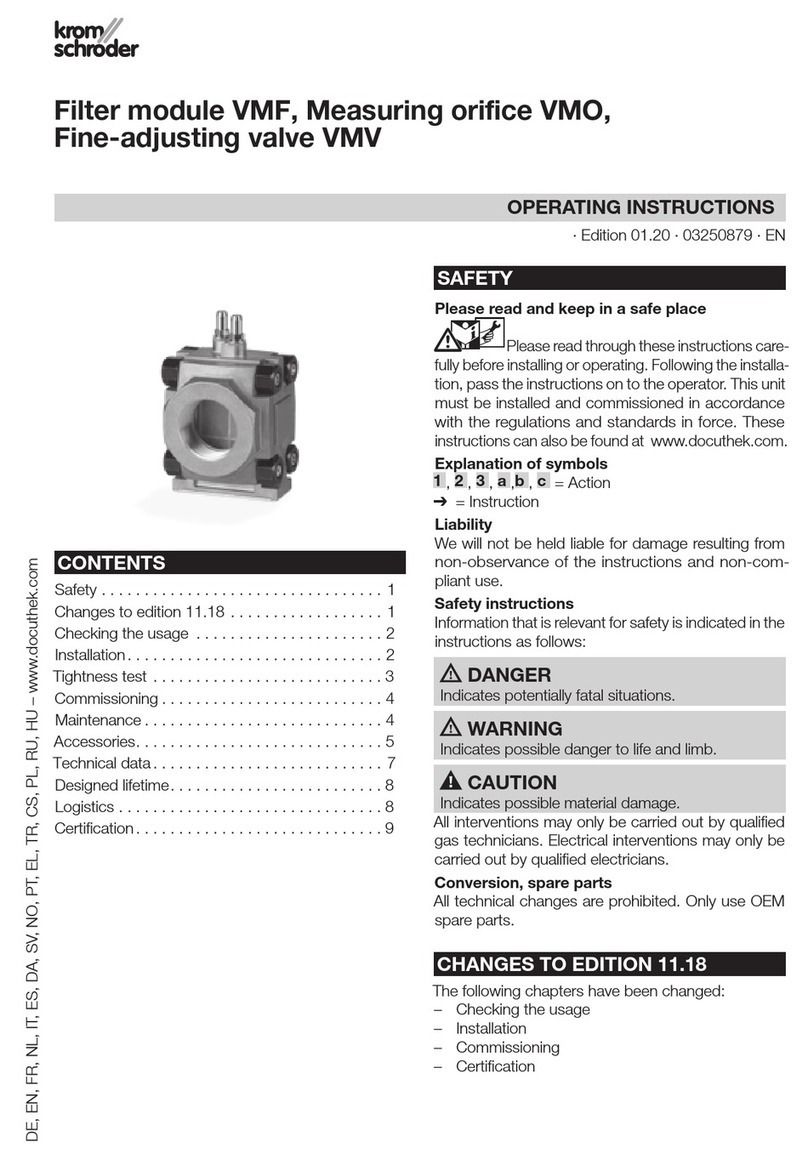
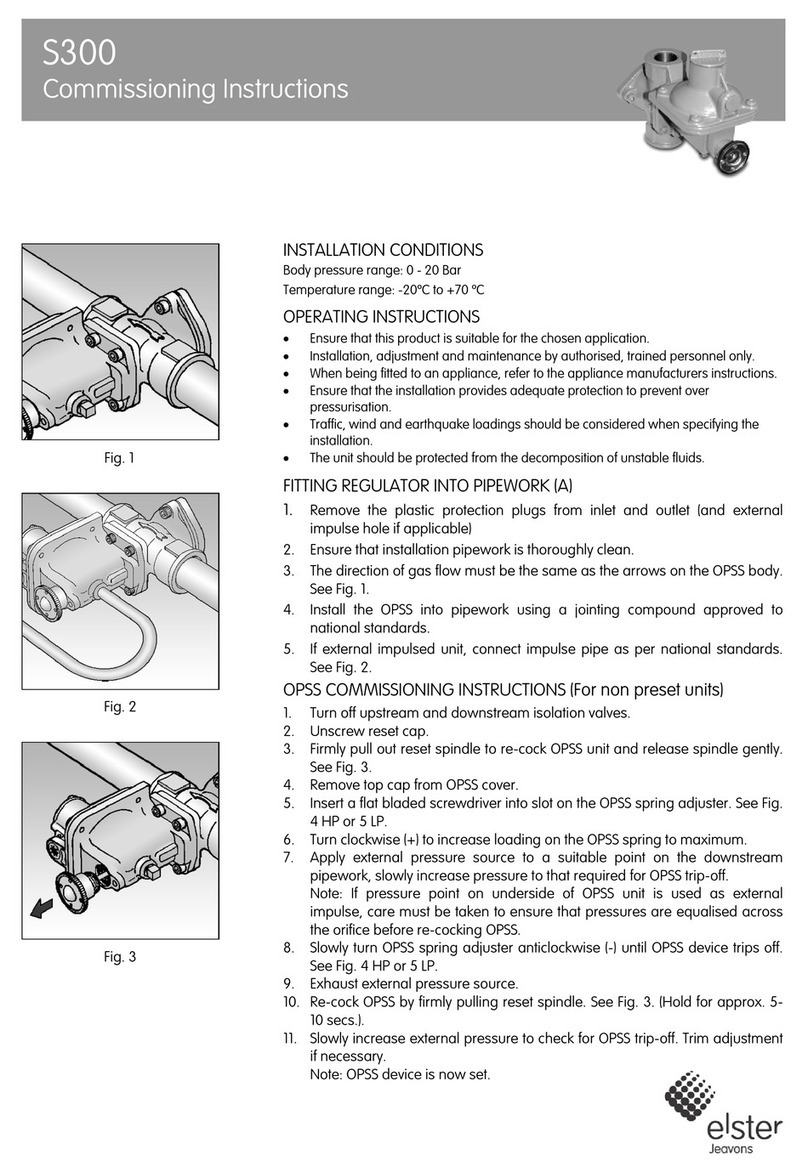
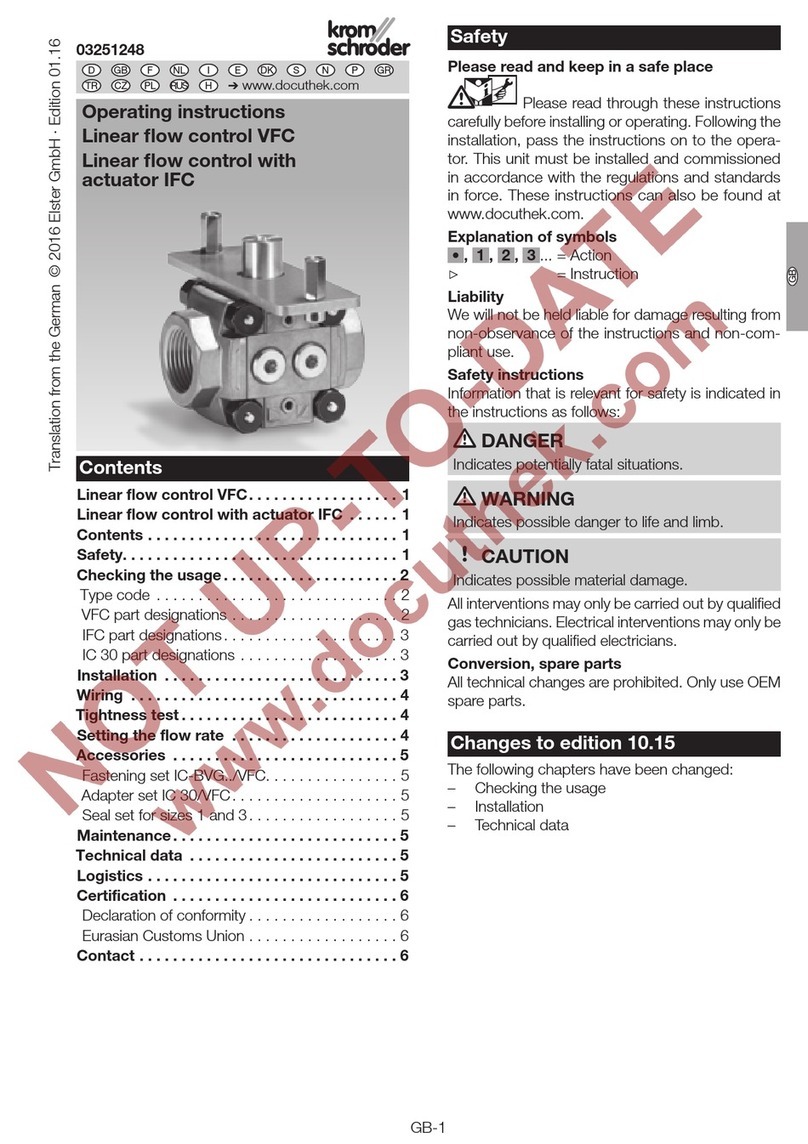
Elster Kromschroder S11T User manual

D➔www.docuthek.com
GB F
© 2016 Elster GmbH · Edition 03.16
Please read and keep in a safe place
Please read through these instructions
carefully before installing or operating. Following the
installation, pass the instructions on to the opera-
tor. This unit must be installed and commissioned
in accordance with the regulations and standards
in force. These instructions can also be found at
www.docuthek.com.
Explanation of symbols
• , , , ... = Action
▷= Instruction
Liability
We will not be held liable for damage resulting from
non-observance of the instructions and non-com-
pliant use.
Safety instructions
Information that is relevant for safety is indicated in
the instructions as follows:
DANGER
Indicates potentially fatal situations.
WARNING
Indicates possible danger to life and limb.
CAUTION
Indicates possible material damage.
All interventions may only be carried out by qualified
gas technicians. Electrical interventions may only be
carried out by qualified electricians.
Conversion, spare parts
All technical changes are prohibited. Only use OEM
spare parts.
Transport
On receipt of the product, check that the delivery is
complete (see Part designations). Report any trans-
port damage immediately.
Storage
Store the product in a dry place. Ambient tempera-
ture: see Technical data.
Changes to edition 0.4
The following chapters have been changed:
– Wiring
– Certification
Operating instructions
D
GB
F
NL
I
E
GB-1
05095
Translation from the German
Safety
Contents
Control valves ST,
Gas pilots ZTA, ZT 40, ZTI 55
Control valves ST,
Gas pilots ZTA, ZT 40, ZTI 55 .............
Contents ..............................
Safety.................................
Checking the usage .....................
Gas pilots..............................2
Control valve S11T.......................3
Installation ............................
Connecting the pilot gas supply line .......4
Connecting the air supply line
on ZT40../00 ..........................4
Wiring ................................4
Commissioning.........................5
Checking the switch-off time ...............6
Tightness test ..........................6
Setting the gas/air mixture . . . . . . . . . . . . . . . 6
Replacing the thermocouple .............7
Replacing the spark electrode ............7
Maintenance ...........................8
Faults.................................8
Accessories ...........................9
Gas restrictor orifice, air restrictor orifice ......9
High-voltage cable .......................9
Thermo-cable and grounding cable ..........9
Gas nozzle ............................10
Technical data ........................0
Certification ..........................0
Declaration of conformity .................10
Eurasian Customs Union .................10
Contact ..............................0

GB-2
D
GB
F
NL
I
E
Checking the usage
Gas pilots
For safe ignition and, in conjunction with control
valve S11T, for thermo-electric safeguarding of gas
burners. With spark electrode for electrical ignition in
conjunction with an ignition transformer. Suitable for
operation with natural gas, coke oven gas or LPG.
This function is only guaranteed when used within
the specified limits – see also page10 (Technical
data). Any other use is considered as non-compliant.
Order number and gas type: see type label.
D-Osnabrück Germany
ZT
Gas
8.
ZTA
Type code
Code Description
ZTA Thermo pilot with spark electrode
B
G
Suitable for operation with:
natural gas, town gas*
LPG
* For operation with town gas, replace the gas noz-
zle– see page9 (Accessories).
Part designations
1
5
3
2
4
6
Spark plug for spark electrode
Thermo-cable
Grounding cable
4Thermocouple
5Gas connection flange with cap screw and
double-cone olive
6Spark electrode
ZT 40
Type code
Code Description
ZT 40 Thermo pilot with protective tube
B
D
G
Suitable for operation with:
natural gas
town gas
LPG
00 Protective tube length [mm]
/00 Flame tube length [mm]
AAtmospheric
Part designations
1
5
2
4
3
67
1
5
2
4
3
8
9
67
ZT 40..A
ZT 40../00
Right-angle terminal boot for spark electrode
Connection for thermo-cable
Protective tube
4Connection for grounding cable
5Gas connection with cap screw and double-
cone olive
6Gas pressure tap
7Burner body
8Air nozzle with pressure tap and Rp 1/4"
connection for air supply line
9Flame tube
ZTI 55
Type code
Code Description
ZTI 55 Thermo pilot with flame rod
B
D
G
Suitable for operation with:
natural gas
town gas
LPG
05 Protective tube length [mm]
/0 Flame tube length [mm]
AAtmospheric

GB-3
D
GB
F
NL
I
E
Part designations
5
6
4
3
8
2
1
9
7
Interference-suppressed right-angle terminal
boot for spark electrode
Connection for thermo-cable
Protective tube
4Connection for grounding cable
5Rp 1/4 gas connection
6Right-angle terminal boot for flame rod
7Burner body
8Flame tube
9Gas pressure tap
Control valve ST
For thermo-electric safeguarding of gas-fired instal-
lations of any kind in conjunction with thermo pilots
ZTA, ZT 40 or ZTI. Control valve S11T operates in-
dependently of mains power supply.
Control valve S11T..S is fitted with a switch to control
an ignition transformer.
Type code
Code Description
ST Control valve
5
0
5
Nominal size [DN]:
15
20
25
RRp internal thread
0
5
Max. inlet pressure pu:
100 mbar
1500 mbar
SWith switch
Part designations
2
3
1
34
5
2
3
1
34
5
6
ST ST..S
Gas supply start button
Pilot gas connection
Main gas connection
4Connection for grounding cable
5Connection for thermo-cable
6Ignition transformer On/Off switch
Installation
DANGER
Risk of explosion! Ensure the connection is gas-
tight.
Control valve
▷
Installation position: the button for activating the
valve must point upwards or to the side. It must
not point downwards. Note the flow direction–
see arrow on housing.
▷
The control valve must not be in contact with
masonry. Minimum clearance 20mm.
▷
The pilot gas connection and the grounding cable
connection can be interchanged if the installation
position requires it.
▷
Sealing material and thread cuttings must not be
allowed to get into the valve housing.
Remove the screw caps from the main gas con-
nection.
Install the control valve in the pipe.
Gas pilot
▷
Install the pilot so that reliable ignition of the main
burner is guaranteed.
▷Attach the pilot securely.
▷
We recommend that a filter be installed in the
gas and air supply line respectively.
▷
The thermocouples at the pilot head must not
come into contact with the main burner flame.
▷ZTA, ZT 40..A, ZTI 55: ensure the air supply is
not obstructed.
▷Gas types and gas pressures:
Burner Operation
with
Gas pressure
[mbar]
Prated
[kW]
ZTA
Natural gas 12 – 40* 1
LPG 12 – 40* 1
Town gas** 20 – 40* 1
ZT 40..A
Natural gas 20 – 35* 1
LPG 40 – 60* 1
Town gas 12 – 28* 1
ZT 40../100
Natural gas 20 – 40* 1
LPG 40 – 60* 1
Town gas 12 – 28* 1
ZTI 55
Natural gas 12 – 50 3.3
LPG 12 – 50 2.5
Town gas 20 – 60 2.3
* In the case of higher gas pressures, fit a gas restrictor
orifice– see page9 (Accessories).
** Replacing the burner nozzle, see page 9 (Ac-
cessories).

GB-4
D
GB
F
NL
I
E
Connecting the pilot gas supply line
ZTA, ZT 40
▷
Connect pilot and control valve using an
8×1tube.
ZTA
2
1
4
3
Grease the thread of the cap screw and the
double-cone olive.
Press the 8 × 1 tube into the inner cone as far as
it will go.
ZT 40
21
4
3
Grease the thread of the cap screw and the
double-cone olive.
Press the 8 × 1 tube into the inner cone as far as
it will go.
ZTA, ZT 40
5 Tighten the cap screw.
ZTI 55
▷Rp 1/4 gas connection.
Connecting the air supply line on
ZT40../00
▷
In the air connection there is an integrated air
nozzle with an Rp1/4" connection for air supply
pressures ≥10mbar.
▷
For air supply pressures ≤10mbar, unscrew
the air nozzle from the air connection and screw
the air supply line directly into the air connection
(Rp1/4").
▷For adjusting to air supply pressures ≥10mbar,
we recommend fitting an adjusting cock with
R1/4 connection upstream of the air nozzle,
e.g.GEH8.
▷In the case of air supply pressures >800mbar,
we recommend additionally inserting an air re-
strictor orifice upstream of the adjusting cock–
see page9 (Accessories).
Wiring
DANGER
Electric shocks can be fatal! Before working on
possible live components, ensure the unit is discon-
nected from the power supply.
Control valve
▷
A solenoid valve VG 6 can be used as an ad-
ditional safety valve.
▷Use copper cable with a suitable cross-section
for transferring the thermo-electric voltage and
for grounding– see page9 (Accessories).
Cable
length
Cable
cross-section Diameter
3 m 6 mm22.9 mm
▷ZTA: the grounding cable and thermo-cable are
already fitted on the pilot.
Connect thermo-cable and grounding cable.
▷
M= grounding cable connection, T= thermo-
cable connection.

GB-5
D
GB
F
NL
I
E
ZT
S11T
T
M
N
L1
T
VG
TZI
ST..S
Connect the cables from the ignition transformer
switch to the ignition transformer in accordance
with local regulations.
ZT
S11T..S
T
M
N
L1
T
VG
TZI
BN 2
BK 4
1 BU
black
blue
Gas pilot
▷Wire the ignition cable as shown in the connec-
tion diagrams of the ignition transformer.
▷Length of ignition cable:
max. 5 m (15 ft),
< 1 m (40 inch) recommended.
For permanent ignition max. 1 m (40 in).
▷
Lay the ignition cable individually and not in a
metal conduit.
▷
ZTA: carefully unwind the thermo-cable, then
connect it. Avoid mechanical stress at the weld-
ing spot between the thermocouple and the
thermo-cable.
▷ZTI 55: install the ignition cable separately from
the ionization cable.
Remove the right-angle terminal boot from the
burner.
Screw the ignition cable securely into the right-
angle terminal boot.
▷For the ignition cable, use an unscreened high-
voltage cable – see page 9 (High-voltage
cable):
Replace the right-angle terminal boot.
Commissioning
DANGER
Risk of explosion! Please observe the appropriate
precautions when igniting the burners.
Risk of poisoning! Open the gas and air supply
so that the burner is always operated with excess
air– otherwise CO will form in the furnace chamber.
CO is odourless and poisonous! Conduct a flue
gas analysis.
▷Arrange the adjustment and commissioning of
the burner with the system operator or manu-
facturer.
▷
Check the entire system, upstream devices and
electrical connections.
▷
Pre-purge the furnace chamber with air (5 x
furnace chamber volume) before every ignition
attempt.
▷
Fill the gas line to the burner carefully and cor-
rectly with gas and vent it safely into the open
air – do not discharge the test volume into the
furnace chamber. Risk of explosion!
▷If the burner does not ignite although the auto-
matic burner control unit has been switched on
and off several times: check the entire system.
▷After ignition, monitor the gas and air pressures
measured on the burner and the flame. Con-
trol valve switch-off threshold, see page10
(Technical data).
Check for tightness, see page6 (Tightness
test).
Switch on the system.
Open the gas supply.
4 Press the control valve button and hold down.
4 Electrically ignite the pilot.
▷Once the pilot flame is burning, hold the control
valve button for at least 30 s until the thermo-
electric voltage has built up and keeps the control
valve open.
5 Release the control valve button.
▷
The main gas line on the control valve is opened.
▷
If the main burner is not ignited by the pilot, shut
off the main gas supply immediately.

GB-6
D
GB
F
NL
I
E
Checking the switch-off time
6 Close the gas supply.
▷Once the pilot flame has gone out, the control
valve must shut off the main gas supply after
30s (“click”).
▷If the main gas supply remains open after 30s,
this may be caused by too high a temperature
on the thermocouple. Check and correct the
alignment and the distance between pilot and
main burner.
DANGER
Electric shocks can be fatal! Before working
on possible live components, ensure the unit is
disconnected from the power supply.
Risk of burning! Dismantled burner components
can be hot due to outflowing flue gases.
▷
If the error still occurs: remove the unit and return
it to the manufacturer for inspection.
Tightness test
DANGER
Risk of explosion and poisoning! To ensure that
there is no danger resulting from a leak, check the
gas connections on the burner for leaks immedi-
ately after the burner has been put into operation.
ZTA
1,5
×
pe max
1
ZT 40
1,5
× pe max
1
ZTI
1,5
× pe max
1
Setting the gas/air mixture
▷
In cases where the pilot flame is too small or too
large, the gas/air mixture can be adjusted using
the air slide valve.
▷
Burner diagrams– see www.docuthek.com,
Type of document: “Operating characteristic
diagrams”.
• Switch off the burner.
DANGER
Risk of burning! Dismantled burner components
can be hot due to outflowing flue gases.
Risk of explosion and poisoning in case of
burner adjustment with an air deficiency! Ad-
just the gas and air supply so that the burner is
always operated with excess air– otherwise CO
will form in the furnace chamber. CO is odourless
and poisonous! Conduct a flue gas analysis.
ZTA
1
ZT 40
2
3
1
4
5 Retighten the grub screw on the air slide valve.
ZTI 55
23
1
ZT 40, ZTI 55
• Follow the reverse procedure when reassem-
bling.
▷
Replace the seal between burner body and
protective tube.
• Restart the burner.
• Check the thermo-electric voltage – see
page8 (Maintenance).

GB-7
D
GB
F
NL
I
E
Replacing the thermocouple
ZTA
5,5 mm
2
1
3
Insert
new thermo-
couple.
Follow the reverse procedure when reassem-
bling.
ZT 40
8,5 mm
2
4
1
3
5
Insert
new thermo-
couple.
ZTI 55
5,5 mm
2
4
1
3
5
Insert
new thermo-
couple.
ZT 40, ZTI 55
5 Follow the reverse procedure when reassem-
bling.
▷
Replace the seal between burner body and
protective tube.
Replacing the spark electrode
ZTA
2
1
34
2 mm
Insert new
spark
electrode.
Gap between
spark
electrode and
edge = 2 mm.

GB-8
D
GB
F
NL
I
E
ZT 40
1
4
3
5
2
67
Insert new
ignition
electrode.
Align the
ignition elec-
trode towards
the centre of
the gas nozzle.
▷
Distance between burner ground and spark
electrode= 2 ± 0.5mm.
ZTI 55
4
3
56
21
2 mm
Insert
new spark
electrode.
Gap between
spark
electrode and
edge = 2 mm.
ZT 40, ZTI 55
• Follow the reverse procedure when reassem-
bling.
▷
Replace the seal between burner body and
protective tube.
Maintenance
▷We recommend an annual function check.
DANGER
Electric shocks can be fatal! Before working
on possible live components, ensure the unit is
disconnected from the power supply.
Risk of burning! Dismantled burner components
can be hot due to outflowing flue gases.
Risk of explosion and poisoning in case of
burner adjustment with an air deficiency! Ad-
just the gas and air supply so that the burner is
always operated with excess air– otherwise CO
will form in the furnace chamber. CO is odourless
and poisonous! Conduct a flue gas analysis.
Disconnect the system from the electrical power
supply.
Shut off the gas and air supply.
▷Do not change the butterfly valve settings.
Check the nozzles for dirt.
4 Check the switch-off time – see page 6
(Checking the switch-off time)
5 Check whether the thermocouple is soiled or
burnt.
▷
Replace a burnt thermocouple, see page 7
(Replacing the thermocouple).
6 Check the thermo-electric voltage: when moving
the air slide valve on the pilot– see page6
(Setting the gas/air mixture)– measure the ther-
mo-electric voltage on the control valve between
the connections for the thermo-cable and the
grounding cable.
▷The thermo-electric voltage on the control valve
with respect to ground must be ≥10mV.
▷
If the thermo-electric voltage on the control valve
is <10mV– see page8 (Faults).
Faults
DANGER
Electric shocks can be fatal! Before working on
possible live components, ensure the unit is discon-
nected from the power supply.
Fault-clearance must only be undertaken by author-
ized, trained personnel.
▷Faults may be cleared only using the measures
described below.
▷If the control valve or the pilot does not respond
even though all faults have been remedied: re-
move the unit and return it to the manufacturer
for inspection.

GB-9
D
GB
F
NL
I
E
? Faults
! Cause
• Remedy
? The pilot flame is not burning.
! No gas supply.
• Check gas pipe.
! No ignition spark.
• Check the voltage supply to the ignition trans-
former.
• Check the high-voltage line from the ignition
transformer.
▷High-voltage line too long.
• Check the distance to the spark electrode.
▷
Distance between burner ground and spark
electrode=2 ± 0.5mm.
• S11T..S: check the functioning of the ignition
transformer switch.
▷
Measure the voltage on the switch input and
output with respect toN.
! Spark electrode burnt off.
• Replace the spark electrode.
? The pilot flame is too small or too large.
! Gas and air pressures are too low or too high.
• Correct the gas pressure.
▷For gas pressures ≥ 30 mbar, fit a gas restrictor
orifice upstream of the burner.
▷ZT 40 with forced air supply: check the air pres-
sure and correct if necessary. Fit an air restrictor
orifice.
• Adjust the air slide valve– see page6 (Setting
the gas/air mixture).
? The control valve closes while the pilot is
in operation.
! The thermo-electric voltage is too low.
• Adjust the gas/air mixture– see page6 (Set-
ting the gas/air mixture).
▷The thermo-electric voltage on the control valve
with respect to ground must be ≥10mV.
! Thermocouple burnt.
•Replace the thermocouple – see page 7
(Replacing the thermocouple).
! The pilot or control valve is defective.
▷
If the thermo-electric voltage on the control
valve is <10mV, loosen the thermo-cable on
the control valve.
• Measure the thermo-electric voltage on the pilot
with respect to ground.
▷
If the thermo-electric voltage on the pilot <20mV:
The pilot is defective.
▷
If the thermo-electric voltage on the pilot ≥20mV:
The control valve is defective.
•Remove the defective unit and return it to the
manufacturer for inspection.
Accessories
Gas restrictor orifice, air restrictor orifice
For adjusting the gas or air volume to increased sup-
ply pressures, a gas or air restrictor orifice is to be
installed upstream of the burner.
Gas restrictor orifice
For ZTA
With internal thread: M12 ×1 (for 8×1 tube).
Hole
[mm]
For gas pressures for opera-
tion with Order
No.
natural
gas
[mbar]
propane
[mbar]
town
gas
[mbar]
1.1 – – 40–60
74451461
0.8 – – 60–100
74451462
0.65 4–120 –100–300
74451466
0.47 120–300 40–120 300–900
74451469
0.36 300–700 120–300
900–1500
74451471
0.31
700–1500
– –
74451472
0.27 –300–700 –
74451474
0.24 –
700–1500
–
74451475
For ZT 40
With internal thread: M12 ×1 (for 8×1 tube).
Hole
[mm]
For gas pressures for opera-
tion with Order
No.
natural
gas
[mbar]
propane
[mbar]
town
gas
[mbar]
1.1 – – 28–70
74451461
0.8 – – 70–160
74451462
0.65 40–120 60–80 160–420
74451466
0.47 120–350 80–160 420–1500
74451469
0.36 350–1000 160–300 –
74451471
0.31
1000–1500
300–500 –
74451472
0.27
–
500–800 –
74451474
0.24
–
800–1200 –
74451475
0.21
–
1200–1500
–
74451476
Air restrictor orifice
The air restrictor orifice can be additionally fitted on
the gas pilot ZT 40../100 upstream of an adjusting
cock GEH 8 for adjusting to air supply pressures >
800 mbar.
With Rp 1/4"connecting thread, 1.5mmhole.
The pressure loss of the orifice is 700 mbar at
1.5m3/h of air.
Order No. 74452742.
High-voltage cable
For ignition cable.
FZLSi 1/7, -50 to 180°C (-58 to 356°F),
Order No. 04250410, or
FZLK 1/7, -5 to 80°C (23 to 176°F),
Order No. 04250409.
Thermo-cable and grounding cable
For transferring the thermo-electric voltage from the
thermocouple of burners ZT40 and ZTI55 to the
thermo-cable connection of the control valve S11T
and for grounding.
Cable cross-section 6 mm2,
Order No. 04250404

Elster GmbH
Postfach 28 09, D-49018 Osnabrück
Strotheweg 1, D-49504 Lotte (Büren)
T +49 541 1214-0
F +49 541 1214-370
GB-10
D
GB
F
NL
I
E
Contact
If you have any technical questions, please contact
your local branch office/agent. The addresses are
available on the Internet or from ElsterGmbH.
We reserve the right to make technical modifications
in the interests of progress. info@kromschroeder.com, www.kromschroeder.com
Gas nozzle
For ZTA for operation with town gas, diameter =
1.1mm.
Order No. 75457938
2
1
Screw in the new gas nozzle.
4 Screw the gas connection flange back into the
ZTA.
Technical data
Control valve ST
Gas types: natural gas, coke oven gas or LPG.
Pilot gas connection: for 8 × 1 tube.
Opening time: 10 – 15 s.
Closing time (decrease of thermo-electric voltage +
valve closing time): <30s.
Ambient temperature: -20 to +60°C.
Thermo-electric voltage:
extinction voltage: 8 mV.
Max. inlet pressure pu:
S11T..01 = 100 mbar,
S11T..15 = 1.5 bar.
Gas pilot ZT
Gas types: natural gas, coke oven gas or LPG.
Capacity:
ZTA, ZT 40: 1 kW,
ZTI 55 for operation with
natural gas: 3.3 kW,
LPG: 2.5 kW,
town gas: 2.3kW.
Thermo-electric voltage:
under load: 10 – 20 mV,
in idle state: 20 – 30 mV,
extinction voltage: < 8 mV.
Certification
Declaration of conformity
We, the manufacturer, hereby declare that the product
S11T, marked with product IDNo. CE-0063AQ001/04,
complies with the requirements of the listed Directives
and Standards.
Directives:
– 2006/95/EC,
– 90/396/EEC.
Standards:
– EN 125.
The relevant product corresponds to the type test-
ed by the notified body 0063. The production is
subject to the surveillance procedure pursuant to
DINENISO9001 according to Directive 90/396/EEC
AnnexII paragraph3.
Elster GmbH
Scan of the Declaration of conformity (D, GB)– see
www.docuthek.com
Eurasian Customs Union
The product S11T/ZTA/ZT/ZTI meets the technical
specifications of the Eurasian Customs Union.
Contact
Other manuals for Kromschroder S11T
1
This manual suits for next models
3
Table of contents
Other Elster Control Unit manuals

Elster
Elster J120 Training manual

Elster
Elster EK280 User manual

Elster
Elster PR6 User manual

Elster
Elster BCU 580 Manual

Elster
Elster ACM M-BUS WIRE User manual

Elster
Elster Kromschroder S11T User manual

Elster
Elster S300 Training manual

Elster
Elster Kromschroder VMF User manual

Elster
Elster Merlin 5064 V3 User manual

Elster
Elster J123 Training manual