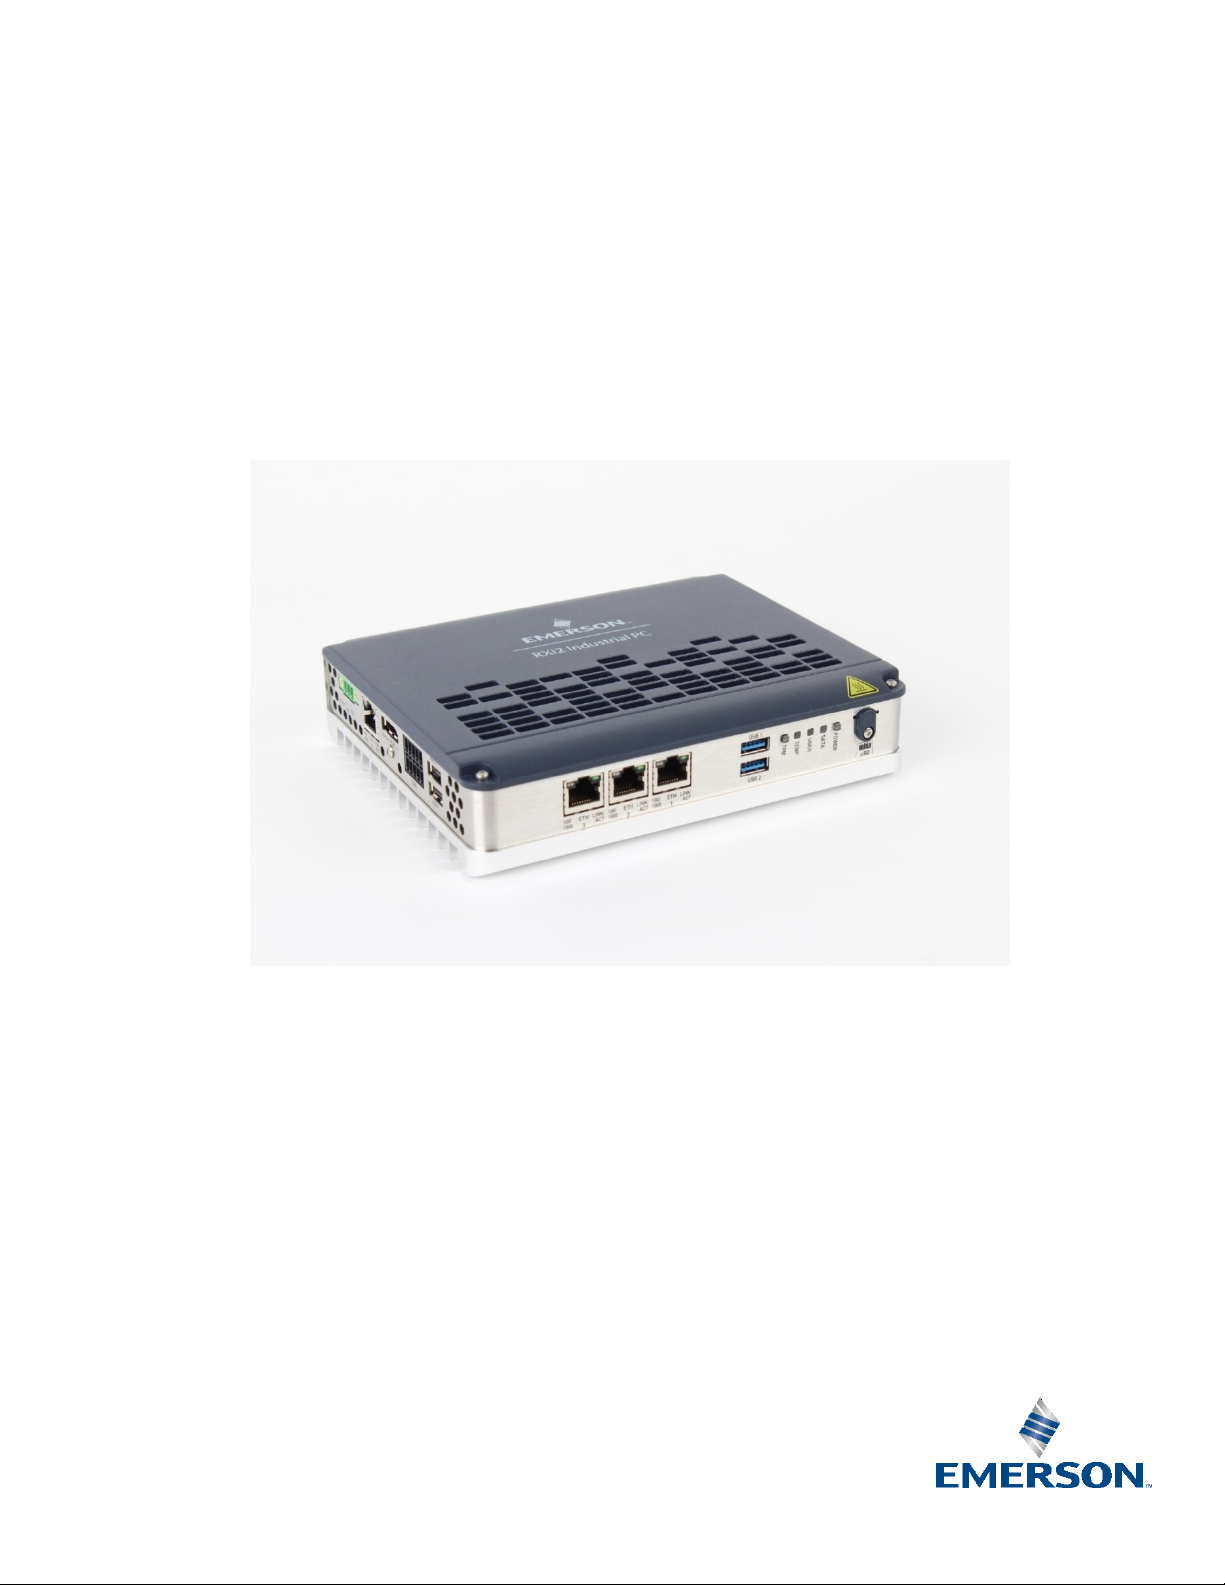
RXi2-BP Hardware Reference Manual Contents
GFK-3187B November 2020
Contents ii
5.1 Remove and Attach Cover ................................................................................. 14
5.2 Replace the Real-Time Clock (RTC) battery ........................................................ 15
5.3 Inserting and removal of µSD Card..................................................................... 17
5.4 Change M.2 Mass Storage Device ...................................................................... 18
Section 6: HardwareInterfaces.............................................20
6.1 External Interfaces............................................................................................. 20
6.1.1 Power-In ................................................................................................. 20
6.1.2 LEDs........................................................................................................ 21
6.1.3 Buttons ................................................................................................... 21
6.1.4 Ethernet Ports ......................................................................................... 22
6.1.5 USB2 / USB3.2Gen1................................................................................. 23
6.1.6 DisplayPort ............................................................................................. 24
6.1.7 Serial Ports .............................................................................................. 25
6.1.8 µSD Slot .................................................................................................. 26
6.2 Internal Interfaces ............................................................................................. 26
6.2.1 M.2 (SATA).............................................................................................. 26
6.3 Internal Devices................................................................................................. 26
6.3.1 MRAM ..................................................................................................... 26
6.3.2 Temperature Sensor................................................................................ 27
Section 7: Hardware and Firmware Programmable Devices ...28
7.1 SMBUS Devices.................................................................................................. 28
7.2 I2C Devices........................................................................................................ 28
7.3 Ethernet ............................................................................................................ 28
7.4 PCIe Switch........................................................................................................ 28
7.5 Multi I/O ............................................................................................................ 28
7.6 PCIe Ports.......................................................................................................... 29
7.7 PCI Routing ....................................................................................................... 29
Section 8: Thermal Performance ...........................................31
8.1 x86 Processor Thermal Design Features............................................................. 31
8.1.1 Dynamic CPU Frequency and Boost Modes .............................................. 31
8.1.2 CPU Throttling ........................................................................................ 31
8.1.3 Temperature Monitoring and Protection ................................................. 32
8.2 Thermal Design Strategy ................................................................................... 33
8.2.1 Thermal Guidance................................................................................... 33
8.2.2 Thermal Test Data................................................................................... 34