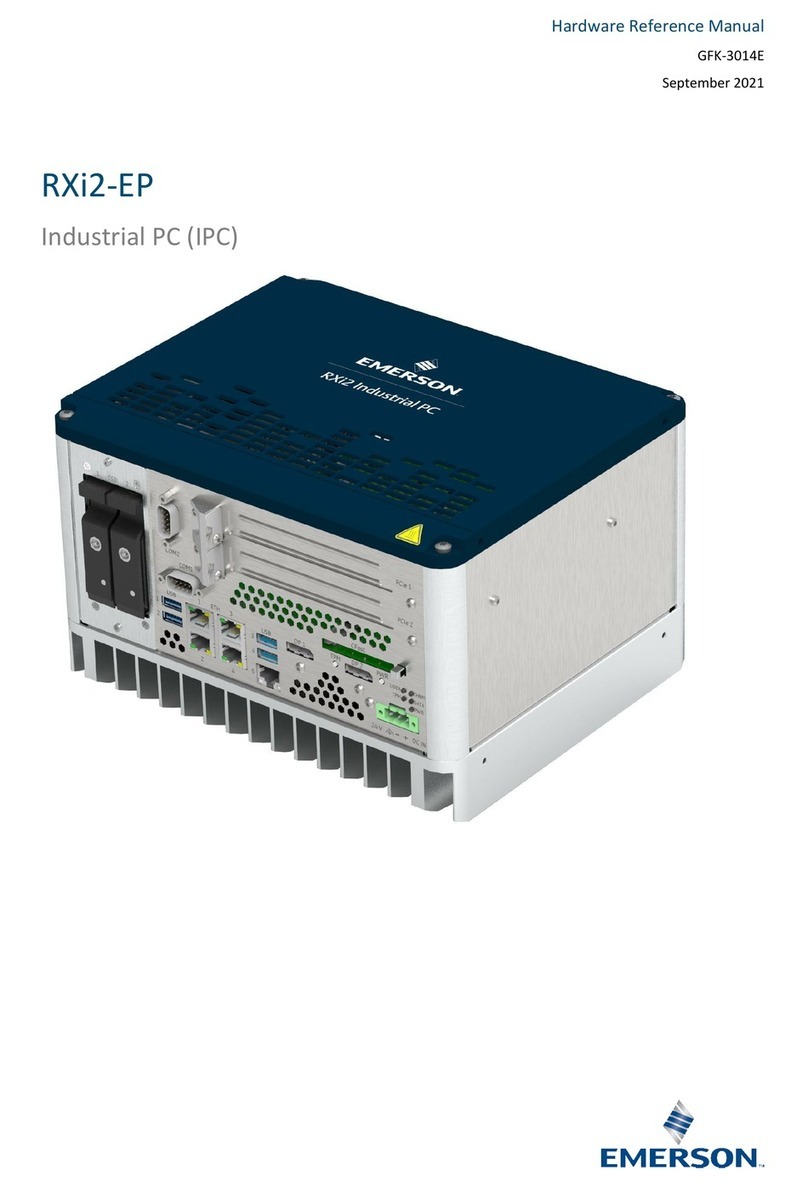
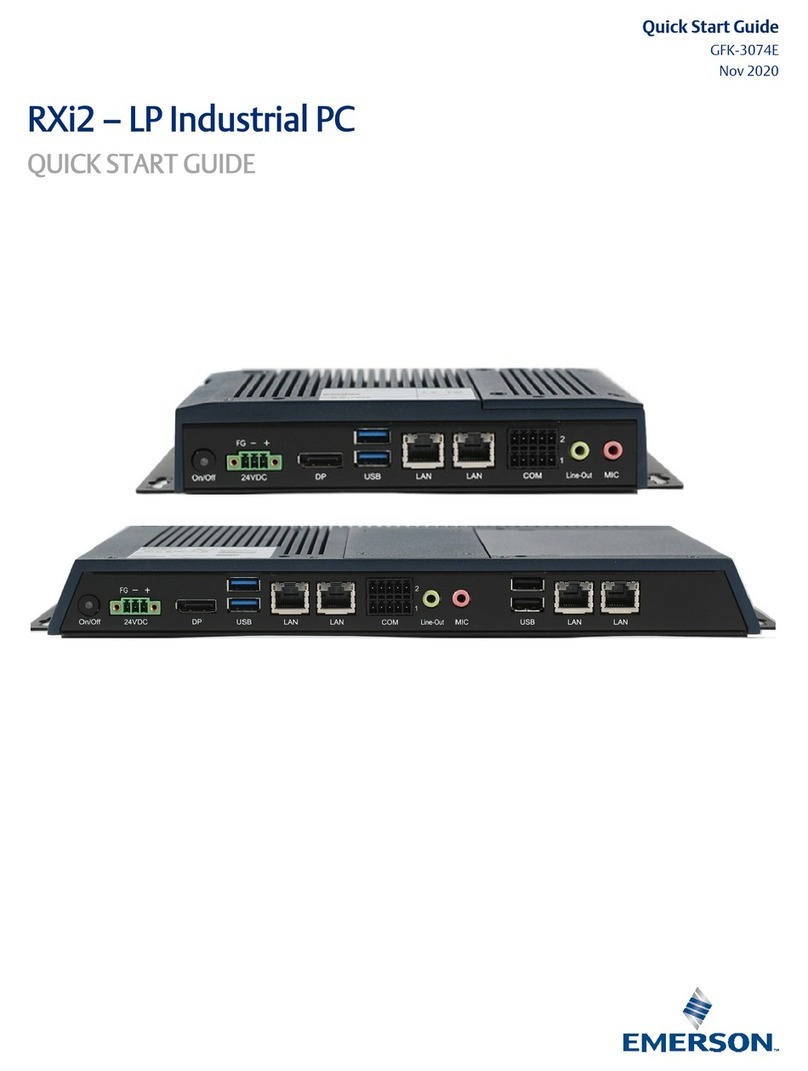
Emerson RXi2 User manual

Quick Start Guide
GFK-3074F
Aug 2021
RXi2 –LP Industrial PC
QUICK START GUIDE

i RXi2 - LP Industrial PC Quick Start Guide GFK-3074F
Caution Notes as Used in this Publication
WARNING
Warning notices are used in this publication to emphasize that
hazardous voltages, currents, temperatures, or other conditions
that could cause personal injury exist in this equipment or may be
associated with its use.
In situations where inattention could cause either personal injury
or damage to equipment, a Warning notice is used.
CAUTION
Caution notices are used where equipment might be damaged if
care is not taken.
Note: Notes merely call attention to information that is especially
significant to understanding and operating the equipment.

ii RXi2 - LP Industrial PC Quick Start Guide GFK-3074F
These instructions do not purport to cover all details or variations in
equipment, nor to provide for every possible contingency to be met
during installation, operation, and maintenance. The information is
supplied for informational purposes only, and Emerson makes no
warranty as to the accuracy of the information included herein.
Changes, modifications, and/or improvements to equipment and
specifications are made periodically and these changes may or may not
be reflected herein. It is understood that Emerson may make changes,
modifications, or improvements to the equipment referenced herein or
to the document itself at any time. This document is intended for
trained personnel familiar with the Emerson products referenced
herein.
Emerson may have patents or pending patent applications covering the
subject matter in this document. The furnishing of this document does
not provide any license whatsoever to any of these patents.
Emerson provides the following document and the information
included therein as-is and without warranty of any kind, expressed or
implied, including but not limited to any implied statutory warranty of
merchantability or fitness for a particular purpose.

iii RXi2 - LP Industrial PC Quick Start Guide GFK-3074F
Contents
Physical Connection Overview and Startup ......1
Power Input...................................................................................... 2
Connecting Input Power (24V DC-in) .................................. 3
DisplayPort....................................................................................... 4
Ethernet Ports .................................................................................. 4
USB Ports ........................................................................................ 5
Serial Ports (UART) ......................................................................... 6
Audio .................................................................................... 7
Initial Startup...................................................8
RXi2-LP Pre-Installed Software Options............9
Windows 10 Startup.......................................................................10
Movicon.NExT Startup ...................................................................10
PACEdge Startup........................................................................... 12
PACEdge Usage Model .....................................................12
Initial Login ......................................................................... 15
Mounting Information ...................................18
General Contact Information..........................19

1 RXi2 - LP Industrial PC Quick Start Guide GFK-3074F
Physical Connection Overview and
Startup
The rear panel I/O port arrangement consists of the following:
Figure 1: Rear Panel Arrangements

2 RXi2 - LP Industrial PC Quick Start Guide GFK-3074F
Power Input
The RXi2-LP can be powered with a DC power supply of 24 V (+-25%)
and at least delivering 1.8 A.
The corresponding plug is a Phoenix Contact, part number 1748367.
The user must use the same connector type or equivalent.
Figure 2: Power Connector
Signal Name
Pin (left to right)
Power + (24V DC)
1
Power - (24V DC)
2
FGND
3

3 RXi2 - LP Industrial PC Quick Start Guide GFK-3074F
Connecting Input Power (24V DC-in)
To connect to power, follow these steps:
1. Verify that the power cable is not energized.
2. Loosen the screw clamps on the mating power connector.
3. Strip the insulation from the power cables.
4. Secure the power cable to the mating connector, noting
polarity, and tighten the screw clamps. The torque for the
attaching screws is 0.3 Nm (2.26 in-lb).
5. Apply dc power to the unit. During normal startup and
operation, the LED status indicator will be solid green during
normal operation.
6. Once power is applied, the unit will begin initializing.
Note: Be sure to connect a DC power cord to this 3-pin power
connector. Using a voltage out of the range may fail to boot the system
or cause damage to the system board.

4 RXi2 - LP Industrial PC Quick Start Guide GFK-3074F
DisplayPort
The RXi2-LP provides one DisplayPort (DP) output. It can be used to
directly connect monitors with a DP input or to use standard off-the-
shelf adapters to convert DP signals to HDMI or VGA.
Figure 3: DisplayPort
Ethernet Ports
The RXi2-LP provides two 2 Intel® I210IT PCI Express Gigabit Ethernet
controllers (4 on larger box module). The LAN ports allow the system
board to connect to a local area network through a network hub or
router.
For a proper 100/1000 Mbps connection, Emerson recommends a
CAT5 cable or better.

5 RXi2 - LP Industrial PC Quick Start Guide GFK-3074F
Figure 4: Ethernet Ports
LED
LED State
Operating State
Speed
Yellow,
ON
10/100/1000
Link
Activity
Green, ON
Link Status
USB Ports
The RXi2-LP provides four USB ports. USB1 and USB2 support both USB
3.1 and USB 2.0 specifications.
Figure 5: USB Ports

6 RXi2 - LP Industrial PC Quick Start Guide GFK-3074F
Serial Ports (UART)
Serial
Connection
Pin
Function
RS232
1
TXD
2
RXD
3
RTS
4
CTS
5
GND
RS485
6
TX+
7
TX-
8
RX+
9
RX-
10
GND

7 RXi2 - LP Industrial PC Quick Start Guide GFK-3074F
Audio
The system board is equipped with 2 audio jacks (Line-out and Mic-in).
A jack is a one-hole connecting interface for inserting a plug.
Audio
Jack
Description
Line-out This jack is used to connect a headphone or
external speakers.
This jack is used to connect an external microphone.

8 RXi2 - LP Industrial PC Quick Start Guide GFK-3074F
Initial Startup
For the first startup, it is advisable to connect a monitor,
keyboard, and mouse so that boot progress can be observed. For
headless operation after the first startup, a directly attached
monitor is not required.
Note: Please note that if RXi2- LP is being used without the
monitor (headless configuration), it will beep three times right
after power up. This is a normal condition, informing user that
Monitor is not present.
After making the connections, power on the IPC. A few seconds
after powering up, the RXi2-LP IPC system UEFI Firmware banner
and Emerson logo will display on the screen. If the user does not
see any error messages up to this point, the RXi2-LP IPC is
running properly and ready to be configured for an application.
For more information on UEFI Setup, please see the RXi2-LP
Hardware Reference Manual (GFK-3187).
If the RXi2-LP came with pre-installed software, the boot process
will continue to load the operating system and application
software.

9 RXi2 - LP Industrial PC Quick Start Guide GFK-3074F
Note: If the RXi2-LP IPC does not perform as described above, some
damage may have occurred during shipment, or the IPC is not configured
properly. Please contact Emerson for technical support. (Please see the
contact information provided at the end of this document.)
RXi2-LP Pre-Installed Software Options
Software
Options
Descriptions
RXI2-LP (No
Pre-Installed
Software)
The user is responsible for installing an operating system
and application software. Please connect the power cable,
monitor, USB keyboard, and mouse before powering-up
the system. Please consult the RXi2-LP Hardware
Reference User Manual (GFK-3187) for details on how to
change the UEFI boot order and to install the operating
system.
RXi2-LP
Windows 10
The unit comes with a Windows 10 IoT operating system
pre-installed. Please connect the power cable, monitor,
USB keyboard, and mouse before powering-up the system.
Follow the on-screen instructions for configuring Windows
OS. Please consult Section Windows 10 Startup for more
details.
RXi2-LP
Movicon.NExT
The unit comes with Movicon.NExT software is pre-
installed. Please connect the power cable, monitor, USB
keyboard, and mouse before powering up the system.
Please consult Section Movicon.NExT Startup for details.
RXi2-LP
PACEdge
The unit comes with PACEdge software pre-installed.
Please consult Section
PACEdge Startup for details.

10 RXi2 - LP Industrial PC Quick Start Guide GFK-3074F
Windows 10 Startup
RXi2-LP with pre-installed Windows 10 Operating System, when
powered up for the first time, will start with standard self-guiding
Windows screens and dialogues, allowing the user to configure
username, password, geographical location, and keyboard layout.
Movicon.NExT Startup
The RXi2-LP with pre-installed Movicon.NExT software, when first
powered up will start with Windows 10 self-guiding dialogues and
configuration options, allowing the user to configure username,
password, geographical location, and keyboard layout.
Once Windows operating system has been personalized as desired a
Windows desktop will automatically open up. To start Movicon.NExT
please double click on Movicon.NExT icon or go to Start-
>Movicon.NExT->Movicon.NExT
Figure 6: Movicon NExT Icon

11 RXi2 - LP Industrial PC Quick Start Guide GFK-3074F
Once started a default window will open up allowing the user to open
an existing project or to start new projects. A starting Movicon.NExT
window will also have links to Support, Help, Community, Examples,
Webinars, and KnowledgeBase (Figure 7).
Note: The RXi2-LP with pre-installed Movicon.NExT software also has a
pre-installed and ready-to-go software license. To check which features
are licensed please go to: Options->License->Check License. To enable
additional licenses, please contact your Emerson sales representative
for the necessary activation key.
Figure 7: Movicon.NExT Help

12 RXi2 - LP Industrial PC Quick Start Guide GFK-3074F
PACEdge Startup
This section applies to the units pre-installed with the PACEdge
software.
PACEdge Usage Model
PACEdge software has two usage models:
1) Direct Use Model: Running on the Industrial PC. which has a
directly attached Monitor, keyboard, and mouse.
2) Headless Use Model: Running on the Industrial PC, which is
operating in a headless mode, with the user accessing it
remotely via Ethernet using a web interface.
Figure 8: Use Case Models
Monitor
PACEdge
Keyboard
Mouse
Network
PLC
Sensors
Ethernet
USB
DisplayPort
User: Headless Use Case
Ethernet
User: Direct Use Case

13 RXi2 - LP Industrial PC Quick Start Guide GFK-3074F
PACEdge in a Direct-Use Configuration
In a Direct-Use case, the user interfaces with the PACEdge system via
the monitor, keyboard, and mouse.
Getting Started
1. Connect the monitor to the RXi2-LP device by using a DP cable.
Note: If the monitor of choice has an HDMI or VGA input, use a
standard off-the-shelf DP-HDMI or DP-VGA adapter.
2. Connect a keyboard and mouse to any of the four USB ports
3. Power up the PACEdge unit (please consult the initial startup
section for details) and wait until it boots.
4. The boot process will pause and ask for login details. Login as
admin with password edgestack.
Note: The user will be asked to change the default password to
a unique password at the first login.
5. Most interactions with PACEdge are done via a browser-based
interface. To get started, click on Activities->Show Applications
and start the Firefox browser.
6. Within the Firefox browser, go to https://localhost
7. Proceed to the section entitled Initial Login.

14 RXi2 - LP Industrial PC Quick Start Guide GFK-3074F
PACEdge in Headless Configuration
In a Remote Headless configuration, the user interfaces with PACEdge
via Ethernet using a separate device’s web browser.
Getting Started
1. Connect the Ethernet cable to the Ethernet port labeled ETH0
next to the 24 V power connector on the RXi2-LP.
2. Setup the User PC Ethernet port IP address to be statically
assigned as follows:
a. Pv4 Static IP: 192.168.3.10
(or similar in the same subnet)
b. Netmask: 255.255.255.0
3. Power up the PACEdge unit (please consult the initial startup
section for details) and wait until it boots.
4. Open a web browser and type in 192.168.3.100 in the address
bar.
Note: All Ethernet ports are also configured to get IP addresses
assigned by the DHCP server. This dynamically assigned IP
address can also be used to access PACEdge. In case DHCP
server also supports DNS service, PACEdge unit dynamically
assigned IP address can be obtained by using command shell
and ping pacedge
5. Proceed to the section entitled Initial Login.

15 RXi2 - LP Industrial PC Quick Start Guide GFK-3074F
Initial Login
When the user connects to PACEdge for the first time (using the
instructions outlined in PACEdge in a Direct-Use Configuration or PACEdge
in Headless Configuration), a warning message will display due to the
self-signed certificate on the unit. The message will state that the
identity of the device could not be confirmed. Please click on Advanced
and Accept to proceed.
Please read and accept the Emerson End User License Agreement
(EULA).
Once EULA has been accepted, the user will be redirected to the
Password Services screen. PACEdge software consists of multiple
software tools and applications, each having its user management and
password settings. To simplify this task, PACEdge comes with pre-
configured users: admin, developer, and operators, each having its own
password. Use the Password Services screen to change passwords for
the whole group of services. This will be displayed on the left side of the
screen. (Figure 9). Additionally, change the Portainer and Cockpit/Linux
passwords individually (Figure 10).
Note: For cybersecurity reasons, the user must change the default
passwords at the first login.
Important: Please consult the PACEdge Secure Deployment Guide
(GFK-3197) for recommended password changes and other
cybersecurity-relevant settings.

16 RXi2 - LP Industrial PC Quick Start Guide GFK-3074F
Figure 9: Password Services Screen (The Left Side will Display the User Level
Passwords)
Figure 10: Password Services Screen (The Right Side will Display the
Portainer and Cockpit/Linux Passwords)
Other manuals for RXi2
2
This manual suits for next models
1
Table of contents
Other Emerson Industrial PC manuals

Emerson
Emerson RXi2-BP Quick user guide

Emerson
Emerson RXi2-EP Quick user guide

Emerson
Emerson RXi2-UP Quick user guide

Emerson
Emerson RXi2 User manual

Emerson
Emerson Micro Motion 3711 Quick guide

Emerson
Emerson RXi2-UP User manual

Emerson
Emerson FB1100 Parts list manual

Emerson
Emerson RXi2-BP User manual

Emerson
Emerson RXi2 - LP Quick user guide
Emerson
Emerson RXi2-BP User manual