1000 Forest Park Blvd., Suite 402 | Fort Worth, Texas 76110 | 888.534.7001 | Emist.com
©2020 EMist is a registered trademark of and wholly owned subsidiary of SanoTech 360, LLC. All rights reserved. EMist-00056-20-2020
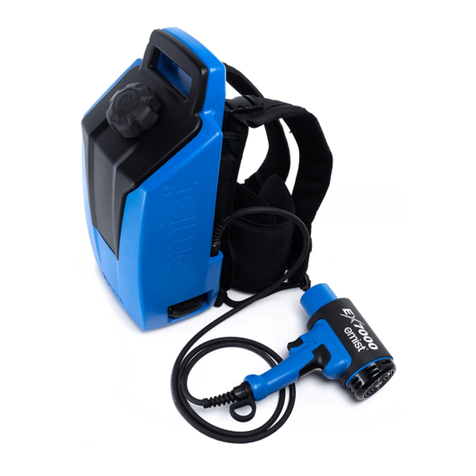
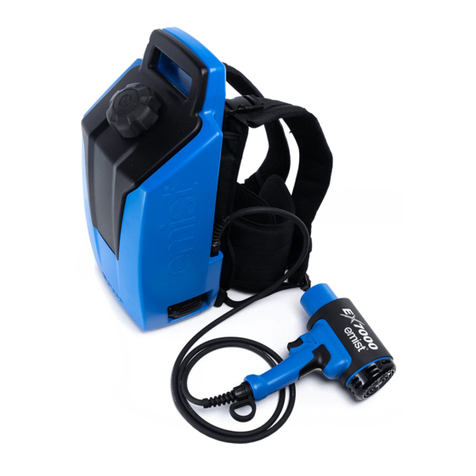
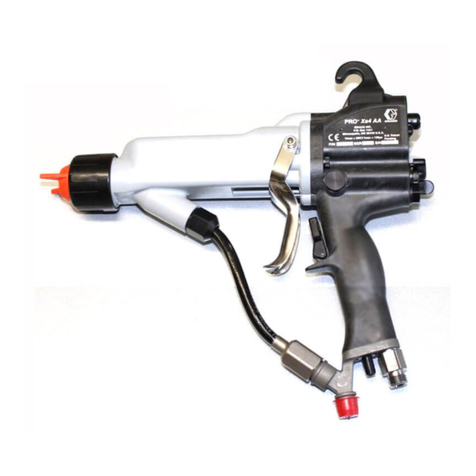
Depress the applicator power button until the green light displays.
Once the applicator trigger switch is depressed, the fan will turn on rst, followed by the liquid spray.
The yellow LED signies that the high voltage power supply is charging the liquid.
Once the applicator trigger is released, the liquid will stop and the fan will turn o after a slight hesitation to ensure the
liquid is cleared inside the applicator.
•
•
•
•
Step 6: Applicator Function Check
Tips:
While using as a backpack, the grounding strap must be worn by the user. If the grounding
strap is not utilized the system can shut down and not operate correctly.
Optimal distance from a target is 3-5 feet.
Applicator will shut o once the power indicator on the battery reaches 1-2 bars.
•
•
•
Tab
LockTank
Strap
Applicator
Trigger
Green
Light
Yellow
Light
Power
Button
Strap
Unlock
Tab
Step 4 (Optional): The cable
button snaps to the bottom of the
power pack housing. Slide the toe
strap onto the toe of your shoe
with the white area touching the
ball of your shoe.
Step 5 (Optional): Put the
harness on the power pack.
Put the power pack on like you
would a backpack and adjust
the straps to t comfortably.
Step 6: Depress the applicator
power button until green light
displays. Depress the applicator
trigger switch. The yellow LED
signies the high voltage power
supply is charging the liquid.
Step 2: Slightly rotate clockwise
about 1/4 turn while depressing the
tank. The tank’s handle should line
up with placard.
Step 1: Keep the tab to left
when inserting the battery into
the power pack.
Step 3: Raise the adjustable
clamp, place the power pack with
battery slots facing the handle
onto the pull cart.
Clamp
Cable Port
Toe Strap
Cable
Button
