ENDECOTTS LIMITED 9 LOMBARD ROAD LONDON SW19 3UP ENGLAND
TEL: +44 (0)20 8542 8121
sales@endecotts.com www.endecotts.com
Reg’d No. 842205 (England) Reg’d Office: Lombard Road, London SW19 3UP
Installation Qualification and Operational Qualification
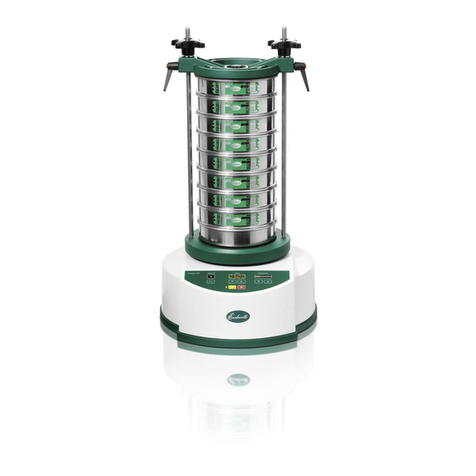
Sieve shaker –Octagon 200CL
Endecotts sieve shakers are thoroughly tested in our manufacturing facility and are not released for
despatch unless they meet our test criteria.
Installation of the apparatus is described in the Operating Instructions supplied with the apparatus.
This document is intended to aid those users, principally in the pharmaceutical industries, which need
to be able to demonstrate Good Management Practice in the commissioning of new apparatus. The
following checklist should be completed by the user for this purpose.
DO NOT proceed to the next criterion unless you have answered ‘YES’ to the current one.
Numbers in brackets refer to apparatus diagram on page 37 of Operating Instructions.
I have read and understood the Operating
Instructions supplied with the apparatus.
Read the instruction. Contact
Endecotts if you have any query.
All listed components (page 24) are present and
packaging has been removed.
Check packaging and refer to
Endecotts if not found.
Ensure transit bolts are removed (page 27)
Operating Instruction - page 27
The apparatus is positioned on a suitable level, rigid,
robust bench where it will not affect other
equipment.
Operating Instruction - page 27
Clamp rods and hand wheels have been assembled.
Operating Instruction - page 28
Mains electrical supply is as stated on the rating
plate.
Operating Instruction - page 26
Place a suitable sieve stack, including lid and receiver, on the location plate and secure
them with the clamping unit
Operating Instruction - page 29
The sieve stack and clamp plate are held securely.
Operating Instruction - page 29-30
Connect mains lead to electrical supply at rear of apparatus and switch on Mains Switch
Operating Instruction - page 24
The "Time" display (3) will illuminate with a value
(in minutes) and the "Amplitude" meter (11) will
illuminate at the factory/previous setting
Operating Instruction - page 25
Set the sieving time by using "˄" and "˅" (6&8)
underneath the "Time" display - 00:10 - 99:50 min
Operating Instruction - page 25
Set the Amplitude by using "˄" and "˅" (9&10)
underneath the "Amplitude" display - always start at
the lowest setting
Operating Instruction - page 25
If required, select the Interval operation by pressing
"M1" interval mode button (2). The indicator LED
will illuminate (1). Switch the Interval function OFF
Operating Instruction - page 25
Start the machine by pressing the START button "►"
(5). LED light (4) will illuminate
Operating Instruction - page 25
Operating Instruction - page 25
