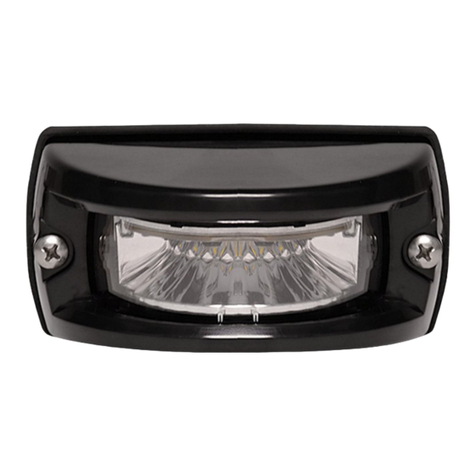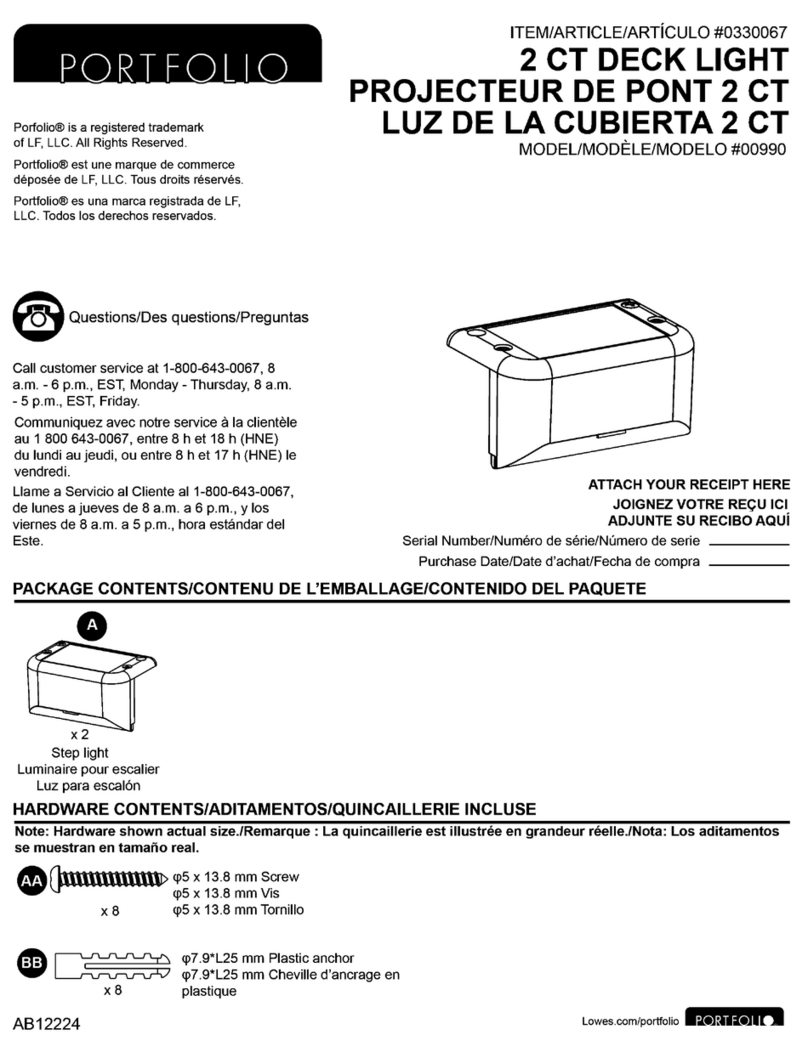
Addison Outdoor Wall Light
Safety Warnings
INSTRUCTION MANUAL
• This is a Class 1 product and must be earthed.
• Pleasereadtheseinstructionscarefullybeforecommencinganyworkandkeepthemforfuturereference.Itis
recommendedthatthisttingisinstalledbyaqualiedelectrician.
• InstallinaccordancewiththecurrentIEEWiringregulationsandcurrentBuildingRegulations.
• Topreventelectrocutionswitchoffatmainssupplybeforeinstallingormaintainingthistting.Ensureotherpersons
cannotrestoretheelectricalsupplywithoutyourknowledge.Ifyouareinanydoubt,pleaseconsultaqualied
electrician.
• Thislightttingshouldbeconnectedtothe5/6ampfusedlightingcircuitinyourhome.
• Ifreplacinganexistingtting,makeanoteoftheconnections.
• Alwaysusethecorrecttypeandwattagebulb.Neverexceedthewattagestated.
• Whenchangingabulb,alwaysswitchoffatthemainsandallowtheoldbulbtocooldownbeforehandling.
• Disposeofusedbulbscarefully.
• ThisproductisIP44ratedandissuitableforoutdooruse.
76597-Addison-WL20180611
EndonLighting,LS90SE
Assembly/ User Instructions
Pleasereadtheseinstructionscarefullybeforettingandretainforreference.
Checkthepackagingandmakesurethatyouhavealltherequiredparts.
Followeachassemblystepinordertopreventincorrectassembly.
Ensurethattheproductisfullyassembledasillustratedbeforeuse.
The Light pack contains:
Lighttting.
Terminalconnectionblock.
Fixingpack.
The following tools may be required:
Selectionofcrossandatheadscrewdrivers.
Electricdrillandassorteddrillbits.
Wirestrippers.
Electricalinsulationtape.
Personalprotectionequipment
Theseassemblydiagramsareintendedasaguide–ifindoubtconsultaqualiedelectrician.
Before you start
Care Information
Allow10minutestocoolbeforereplacing,adjustingorcleaning.
Innormalcircumstances,stainlesssteelisveryresistanttocorrosion.Itdoeshoweverrequiremaintenancetopreserve
thehighqualityappearance.Washtheproductwithwarmsoapywater,removingallsurfacedeposits.Rinsewithclear
waterandwithasoftcloth,wipedry.Insomecases,surfacecorrosionmayariseafterinstallation.Thisisnormallycaused
bytinyironparticlesleftbehindafterthepolishingprocesswhennishing.Washanddryasdetailedabove.Thenwitha
softclothsoakedwithaprotectiveoil,wipeallover.
Howeveriftheproductissubjecttoextremeenvironmentalconditionssuchasmarinelocations,industrialpollutionand
acidrainthesemaintenanceproceduresshouldbecarriedoutaroundfourtimesayear.Forseverecorrosion,non-
abrasivecreamcleanersorproprietarystainlesssteelcleanersshouldbeusedtoremovethecorrosion.Washanddryas
detailedabove.Thenwithasoftclothsoakedwithaprotectiveoil,wipeallover.
Pleasenote-Thisinstructioncoversmultiplettingstyles.Whileallthestepstoassembleyourttingwillbethe
same, your individual product may vary from the diagram shown below.
1. Removethenials(A)andrubberwashers(B)fromthefrontoftheproductandliftthelightttingbodyawayfromthe
wallback.Keepthenialsandwashersinasafeplaceforrettinglater.Refer to Assembly Diagram 2.
2. Using the wall back as a template, mark the position of the mounting holes. Drill holes and t supplied wall plugs
(suitableformasonryonly-forothersurfacesuseappropriatexings).Makesurethewallbackis
correctlyorientedwiththedrainholeatthebase.Takecarenottodamageanywiringorpipes
whendrillingtheholes.Refer to Assembly Diagram 3.

