76546_76548-Burford-WB 20180626
Endon Lighting, LS9 0SE
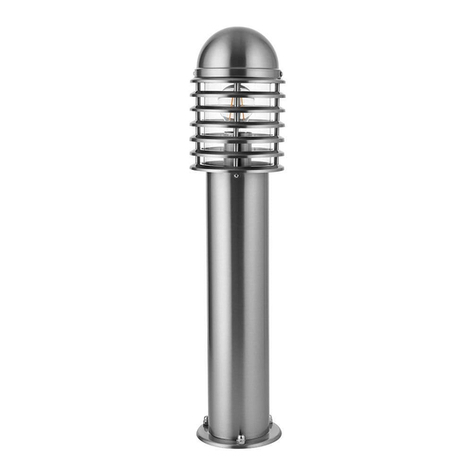
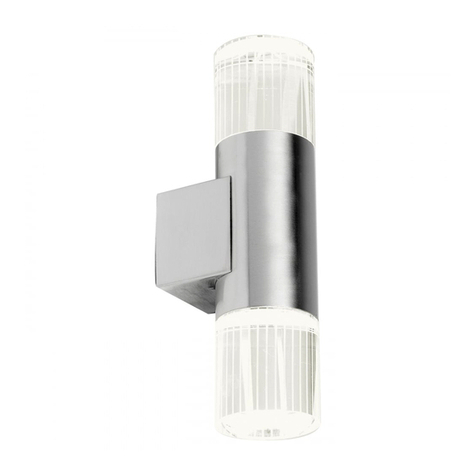
Burford Outdoor Wall light Fitting
Safety Warnings
INSTRUCTION MANUAL
• This product is only suitable for connection to a 240V~50Hz supply in accordance with current IEE wiring
regulations. It should be installed in accordance with local building regulations and is for domestic use only.
• Beforecommencinginstallationofyourlightttingalwaysswitchoffthemainssupplyandremovetheappropriate
fuse or switch off the appropriate circuit breaker.
• This is a Class I product, and must be Earthed. The terminal blocks are supplied according to requirements of
thetting.
• Run supply wire from a 5-amp electrical supply protected by an RCD using double insulated 3-core cable of type
H05RN-F 1.0mm2 (not supplied) to selected site, ensuring it is adequately protected through the full length of the
cablerun,itmustcomeoutoftheatsurfaceofthewallorstepsinlinewiththeentrytothetting.
• Exceptwhereinstalledinaconduitorductwhichprovidesequivalentprotectionagainstmechanicaldamage,
a cable buried in the ground shall incorporate an earthed armour or metal sheath or both, suitable for use as a
protectiveconductor,orbeofinsulatedconcentricconstruction.Buriedcablesshallbemarkedbycablecoversor
asuitablemarkingtape.Buriedconduitsandductsshallbesuitablyidentied.Buriedcables,conduitsandducts
shallbeatasufcientdepthtoavoidbeingdamagedbyanyreasonablyforeseeabledisturbanceoftheground.
• Nevertbulbsofahigherwattagethanthosespeciedonthelabel,asthesemaycauseoverheatinganddamage
thetting.
• This product has special protection against the ingress of water, and is rated IP44.
• Ifanymodicationismadeitwillinvalidatethewarrantyandmayrendertheproductunsafe.
Assembly/ User Instructions
Before you start
Pleasereadtheseinstructionscarefullybeforettingandretainforreference.Checkthepackagingandmakesure
thatyouhavealltherequiredparts.Followeachassemblystepinordertopreventincorrectassembly.Ensurethat
the product is fully assembled as illustrated before use.
The Light pack contains:
Lighttting.
Terminal connection block(s).
Fixing pack.
The following tools may be required:
Selectionofcrossandatheadscrewdrivers.
Electric drill and assorted drill bits.
Wire strippers.
Electrical insulation tape.
Care Information
Allow 10 minutes to cool before replacing, adjusting or cleaning.
Cleanwithadryclothonly.Donotuseliquidorabrasivecleanersonthisproduct.
Theseassemblydiagramsareintendedasaguide–ifindoubtconsultaqualiedelectrician.
1. Decide on the position of the light tting, or remove existing light tting. Note the position of the electrical
connections. Ensure there is a solid mounting surface.
2. Removethenials(A)fromthefrontoftheproductandliftthelightttingbodyawayfromthewallback(B).Keep
thenialsinasafeplaceforrettinglater.
3. Usingthewallback(B)asatemplate,markthepositionofthemountingholes.Drillholes,takingcaretoavoid
damaging any concealed wiring or pipes. Make sure the wall back is correctly oriented with the drain hole at the
base
4. Bringthemainscablethroughtherubbergrommet,thenuseappropriatexings(C&D)tosecurethewallback
to the wall.
5. Connect the house wiring to the internal terminal block (E) – see expanded wiring details below. NOTE: This is a
ClassIttingandmustbeearthed. The cable entry grommet must be securely in place to ensure that the water
ingress protection is maintained. When you are sure of the connections wrap the Terminal
Blockandoverlapthewiringbothsideswith2layersofinsulationtape.


