manuals.online logo
Brands
  1. Home
  2. •
  3. Brands
  4. •
  5. Epson
  6. •
  7. Printer
  8. •
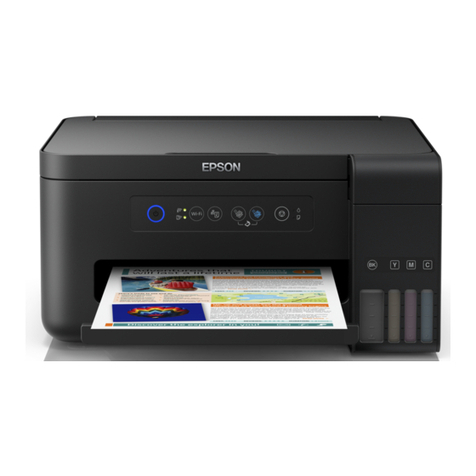
  9. Epson ET-2600 Instruction Manual

Epson ET-2600 Instruction Manual

Start Here
11 Raise the control panel and turn on the product. Wait for
the power light to stop flashing, then follow step 12 to
continue ink charging.
Note: If all the product lights are flashing, turn off the product
and check that no protective material has been left inside
the product.
Caution: Do not lower the control panel without first squeezing
the release bar underneath or you may damage the product.
12 Press and hold the button for 3 seconds until
the power light starts flashing, to begin charging the
ink. Ink charging takes approximately 20 minutes. Ink
charging is complete when the power light stops
flashing.
20 minutes
3 seconds
Note: The ink bottles included with the printer are designed
for printer setup and not for resale. After some ink is used for
charging, the rest is available for printing.
Caution: Do not turn off the product or load paper while the
product is charging or you’ll waste ink.
3Load paper
1 Make sure the product is not charging. Then flip the
feeder guard forward, raise the paper support, and tilt it
backwards slightly.
2 Slide the edge guide to the left.
Read these instructions before using your product.
Note for Spanish speakers/Nota para hispanohablantes: Para
obtener instrucciones de configuración en español, consulte la Guía
de instalación en www.epson.com/support/et2600sp (requiere una
conexión a Internet).
1Unpack
Note: Do not open the ink bottles until you are ready to fill the ink
tanks. The ink bottles are vacuum packed to maintain reliability. Ink
bottle design may vary.
1 Remove all protective materials from the product.
2 Lift up the scanner unit and remove all protective materials
from inside the product.
Caution: Do not touch the flat white cable or the ink tubes and
their translucent cover.
3 Lower the scanner unit.
2Fill ink tanks
Note: This product requires careful handling of ink. Wear disposable
gloves and place a sheet of paper or plastic under the ink tank when
you fill or refill the ink tanks, as ink may splatter. If ink spills, wipe it off
immediately with a damp towel to avoid permanent stains. If ink gets on
your clothes or belongings, it may not come off.
Warning: Keep the ink bottles out of the reach of children and do not
drink the ink.
1 Open the ink tank cover, then remove the cap for the black
ink tank and attach it to its holder.
2 Unpack the black ink bottle.
3 Depending on the ink bottle included with your product,
snap off the bottle tip or unscrew the lid.
4 Remove the bottle cap. Carefully remove the protective
seal (avoid touching the ink underneath the seal), then
close the bottle cap tightly.
Caution: Be sure to close the bottle cap tightly, or ink may leak.
5 Fill the tank using all of the ink in the bottle.
Note: Refer to the color coded sticker on the ink tank to identify
the color of each tank.
Caution: Be sure to fill each tank with the correct ink color.
6 Carefully seal the bottle using the reverse side of the
bottle tip or screw on the lid for proper disposal.
7 Replace the ink tank cap securely.
8 Repeat the previous steps for the remaining bottles.
9 Close the ink tank cover.
10 Connect the power cord to the back of the product and to
an electrical outlet.
Caution: Do not connect to your computer yet.
ET-2600
4 When you see the Select Your Connection screen, select
one of the following:
• Wireless connection
In most cases, the software installer automatically
attempts to set up your wireless connection. If setup
is unsuccessful, you may need to enter your network
name (SSID) and password.
• Direct USB connection
Make sure you have a USB cable (not included).
Mobile printing options
Connect wirelessly from your smartphone, tablet, or computer.
Print documents and photos from across the room or around
the world. See your online User’s Guide for instruction or learn
more at www.epsonconnect.com.
Any problems?
Network setup was unsuccessful
• Make sure you select the right network name (SSID).
• Restart your router (turn it off and then on), then try to
connect to it again.
• The printer can only connect to a network that supports
2.4 GHz connections. If your router offers both 2.4 GHz
and 5 GHz connections, make sure the 2.4 GHz network
is enabled.
• If you see a firewall alert message, click Unblock or Allow
to let setup continue.
• If your network has security enabled, make sure you enter
your network password (WEP key or WPA passphrase)
correctly. Be sure to enter your password in the correct
case.
There are lines or incorrect colors in my printouts
Run a nozzle check to see if any of the print head nozzles are
clogged. Then clean the print head, if necessary. See the online
User’s Guide for more information.
Setup is unable to find my product after connecting it
with a USB cable
Make sure the product is on and securely connected as shown:
EPSON is a registered trademark, Epson Connect is a trademark, and EPSON Exceed Your
Vision is a registered logomark of Seiko Epson Corporation. Designed for Excellence is a
trademark of Epson America, Inc.
Mac is a trademark of Apple Inc., registered in the U.S. and other countries.
General Notice: Other product names used herein are for identification purposes only and may
be trademarks of their respective owners. Epson disclaims any and all rights in those marks.
This information is subject to change without notice.
© 2016 Epson America, Inc., 9/16
Printed in XXXXXX CPD-52442
3 Load paper, glossy or printable side up and short edge
first, against the right side of the rear paper feed slot.
4 Slide the edge guide against the paper, but not too tightly,
and flip the feeder guard back.
5 Pull out the output tray and raise the paper stopper.
4Install software
Note: If your computer does not have a CD/DVD drive or you are
using a Mac, an Internet connection is required to obtain the product
software.
1 Make sure the product is NOT CONNECTED to your
computer.
Windows®:If you see a Found New Hardware screen, click
Cancel and disconnect the USB cable.
2 Insert the product CD or download and run your product’s
software package:
www.epson.com/support/et2600 (U.S.) or
www.epson.ca/support/et2600 (Canada)
3 Follow the instructions on the screen to run the setup
program.
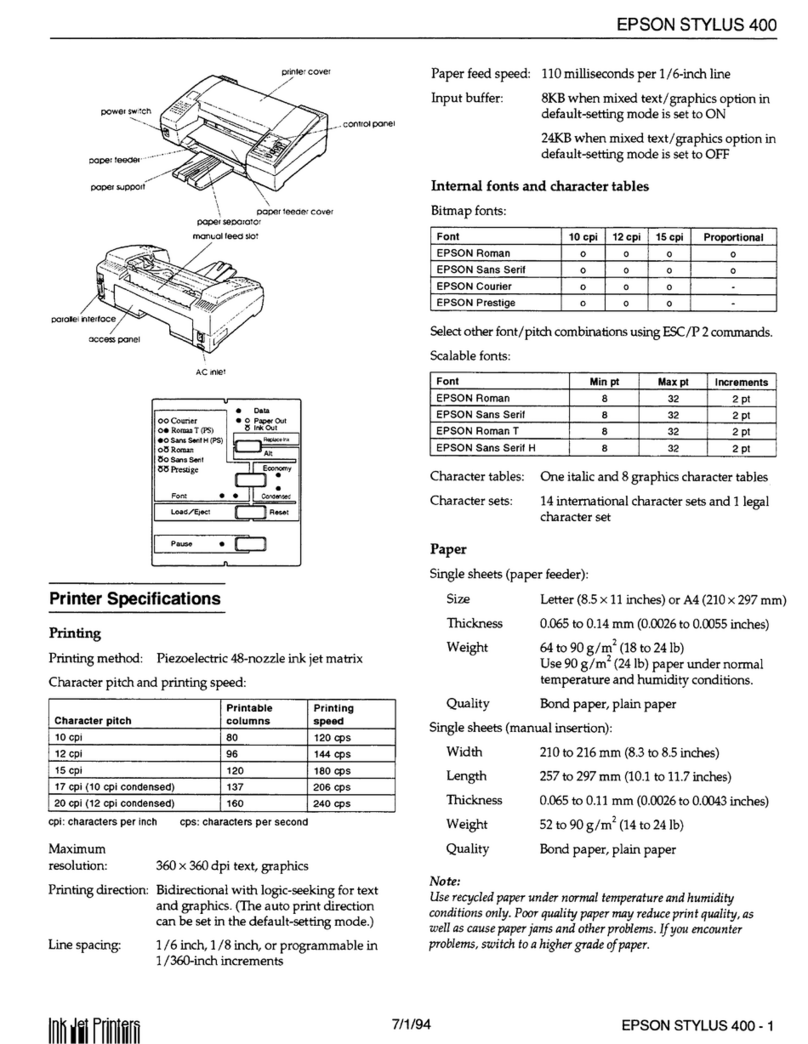
Error indicators
If you see one of the error indicators below, follow the steps
here to proceed:
Flashing On
Paper is jammed. Remove any jammed paper
from inside the product or from the rear paper
feed slot. Make sure your paper is loaded
correctly, then press or .
Paper is out or multiple pages have fed into the
rear paper feed slot. Load paper correctly in the
rear paper feed slot, then press or .
Initial ink charging may not be complete. Be
sure to complete the steps in the “Fill ink tanks”
section.
Wi-Fi connection error. Press the Wi-Fi button
on the product to clear the error and try again.
Printer error. Turn off the product and check
that no protective material or other foreign
object has been left inside the product.
Any questions?
Quick Guide
Basic information and troubleshooting.
User’s Guide
Windows: Click the icon on your desktop or Apps screen to
access the online User’s Guide.
Mac: Click the icon in Applications/Epson Software/Guide to
access the online User’s Guide.
If you don’t have a User’s Guide icon, go to the Epson website,
as described below.
Technical support
Visit www.epson.com/support (U.S.) or
www.epson.ca/support (Canada) and search for your product.
(562) 276-4382 (U.S.) or (905) 709-3839 (Canada), 6 am to 8 pm,
Pacific Time, Monday through Friday, and 7 am to 4 pm, Pacific
Time, Saturday. Days and hours of support are subject to
change without notice. Toll or long distance charges may apply.
Recycling
Epson offers a recycling program for end of life hardware
and ink bottles. Please go to www.epson.com/recycle for
information on how to return your products for proper disposal.
Need paper and ink?
Ensure peak performance and brilliant results
with Genuine Epson®Ink and specialty papers,
engineered specifically for Epson printers. Find
Genuine Epson Ink and specialty papers at
www.epson.com (U.S. sales) or www.epson.ca
(Canadian sales) and at Epson authorized
resellers. Call 800-GO-EPSON (800-463-7766).
ET-2600 refill inks
Color Part number
Black 664
Cyan 664
Magenta 664
Yellow 664

Other manuals for ET-2600

3

Other Epson Printer manuals

Epson STYLUS C87 Series User manual

Epson

Epson STYLUS C87 Series User manual

Epson Stylus Photo 780 User manual

Epson

Epson Stylus Photo 780 User manual

Epson EPL-6200 User manual

Epson

Epson EPL-6200 User manual

Epson SureColor SC-S70600 User manual

Epson

Epson SureColor SC-S70600 User manual

Epson EMP-TW 1000 User manual

Epson

Epson EMP-TW 1000 User manual

Epson LQ 630S User manual

Epson

Epson LQ 630S User manual

Epson DFX-5000+ User manual

Epson

Epson DFX-5000+ User manual

Epson Stylus C44UX series Manual

Epson

Epson Stylus C44UX series Manual

Epson AcuLaser C2000 User manual

Epson

Epson AcuLaser C2000 User manual

Epson C1100 - AcuLaser Color Laser Printer User manual

Epson

Epson C1100 - AcuLaser Color Laser Printer User manual

Epson U950 - TM B/W Dot-matrix Printer User manual

Epson

Epson U950 - TM B/W Dot-matrix Printer User manual

Epson WF-C5310 User manual

Epson

Epson WF-C5310 User manual

Epson LQ-690II User manual

Epson

Epson LQ-690II User manual

Epson L120 User manual

Epson

Epson L120 User manual

Epson Stylus Pro 7000 Series User manual

Epson

Epson Stylus Pro 7000 Series User manual

Epson ST-4000 User manual

Epson

Epson ST-4000 User manual

Epson TM-C100 User manual

Epson

Epson TM-C100 User manual

Epson LX-810 User manual

Epson

Epson LX-810 User manual

Epson Workforce Pro WF-C8610 Series User manual

Epson

Epson Workforce Pro WF-C8610 Series User manual

Epson XP-720 Series User manual

Epson

Epson XP-720 Series User manual

Epson AcuLaser CX16 User manual

Epson

Epson AcuLaser CX16 User manual

Epson R2400 - Stylus Photo Color Inkjet Printer User manual

Epson

Epson R2400 - Stylus Photo Color Inkjet Printer User manual

Epson ActionLaser 1600 User manual

Epson

Epson ActionLaser 1600 User manual

Epson WF-2750 Instruction Manual

Epson

Epson WF-2750 Instruction Manual

Popular Printer manuals by other brands

Star LC-8521 user manual

Star

Star LC-8521 user manual

Microcom 428TC plus Operator's manual

Microcom

Microcom 428TC plus Operator's manual

Panduit COUGAR LS9Q Operator's manual

Panduit

Panduit COUGAR LS9Q Operator's manual

Brother VC-500W user guide

Brother

Brother VC-500W user guide

Citizen iDP-3221 Series user manual

Citizen

Citizen iDP-3221 Series user manual

Canon MF275dw Setup guide

Canon

Canon MF275dw Setup guide

Gainscha GA-F3300 user manual

Gainscha

Gainscha GA-F3300 user manual

Canon advanced anywhere print user guide

Canon

Canon advanced anywhere print user guide

CIM PRO THERMAL 2000 Operator's manual

CIM

CIM PRO THERMAL 2000 Operator's manual

Samsung CLP 610ND - Color Laser Printer Service manual

Samsung

Samsung CLP 610ND - Color Laser Printer Service manual

Ricoh SP 6430DN Quick installation guide

Ricoh

Ricoh SP 6430DN Quick installation guide

Konica Minolta magicolor 7450 installation guide

Konica Minolta

Konica Minolta magicolor 7450 installation guide

Seiko IP-7900 Operation guide

Seiko

Seiko IP-7900 Operation guide

Canon iP4700 - PIXMA Color Inkjet Printer Getting started

Canon

Canon iP4700 - PIXMA Color Inkjet Printer Getting started

MUTOH VJ-628 ValueJet Activation guide

MUTOH

MUTOH VJ-628 ValueJet Activation guide

Star Micronics TSP100ECO Specifications

Star Micronics

Star Micronics TSP100ECO Specifications

Evolabel T43 user manual

Evolabel

Evolabel T43 user manual

Brother P-Touch 1800 user guide

Brother

Brother P-Touch 1800 user guide

manuals.online logo
manuals.online logoBrands
  • About & Mission
  • Contact us
  • Privacy Policy
  • Terms and Conditions

Copyright 2025 Manuals.Online. All Rights Reserved.