manuals.online logo
Brands
  1. Home
  2. •
  3. Brands
  4. •
  5. Epson
  6. •
  7. Printer
  8. •
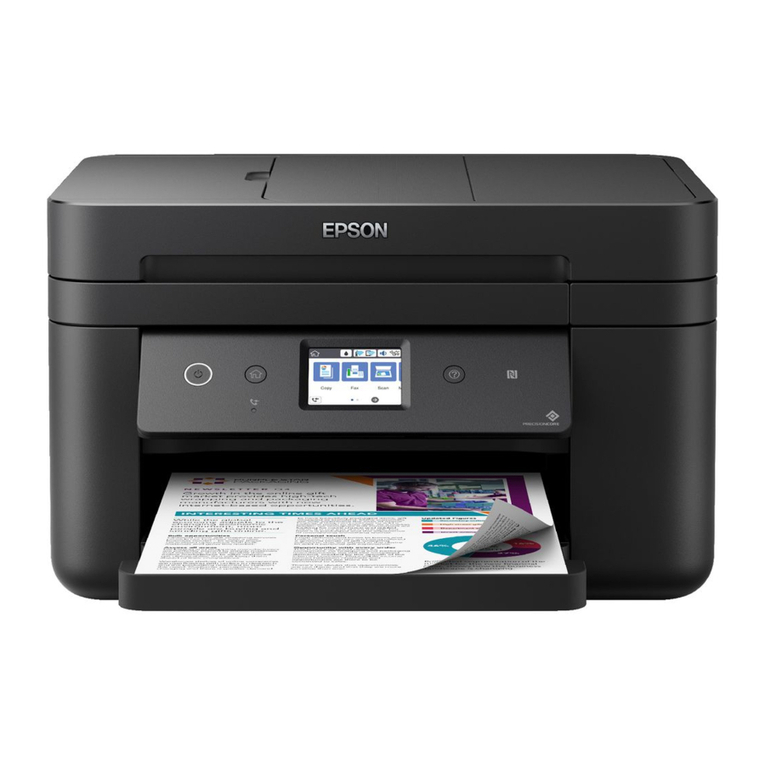
  9. Epson XP-344 Series Instruction Manual

Epson XP-344 Series Instruction Manual

Other manuals for XP-344 Series

1

This manual suits for next models

2

Other Epson Printer manuals

Epson LX-90TM User manual

Epson

Epson LX-90TM User manual

Epson ActionLaser 1000 User manual

Epson

Epson ActionLaser 1000 User manual

Epson FX-2175IIN Instruction Manual

Epson

Epson FX-2175IIN Instruction Manual

Epson 1400 - Stylus Photo Color Inkjet Printer User manual

Epson

Epson 1400 - Stylus Photo Color Inkjet Printer User manual

Epson Stylus COLOR 460 Installation and operating instructions

Epson

Epson Stylus COLOR 460 Installation and operating instructions

Epson C11C424001 - Stylus C80 Color Inkjet Printer Dimensions

Epson

Epson C11C424001 - Stylus C80 Color Inkjet Printer Dimensions

Epson Stylus Photo 950 User manual

Epson

Epson Stylus Photo 950 User manual

Epson U220B - TM Two-color Dot-matrix Printer User manual

Epson

Epson U220B - TM Two-color Dot-matrix Printer User manual

Epson Printer User manual

Epson

Epson Printer User manual

Epson SC-S80600L Series User manual

Epson

Epson SC-S80600L Series User manual

Epson U375 - TM B/W Dot-matrix Printer User manual

Epson

Epson U375 - TM B/W Dot-matrix Printer User manual

Epson EPL-5700 User manual

Epson

Epson EPL-5700 User manual

Epson Stylus C79 Instruction Manual

Epson

Epson Stylus C79 Instruction Manual

Epson Stylus Color 800N User manual

Epson

Epson Stylus Color 800N User manual

Epson Stylus Pro 7900 User manual

Epson

Epson Stylus Pro 7900 User manual

Epson PP-100II User manual

Epson

Epson PP-100II User manual

Epson Stylus Pro 9000 User manual

Epson

Epson Stylus Pro 9000 User manual

Epson Action Scanner II User manual

Epson

Epson Action Scanner II User manual

Epson L60IIP - TM B/W Direct Thermal Printer Quick setup guide

Epson

Epson L60IIP - TM B/W Direct Thermal Printer Quick setup guide

Epson WF-2930 User manual

Epson

Epson WF-2930 User manual

Epson Stylus C87 User manual

Epson

Epson Stylus C87 User manual

Epson FX 890 User manual

Epson

Epson FX 890 User manual

Epson ColorWorks C7500 User manual

Epson

Epson ColorWorks C7500 User manual

Epson SC-P8500D Series User manual

Epson

Epson SC-P8500D Series User manual

Popular Printer manuals by other brands

Evolis Elypso user guide

Evolis

Evolis Elypso user guide

Lexmark 522n - C Color Laser Printer Service manual

Lexmark

Lexmark 522n - C Color Laser Printer Service manual

Panduit COUGAR LS9Q Operator's manual

Panduit

Panduit COUGAR LS9Q Operator's manual

Olivetti PG L2140 Operation guide

Olivetti

Olivetti PG L2140 Operation guide

Samsung SL-M2820DW user manual

Samsung

Samsung SL-M2820DW user manual

Kyocera FS-9530DN specification

Kyocera

Kyocera FS-9530DN specification

Canon LASER SHOT LBP-1210 Specifications

Canon

Canon LASER SHOT LBP-1210 Specifications

Canon PIXMA PRO-1 Series Getting started

Canon

Canon PIXMA PRO-1 Series Getting started

Canon LBP113w Getting started

Canon

Canon LBP113w Getting started

Lexmark Infoprint 1332 user manual

Lexmark

Lexmark Infoprint 1332 user manual

TransAct POSJET 1500 Spare parts

TransAct

TransAct POSJET 1500 Spare parts

Telpar MTP-1500 user manual

Telpar

Telpar MTP-1500 user manual

Star DP8340 SERIES user manual

Star

Star DP8340 SERIES user manual

MGI JETVARNISH 3DS user manual

MGI

MGI JETVARNISH 3DS user manual

Kyocera TASKalfa PA4500ci Operation guide

Kyocera

Kyocera TASKalfa PA4500ci Operation guide

Emaar EP-360 user manual

Emaar

Emaar EP-360 user manual

Fujitsu DL7400 user manual

Fujitsu

Fujitsu DL7400 user manual

Centronics 101A Technical manual

Centronics

Centronics 101A Technical manual

manuals.online logo
manuals.online logoBrands
  • About & Mission
  • Contact us
  • Privacy Policy
  • Terms and Conditions

Copyright 2025 Manuals.Online. All Rights Reserved.

© 2016 Seiko Epson Corporation.
All rights reserved.
Printed in XXXXXX
Windows
XP-440 Series
XP-340 Series
http://epson.sn
http://epson.sn
Start Here
2
Do not connect a USB cable unless
instructed to do so.
1
Contents may vary by location.
QIf the Firewall alert appears, allow
access for Epson applications.
Visit the website to start the setup process, install software, and congure
network settings.
Epson Connect
Using your mobile device, you can print from any location worldwide to your
Epson Connect compatible printer. Visit the website for more information.
https://www.epsonconnect.com/
Questions?
You can open the User’s Guide (PDF) from the shortcut icon, or download the
latest versions from the following website.
http://support.epson.net/
BK C M Y
Black Cyan Magenta Yellow
288 288 288 288
288XL 288XL 288XL 288XL
Ink Cartridge Code
Windows
Windows (No CD/DVD drive)
Mac OS X
iOS / Android
Visit the website to install Epson iPrint application, start the setup process,
and congure network settings.
!Caution; must be followed carefully to avoid bodily injury.
Not all cartridges are available in all regions.
Do not open the ink cartridge package until you are ready to install it in the
printer. The cartridge is vacuum packed to maintain its reliability. Basic Operations
Guide to Control Panel
Turns the printer on or o.
Displays the home screen.
Press l, u, r, dto select menus. Press the OK button to enter
the selected menu.
Cancels/returns to the previous menu.
, Sets the number of copies and prints.
Starts the operation you selected.
Stops the ongoing operation or initialize the current settings.
For XP-340 Series, this also allows you to return to the previous
screen.
Icons showing the network status are displayed at the top-right
of the LCD screen.
Use only the power cord that comes with the printer. Use of
another cord may cause re or shock. Do not use the cord with
any other equipment.
Be sure your AC power cord meets the relevant local safety
standard.
Except as specically explained in your documentation, do not
attempt to service the printer yourself.
Safety Instructions
Place the printer near a wall outlet where the power cord can
be easily unplugged.
Do not let the power cord become damaged or frayed.
.
Do not place or store the product outdoors, near excessive dirt
or dust, water, heat sources, or in locations subject to shocks,
vibrations, high temperature or humidity.
If the LCD screen is damaged, contact your dealer. If the liquid
crystal solution gets on your hands, wash them thoroughly
with soap and water. If the liquid crystal solution gets into
your eyes, ush them immediately with water. If discomfort or
vision problems remain after a thorough ushing, see a doctor
immediately.
Keep this product at least 22 cm away from cardiac
pacemakers. Radio waves from this product may adversely
aect the operation of cardiac pacemakers.
Take care not to spill liquid on the product and not to handle
the product with wet hands.
Keep ink cartridges out of the reach of children.
Be careful when you handle used ink cartridges, as there may
be some ink around the ink supply port. If ink gets on your skin,
wash the area thoroughly with soap and water. If ink gets into
your eyes, ush them immediately with water. If discomfort
or vision problems continue after a thorough ushing, see a
doctor immediately. If ink gets into your mouth, see a doctor
right away.
Always keep this guide handy.
Windows® is a registered trademark of the Microsoft Corporation.
Mac OS is a trademark of Apple Inc., registered in the U.S. and other countries.
Android™ is a trademark of Google Inc.
The contents of this manual and the specications of this product are subject to change without notice.
D
Set the number of copies, and then select Color or B&W.
E
Press OK to display the copy setting menus. For XP-340 Series, press dto
change the settings.
F
Use uor dto select a setting item such as paper size, and then use lor r
to change the setting. For XP-340 Series, press OK to save the changes.
G
Press xto start copying.
More Functions
The printer has special menus that allow you to print original stationery.
XP-440 Series: Select More Functions from the home screen, and then select
Personal Stationery.
XP-340 Series: Select Personal Stationery from the home screen.
Replacing Ink Cartridges
When you are prompted to replace an ink cartridge, prepare a new ink
cartridge.
For best results, gently shake only the new ink cartridge four or ve times
and then unpack.
Open the scanner unit and press OK.
Remove only the yellow tape.
Insert the new ink cartridge and press it down rmly.
Squeeze the tab on the ink cartridge and lift it out.
C
D
A
B
E
Close the scanner unit.
F
Press x. Charging ink is started.
G
Wait until a completion message is displayed.
Print Quality Help
(a) (b)
Print a nozzle check pattern to check if the print head nozzles are clogged.
Select Setup > Maintenance > Nozzle Check.
If you notice any missing segments or broken lines as shown in (b), go to
step B.
QIf you see missing segments or broken lines in your printouts, try
the following solutions.
!Never touch the ink cartridges while the print head is moving.
QIf the ink cartridge holder does not move to the ink cartridge
replacement position, close the scanner unit and select Setup >
Maintenance > Ink Cartridge Replacement.
A
B
Follow the on-screen instructions to perform head cleaning.
The cleaning uses some ink from all cartridges, so run the cleaning only if
print quality declines on your prints.
Loading Paper
A
Flip the feeder guard, and then slide out the paper support and the
output tray.
B
Load paper with the printable side face-up against the right side of the
sheet feeder.
C
Slide the edge guide against the paper, and ip the guard back.
D
The paper setup screen is displayed on the LCD screen. Select the paper
size and paper type you loaded in the printer.
QDo not load paper above Hmark inside the edge guide.
QMake sure you place the paper against the right side of the sheet
feeder. Otherwise, the printer cannot detect the paper and the
paper setup screen is not displayed.
Copying
A
B
C
Close the document cover.
Enter Copy mode from the home screen.
Open the document cover and place your original face-down on the
scanner glass. Align the original with the front right corner of the glass.
H