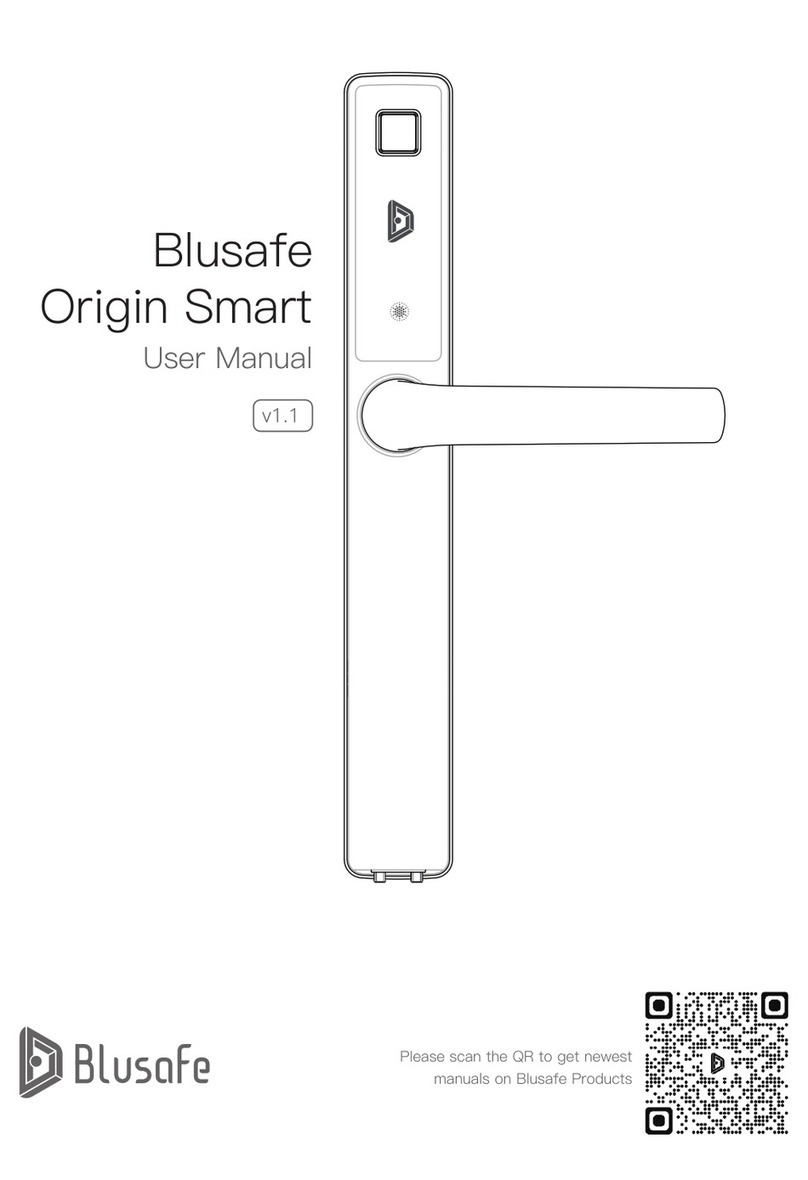
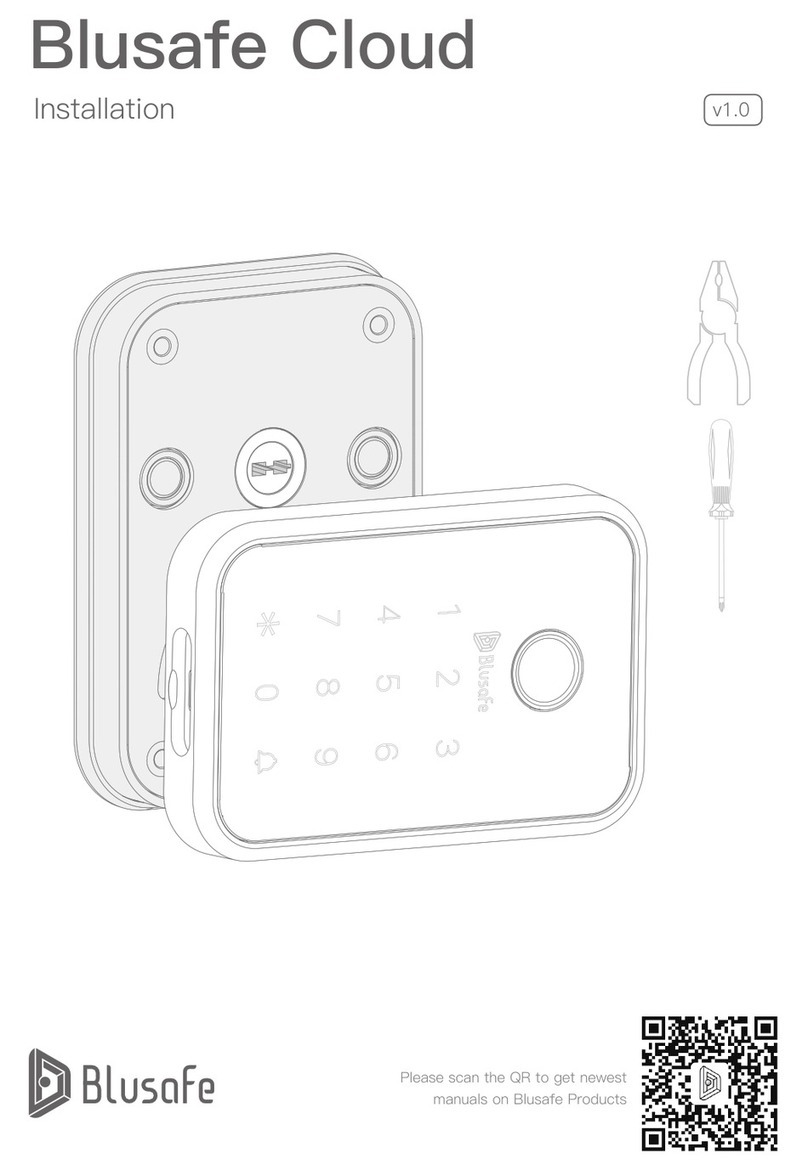
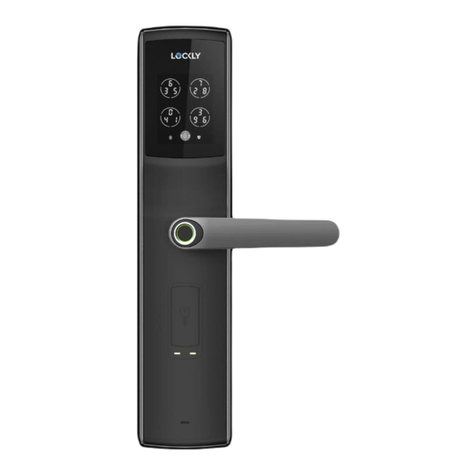
ERA TOUCHKEY User manual

TOUCHKEY AUTO-FIRE LOCK
INSTALLATION GUIDE

1050.00
HANDLE HEIGHT
22.00
36.00
72.00
92.00
17.00
20.00
20.00
20.00
136.00
45.00
Backset
B
BOTTOM OF DOOR
155.00 214.00
16.00
MIN
1634.10
20.20
77.50
680.00715.00
AA
65.00
47.00
47.00
126.00
SECTION A-A
SPINDLE DATUM
2.50
2.20
THIS HOLE IS ON INTERNAL SIDE ONLY.
DEPTH OF 10mm
2.20
THIS HOLE IS ON
INTERNAL SIDE ONLY.
129.50
40.00
PREPARATION DETAIL
13.00
Not to scale. All dimensions are in mm and are nominal. ERA
reserves the right to change specification without notice. It is the
responsibility of the door manufacturer to ensure that the finished
product meets any required safety and performance specification.

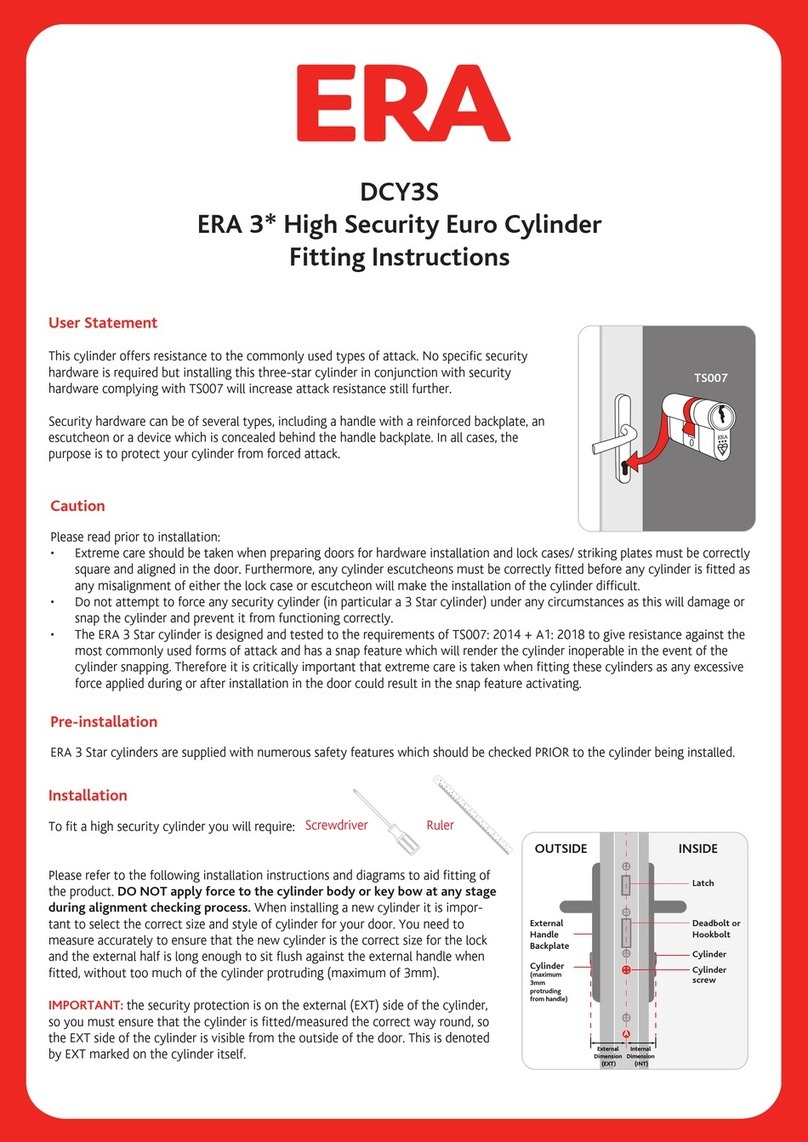
Fit the cylinder and check function of
the lock (as per steps a- cbelow):
Please note: This
is required for the
top, centre and
bottom latches.
If so, please remove the mounting bracket from
the handle box (situated underneath the
external handle in the holding pocket) and using
the two fixing screws (in the handle box) secure
the plate onto the internal face of the door, in
the highlighted holes.
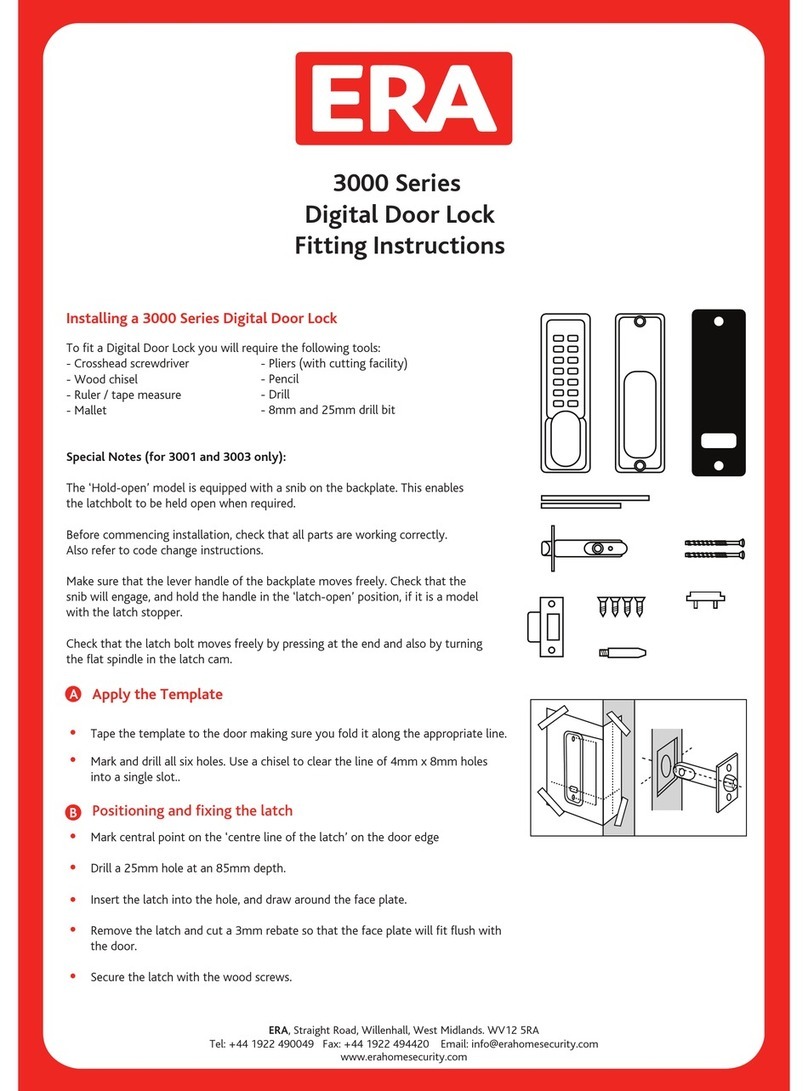
1. Insert the multipoint lock into the
prepared door and fasten with
appropriate screws.
2. Set latches to left or right handed by
pulling the latch outwards and twisting
to the correct position.
3.
a. Turn the thumbturn, check
all hooks and the centre
deadbolt retract.
b. Return the cylinder to the
normal position.
c. Press the trigger on the
centre gearbox to fire the
hooks and centre deadbolt.
Please separate installation instructions for
the TouchKey door handle and cylinder. We
recommend these are fitted on site during
door installation.
4. You may choose to fit the handle
mounting bracket prior to the door
reaching the site.
MPL LOCK PREPARATION

f. Alternatively, to relieve
resistance, the centre keep
can be offset to the hook
keeps.
a. Create routing required for the keep -
use the routing jig provided if
necessary (available on request).
b. Centre line on the routing jig needs
to be lined up with centre of latches.
Centre
Keep
Hook
Keep
1
Repeat for top and bottom keeps.
b.
a. Insert the centre keep into the routed hole
and ensure it sits flush to the face of the
door frame.
It is essential the keep sits flush for stability.
e. In the event of operating
resistance you may need to
adjust the keeps, refer to 2b
d. Look for any sign off
resistance during
operation which may
indicate the fitting is not
correct.
Composite keeps are adjustable +/- 2mm
horizontally and vertically, timber keeps
are adjustable +/- 2mm horizontally.
A
Centre
Line
Position the keep and fasten to the
frame with the appropriate screws for
the substrate being used.
Once keeps are fitted, open and close
the door to check it is working correctly:
c. Rotate thumbturn, key or
handle to ensure all locking
points fully retract to allow
the door to open.
b. Ensure the thumbturn or
key rotates 360° towards
the keep making sure the
deadbolt is fully engaged.
a. Close door and check the
hooks and latches engage
fully within top, centre and
bottom keeps.
Centre
Line
1.
2.
3.
4.
5.
KEEP PREPARATION

Depress trigger to ensure hooks drop fully.
Insert cylinder and lock to make sure the deadbolt throws and retracts.
Make sure the hooks and latches retract fully with cylinder.
Pre-installation checks:
Check the functions of the lock as above.
Make sure that the keeps are in the nominal position with full
adjustment if required.
Close door and activate the lock. The hooks should fall into the keeps.
Make sure the deadbolt works with the cylinder.
Undo the deadbolt and retract the hooks and latches to open the door.
Post installation checks:
1.
2.
3.
1.
2.
3.
4.
5.
AUTO FIRE MPL

With the door in the closed position and
standing on the opening side. Check that there
is a 3-4mm gap between the edge of the leaf
and the edge of the frame. The air gap must be
consistent from the top to the bottom of the
lock jamb.
Please note: If the gap is greater than 4.00mm
the trigger will not meet the ramp on the keep
and prevent the door from closing correctly.
To check the alignment of the keeps. Open the
door slightly and visually check the centre of
the latches line up with the centre of the rollers
on the keeps, the keeps have a +/- 2.00mm
horizontal and vertical adjustment if they
require repositioning.
Check that there
Is a 4mm gap
Between the edge
of the leaf and the
edge of the frame
Open the door, depress the steel trigger
between the latch and deadbolt in the centre
gearbox, both top and bottom hooks and
centre deadbolt will be thrown into the locked
position. To retract the deadbolt and hooks
rotate the thumbturn cylinder away from the
lock jamb.
If the lock operates with the door open but has
a stiff key operation with the door closed this
may indicate that the centre and hook keeps
require adjusting (see item 2).
If the lock has a stiff key operation with the
door open this, this may indicate a problem
with the lock or cylinder. If this is the case,
please refer to the trouble shooting guide.
Latches should
line up with centre
line on the keeps
2 Hooks should
fall into the locked
position
Centre
Line
1. 2.
3.
Check gap between door leaf and frame Check lock and keep alignment
Check lock operation
LEAF AND LOCK SET UP
Depress trigger to
activate lock

Roller plate
adjustment
screws
Check hook operation
As stated, the latches are the compression
points and when the trigger is depressed and
the hooks drop, the hooks should not come into
contact with the keeps. Please ensure that the
door is fully closed, to check that the hooks are
correctly fully engaged. However, it is important
that the door is pushed or pulled fully closed to
check the hooks are fully engaging.
Remove the tape temporarily holding the
hooks. Close the door until it latches and fires
the hooks and centre deadbolt. Unlock the door
by rotating the thumbturn cylinder away from
the lock jamb.
Setting the latch operation
In order to ensure that the door latches
correctly, it is important to temporarily disable
the hooks. To do this, please use a piece of tape
placed over the hooks aperture on the face bar,
to hold them into the retracted position. It is
also important that compression of the gaskets
is achieved on the latches only. The hooks and
deadbolt are security measures and should
operate “in fresh air”.
With the hooks disabled, please close the door
until it latches. Check that the leaf is flush with
the frame on the opening side of the door. If you
need to adjust the keep for compression, then
open the door and adjust the roller plates on the
centre keep first by undoing the adjustment
screws and moving the plates until you achieve
a smooth latching operation. Repeat the
process on the top and bottom hook keeps until
the desired compression is achieved.
Please note: Contact of the hooks with the
keeps will result in increased operating forces
and therefore, a stiff key operation.
1.
2.
OPERATION

ERA, Valiant Way
Wolverhampton
West Midlands
WV9 5GB
Contact Us
T : +44 (0) 1922 490049
E : info@erahomesecurity.com
W: www.eraeverywhere.com
Hooks not firing when
door is shut
Air gap between frame and
sash too wide (lock trigger
not hitting the keep ramp)
Adjust the hinges or frame fixings to
give a 4mm air gap between the sash
and frame
Incorrectly adjusted keeps The latches are the compression points.
Adjust the keeps as necessary
Incorrect positioned keeps Check keep alignment as
detailed in the installation guide
Cylinder incorrectly installed
Remove the handle and check if the
lock functions with the cylinder in
place. If the lock functions without the
handle, then the handle may be
twisting the cylinder. Refit the handle
taking care not to twist the cylinder.
Lock drive bars cannot
operate in router groove
Remove lock from door and check
independently. Locate the cause of
resistance and rectify by removing material
Stiff key operation Door not latched correctly Relieve pressure on latches by gently
pushing or pulling the door closed
Too much compression
on hinges
Adjust hinges to release
compression from frame
Air gap between sash and
frame too wide
Adjust the hinges or frame fixings
to give an optimum 4mm air gap
between the sash and frame
Cylinder malfunctioning
Remove cylinder from lock and check
operation. Discard and replace cylinder
if it malfunctions. Check lock operation
using an alternative cylinder. If lock still
doesn’t operate remove lock from door
and check lock independently.
SYMPTOM POSSIBLE CAUSE SUGGESTED REMEDY
TROUBLESHOOTING GUIDE
V1
Other manuals for TOUCHKEY
3
Table of contents
Other ERA Door Lock manuals
Popular Door Lock manuals by other brands

Schlage
Schlage L9000 Series installation instructions

Iseo
Iseo Zero1 Thesis 2.0 Standard instruction manual
National Cabinet Lock
National Cabinet Lock C8173 Dimensional drawing
PBB
PBB CH531 installation instructions
Assa Abloy
Assa Abloy 7003 user manual

Schlage
Schlage Touch FE695 Lever installation instructions
