manuals.online logo
Brands
  1. Home
  2. •
  3. Brands
  4. •
  5. Ericsson
  6. •
  7. Batteries Charger
  8. •
  9. Ericsson Monogram Series User manual

Ericsson Monogram Series User manual

Ericsson Inc.
Private Radio Systems
Mountain View Road
Lynchburg, Virginia 24502
1-800-528-7711 (Outside USA, 804-528-7711) Printed in U.S.A.
3. Insert the remaining charger units into the enclosure and insert their
respective AC power cord plugs into the receptacles of the AC Outlet
Strip (see Figure 2, view A).
Perform the following steps (Steps 4 thru 6) to ensure
that the charger units function prior to installing the top
retaining cover on the enclosure.
NOTE
4. Place the enclosure into position where it will be used and connect the
AC power cord plug from the AC Outlet Strip to a 110 VAC power
source.
5. Press the power switch on the AC Outlet Strip to the ON position.
6. Insert a
Monogram
Series MPG 300 radio unit into each of the
charger slots and verify that the corresponding indicators light.
7. Install the top retaining cover and secure with two screws (see Figure
2, view B). Ensure that no cabling is pinched or damaged when the
cover is secured.
8. Install the four self-adhesive rubber feet to the bottom of the enclosure.
VIEW A VIEW B
Figure 2 - Assembly Instructions
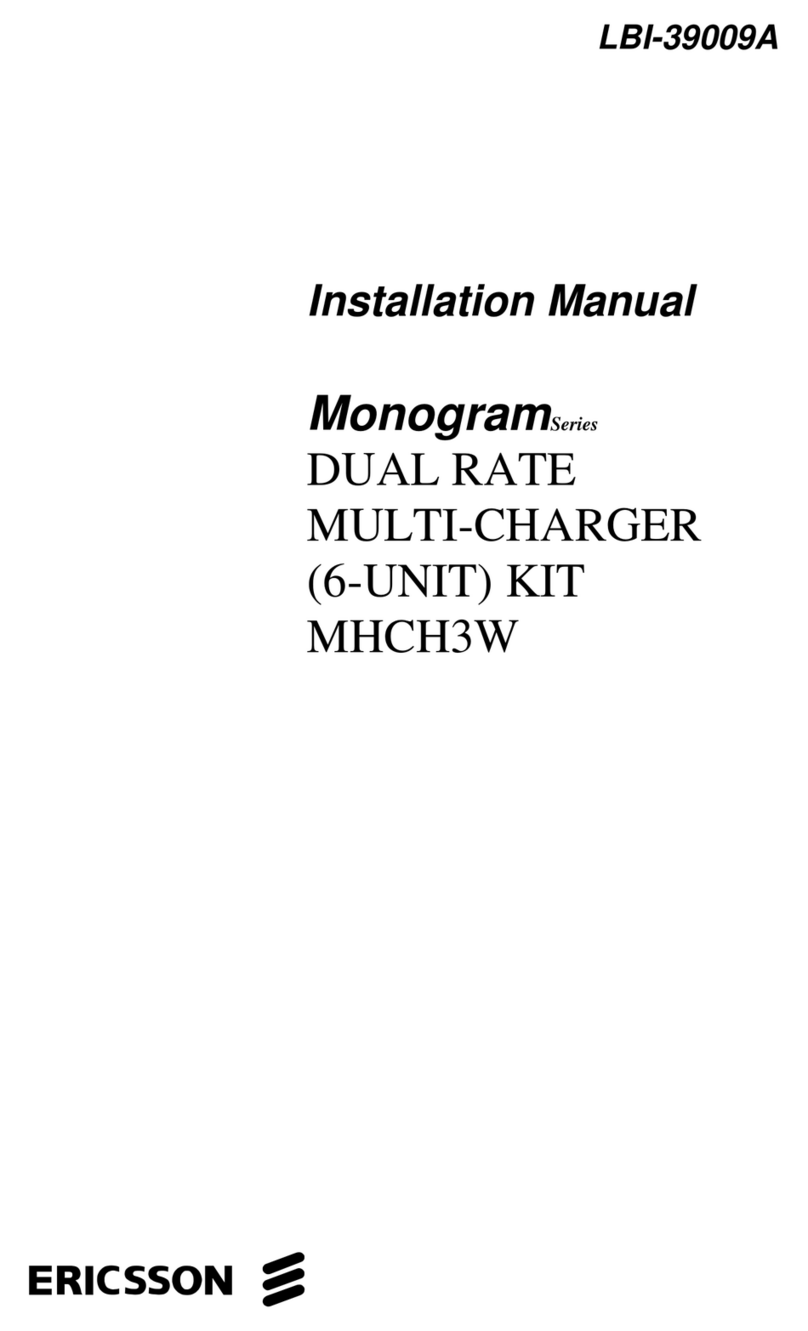
ericssonz
LBI-39009
Installation Manual
Monogram
Series
DUAL RATE
MULTI-CHARGER
(6-UNIT) KIT
MHCH3W
2
TABLE OF CONTENTS
UNPACKING ................................................................................. 3
ASSEMBLY .................................................................................... 3
This manual is published by Ericsson Inc., without any warranty.
Improvements and changes to this manual necessitated by typographical
errors, inaccuracies of current information, or improvements to programs
and/or equipment, may be made by Ericsson Inc., at any time and without
notice. Such changes will be incorporated into new editions of this manual.
No part of this manual may be reproduced or transmitted in any form or by
any means, electronic or mechanical, including photocopying and
recording, for any purpose, without the express written permission of
Ericsson Inc.
Copyright© October 1993, Ericsson GE Mobile Communications Inc.
3
UNPACKING
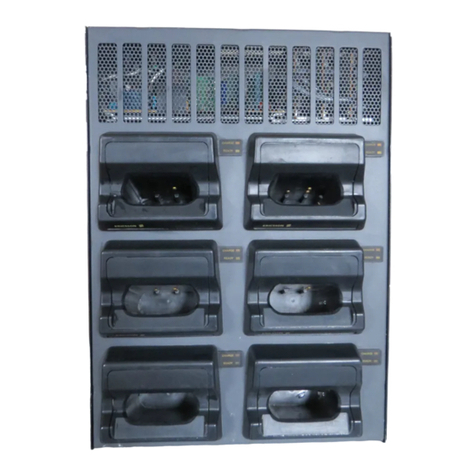
When unpacking, be sure all parts are included. The following material
should be part of the kit.
•
Six (6) Dual Rate Charger Units - MHCH3V
•
One (1) Enclosure with retaining cover
•
Two (2) Machine screws with washers and nuts: No. 10-16 x 2.5"
•
Two (2) Thread forming screws: No. 10-16 x 3/4" or (machine screws)
•
One (1) AC Outlet Strip
•
Four (4) self-adhesive rubber feet
ASSEMBLY
REQUIRED TOOLS
•
Phillips screwdriver
•
Pliers or 1/4' nutdriver
ASSEMBLY
1. Install the AC Outlet Strip to the bottom of the enclosure using the two
machine screws. Insert the machine screws from the bottom of the
enclosure through the two holes and through the mounting holes of the
AC Outlet Strip. Use a washer and a nut on each screw and tighten
securely (see Figure 1, view A).
2. Insert one of the Dual Rate Charger Units into the enclosure and insert
its AC power cord plug into one of the receptacles of the AC Outlet
Strip (see Figure 1, view B).
VIEW A VIEW B
Figure 1 - Assembly of 6-Unit Charger
Ericsson Inc.
Private Radio Systems
Mountain View Road
Lynchburg, Virginia 24502
1-800-528-7711 (Outside USA, 804-528-7711) Printed in U.S.A.
3. Insert the remaining charger units into the enclosure and insert their
respective AC power cord plugs into the receptacles of the AC Outlet
Strip (see Figure 2, view A).
Perform the following steps (Steps 4 thru 6) to ensure
that the charger units function prior to installing the top
retaining cover on the enclosure.
NOTE
4. Place the enclosure into position where it will be used and connect the
AC power cord plug from the AC Outlet Strip to a 110 VAC power
source.
5. Press the power switch on the AC Outlet Strip to the ON position.
6. Insert a
Monogram
Series MPG 300 radio unit into each of the
charger slots and verify that the corresponding indicators light.
7. Install the top retaining cover and secure with two screws (see Figure
2, view B). Ensure that no cabling is pinched or damaged when the
cover is secured.
8. Install the four self-adhesive rubber feet to the bottom of the enclosure.
VIEW A VIEW B
Figure 2 - Assembly Instructions
ericssonz
LBI-39009
Installation Manual
Monogram
Series
DUAL RATE
MULTI-CHARGER
(6-UNIT) KIT
MHCH3W

Other manuals for Monogram Series

3

This manual suits for next models

1

Other Ericsson Batteries Charger manuals

Ericsson Monogram MHCH3W User manual

Ericsson

Ericsson Monogram MHCH3W User manual

Ericsson BML 161 51/022 User manual

Ericsson

Ericsson BML 161 51/022 User manual

Ericsson BML 161 59/1 User manual

Ericsson

Ericsson BML 161 59/1 User manual

Ericsson M-RK Administrator Guide

Ericsson

Ericsson M-RK Administrator Guide

Ericsson BML 161 51/022 User manual

Ericsson

Ericsson BML 161 51/022 User manual

Ericsson LBI-38706B User manual

Ericsson

Ericsson LBI-38706B User manual

Ericsson Monogram MHMA5C User manual

Ericsson

Ericsson Monogram MHMA5C User manual

Ericsson 19B801507P2 User manual

Ericsson

Ericsson 19B801507P2 User manual

Ericsson 344A3072P1 User manual

Ericsson

Ericsson 344A3072P1 User manual

Ericsson BML 161 51/022 User manual

Ericsson

Ericsson BML 161 51/022 User manual

Ericsson 19B801507P1 User manual

Ericsson

Ericsson 19B801507P1 User manual

Ericsson M-RK 344A4616P1 Administrator Guide

Ericsson

Ericsson M-RK 344A4616P1 Administrator Guide

Ericsson BML 161 54/1 User manual

Ericsson

Ericsson BML 161 54/1 User manual

Ericsson LBI-38707 User manual

Ericsson

Ericsson LBI-38707 User manual

Ericsson 344A3072P8 User manual

Ericsson

Ericsson 344A3072P8 User manual

Ericsson MASTR III 344A3168P1 User manual

Ericsson

Ericsson MASTR III 344A3168P1 User manual

Ericsson BML 161 66/2 Setup guide

Ericsson

Ericsson BML 161 66/2 Setup guide

Popular Batteries Charger manuals by other brands

Milwaukee 48-59-1810 Operator's manual

Milwaukee

Milwaukee 48-59-1810 Operator's manual

KREE 278424 Instructions for use

KREE

KREE 278424 Instructions for use

BS Charger BA10 user manual

BS Charger

BS Charger BA10 user manual

EnerSys OLDHAM M656204 Assembly instructions

EnerSys

EnerSys OLDHAM M656204 Assembly instructions

Deltran Battery Tender 022-0337 manual

Deltran

Deltran Battery Tender 022-0337 manual

Clockaudio CU 2 user guide

Clockaudio

Clockaudio CU 2 user guide

DeWalt DW0245 instruction manual

DeWalt

DeWalt DW0245 instruction manual

LapSafe ClassBuddy user manual

LapSafe

LapSafe ClassBuddy user manual

Ericsson GE Monogram BML 161 53/20 Operator's manual

Ericsson GE

Ericsson GE Monogram BML 161 53/20 Operator's manual

Waeco PerfectBattery BC400 instruction manual

Waeco

Waeco PerfectBattery BC400 instruction manual

Outfitter Satellite FUSE 10W manual

Outfitter Satellite

Outfitter Satellite FUSE 10W manual

Skyrc e450 SK-100122 instruction manual

Skyrc

Skyrc e450 SK-100122 instruction manual

SV green Smart Charger SV102 Operation manual

SV green

SV green Smart Charger SV102 Operation manual

Intermec AC19 supplementary guide

Intermec

Intermec AC19 supplementary guide

Power works PC82C Original instructions

Power works

Power works PC82C Original instructions

Pite 3932T user manual

Pite

Pite 3932T user manual

Clarke BC125 Operation & maintenance instructions

Clarke

Clarke BC125 Operation & maintenance instructions

UNIROSS RC101297 user guide

UNIROSS

UNIROSS RC101297 user guide

manuals.online logo
manuals.online logoBrands
  • About & Mission
  • Contact us
  • Privacy Policy
  • Terms and Conditions

Copyright 2025 Manuals.Online. All Rights Reserved.