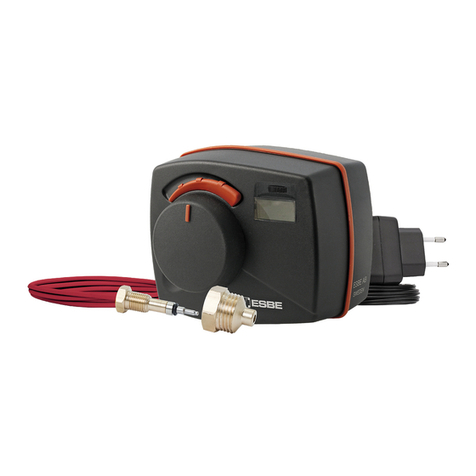
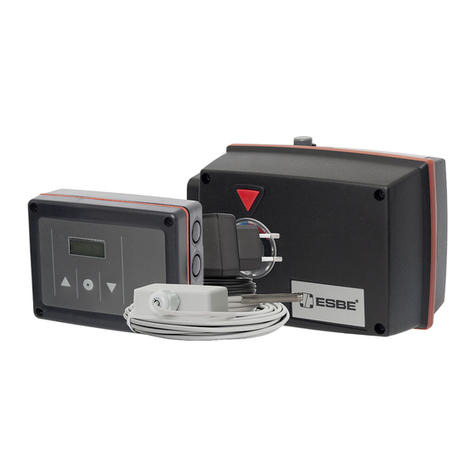
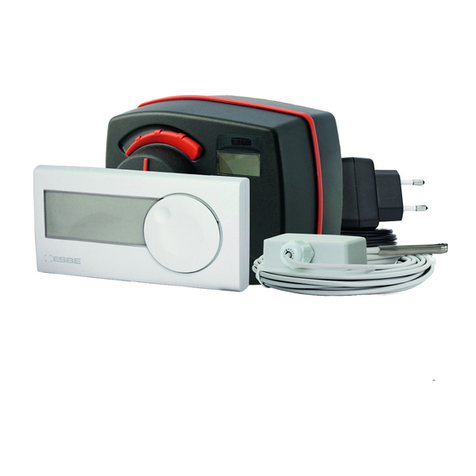
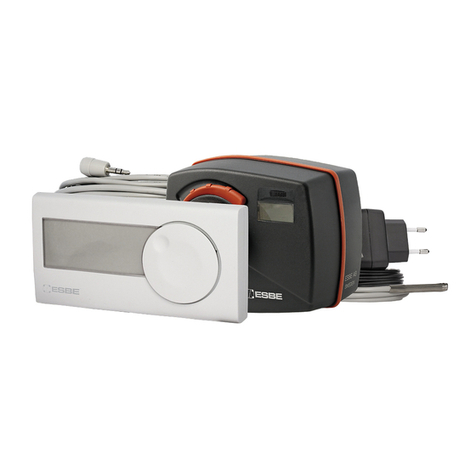
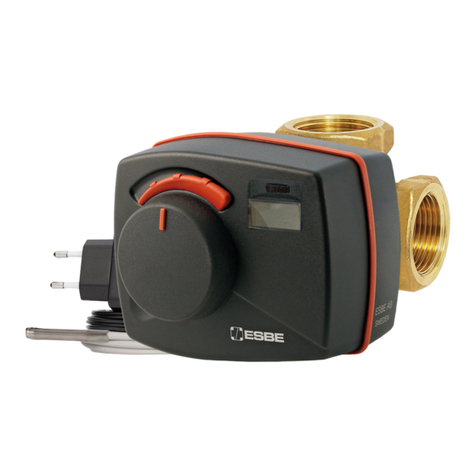
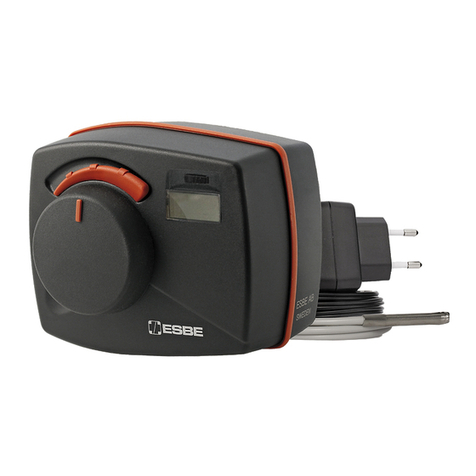
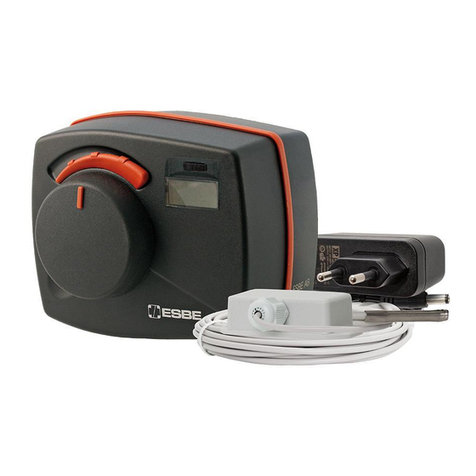
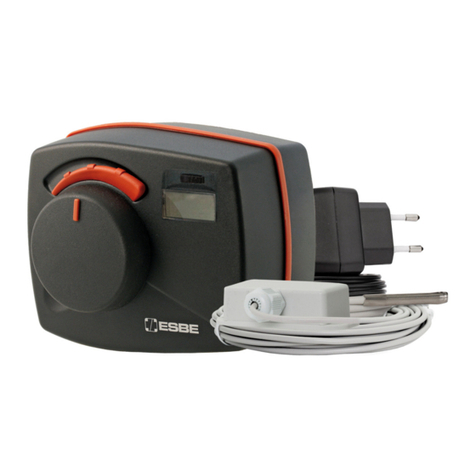
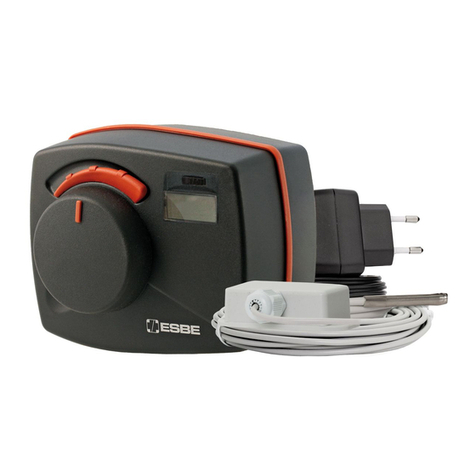
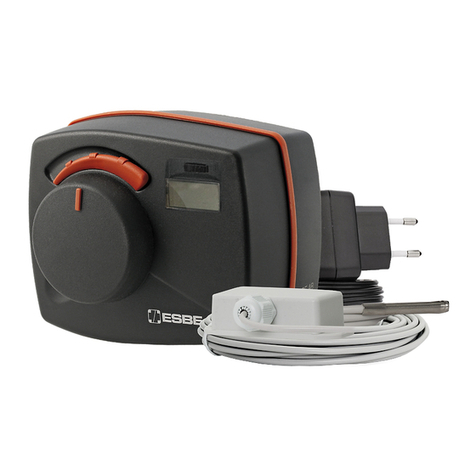
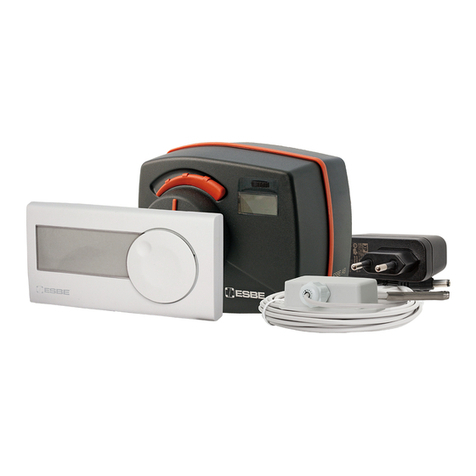
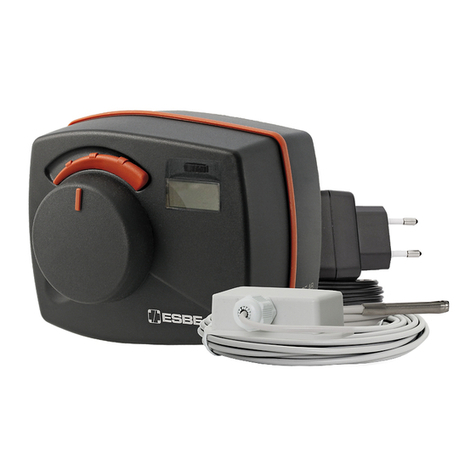
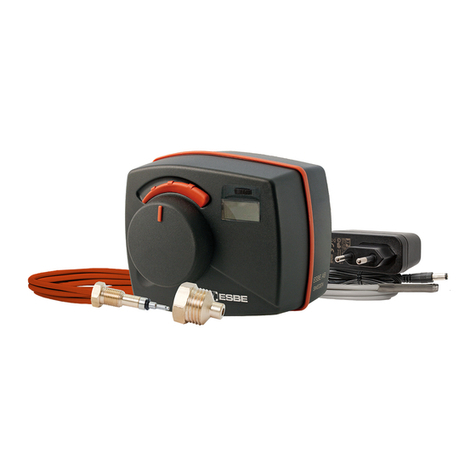
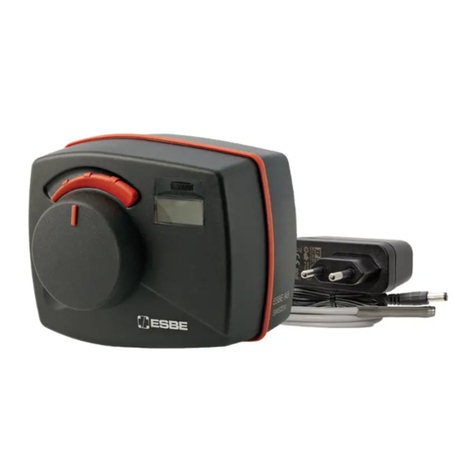
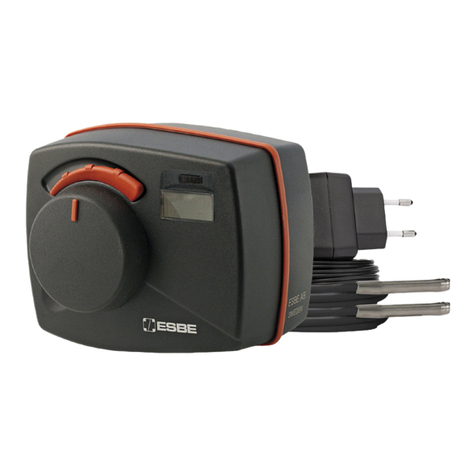
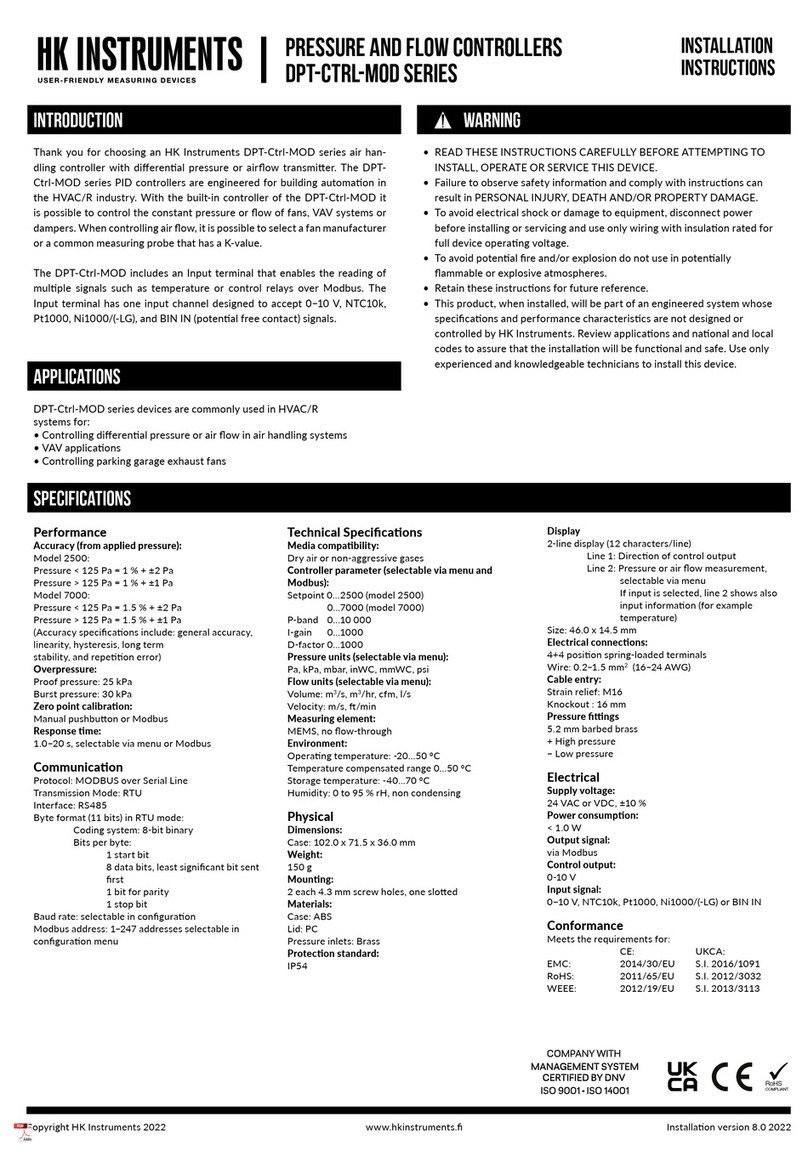
ESBE CRD100 Series User manual

SERIES CRD100
GB • DE • CZ

2
Series CRD100 +55˚C
<-5˚C
>+55˚C
-5˚C −
SERIES CRD100
Series CRD100
LVD 2014/35/EU
EMC 2014/30/EU
RoHS 2011/65/EU
RED 2014/53/EU
EN 300220-2
DECLARATION OF CONFORMITY - CRD100
http://www.esbe.eu/global/en/support/download-documents (Certificates)

3
GB Assembly
1. Mount the actuator unit on the valve according to user
instruction 1.
2. Mount the flow temperature sensor on the pipe using
the supplied aluminium tape.
3. Mount the outdoor sensor on the north side of the
building under the eaves in order to protect the sensor
from direct sunlight and rain. Connect the cable plug into
the controller.
DE Montage
1. Montieren Sie den Stellmotorregler auf den Mischer,
wie in Anleitung 1 beschrieben.
2. Befestigen Sie den Vorlauftemperaturfühler
an der Rohrleitung mithilfe des mitgelieferten
Aluminiumklebebands.
3. Bringen Sie den Außenfühler an der Nordseite des
Gebäudes unter der Dachtraufe an, um ihn vor direkter
Sonneneinstrahlung und Regen zu schützen. Schließen
Sie den Kabelstecker am Regler an.
CZ Montáž
1. Namontujte regulátor na ventil dle instrukcí v návodu.
2. Nainstalujte senzor topné vody na trubku pomocí
přibalené hliníkové pásky.
3. Namontujte čidlo venkovní teploty na severní stěnu
budovy, pod střechu, mimo dosah přímého slunce a deště.
Zapojte konektor kabelu do těla regulátoru.
Assembly

4
+
+
+
230V
24V
—+
A
B
C
Start up

5
GB Start up
1. Set the working direction of the controller by pressing
the joystick to right for clockwise opening or left for
counter clockwise opening (A).
2. Keep the joystick in the desired direction and
connect power (B).
3. Wait 2 seconds until joystick is released (C), the
correct working direction is now set.
4. Start the room unit by assembly the batteries
according to chapter 3.
DE Inbetriebnahme
1. Drücken Sie den Joystick nach links für “Auf = gegen
den Uhrzeigersinn = CCW”, nach rechts für “Auf = im
Uhrzeigersinn = CW” (A).
2. Halten Sie den Joystick nach links bzw. rechts gedrückt
und stellen Sie die Stromversorgung her (B).
3. Warten Sie zwei Sekunden, dann lassen Sie den
Joystick los (C). Die Drehrichtung ist nun geändert.
4. Zur Inbetriebnahme der Raumeinheit legen Sie die
Batterien gemäß Kapitel 3 ein.
CZ Zprovoznění
1. Nastavte směr otevírání regulátoru stisknutím
ovládacího kolečka doprava pro otevírání po směru
otáčení hodinových ručiček, doleva pro směr otevírání
proti směru otáčení hodinových ručiček (A).
2. Držte ovládací kolečko v požadované pozici a
připojte napájení (B).
3. Počkejte 2 vteřiny na akceptaci signálu (C), směr
otáčení je tímto nastaven.
4. Zprovozněte pokojovou jednotku vložením baterií, dle
kapitoly 3.

6
133mm
60mm 36,5 mm
69mm
36,5 mm 2 mm
8mm
X 2
X 2

7
Symbols
GB Room unit symbols
A. The radio symbol is shown if the product is a wireless
version. A solid symbol indicates that there is a working
communication with the actuator unit. If the symbol
is flashing it indicates that there is a problem in the
communication with the actuator unit, try to find another
position of the room unit with better communication
possibilities.
B. Either T or T2 symbol is shown in the display to
indicate which one of the two target temperatures
that is active.
C. If the watch is activated the time is shown here in
the display. If T2 ON/OFF is activated the remaining
days are shown instead of the watch. Please also see
point H.
D. If the watch is activated the actual number of day is
shown. (Ex: Monday = 1)
E. Present the real room temperature.
F. The arrow indicate in what direction the controller
work. If it is too cold inside the house compared to the
target temperature the arrow up is shown. A flashing
arrow indicate that the actuator unit has reached the
end-position and can´t do more to fulfil the target
temperature.
G. The battery symbol is shown if the product is a
wireless version. When only one segment of the battery
symbol is shown it is time to replace the batteries.
H. If an outdoor sensor is connected to the actuator
unit the outdoor temperature is shown in the display.
If the outdoor sensor is disconnected for some reason
4 flashing lines are shown to indicate the failure.
If the watch is also activated the time and outdoor
temperature are shown alternately.
DE Anzeigen der Raumeinheit
A. Nur kabellose Varianten: Ist eine Verbindung zum
Stellmotorregler hergestellt, leuchtet das Symbol
dauerhaft. Das Symbol blinkt, wenn keine Verbindung
besteht. In diesem Fall wählen Sie einen Montageort, an
dem eine bessere Funkverbindung gewährleistet ist.
B. Die Anzeige T bzw. T2 zeigt, ob gerade die
Solltemperatur 1 oder 2 aktiv ist.
C. Wenn die Uhr aktiviert ist, wird die aktuell
eingestellte Zeit dargestellt. Wenn T2 ON/OFF
aktiviert ist, werden die verbleibenden restlichen Tage
anstatt der Uhrzeit dargestellt. Beachten Sie hierzu
auch den Punkt H.
D. Wenn die Uhr aktiviert ist, wird die Nummer des
eingestellten Wochentages angezeigt. (Beispiel:
Montag = 1)
E. Anzeige der aktuellen Raumtemperatur.
F. Die Pfeile symbolisieren das Öffnen bzw. Schließen
des Stellmotorreglers. Liegt die Raumtemperatur
beispielsweise unter der Solltemperatur, wird ein Pfeil
nach oben angezeigt. Hat der Stellmotorregler bereits
vollständig geöffnet bzw. geschlossen, blinkt der Pfeil;
der Stellmotorregler kann keinen weiteren Einfluss
mehr auf die Vorlauftemperatur nehmen.
G. Nur kabellose Varianten: Leuchtet beim
Batteriesymbol nur noch ein Balken, ersetzen Sie zeitnah
beide Batterien.
H. Wenn der Aussenfühler am Stellmotorregler
angeschlossen ist, wird die aktuelle Aussentemperatur
angezeigt. Ist die Uhr ebenfalls aktiviert, wechselt
die Anzeige zwischen Uhrzeit und aktueller
Aussentemperatur. Ist der Aussenfühler ausgesteckt,
blinken vier Linien.
CZ Symboly zobrazené na pokojové jednotce
A. Symbol rádia je zobrazen, když je verze regulátoru
bezdrátová. Jestliže symbol neblíká, zobrazuje spojení
mezi regulátorem a pokojovou jednotkou. V případě blikání
není spojení dostatečné a je proto potřeba najít jinou
vhodnější polohu pokojové jednotky.
B. Symbol T, popř T2 zobrazuje, která z teplot je
právě aktivní.
C. Jestliže jsou nastaveny hodiny, čas je zobrazen.
V případě připojení časovače T2 ON/ OFF se namísto
hodin zobrazí zbývající dny. Čtěte také bod H.
D. Jestliže jsou aktivovány hodiny (týdenní režim) je
zobrazeno číslo dne. (např. Pondělí=1).
E. Zobrazuje aktuální pokojovou teplotu.
F. Šipky indikují aktuální pohyb ventilu. Jestliže
je interiér nevytopen, zobrazí se šipka nahoru.
Blikající šipka informuje o dosažení koncové pozice
servopohonu a nemožnosti dosáhnout nastavenou
teplotu (nedostatečná teplota topné vody).
G. Symbol baterie je zobrazen, když je verze regulátoru
bezdrátová. Jestliže svítí jen obrys baterie, vyměňte
baterie za nové.
H. Je li připojeno čidlo venkovní teploty, aktuální
hodnota je zobrazena. Jestliže dojte k poruše spojení, 4
blikající čárky indikují poruchu. Jestliže jsou nastaveny
hodiny, čas a venkovní teplota je zobrazena střídavě.
°C°C
5
A B C
G D E F
H

8
GB Change of target temperature
1. In order to change the room temperature, turn the
knob to the right or to the left (A). If it is too cold inside
the house, increase the target room temperature, if it
is too hot inside the house decrease the target room
temperature.
2. Press the knob down to confirm new target
temperature (B).
All thermostats in the reference room (the room
with the room unit) must be fully open. Thermostats
in other rooms shall be adjusted to the desired
temperature is reached.
DE Änderung der Raum-Solltemperatur
1. Drehen Sie zum Ändern der Solltemperatur das Einstellrad
nach rechts oder links (A). Wenn es im Haus zu kalt ist, erhöhen
Sie die Solltemperatur, und wenn es im Haus zu warm ist,
verringern Sie die Solltemperatur.
2. Drücken Sie auf das Einstellrad, um die neue Solltemperatur
zu bestätigen (B).
Alle Thermostate innerhalb des Referenzraumes
(der Raum, in dem die Raumeinheit montiert ist) müssen
vollständig geöffnet bzw. auf “Max” eingestellt sein.
Thermostate in anderen Räumen können nach Bedarf
eingestellt werden.
Room Set Temperature
°C
–/+°C
A
°COK
BC

9
CZ Změna pokojové teploty.
1. V případě změny požadované teploty interiéru otočte
ovládacím kolečkem doprava, doleva (A). V případě nízké
teploty v interiéru zvyšte teplotu otočením doprava. V
případě přetopení, snižte teplotu otočením doleva.
2. Stiskněte kolečko pro potvrzení nově nastavené teploty
interiéru (B).
Poznámka. Všechny termostatické hlavice v referenční
místnosti musí být plně otevřené, v ostatních místnosech
lze nastavit podle potřeby.

10
°C
5s
OK
A
B
C
Advanced Settings
GB Advanced Settings
1. Press the knob for 5 seconds to reach advanced
settings (A).
2. To move between menus turn the knob to left or right (B).
3. Press down the knob to enter desired menu (C).
DE Erweiterte Einstellungen
1. Halten Sie das Einstellrad 5 Sekunden lang gedrückt, um zu
den erweiterten Einstellungen zu gelangen (A).
2. Zum Wechseln zwischen den Menüs drehen Sie das
Einstellrad nach links oder rechts (B).
3. Drücken Sie auf das Einstellrad, um auf das gewünschte
Menü zuzugreifen (C).
Symbol Explanation GB Erklärung DE
Maximum
FlowTemperature
Maximale
Vorlauftemperatur
Minimum
FlowTemperature
Minimale
Vorlauftemperatur
Clock Uhr
Operating Mode Arbeitsmodus
T2 settings T2 Einstellungen
T settings T Einstellungen
Calibration Kalibrierung
Curve Kennlinie
Time Constant Zeitkonstante
Outdoor
temperature Außentemperatur

11
CZ Časová konstanta
1. Pro změnu časové konstatnty stisknětě ovládací kolečko
na 5 vteřin a vstupte do pokročilého nastvení (A).
2. Pohybujte se v nabídce otáčením kolečka vlevo, vpravo (B).
3. Stiskem kolečka potvrdíte vstup do požadované části
nabídky (C).
Vysvětlení CZ
Max. teplota
topné vody
Min. teplota
topné vody
Hodiny
Provozní režim
T2 nastavení
T nastavení
Kalibrace
Křivka
Časová konstanta
Časová konstanta

12
Maximum Flow Temperature
GB Maximum Flow Temperature
1. To change the maximum flow temperature press
down the knob for 5 seconds to reach advanced settings
(A).
2. Choose menu “Max” by pressing the knob (B).
3. Decide the maximum flow temperature by turning the
knob (C) OK (D).
4. Press down the knob for 5 seconds to return to main
menu (A).
DE Maximale Vorlauftemperatur
1. Halten Sie zum Ändern der maximalen Vorlauftemperatur
das Einstellrad 5 Sekunden lang gedrückt, um zu den
erweiterten Einstellungen zu gelangen (A).
2. Wählen Sie das Menü „Max“ durch Drücken des
Einstellrads (B).
3. Wählen Sie die maximale Vorlauftemperatur durch
Drücken des Einstellrads (C) OK (D).
4. Halten Sie das Einstellrad 5 Sekunden lang gedrückt, um
zum Hauptmenü zurückzukehren (A).
°C
5s
A
OK
°COK
B
°C
–/+°C
CD

13
CZ Maximální teplota topné vody.
1. Pro změnu maximální teploty topné vody stiskněte
ovládací kolečko po dobu 5 vteřin a otevřete nabídku (A).
2. Zvolte v menu “MAX” stiskem olvádacího kolečka (B).
3. Zvolte novou maximální teplotu otáčením kolečka
(C) OK (D).
4. Pro návrat k hlavní nabídce stiskněte kolečko na 5
vteřin (A).
~60 - 80 °C
~40 - 50 °C
50 °C
Max°C

14
Minimum Flow temperature
GB Minimum Flow Temperature
1. To change the minimum flow temperature press down
the knob for 5 seconds to reach advanced settings (A).
2. Choose menu “Min” by turning the knob (B) OK (C).
3. Decide the minimum flow temperature by pressing the
knob (D) OK (C).ve.
4. Press down the knob for 5 seconds to return to main
menu (A).
DE Minimale Vorlauftemperatur
1. Halten Sie zum Ändern der minimalen
Vorlauftemperatur das Einstellrad 5 Sekunden lang
gedrückt, um zu den erweiterten Einstellungen zu gelangen
(A).
2. Wählen Sie das Menü „Min“ durch Drücken des
Einstellrads (B) OK (C).
3. Wählen Sie die minimale Vorlauftemperatur durch
Drücken des Einstellrads (D) OK (C).
4. Halten Sie das Einstellrad 5 Sekunden lang gedrückt, um
zum Hauptmenü zurückzukehren (A).
°C
–/+°C
D
°C
B
OK
°C
C
°C
5s
A

15
Min °C
CZ Minimální teplota topné vody.
1. Pro změnu maximální teploty topné vody stiskněte
knoflík po dobu 5 vteřin a otevřete nabídku (A).
2. Zvolte v menu “MIN” stiskem prostředního knoflíku
(B) OK (C).
3. Zvolte novou maximální teplotu otáčením knoflíku
(C) OK (D).
4. Pro návrat k hlavní nabídce stiskněte knoflík na 5
vteřin (A).
~5 - 25 °C
~5 - 25 °C
5°C

16
Operating Mode
CRx
GB Operating mode
1. To change the operating mode press down the knob for
5 seconds to reach advanced settings (A).
2. Choose menu “Crx” by turning the knob (B) OK (C).
3. Decide the operating mode by turning the knob (D)
OK (C).
CRA = Constant temperature regulator, outdoor sensor is
deactivated and room unit is only a remote control.
CRB = Indoor sensor controller, outdoor sensor is
deactivated.
CRC = Weather compensating controller based on
characteristic heating curve. Room unit is only a remote
control.
CRD = Combined weather compensating and indoor
sensor controller.
4. Press down the knob for 5 seconds to return to main
menu (A).
DE Arbeitsmodus
1. Um den Arbeitsmodus zu ändern, rufen Sie die erweiterten
Einstellungen auf. Drücken Sie 5 Sekunden lang das Einstellrad (A).
2. Wählen Sie das Menü “Crx” durch Drehen des Einstellrads
(B) OK (C).
3. Wählen Sie die gewünschte Betriebsart durch Drehen
des Einstellrads (D) OK (C).
CRA = Konstanttemperaturregler; Führungsgröße
Mediumtemperatur, Aussenfühler ist deaktivert,
Raumeinheit arbeitet als Fernversteller
CRB = Raumtemperaturgeführt; Führungsgröße
Raumtemperatur, Aussenfühler ist deaktiviert.
CRC = Witterungsgeführt, basierend auf eingestellter
Kennline; Führungsgröße Aussentemperatur, Raumeinheit
arbeitet als Fernversteller
CRD = Witterungs- u. raumtemperaturgeführt;
Führungsgröße Aussen- und Raumtemperatur.
4. Halten Sie das Einstellrad 5 Sekunden lang gedrückt, um
zum Hauptmenu zurückzukehren (A).
=CRA
=CRB
=CRC
=CRD

17
CZ Pracovní režim
1. Pro změnu pracovního režimu aximální teploty topné
vody stiskněte knoflík po dobu 5 vteřin a otevřete nabídku
(A).
2. Zvolte v menu “CRx” otáčením knoflíku (B) OK (C).
3. Zvolte požadovaný režim otáčením knoflíku (D) OK (C).
CRA = Konstantní teplota topné vody, neaktivní čidlo
venkovní teploty, pokojová jednotka je pouze dálkové
ovládání.
CRB = Regulátor s vnitřním čidlem, neaktivní čidlo venkovní
teploty.
CRC = Ekvitermní regulátor, aktivní čidlo venkovní teploty,
pokojová jednotka je dálkové ovládání.
CRD = Ekvitermni regulátor s plně aktivní pokojovou
jednotkou.
4. Pro návrat do hlavní nabídky stiskněte knoflík na 5
vteřin (A).
°C
5s
A
°C
B
°C
OK
CD

18
GB Set/Turn off clock and day
1. Press the knob for 5 seconds to reach advanced settings (A).
2. Choose function Clock, by turning the knob(B) OK (D)
3. Press OK (D) Set time by turning the knob (C) OK (D)
If you wish to turn off clock function and T2 preprogram -
turn the knob to Off (E) and OK (D)
4. Decide day (F) OK (D)
5. Press knob for 5 seconds to return to main menu(A)
DE Einstellen/Ausschalten der Uhrzeit und des Tages
1. Halten Sie das Einstellrad 5 Sekunden lang gedrückt, um zu
den erweiterten Einstellungen zu gelangen (A).
2. Wählen Sie die Funktion Uhr durch Drehen des Einstellrades
aus (B) OK (D)
3. Drücken Sie OK (D) und stellen Sie die Uhrzeit durch Drehen
des Einstellrades ein (C) OK (D)
Falls Sie die Zeitfunktion und das T2 Programm ausschalten
möchten - drehen Sie das Einstellrad auf Off (E) und OK (D)
4. Wählen Sie den Tag aus (F) OK (D)
5. Drücken Sie das Einstellrad für 5 Sekunden, um ins
Hauptmenü zurück zu gelangen (A)
AB
OK
D
°C
5s C
Clock

19
E
1234567
1
F
CZ Nastavení/ vypnutí hodin a dne
1. Pro vstup do pokročilého nastavení stiskněte knoflík po dobu 5
vteřin (A).
2. Zvolte v menu symbol hodin otáčením knoflíku (B) OK (D).
3. Stiskněte knoflík (D) a nastavte aktuální čas otáčením knoflíku
(C) OK (D).
Jestliže chcete zrušit funkci hodin a T2 nastavení, otočte knoflík do
pozice “OFF” (E) OK (D).
4. Zvolte den (F) OK (D).
5. Pro návrat do hlavní nabídky stiskněte knoflík na 5 vteřin (A).

DE Ansehen oder Einstellen des Tag/Wochenprogrammes
Die Uhr muss aktiviert sein, damit diese Einstellungen möglich sind.
1. Halten Sie das Einstellrad 5 Sekunden lang gedrückt, um zu
den erweiterten Einstellungen zu gelangen (A).
2. Wählen Sie die Funktion T2 durch Drehen des Einstellrades
aus (B) OK (D)
3. Wählen Sie T2/Uhr/Woche (C) OK (D)
4. Wählen Sie aus, ob Sie die Einstellungen für jeden
Wochentag oder für bestimmte Tage machen möchten (E) OK
(D) Beispiele. (I) (J)
5. Wählen Sie die Anfangszeit durch Drehen des Einstellrades
aus (F) OK (D) Beispiele (H)
6. Wählen Sie die Funktion T→T2 oder T2→T aus (G) OK (D)
7. Wählen Sie den Endzeitpunkt aus (F) OK (D) Beispiele (H)
8. Beginnen Sie bei Punkt 5für weitere Zeiteinstellungen oder
drücken Sie das Einstellrad für 5 Sekunden, um ins
Hauptmenü zurück zu gelangen (A)
GB View or set Day/Week program
Clock has to be activated before these settings are
available.
1. Press the knob for 5 seconds to reach advanced settings (A).
2. Choose function T2 by turning the knob(B) OK (D)
3. Choose T2/clock/week (C) OK (D)
4. Choose to make the same settings for all days or specify
one day in the week (E) OK (D), ex. (I) (J)
5. Decide start time by turning the knob (F) OK (D), ex (H)
6. Choose function T→T2 or T2→T (G) OK (D)
7. Decide end time (F) OK (D), ex. (H)
8. Start at point 5 again for additional period or press
knob for 5 seconds to return to main menu. (A)
B
OK
D
1234567
C
1234567
A
°C
5s
00.00 03.00 06.00 09.00 12.00
1
00.00 03.00 06.00 09.00 12.00 15.00 18.00 21.00 00.00
GF5. 6. 7. F
1
Set Day/Week Program
Other manuals for CRD100 Series
1
Table of contents
Other ESBE Controllers manuals

ESBE
ESBE CRA150 Series User manual

ESBE
ESBE ALF134 Series User manual

ESBE
ESBE CR Series User manual

ESBE
ESBE CRA140 Series User manual

ESBE
ESBE CRD220 User manual

ESBE
ESBE CRB100 series User manual

ESBE
ESBE CRA210 Series User manual

ESBE
ESBE CRK200 Series User manual

ESBE
ESBE CRC111 User manual

ESBE
ESBE CRC200 Series User manual

ESBE
ESBE CRD200 Series User manual

ESBE
ESBE 90C Series User manual

ESBE
ESBE CRD100 Series User manual

ESBE
ESBE CRS200 Series User manual

ESBE
ESBE CRA110 series User manual

ESBE
ESBE 90C-1 User manual

ESBE
ESBE CRC120 Series User manual

ESBE
ESBE CRC110 series User manual

ESBE
ESBE 98140201 User manual

ESBE
ESBE CRS130 Series User manual