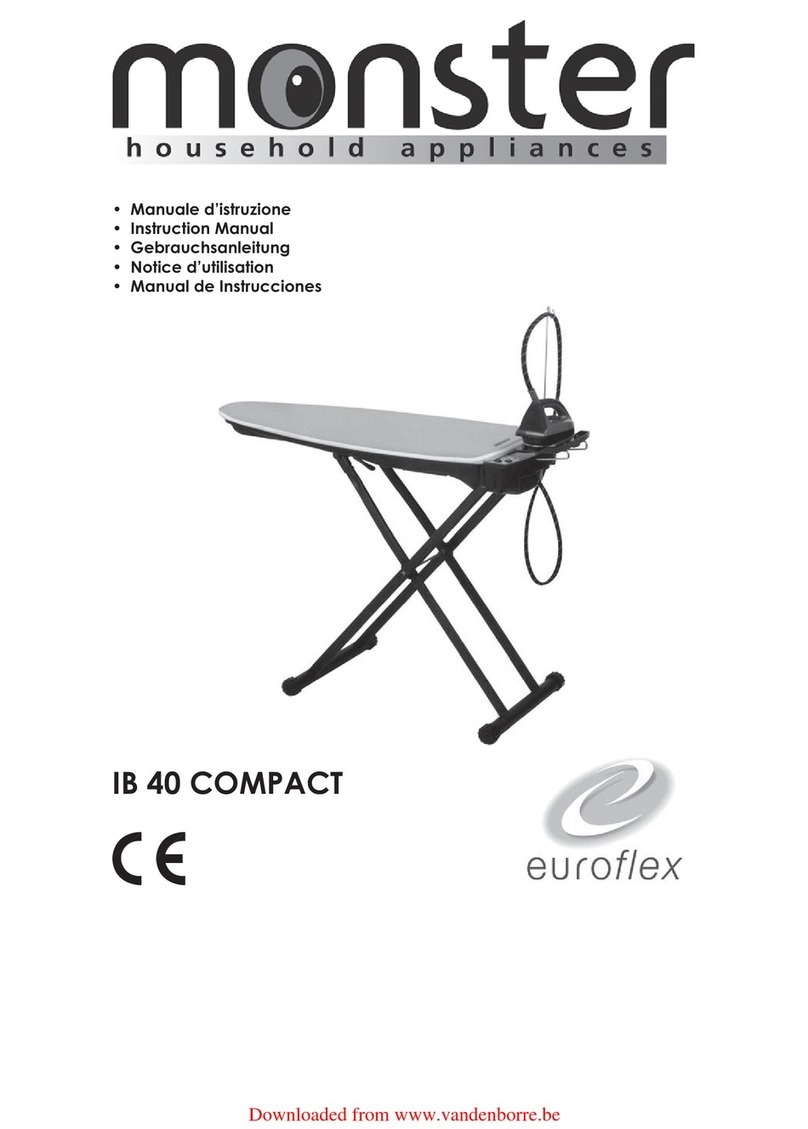
Euroflex Monster IB 40 CLASSIC-RA User manual

IB 40 CL GREEN
• Manuale d’istruzione
• Instruction Manual
• Gebrauchsanleitung
• Notice d’utilisation
• Manual de Instrucciones

2

3
Congratulazioni! Con l’acquisto di questa stazione stirante si è assicurato un prodot-
to di alta qualità realizzato con la massima cura. Con un’adeguata manutenzione
la stazione stirante fornirà degli ottimi risultati per molto tempo. Prima della messa in
funzione iniziale, la preghiamo comunque di leggere attentamente le seguenti istru-
zioni d’uso e soprattutto di osservare in modo preciso le avvertenze di sicurezza.
INDICE PAGINA
Avvertenze di sicurezza ........................................................................ 4
Disimballaggio ....................................................................................... 6
A proposito delle istruzioni .................................................................... 6
Elenco delle parti e degli elementi di comando .............................. 7
Istruzioni d’uso IB 40 CLASSIC ............................................................... 8
Collocazione ............................................................................... 8
Messa in funzione IB 40 CLASSIC ............................................... 9
Funzione aspirante ...................................................................... 9
Funzione soffiante
........................................................................ 10
Dopo aver stirato ........................................................................ 10
Manutenzione ....................................................................................... 11

4
Prima dell’uso
• Leggere attentamente tutte le informazioni riportate di seguito. Contengono utili
indicazioni riguardo all’utilizzo, la sicurezza e la manutenzione dell’apparecchio.
Conservate con cura queste istruzioni ed eventualmente consegnatele ai futuri
proprietari.
• Questi apparecchi soddisfano le condizioni delle direttive europee 89/336/CEE
“compatibilità elettromagnetica” e 2006/95/CEE “ Sicurezza dei prodotti elettri-
ci”. L’apparecchio riporta sulla targhetta identificativa il marchio CE.
• Il costruttore si riserva il diritto di apportare modifiche di progettazione e dotazio-
ne dell’apparecchio senza preavviso.
• Non accendere mai l’apparecchio se il tubo del vapore presenta danni evidenti
(crepe/tagli), se il cavo d’alimentazione è danneggiato o se si sospetta la presen-
za di danni non visibili (ad esempio in seguito ad una caduta).
• Collegate l’apparecchio solo dopo esservi assicurati che il voltaggio della rete
elettrica corrisponda a quello indicato sulla targhetta dell’apparecchio.
• La presa di corrente deve essere dotata d’interruttore automatico a 16A.
•
Se si usano prolunghe elettriche, verificare che siano idonee all’impiego e da 16A.
• Le prolunghe elettriche devono essere completamente srotolate prima dell’uso.
• Assicurarsi che la presa di corrente sia dotata di messa a terra.
• Assicurarsi prima di utilizzare gli accessori vapore che quest’ultimi siano saldamen-
te collegati tra loro. Nel caso in cui non fossero fissati correttamente, il vapore che
fuoriesce dalle giunzioni potrebbe causare scottature.
Prestare molta attenzione.
Indicazioni generali
•
Il ferro deve essere utilizzato e lasciato a riposo su una superficie stabile.
•
Quando si ripone il ferro sul suo appoggiaferro, assicurarsi che la superficie su cui è collo-
cato l’appoggiaferro sia stabile.
•
Il ferro non deve essere utilizzato se è stato fatto cadere, se vi sono segni di danni visibili o
se perde.
• Nel caso in cui l’apparecchio risultasse danneggiato a seguito di un uso improprio, di
una riparazione o manutenzione non conforme, il costruttore declina ogni responsabi-
lità per eventuali danni a cose e persone.
• Le riparazioni devono essere effettuate esclusivamente da parte di personale auto-
rizzato dall’azienda costruttrice. Gli apparecchi riparati da personale non autorizzato
rappresentano un pericolo per chi li utilizza e annullano la garanzia.
• Il cavo d’alimentazione deve essere sostituito esclusivamente dal personale dei centri
d’assistenza autorizzati dal costruttore.
• Riporre l’apparecchio in un luogo asciutto.
• Non riporre l’apparecchio all’aperto.
• Non esporre l’apparecchio ad agenti atmosferici, all’umidità o a fonti di calore.
• Per pulire l’apparecchio utilizzare un panno asciutto o leggermente umido.
• Utilizzare esclusivamente gli accessori raccomandati dal fabbricante.
AVVERTENZE DI SICUREZZA
5
Indicazioni sulla sicurezza
• Questo apparecchio non è adatto all’uso per persone (bambini compresi) con possi-
bilità fisiche, sensitive o mentali ridotte, o con mancanza di esperienza e conoscenza,
a meno che siano state date corrette istruzioni per l’uso dell’apparecchio da una per-
sona responsabile della loro sicurezza.
• I bambini dovrebbero essere sorvegliati per accertarsi che non giochino con l’appa-
recchio.
•
Dopo l’ uso riporre il prodotto in un luogo sicuro e soprattutto fuori dalla portata dei
bambini.
• A seguito di una caduta dell’apparecchio, staccare immediatamente la spina
dalla corrente e rivolgersi ai centri d’assistenza tecnica autorizzata.
• Non tirare il cavo o l’apparecchio per disinserire la spina.
• Verificare che il cavo d’alimentazione non entri in contatto con spigoli taglienti.
• Le parti in tensione (interruttore, spina, componenti elettronici, ecc) non devono
entrare a contatto con l’acqua
• Prima d’ogni operazione di manutenzione, di pulizia nonché dopo l’utilizzo, stac-
care l’apparecchio dalla presa di corrente.
• Non lasciare l’apparecchio acceso incustodito. Staccare la spina se necessario
assentarsi anche per pochi minuti.
• Durante l’utilizzo si raccomanda di non capovolgere o inclinare l’apparecchio.
• Non dirigere il getto di vapore verso persone, animali e piante.
• Non utilizzare il prodotto con mani bagnate o a piedi nudi.
• Non utilizzare l’apparecchio vicino a sostanze infiammabili e/o esplosive
AVVERTENZE DI SICUREZZA

6
DISIMBALLAGGIO
Conservare accuratamente queste istruzioni d’uso e consegnarle in ogni caso a eventuali
altri utenti.
- Togliere l’asse dall’imballaggio.
- Controllare che i seguenti elementi
siano presenti nell’imballaggio:
IB 40 CLASSIC
1. Asse da stiro.
2. Astina reggicavo.
3. Tappetino appoggiaferro
Distruggere eventuali sacchetti di plastica:
potrebbero diventare un giocattolo
pericoloso per i bambini!
Nota: Conservare l’imballaggio per
eventuali futuri trasporti (ad es. traslochi,
riparazioni, ecc.).
A PROPOSITO DELLE ISTRUZIONI
Queste istruzioni d’uso non possono tener conto di ogni possibile impiego.
Per ulteriori informazioni oppure in caso di problemi non trattati o trattati in modo
insuffi ciente nelle presenti istruzioni, rivolgersi al Centro di Assistenza tecnico
autorizzato più vicino a voi.
1
2
3

7
ELENCO DELLE PARTI E DEGLI ELEMENTI DI COMANDO
1. Presa alimentazione ausiliaria Max 10 A
2. Astina reggicavo
3. Deviatore selezione aspirazione (RA)
Deviatore selezione aspirazione/soffi aggio (RAS)
4. Spia luminosa alimentazione asse
5. Interruttore ON-OFF asse
6. Tappetino appoggia ferro
7. Cavo alimentazione asse
8. Leva regolazione altezza asse
9. Ripiano poggia stirella
17
5
4
3
2
6
8
9
5
4
3
IB 40 CLASSIC Aspirante (RA) IB 40 CLASSIC Aspirante e Soffi ante (RAS)

8
Collocazione
Nel collocare l’asse occorre osservare i seguenti punti:
- Collocare l’asse da stiro su una superficie piana, stabile, asciutta e vicina a una presa
di corrente.
- Posizionare l’asse da stiro in modo tale che nessuno possa rovesciarlo o ferirsi.
- Non collocare mai l’apparecchio sopra o vicino superfici calde o vicino a fiamme
libere.
- Utilizzare l’apparecchio soltanto in locali asciutti.
- Per evitare ustioni, assicurarsi che i bambini non abbiano la possibilità di avvicinarsi
all’apparecchio o di giocare con esso.
- Utilizzare soltanto prolunghe adeguate; fate attenzione a non inciampare nel cavo.
Collocare l’asse da stiro nel modo seguente:
-
Appoggiare l’asse da stiro al suolo in posizione verticale (ripiano poggia stirella in basso).
- Tenere con una mano la punta dell’asse.
- Con l’altra mano tenere la parte superiore delle gambe dell’asse.
- Divaricare con forza la punta del tavolo dalle gambe (1.), finché si sente scattare il
meccanismo di regolazione dell’altezza dell’asse (2.).
- Mettere l’asse in posizione orizzontale (3.).
ISTRUZIONI D’USO IB 40 CLASSIC
1
1
2
3
Nota: Attenzione che i piedi dell’asse non scivolino sul pavimento liscio durante le operazioni
di apertura/chiusura dell’asse.
-
Introdurre l’astina reggicavo nell’apposita apertura e appendervi il monotubo. L’asti-
na reggicavo impedisce lo spostamento indesiderato della biancheria e l’«usura»
del monotubo. Per questo motivo e’ necessario che sia sempre impiegata.

9
ISTRUZIONI D’USO IB 40 CLASSIC
Interruttore acceso/spento
Spia accensione
Tasto deviatore
Messa in funzione IB 40 CLASSIC
• Inserire la spina del vostro ferro da stiro nella presa ausiliaria dell’asse.
• Accendere l’apparecchio con l’interruttore.
• Con l’interruttore «acceso/spento» viene azionato anche il riscaldamento dell’as-
se da stiro. Un termostato integrato controlla costantemente la temperatura di
riscaldamento dell’asse. Durante la fase di riscaldamento è possibile che
l’apparecchio emetta dei rumori.
Si tratta di un fenomeno normale, che non deve destare preoccupazione.
Funzione aspirante
L’aspirazione assorbe il vapore superfluo, che non serve più dopo il processo di
stiratura. L’aspirazione permette di tenere il tessuto fermo sul piano da stiro e di
eliminare l’umidità in esso presente. Si ottengono capi puliti e ben asciutti,
pronti per essere riposti nell’armadio.
Il riscaldamento della superficie di stiratura impedisce che il piano da stiro, e di con-
seguenza i capi di biancheria, si inumidiscano. Questa funzione impedisce inoltre la
formazione di condensa nell’asse.
Raccomandazione:
- Con la funzione aspirante, i tessuti leggeri (seta ecc.) possono essere «fissati» sul-
l’asse da stiro, impedendo così che scivolino.
- La funzione aspirante raffredda il tessuto e «fissa» il risultato della stiratura, garan-
tendo ad es. delle pieghe perfette.
Deviatore
IB40 Classic Aspirante (RA)
- Per la funzione aspirante mettere il deviatore
sulla posizione “I”.
- Con il deviatore in posizione “0” non si avrà
nessuna funzione.

10
Funzione soffiante
Il soffiaggio permette di lavorare su un cuscino d’aria, facilitando la stiratura dei
capi delicati, o punti difficili (pieghe dei pantaloni, tasche,cuciture,punti difficili da
raggiungere), evitando la formazione di false pieghe e lo schiacciamento delle cu-
citure.
Deviatore
IB40 Classic Aspirante e Soffiante (RAS)
ISTRUZIONI D’USO IB 40 CLASSIC
-
Per la funzione aspirante in continuo mettere
il deviatore sulla posizione “I”.
-
Per la funzione soffiante in continuo mettere
il deviatore sulla posizione “II”.
- Con il deviatore in posizione “0” non si avrà
nessuna funzione.
Dopo aver stirato
- Lasciare l’asse acceso per 10 minuti per asciugare eventuali condense.
- Spegnere l’asse con l‘interrruttore «acceso/spento».
- Estrarre la spina dalla presa di corrente.
- Lasciare raffreddare completamente l‘apparecchio.
- Togliere l‘astina reggicavo.
- Scollegare il ferro dalla presa ausiliaria.
- Avvolgere il cavo di alimentazione sull’apposito supporto.
- Bloccare la gamba dell‘asse col piede per evitare che scivoli.
- Azionare la leva regolazione altezza e richiudere l’asse.
Nota: non impigliare il cavo di alimentazione.
- Assicurarsi sempre che l‘asse non scivoli né si ribalti. Custodire l‘apparecchio in un
luogo asciutto e fuori dalla portata dei bambini.
Attenzione: non appoggiare il ferro caldo sul ripiano poggia stirella, utilizzare sem-
pre il tappetino appoggiaferro in dotazione.

11
MANUTENZIONE IB40 CLASSIC
Cambiare la fodera del vostro IB 40
Con l’uso la fodera con mollettone si consuma e deve quindi essere sostituita.
Per motivi di sicurezza (superficie dell‘asse riscaldata) e per garantire una perfetta
funzionalità sarebbe meglio impiegare soltanto fodere e mollettoni originali.
Fodere rivestite (ad es. un rivestimento espanso sul lato inferiore della fodera oppure
un «rivestimento argentato» sul lato superiore) non sono adatti a questo apparecchio
e potrebbero provocare un surriscaldamento. La fodera con mollettone è
disponibile presso i nostri Centri di assistenza tecnica autorizzati.
Avvertenza:
In caso di guasti, di apparecchio difettoso o se si sospetta un danno in seguito
ad una caduta, estrarre immediatamente la spina dalla presa di corrente.
Le riparazioni devono essere eseguite esclusivamente presso il Centro di
Assistenza. Riparazioni eseguite da personale non specializzato possono
comportare gravi pericoli per l’utente. Non si assumono responsabilità
in caso di danni causati da riparazioni eseguite da personale non specializzato.
In questi casi si estingue anche il diritto alla garanzia.

12
Congratulations!
By purchasing this ironing unit you have acquired a high quality, precision-enginee-
red product. If used in accordance with the instructions and subject to regular main-
tenance, the ironing unit will provide excellent results for a long time.
Before start up , you are recommended to carefully read the following operating
instructions taking special note of the safety warnings.
TABLE OF CONTENTS PAGE
Safety instructions .................................................................................. 13
Unpacking ............................................................................................. 15
About the instructions .......................................................................... 15
List of parts and control elements ....................................................... 16
Instructions for use IB 40 CLASSIC ........................................................ 17
Positioning .................................................................................... 17
IB 40 CLASSIC start up ................................................................. 18
Suction function .......................................................................... 18
Blowing function .......................................................................... 19
After ironing ................................................................................. 19
Maintenance ......................................................................................... 20
For your safety please read the following information.
Warning: This appliance must be earthed.
The appliance must be connected to a 220-240 volts 50 cycle AC supply by means of a three
pin socket, suitably earthed and should be protected by a 13 amp fuse in the plug.
The appliance is supplied with a rewireable 13 amp 3 pin plug fitted with a 13 amp fuse. Should
the fuse require replacement, it must be replaced with a fuse rated at 13 amp and approved
to BS1362.
If the mains plug is unsuitable for the socket outlet in your home or is removed for any other
reason, then the cut off plug should be disposed of safely to prevent the hazard of electric
shock.
There is a danger of electric shock if the cut off plug is inserted into any 13 amp socket outlet.
How to wire a 13 amp plug.
Important
The wires in the mains lead on this appliance are coloured in accordance with the following
code:
Green and Yellow - Earth
Blue – Neutral
Brown – Live
The green and yellow wire must be connected to
the terminal in the plug which is marked with the
letter E or with the earth symbol .
The blue wire must be connected to the terminal marked N.
The brown wire must be connected to the terminal marked L.
ELECTRICAL CONNECTION (UK ONLY)

13
Before use
• Read carefully all information set forth herein. It contains useful indications regarding
the use, safety and maintenance/care of the appliance. Save these instructions
for future reference and, if possible, hand them over to the future owners of the
appliance.
• The appliance comply with European safety standards (CE) and current legislation
as regards appliance safety.
• These appliances comply with the requirements of Directive 89/336/EEC on
“Electromagnetic compatibility” and Directive 2006/95/EEC on “Safety of electrical
equipment”. The appliance carries the CE safety standard label.
• The manufacturer reserves the right to modify the specifications of the appliance
or its basic kit without prior notice.
• Do not turn the appliance on if the steam hose or the power cord appear to be
damaged
• (cracks/slits) or if the appliance has been dropped and internal damage may have
occurred.
• Connect the appliance only after ensuring that the voltage on the rating plate
corresponds to the voltage in your home.
• The socket must be fitted with a 16 A automatic switch.
• Only use extension cables which are suitable for 16 A.
• All extension cables have to be completely unrolled prior to use.
• Make sure that the socket has an earth pin.Before operating the appliance please
check, that all accessories (steam-vacuum) have been put together correctly in
order to avoid that these can come off and the outcoming steam can lead to
scaldings. Please pay attention!
General instructions
• The iron must be used and rested on a stable surface;
• When placing the iron on its stand, ensure that the surface on which the stand is
placed is stable;
• The iron is not to be used if it has been dropped, if there are visible signs of
damage or if it is leaking.
• Do not use the appliance in vertical position.
• The manufacturer can not be hold responsible of any personal and/or items da-
mage if the appliance is damaged due to improper use or unauthorized repair or
servicing.
• Any repair must be carried out solely by authorized technicians of the manufac-
turing company. Appliances repaired by unauthorised technicians can represent
a danger to the users and render the warranty void.
• The power cord must be replaced solely by a repair service centre authorised by
the manufacturer.
• Store the appliance in a dry place.
• Do not store the appliance outdoors.
• Do not expose the appliance to atmospheric agents, humidity or heat sources.
• Clean the appliance with a dry or slightly damp cloth.
• Only accessories which have been recommended by the manufacturer are to be
used.
SAFETY INSTRUCTIONS

14
Safety instructions
• This appliance is not intended for use by persons (including children) with reduced
physical, sensory or mental capabilities, or lack of experience and knowledge,
unless they have been given supervision or instruction concerning use of the ap-
pliance by a person responsible for their safety.
•
Children should be supervised to ensure that they do not play with the appliance
• The appliance must be stored in a safe place after use and out of the reach of
children.
• In case the appliance has fallen down please unplug the appliance from the
electrical socket and contact the authorised repair service.
• Do not yank cord or appliance to disconnect the plug.
• Ensure that the power cord does not come into contact with sharp edges.
• Live parts (switch, plug, electronic components, etc.) must not get in contact with
water.
• Before any maintenance or cleaning and also after use, disconnect the appliance
from the electrical socket.
• Do not leave the appliance unattended while plugged in. Turn it off, even if you
need to leave for a short while.
• Do not turn the appliance upside down and do not drop it in use!
• Do not insert any objects into the various openings of the appliance and do not
use the appliance in case one of the openings is blocked!
• Do not operate the appliance with wet hands or bare feet.
• Do not operate the appliance in the presence of inflamable and / or explosive
fiumes!
SAFETY INSTRUCTIONS

15
UNPACKING
Keep these operating instruction safe and pass them on to other users.
- Remove the ironing unit and the board
from the box.
- Check that the following items are in-
cluded in the box:
IB 40 CLASSIC
1. Iron board.
2. Iron Cord Support.
3. Iron-rest mat .
Dispose of all plastic bags included in the
packaging, they may become a dange-
rous toy for children!
Note: Retain the rest of the packaging for
future use. (e.g. house moving, servicing,
repair etc.).
About the instructions
These instructions are comprehensive enough to get you started using the product
effectively, but they cannot cover every detail. For further product information, re-
placement covers and accessories, or if you have a problem not covered or only
partially covered in this handbook, please contact the nearest Service Center.
In the UK contact Eurofl ex Products Limited,
our helpline is 02380821960 (not 24 hours).
1
2
3

16
LIST OF PARTS AND CONTROLS
1. Auxiliary power supply socket Max 10 A
2. Iron Cord Support
3. Selector switch
4. Power indicator light
5. Power ON-OFF switch
6. Iron rest mat
7. Power supply cable
8. Board height adjustment lever
9. Iron storage shelf
17
5
4
3
2
6
8
9
5
4
3
IB 40 CLASSIC - RA model
with heated surface and suction
IB 40 CLASSIC - RAS model
with heated surface,suction and blowing

17
POSITIONING
When setting up the ironing board please note the following:
- Place the ironing board on a flat, even, dry surface, near an earthed mains socket.
- Position the ironing board securely so that nobody can knock it over or get hurt.
- Never put the appliance on or near warm surfaces or near flames.
- Use the appliance in dry rooms only.
- To avoid scalding, keep the appliance away from children.
-
Use only the correct extension cables in accordance with the advice given on page 13;
be careful not to trip over the cord.
Put up the ironing board as follows:
- Place the ironing board upright on the floor (folded shelf end downward).
- Hold the end of the ironing board with one hand.
- With the other hand hold the upper part of the ironing board legs.
- Firmly pull the ironing board wide apart (1.) until the adjustment height device
- locks in place (2.).
- Place the ironing board in a horizontal position (3.).
- Unfold the shelf as shown in the illustration on page 16.
INSTRUCTIONS FOR USE IB 40 CLASSIC
1
1
2
3
Note: Be careful that the feet of the ironing board don’t slip on smooth floors while
opening/closing the ironing board.
Insert the iron cord support in one of the small holes each side of the ironing board and hang
the steam/power cord. The iron cord support prevents unwanted movement by cord-drag of
the garment being ironed as well as the “wear” of the steam/power cord.
There are two holes one each side at the rear end of the ironing board so that the cord support
can be positioned for right or left handed use.

18
INSTRUCTIONS FOR USE IB 40 CLASSIC
IB 40 CLASSIC START UP
If you are using a steam generator
- Place the iron/steam generator on the shelf (9).
If you are using a steam iron
- Place the iron (soleplate down) on the iron rest mat which should be
positioned at the rear end of the ironing surface.
- Plug the power supply cord from your iron/steam generator into the auxillary socket
built-in to the ironing board.
- Plug the power supply cord from your ironing board into a 13amp wall socket and switch
the socket on.
- Switch the equipment on using the power on/off switch. The power on/off switch acti-
vates the ironing board and the steam generator or steam iron plugged into the auxillary
socket. An integrated thermostat constantly controls the board heating temperature.
During the heating phase the equipment may emit noises. This is a normal phenomenon,
which is nothing to worry about.
Suction function and heating of board
The suction absorbs the superfluous steam, which is no longer used after the ironing
process. The suction helps hold the garment on the ironing surface and helps to dry the
garment. Clean ,dry clothes are obtained, ready to be placed straight in the wardrobe
without further airing. The heated ironing surface stays dry, and keeps the steam hot so
that it passes through the cover and board to be expelled without condensing.
Recommendation:
- Through the suction function, light fabrics (silk etc.) can be held in place on the
ironing board, preventing them from slipping.
- The suction function cools the fabric and “fixes” the results of the ironing,
guaranteeing for ex. perfect folds
IB40 Classic RA Model - Suction only
This model has no blowing function
- For continuous suction set the selector switch on
position “I”.
- With the switch in position “0” the suction func-
tion is switched off.
Power on/off switch
Power indicator light
Selector switch
Selector
switch

19
Selector switch
INSTRUCTIONS FOR USE IB 40 CLASSIC
Blowing function
The blowing allows you to iron without downward pressure on a cushion of air.
This makes ironing of delicate items, or difficult areas (trousers folds, pockets, seams,
difficult areas to reach), much easier and avoids the “false ceases” that seam
crushing can produce.
IB40 Classic RAS Model - Suction and Blowing
This model has the additional blowing function
- For continuous suction function set the selector
switch on position “I”.
- For continuous blowing function set the selector
switch on position “II”.
- With the switch in position “0” suction and
blowing functions are switched off.
Important: Do not rest the warm iron directly on the Iron storage shelf, always use
the iron-rest mat included.
After ironing
- Leave the board on for 10 minutes to dry the cover and remove any
possible condensed water from the board.
- Turn off the ironing board using the power on/off switch.
- Remove the plug from the socket.
- Let the equipment cool completely.
- Remove the iron cord support.
- Place the iron on the iron rest pad.
- Unplug the iron/steam generator from the auxillary socket and remove it from
the board.
- Fold the shelf back over the ironing surface.
- Wind the power supply cord on to the cord winder lugs beneath the board.
- Hold the board leg with your foot to stop it skidding.
- Operate the height adjustment lever and close the board.
Note: do not entangle the power cord
- Store the closed board in a vertical position with the folded shelf end towards
the floor.
- Always ensure that the board does not skid and tilt. Store the equipment in a
dry place and out of reach of the children.

20
MAINTENANCE IB40 CLASSIC
Changing the cover of your IB 40
For safety reasons (heated board surface) and to guarantee a perfect operation of
the product we recommend that you use only Euroflex ironing board covers.
Meatalised heat reflective covers and covers with thick lining are not suitable for this
equipment and may cause overheating of the suction motor.
Original Euroflex covers and other accessories are avalable from authorised tech-
nical service centres.
In the UK please telephone Euroflex on 02380821960 for service.
Warning:
In case of failure, of faulty equipment or if damage due to falling over is suspected,
immediately remove the plug from the socket. Repairs should be exclusively per-
formed at the authorised Service Centre. Repairs performed by unskilled personnel
may cause serious dangers for users. Responsibility is declined for damages caused
by repairs performed by unskilled personnel.
In these cases the warranty right is also cancelled.
Other manuals for Monster IB 40 CLASSIC-RA
1
This manual suits for next models
1
Table of contents
Languages:
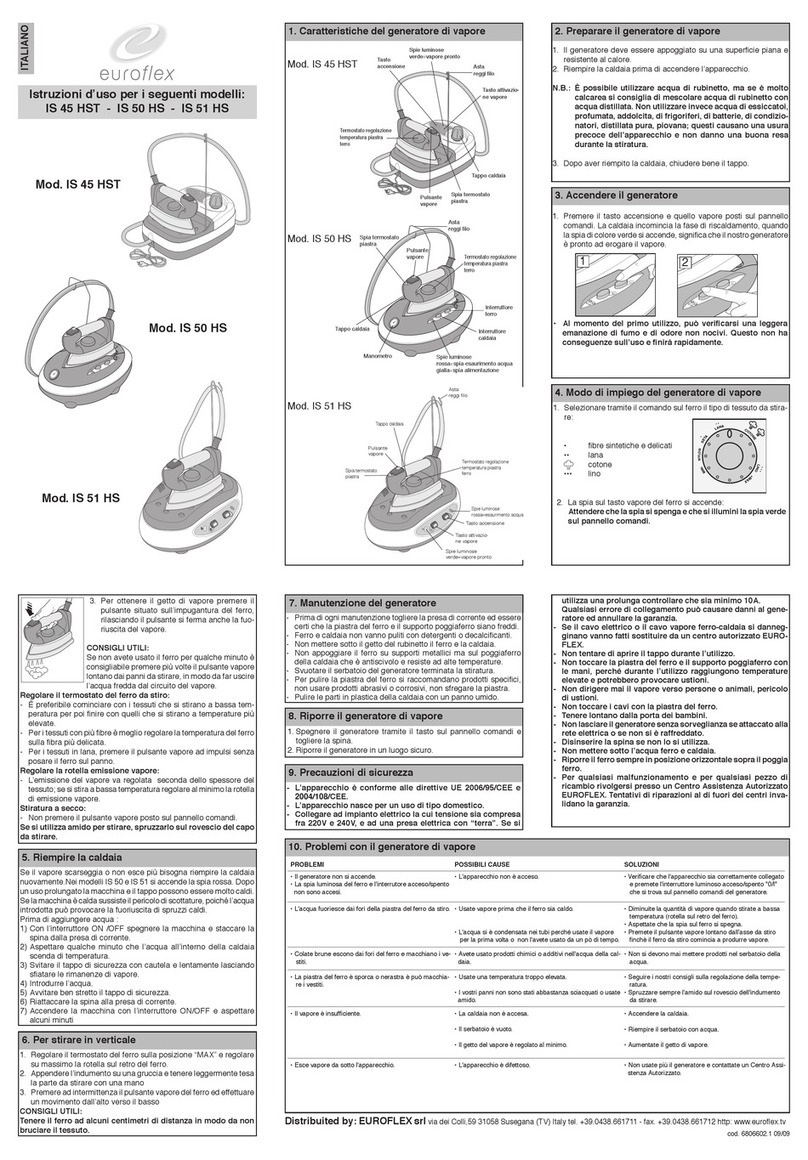
Other Euroflex Iron manuals

Euroflex
Euroflex monster IB 45 LX RAS Perfect User manual

Euroflex
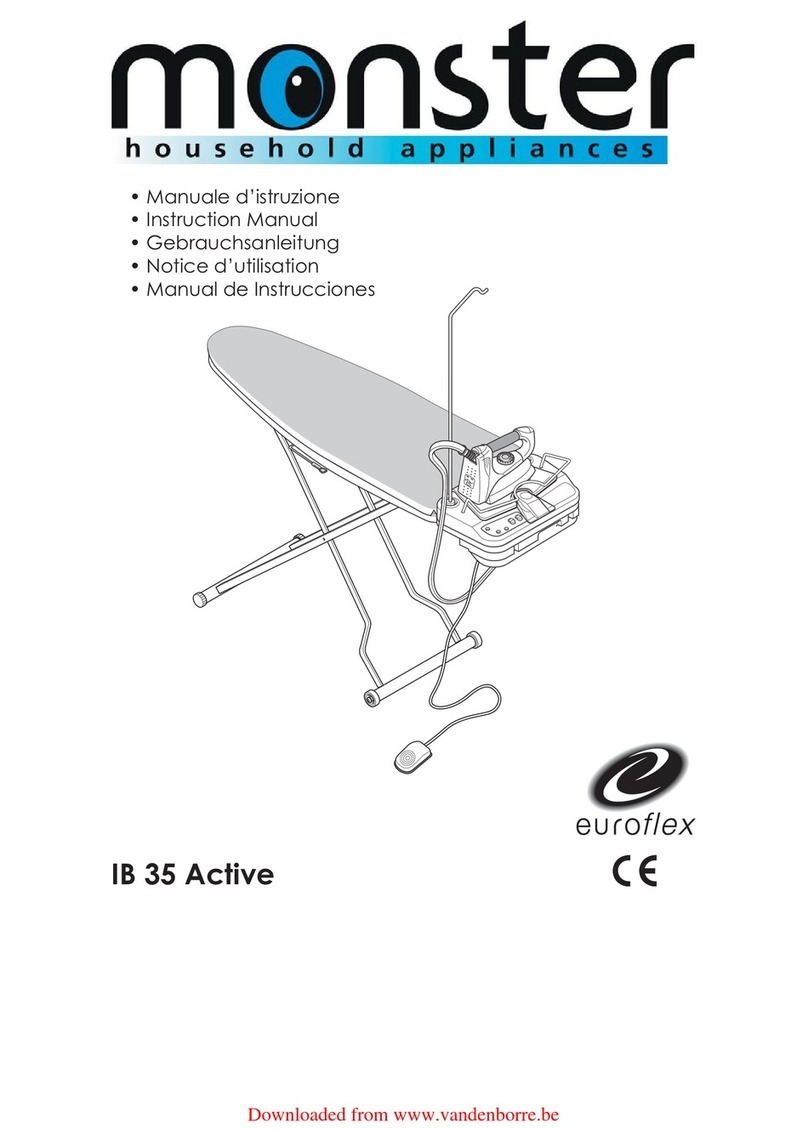
Euroflex Monster IB 35 Active User manual

Euroflex
Euroflex STIROSYSTEM IS 55 HSM/X User manual

Euroflex
Euroflex IS 45 HST Installation instructions

Euroflex
Euroflex AIRFLUX IB 10 VAPOR User manual

Euroflex
Euroflex Monster IB 40 CLASSIC-RA User manual

Euroflex
Euroflex BT 3000 M User manual

Euroflex
Euroflex Monster IS 60 User manual

Euroflex
Euroflex SMOOTH B2S User manual

Euroflex
Euroflex monster IS 21 HS User manual