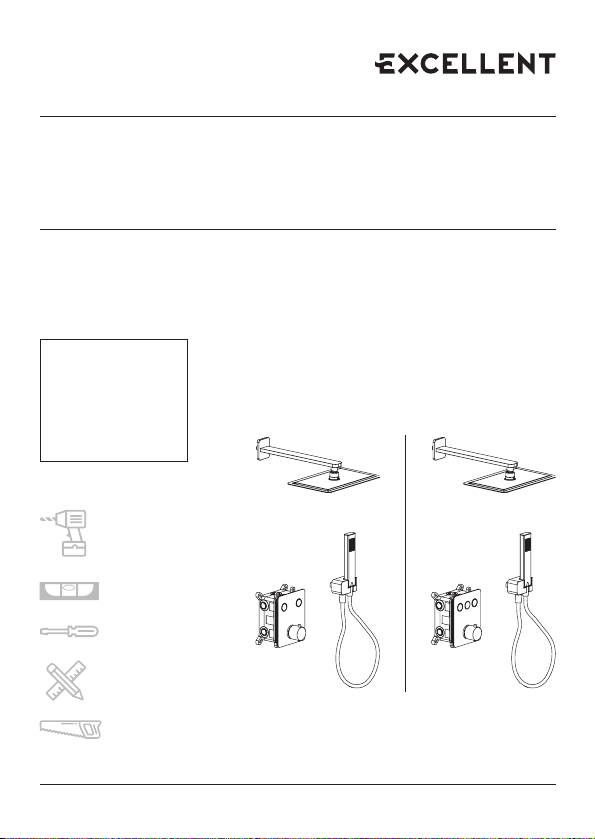
Excellent KROTOS AREX.SET.8045CR User manual


This manual suits for next models
3
Other Excellent Plumbing Product manuals

Excellent
Excellent KERIA User manual

Excellent
Excellent ACTIMA Pride ARAC.4008CR User manual

Excellent
Excellent FROST User manual

Excellent
Excellent Oxalia AREX.9033CR User manual

Excellent
Excellent AXEL ARAX.8501CR User manual

Excellent
Excellent SHIRO PREMIUM User manual

Excellent
Excellent Oxalia AREX.9055 User manual

Excellent
Excellent AXEL ARAX.7002CR User manual

Excellent
Excellent KROTOS AREX.8035CR User manual

Excellent
Excellent MAZO KAEX.3023 User manual

Popular Plumbing Product manuals by other brands

Kraus
Kraus Kore KWT311-15 installation manual

noken
noken AIR+C manual

Grohe
Grohe 42145 SD0 installation instructions

VADO
VADO INDIVIDUAL OMIKA NOIR user guide

Kohler
Kohler 77989T-8A installation instructions

Hans Grohe
Hans Grohe Rainmaker Select 460 2jet 24005400 Instructions for use/assembly instructions


