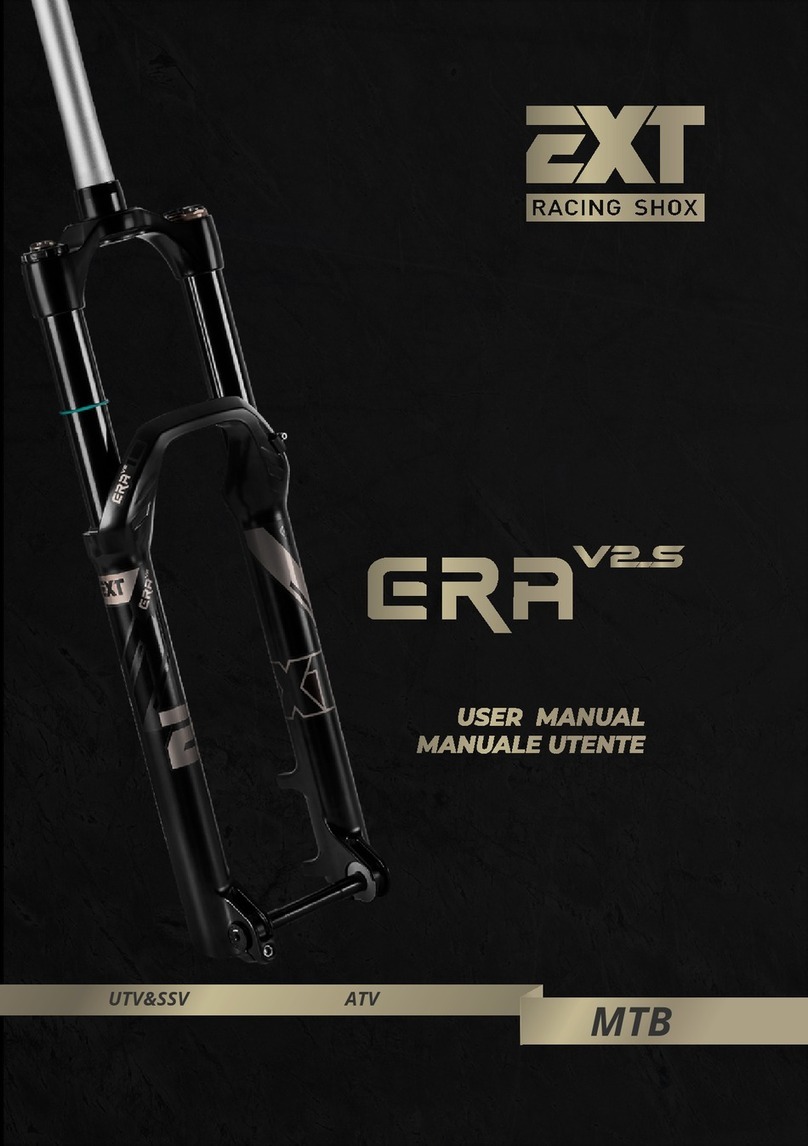
EXT Racing Shox ERA User manual

3
TABLE OF CONTENTS
INDICE 4
EXT WORLD 5
CONGRATULATIONS 5
EXT R&D DEPARTMENT 5
SAFETY PRECAUTIONS 6
WARRANTY 8
UNBOXING 9
FORK PARTS 10
GENERAL DIMENSIONS 11
FORK INSTALLATION 12
ADJUSTMENTS 14
FORK SETUP 15
SETUP QUICK TIPS 20
SERVICE & MAINTENANCE 20
INDICE
EXT WORLD 23
CONGRATULAZIONI 23
REPARTO R&S EXT 23
PRECAUZIONI DI SICUREZZA 24
GARANZIA 26
UNBOXING 27
COMPONENTI DELLA FORCELLA 28
DIMENSIONI GENERALI 29
MONTAGGIO DELLA FORCELLA 30
REGOLAZIONI 32
SETTARE DELLA FORCELLA 33
CONSIGLI PER IL SETUP 38
REVISIONE & MANUTENZIONE 38
NOTE 44

EXT WORLD
With over 55 years of collective experience, EXT Racing Shox is one of the most
successful European engineering company capable to meet all your needs in
the field of automotive, two wheeler systems and vehicle dynamics. From F1 to
Rally, GT/ Le Mans, WTCC/WTCR and motorbikes, off-road applications with
special dedicated projects for production cars. EXT is specialized in hydraulic
damping systems and has diversified in different industrial applications such as
damping motion control, seismic and defense. EXT is most well known for the
development of shock absorbers for extreme racing conditions. From the world
of F1 to biomechanics the passion is the same, a factor that has set us apart
for the last 55 years.
CONGRATULATIONS
Thank you for choosing EXT Racing Shox. All EXT products are designed,
engineered, machined, assembled, tested and developed by EXT staff in Italy.
Every product has gone through rigorous tests and is directly developed
through racing.
This owner manual contains important information about your fork. Please
read it carefully.
EXT R&D DEPARTMENT
We strongly believe in innovation, developing new technologies to reach a new
level of absolute performance while assuming the maximum safety. Innovation
is our aim and strength.
EXT Research & Development department designed this fork with one
philosophy: YOUR PODIUM IS OUR GOAL.
This is possible by enclosing in every single product the essence of our
experience within the racing sport, and by implementing the most sophisticated
technologies and developing new ones.
5

YOUR SAFETY IS
INVOLVED
IMPORTANT
INFORMATION
SYMBOLS
In this manual, instructions and important informations concerning
safety or technical documents are distinguished by the following
symbols:
SAFETY PRECAUTIONS
▶EXT ERA fork contains pressurized gas. Do not open, service or modify this
product, Contact an authorized service point.
▶ERA fork is specifically designed for Enduro/Allmountain use. This product is
developed and designed for bike industry and must be installed on related
vehicles, including pedal assisted motorized cyles that produce a maximum
of 250 Watt of power. DO NOT USE this fork on throttle-equipped
motorized cycle or any vehicle carrying more than one rider. Any such
unautohorized use may result in failure of the suspension, which may cause
a crash and result in property damage, SERIOUS INJURY or DEATH and
void warranty.
▶If the fork function is irregular, or if you notice any leakage, stop riding
immediately and return the product to an EXT authorized center.
▶Stanction, crown and steering tube are assembled together with a very
precise operation. Is not possible to replace only one of those parts. If
necessary all the upper structure assembly could be replaced.
▶Do not modify any part of the fork, all components are precisely designed as
they are.

NOTE
Read and ensure you have
understood the information in this
manual and other technical
documents related to this product
before using this fork. This manual,
as for others EXT manuals, is
periodically improved and updated.
Visit our website or contact us to
get the most updated one.
ExtremeBiomec Srl can not be held
responsible for any damage to the
product, vehicle, other property or
injury to persons.
Always use EXT Racing Shox
original parts. Use of other parts or
self built ones void warranty and
could cause a structural failure.
WARNING
If the shock absorber function is
irregular, or if you notice any
leakage, stop riding immediately
and return the product to an EXT
authorized center.
The product warranty shall only
apply if product has been operated
and maintained in accordance with
recommendations in this manual.
An improper installed fork can be
extremely dangerous. We
recommended to have them
installed by a qualified mechanic.
Before disassembly or service
always remove gas pressure.
7
▶External visual inspection may reveal cracks or defect, if you notice them
please refer immediatly to an EXT service point or EXT directly.
▶If your riding weight is more than 90kg/188lbs inspection must be more
frequent.
▶Following the scheduled inspection allows you to have a functional and safety
fork.
▶The product warranty shall only apply if product has been operated and
maintained in accordance with recommendations in this manual.
▶An improperly installed fork can be extremely dangerous. We recommended
to have it installed by a qualified mechanic.

WARRANTY
Extreme Biomec Srl, owner of EXT Racing Shox, an Italian limited-liability
company based in Viale del lavoro 66/68, 36021 Barbarano Mossano,
Vicenza, Italy, applies the following limited warranty conditions to all products.
LIMITED TWO (2) YEARS WARRANTY
EXT guarantees their damper systems are free from origin defects for the
period of two (2) years from date of purchase, according to 99/44/EC
decree.
Invoice, documents of transport or receipt are proof of warranty start date, and
it’s mandatory they are presented to EXT for every warranty service required.
In case of a warranty claim, the purchaser can return the product to EXT or to
an authorized dealer, presenting the requested proof of purchase within 2 year
period of warranty cover, and specifying the nature of the shock absorber
failure and warranty claim.
WARRANTY EXCLUSION
This warranty does not cover defects like: crash damage, alterations, neglect,
improper use, abuse, incorrect use, improper assembly, improper service,
improper fixings, use of non EXT spare parts, modifications not allowed unless
specifically authorised by EXT in written form.
This warranty does not cover parts subject to wear like hydraulic seals, o-ring
seals, sliding bushing, oil, dust seals and oil seals.
This warranty will be immediately voided in case of removal or tampering of
serial numbers or they identifying marks.
Original EXT spare parts have a warranty period of six (6) months.
DAMAGE
Extreme Biomec srl WILL NOT ASSUME RESPONSIBILITY FOR DAMAGES TO
PERSON OR THINGS RESULTING FROM PRODUCT USE.
In some countries this clause is not accepted; this limitation could be not
applied to your country.
DISCLAIMER
This warranty contract is the one and only way for customers to raise a claim
on product. No EXT dealer, agent, distributor or employee can modify, extend
or amplify this warranty.

9
UNBOXING
Inside the box you will find:
1. EXT ERA Fork complete of brake tube holder and wheel axle;
2. EXT special lube (100 ml);
3. EXT high pressure pump;
4. M5 star nut for steering tube;
5. Fundamental informations and warning, and QR code to complete user
manual
Please correctly recycle the packaging according to your
country regulations.
1
2
3
4

GENERAL DIMENSIONS
HUB SPACING
AXLE to CROWN
MAX TIRE DIMENSIONS
TRAVEL [mm] 140 150 160 170
AXLE to CROWN [mm] 552 ± 5 562 ± 5 572 ± 5 582 ± 5
MAX TIRE DIMENSIONS * 29” x 2.5”
HUB SPACING [mm] 110, BOOST
BRAKE CALIPER PM STANDARD
BRAKE DISK SIZE [min/max] 180 mm (7”) / 203 mm (8”)
OFFSET [mm] 44
* Please verify the clearance in full
compressed position on every new tire
you’re going to use: wheel must rotate
without any interference.
11

FORK INSTALLATION
1. Clean the headset and put some fresh grease;
2. Cut the stem at the correct length accordingly to your riding height and length
of steering tube; Keep in mind the height of the stem also;
3. Remove burrs for the top of the stem tube;
4. Install lower headset ring and the bearing on the crown according to your
headset manufacturer’s instructions;
5. Use a “star nut setter” to install the star nut 15 mm under the steering tube;
6. Install the ERA fork on the bike
7. Tighten top-cup and stem accordingly to manufacturer’s instructions
8. Put your front wheel on and lock it with EXT wheel axle;
Use a tightening torque between 9 and 13 Nm;
9. Assemble the brake caliper with correct adapter related to disc dimension;
Front brake tube must be installed in front of the arch and then inside the
lower (between the wheel and left leg).
Do not exceed 10.2 Nm of torque when you tighten the brake caliper to the
lower leg in according to brake manufacturer indications.

13

ADJUSTMENTS
You’re fork has 3 damping adjustments on the right leg:
1. Low speed compression located on top, is the nickel-colored smaller knob;
2. High speed compression also located on top, is the bigger knob, black colored,
placed below the low speed compression dial;
3. Rebound adjuster is red and placed at the bottom of the fork;
and 2 air valves located on the top of the left leg/stanction, to which you can access
by simply removing the air top cap (see picture 4):
5. + chamber air valve, characterized by the black color and laser-marked +
symbol, allows to inflate the main volume of the
HS³
system;
6. ++ chamber air valve let you inflate the high pressure chamber and you can
recognize it by its nickel color and ++ symbol laser-marked.
Due to assembly tolerances, the total number of the damper clicks
may vary.

FORK SETUP
In the following pages we’ll show you how to move among the possible adjustments
you can do. Please consider the reccomended settings as a starting point to find
the setup and balance that best meets your needs.
HYBRID SPRINGS SYSTEM
ERA’s hybrid spring system HS³ combine the benefits of both coil and air spring:
it is characterized by the unsurpassed sensibility of a linear coil spring, and
gives you the lightness and the infinite tuning combinations of the air spring.
You’ll feel more support in the middle part of the stroke, without having the
typical excessive force increase of the single chamber air spring.
Increasing the pressure on the + chamber will imply:
• higher force through the whole stroke;
• higher slope of the force curve.
SAG RANGE
F
STROKE
STANDARD AIR SPRING
SAG RANGE
F
STROKE
INCREASING
+ PRESSURE
15

Increasing the pressure on the ++ chamber will lead to:
• more support in the mid stroke;
• higher end stroke force.
Please follow this steps in order to setup and tune you’re fork:
1. Be sure that both chambers are deflated;
2. Set the suggested pressure into the high pressure ++ chamber, indicated
by the nickel-colored air valve;
3. Set the suggested pressure into the + chamber, indicated by the black-
colored air valve.
▶Do not change the chamber inflation order: inflating the +
chamber prior to ++ chamber will lead to system malfunction.
▶++ chamber pressure must be always higher than + chamber
pressure in any time to guarantee the proper functioning
SAG RANGE
F
STROKE
INCREASING
++ PRESSURE
2
1

Below you can find the suggested pressures based on rider weight:
SAG SETTING
SAG is the fork compression caused by your own weight (when you’re are in
ready-to-ride condition). Its value is determined by the air pressure you’ll inflate.
It should be in the range of 15 - 20 % of the total fork travel.
In numbers:
Lower SAG value means a firmer setup.
Follow these steps to reach your SAG in as few steps as possible:
1. Inflate the fork with the suggested air pressures;
2. Set the O-ring lean on the wiper;
3. Get on your bike in your normal riding position;
4. Get off the bike and measure the distance among the O-ring and the wiper,
that’s your SAG value.
RIDER WEIGHT + CHAMBER
PRESSURE ++ CHAMBER
PRESSURE
[kg] [lb] [bar] [psi] [bar] [psi]
< 60 < 132 < 3.1 < 45 < 4.9 < 70
60 132 3.1 45 4.9 70
70 154 3.8 55 5.9 85
80 176 4.5 65 6.9 100
90 198 5.2 75 7.9 115
> 100 > 220 > 5.9 > 85 > 9 > 130
SAG RANGE
FORK TRAVEL
[mm] SAG
[mm]
140 21– 28
150 22.5 – 30
160 24 – 32
170 25.5 – 34
17

DAMPING
Damping tuning can be sometimes a mine field. Where to start? Trail surfaces
change continuously, wet or dry, steep or flat and the list can go on.
Take note of the setup you’re riding on a well-known trail will help understand
how the adjustments affect you’re feeling and your performance.
Keep in mind that do a single adjustment at time will make easier for you to
understand you’re bike.
EXT technical department has prepared a table in which, for every pressure on
the spring side of the fork, you can find a suggested setup in terms of clicks
allowing you to reach final configuration in as few step as possible.
Remember, MAXIMUM CLOCKWISE = FULL CLOSED = MAXIMUM
FORCE for all adjusters.
We consider FULL CLOSED position as CLICK 0 (ZERO).
Keep safety, stability and comfort as your priority when setting the
shock. This will allow you to ride safer with more confidence.
RIDER WEIGHT SUGGESTED SETUP
[kg] [lb] [HSC
–
LSC
–
R]
< 60 < 132 10 – 10 – 14
60 132 10 – 10 – 14
70 154 9 – 9 – 12
80 176 8 – 8 – 10
90 198 7 – 7 – 8
> 100 > 220 5 – 5 – 6

LOW SPEED COMPRESSION - LSC
Low speed compression manages all
changes of the bike stance due to
weight translation where low shaft
velocity is involved (i.e. berms,
compressions, g-outs, pedaling). You
can obtain a very consistent grip and
feedback when you find the correct
setup. Start with the suggested setup
and move towards a faster, more
comfortable or more stable bike.
HIGH SPEED COMPRESSION - HSC
High speed compression helps your
bike to skip across obstacles before it is
transmitted to you. A high speed
compression event is characterized by
a high shaft velocity impact (i.e. high
speed hitting rocks, roots, braking
bumps, flat landing). At lower bike
speed, HSC is involved in square edges
bumps hitting. Start with the suggested
setup and then move to get more grip
or more control depending on track
condition and surface.
REBOUND - R
This is responsible for your feeling of
control while riding but also for your
comfort giving the bike the ability to
glue wheels to the ground. Start by
having a controlled rebound feeling and
move from this point until you find the
correct setup. You should feel your bike
like it sticks to the ground, goes
through corners consistently by not
getting pushed out of it. Keep in mind that if rebound is too fast your ride could
be uncomfortable and nervous. If it’s too slow, your fork will not have enough
FDabs(V)
FD
abs(V)
FD
abs(V)
19

time to recover the full stroke through the bumps. Start with the suggested
setup and them move following your preference and riding style.
SETUP QUICK TIPS
▶Remember always to use the correct type of tire with the correct pressure.
It is a good idea to do some tire pressure testing. You’ll be surprised by
how much grip you can get when your tires and fork are perfectly set.
▶Remember that the tyre is an almost undamped linear air spring that also
affects steering.
▶Take note of your setup for any kind of trail or weather condition, and the
riding feeling you have: this will help you keep track of your preferred setup
and improvements.
▶Take one adjustment at time: understanding what influence has each
adjustments on your riding style will ease the achievement of the perfect
setup for you and your riding style.
Storing the bike upside-down or in vertical position (fork upper) allows
the lubricating oil to flow throught bushings so your fork will be ready
and perfectly lubricated every new ride.
SERVICE & MAINTENANCE
RACE CONDITION
To ensure maximum performance we suggest a complete service after 50
hours riding or 6 months.
NOT RACE CONDITION
We suggest a complete service after 100 hours riding or 1 year.
A complete service includes: oil, seals, O-rings, wipers and bump rubber.
Only EXT or authorized Service points can perform these operations.
Other manuals for ERA
3
Table of contents
Languages:
Other EXT Racing Shox Bicycle Accessories manuals
EXT Racing Shox
EXT Racing Shox FERRO USD36 Installation guide

EXT Racing Shox
EXT Racing Shox ERA User manual

EXT Racing Shox
EXT Racing Shox ARMA V3 User manual

EXT Racing Shox
EXT Racing Shox FERRO USD36 User manual

EXT Racing Shox
EXT Racing Shox ERA User manual

EXT Racing Shox
EXT Racing Shox ERA User manual

EXT Racing Shox
EXT Racing Shox ERA V2S Installation guide

EXT Racing Shox
EXT Racing Shox ERA V2S User manual

EXT Racing Shox
EXT Racing Shox Storia V3-S User manual