ForCustomerService:Call1‐866‐GOFAGOR–www.fagorcommercial.com| P.3
SPECIFICATIONS
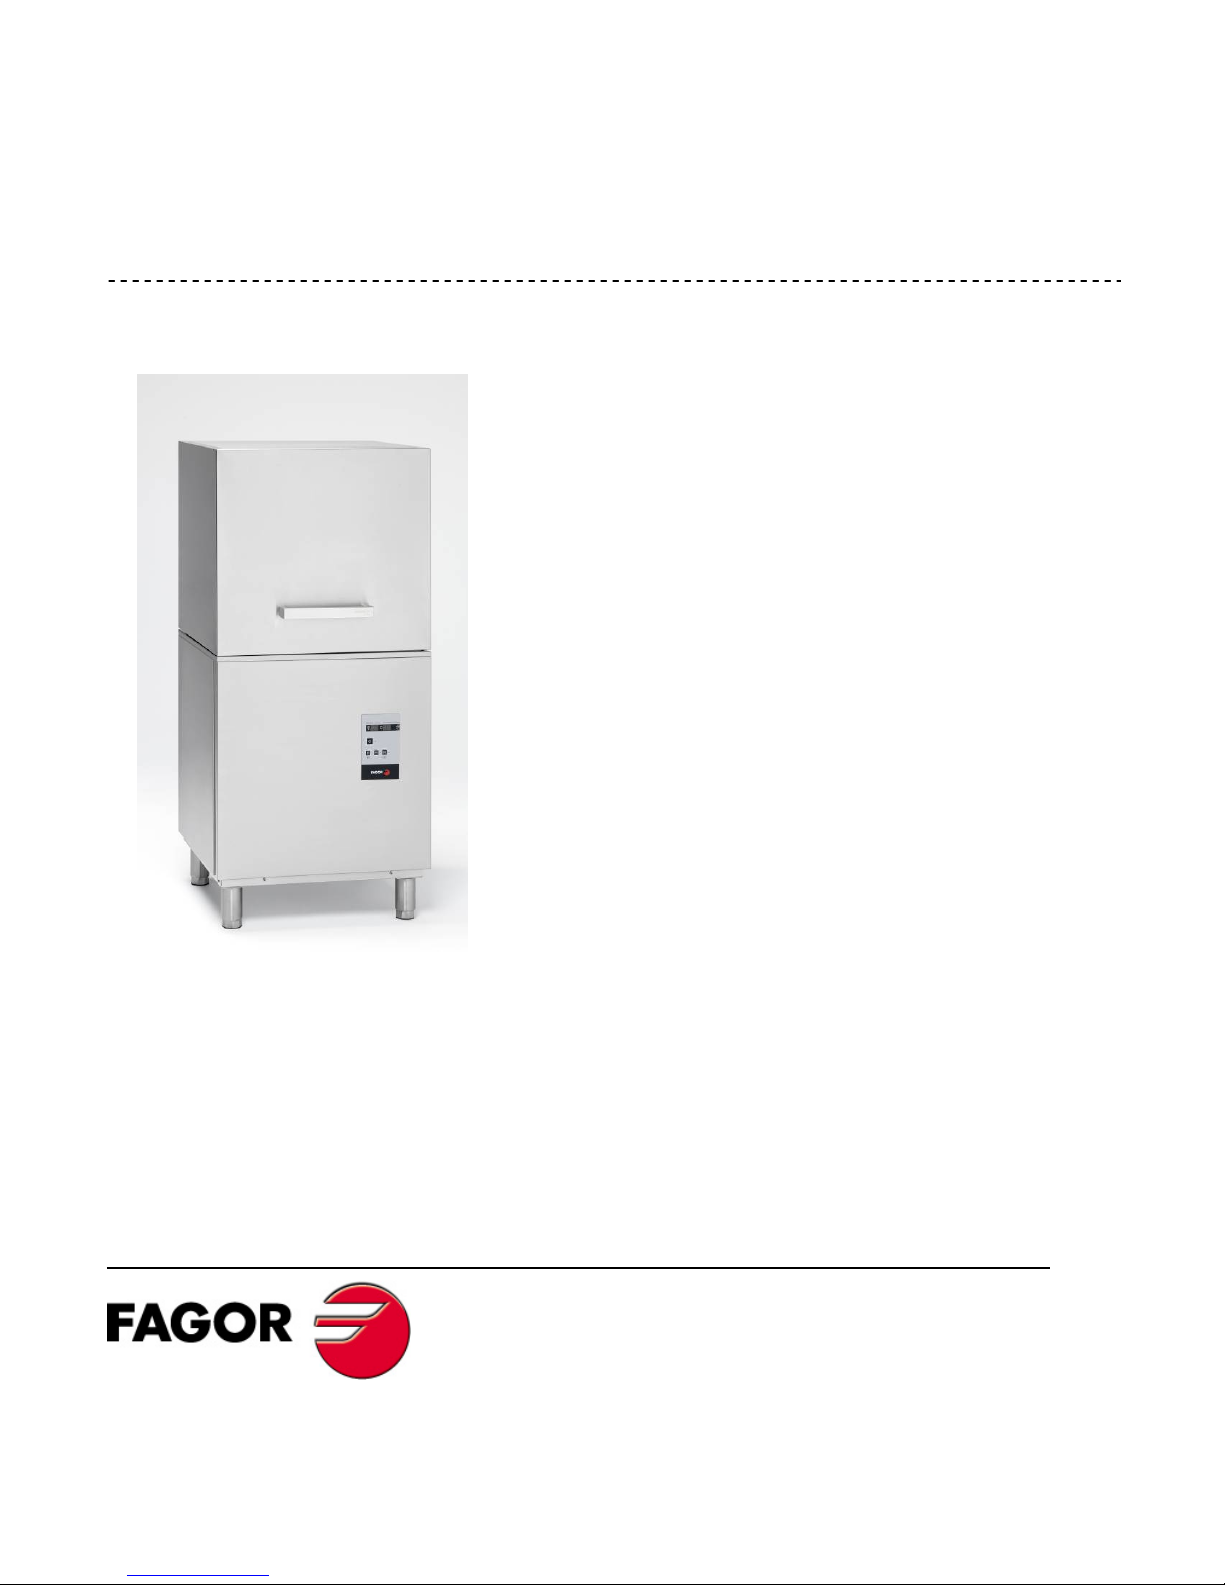
MODEL:AD‐120CW
PERFORMANCE/CAPACITIES
CapacitiesHeatingElements
Racksperhr.:60Electricwashtankheater:4.5Kw
Dishesperhr.:1500Electricboosterheater:12Kw
WashTank:11.8gal./44.6liters
WaterConsumption/RequirementsOperatingCycles
Gallonsperhr.(Max.use):48gal./181litersWashtime(Seconds):3settings(35,55,100)
Gallonspercycles:.8gal./3.02litersDwell(Seconds):5
Inlettemperature(Optimum):140ºF/60ºCRinsetime(Seconds):15
Flowrinsepressure:15–25psiTotalTime(Seconds):3settings(55,75,120)
WashPumpMotorDimensions/Shipping
Motor(hp):(2)1hpWidth:281/4”/717mm
Depth:32”/813mm
Temperatures Height:62”/1575mm
Wash:150ºF/66ºC Maxclearancefordishware16½”/419mm
Rinse:190ºF/88ºC Rack:20”x20”/500mmx500mm
Shippingweight:330lbs./150kg
Shippingvolume(cu.ft.):32
TECHNICALSPECIFICATIONS
TotalPowerConsumptionBoilerPowerConsumption
VoltsAmpsPower(KW)VoltsAmpsPower(KW)
208/60/347.614.4208/60/332.29.8
220/60/350.116.1220/60/333.811
240/60/353.219.2240/60/335.413.1
PumpPowerConsumption
VoltsAmpsPower(KW)
208/60/35.21.2
220/60/35.41.2
240/60/361.2
TotalPowerConsumption BoilerPowerConsumption
VoltsAmpsPower(KW)VoltsAmpsPower(KW)
208/60/175.114.4208/60/152.29.8
220/60/179.116.1220/60/154.911
240/60/185.819.2240/60/159.413.1
PumpPowerConsumption
VoltsAmpsPower(KW)
208/60/15.20.9
220/60/15.41.0
240/60/161.2