manuals.online logo
Brands
  1. Home
  2. •
  3. Brands
  4. •
  5. Ferplast
  6. •
  7. Aquarium
  8. •
  9. Ferplast cayman 40 plus User manual

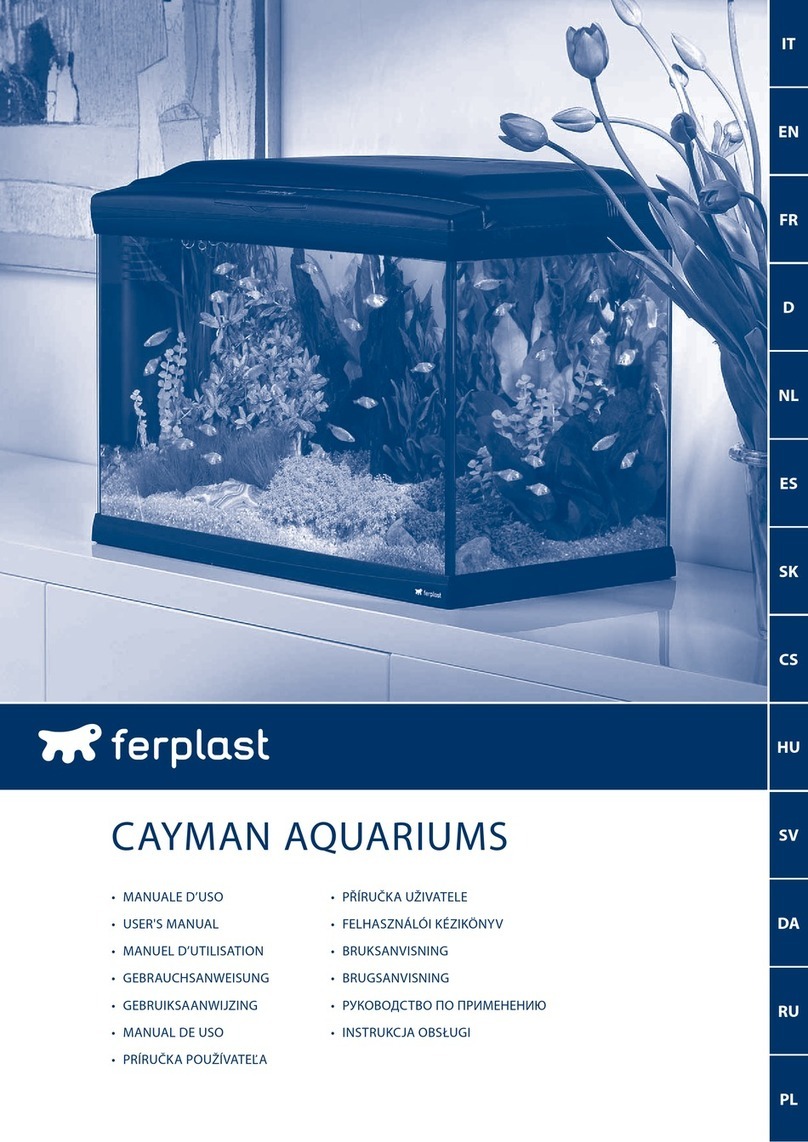
Ferplast cayman 40 plus User manual

1
2
3
1
2
3
1
2
cayman 40 plus
cayman 40 colour
cayman 40 classic
tridonic, philips
SOSTITUZIONE REATTORE ELETTRONICO
N.B. Prima di svolgere qualsiasi operazione,
scollegare la spina dalla rete di alimentazione.
Tali operazioni devono essere svolte da Personale
Qualificato.
Svitare le due viti presenti nella parte posteriore del
coperchio (a) e sollevare lo sportello posizionandolo
come indicato in figura (b).
Scollegare i cavi del reattore elettronico premendo
con un cacciavite sui bottoni della morsettiera.
Staccare il reattore elettronico, fissato alla base da un
biadesivo.
ELECTRONIC BALLAST REPLACEMENT
N.B. The following operations must be done by
a qualified electrician. Before carrying out any
installation it is recommended to pull out the
plugs from the power supply
Unscrew the rear part of the aquarium cover (a),
open it and put in the same position as shown in
the picture (b).
Disconnect the electronic ballast by pressing on the
buttons of the terminal board using a screwdriver.
Remove the electronic ballast, which was fixed on
the lid by means of a biadhesive tape.
a b
Place the new electronic ballast on its proper hou-
sing, fixing it by a new biadhesive tape, to be stick
on the lid before this operation.
Connect the cables coming from the nearest lamp
holder to terminal board 3 and 4, the cables from
the farther lamp holder to terminal board 1 and 2.
Bipolar version: connect the cables coming from
the switch to the ballast terminal board.
Unipolar version: connect the cable from the
switch and the one from the terminal board to the
ballast.
Assemble the rear cover and screw it.
Posizionare il nuovo reattore elettronico
nell’apposita sede (b), fissandolo con del nuovo
biadesivo, precedentemente applicato sul
coperchio (a).
Collegare i cavi provenienti dal portalampada
più vicino ai morsetti 3 e 4, mentre i cavi del
portalampada più lontano ai morsetti 1 e 2.
Versione bipolare: collegare i cavi provenienti
dall’interruttore ai morsetti del reattore.
Versione monopolare: collegare il cavo
proveniente dalla morsettiera e quello proveniente
dall’interruttore ai morsetti del reattore.
Riassemblare il coperchio posteriore fissandolo con
le 2 viti.
44
5 5
7 7
363179-1
6 6
4a b
5 6
7

Other manuals for cayman 40 plus

1

This manual suits for next models

2

Other Ferplast Aquarium manuals

Ferplast CAYMAN SCENIC Series User manual

Ferplast

Ferplast CAYMAN SCENIC Series User manual

Ferplast BLUSKIMMER 250 User manual

Ferplast

Ferplast BLUSKIMMER 250 User manual
Ferplast bluflow 600 User manual

Ferplast

Ferplast bluflow 600 User manual

Ferplast Cayman Professional User manual
Ferplast

Ferplast Cayman Professional User manual

Ferplast cayman 40 classic User manual
Ferplast

Ferplast cayman 40 classic User manual

Ferplast CAPRI LED Series User manual

Ferplast

Ferplast CAPRI LED Series User manual

Ferplast STAR Series User manual

Ferplast

Ferplast STAR Series User manual
Ferplast Cayman Professional User manual
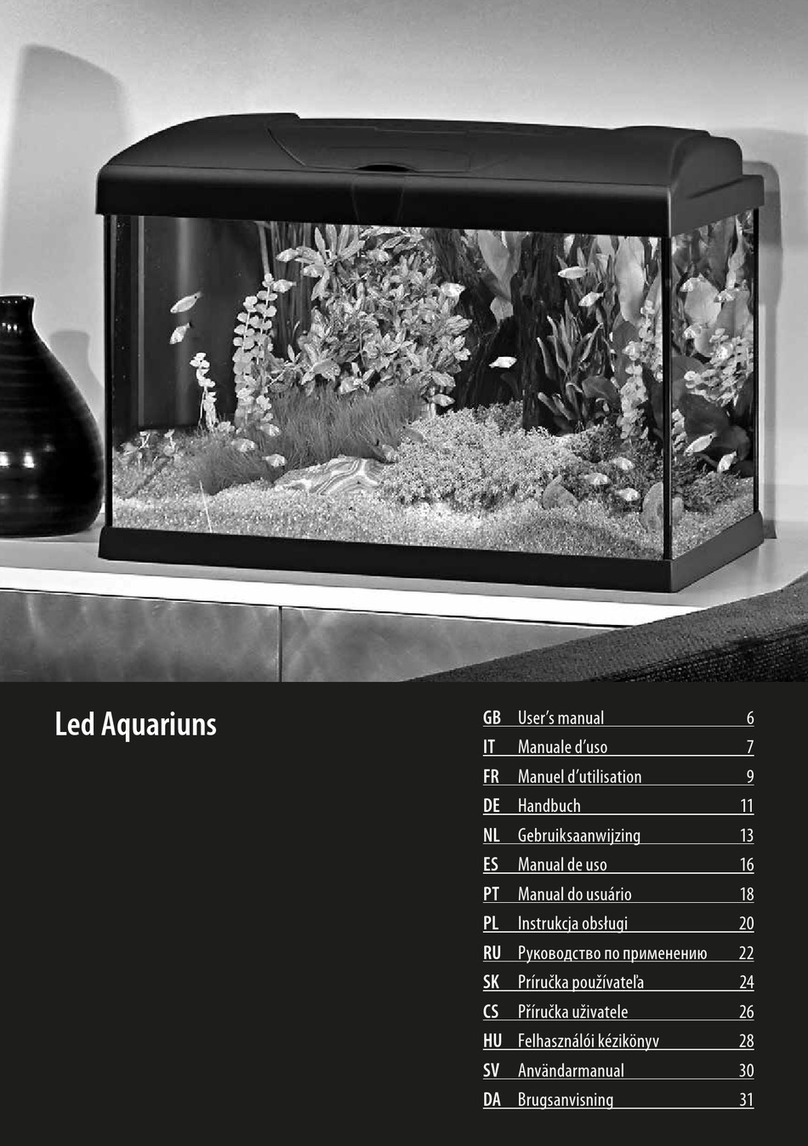
Ferplast

Ferplast Cayman Professional User manual

Ferplast Airfizz 50 User manual

Ferplast

Ferplast Airfizz 50 User manual
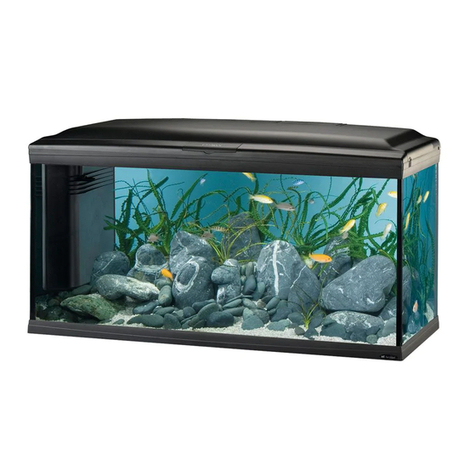
Ferplast Cayman professional Timer User manual

Ferplast

Ferplast Cayman professional Timer User manual

Ferplast Ferplast Dubai Corner 90 Black Operating and safety instructions

Ferplast

Ferplast Ferplast Dubai Corner 90 Black Operating and safety instructions

Ferplast BLUPOWER 250 User manual

Ferplast

Ferplast BLUPOWER 250 User manual

Ferplast Bluclima 50 User manual

Ferplast

Ferplast Bluclima 50 User manual

Popular Aquarium manuals by other brands
HS aqua Platy Flow Filter 300 user manual

HS aqua

HS aqua Platy Flow Filter 300 user manual

TMC Reef Guard 50 Aquarium Cover manual

TMC

TMC Reef Guard 50 Aquarium Cover manual

Reef Factory Smart roller user manual

Reef Factory

Reef Factory Smart roller user manual

Reef Factory Thermo control Device manual

Reef Factory

Reef Factory Thermo control Device manual

Eden 901 Original instructions

Eden

Eden 901 Original instructions

SuperFish QUBIQ 30 Warranty and manual

SuperFish

SuperFish QUBIQ 30 Warranty and manual

SuperFish Home 8 Warranty and manual

SuperFish

SuperFish Home 8 Warranty and manual

AutoAqua SSS-100 manual

AutoAqua

AutoAqua SSS-100 manual

Nyos TORQ G2 Dock instructions

Nyos

Nyos TORQ G2 Dock instructions

Aqua Medic FB 5000 Operation manual

Aqua Medic

Aqua Medic FB 5000 Operation manual

Aqua Medic aCone 1.0 EVO Operation manual

Aqua Medic

Aqua Medic aCone 1.0 EVO Operation manual

Aqua Medic Turboflotor Blue 500 Operation manual

Aqua Medic

Aqua Medic Turboflotor Blue 500 Operation manual

Aqua Medic M-ventil Standard Operation manual
Aqua Medic

Aqua Medic M-ventil Standard Operation manual

All Pond Solutions FW-7 manual

All Pond Solutions

All Pond Solutions FW-7 manual
Airmax SilentAir LR Series Installation & maintenance instructions
Airmax

Airmax SilentAir LR Series Installation & maintenance instructions

Aqua One Regency 120 Assembly instructions
Aqua One

Aqua One Regency 120 Assembly instructions

Aqua Medic Turboflotor 5000 Shorty Compact Operation manual
Aqua Medic

Aqua Medic Turboflotor 5000 Shorty Compact Operation manual

SunSun CUP-807 operating manual

SunSun

SunSun CUP-807 operating manual

manuals.online logo
manuals.online logoBrands
  • About & Mission
  • Contact us
  • Privacy Policy
  • Terms and Conditions

Copyright 2025 Manuals.Online. All Rights Reserved.