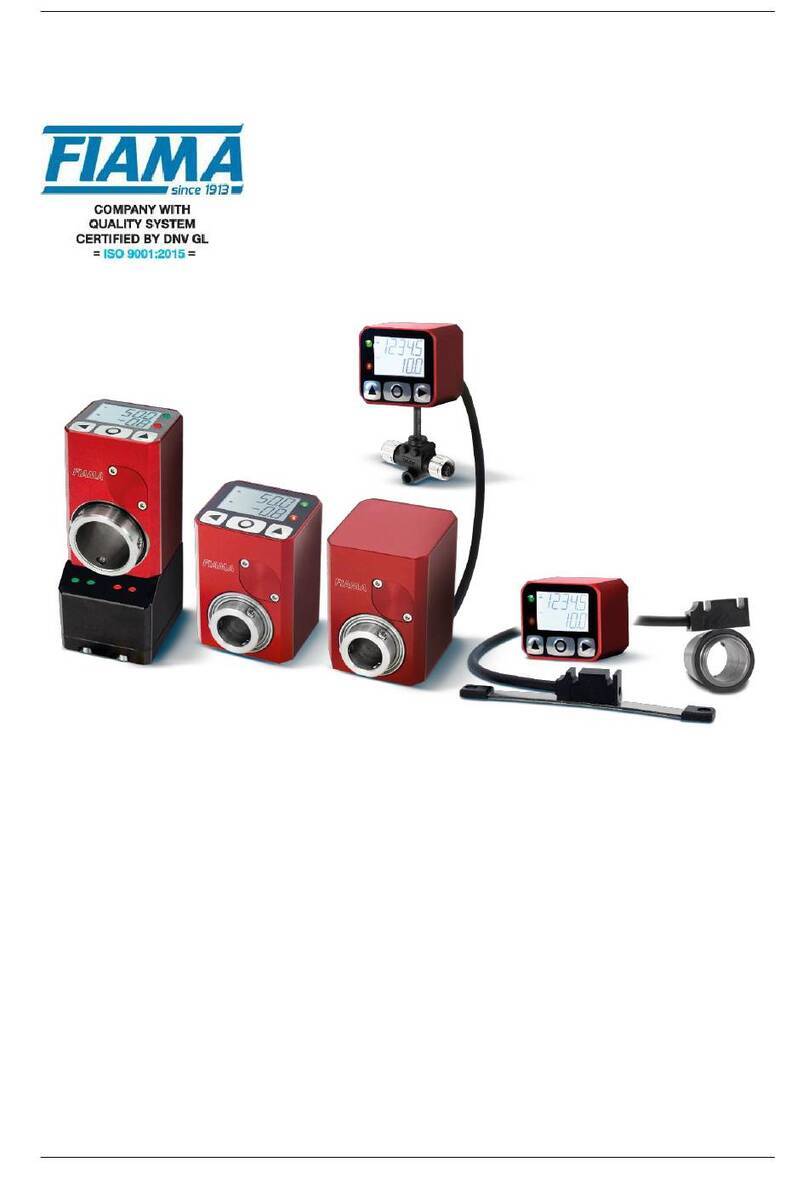
FIAMA EP7 User manual

EP7 Electronic position indicator
Date: 13/01/16 File: EP7_ing_rev1.7.doc Page: 1/8
USER MANUAL
EP7
BATTERY-POWERED
ELECTRONIC POSITION INDICATOR

EP7 Electronic position indicator
Date: 13/01/16 File: EP7_ing_rev1.7.doc Page: 2/8
Manual purpose
This manual has been designed by the Manufacturer to provide the necessary information
regarding the EP7 instrument to those who are authorized to carry out safely its installation,
maintenance, dismantling and disposal. All the necessary information for buyers and planners can
be found in the sales catalogue. In addition to adopting good technical construction methods, this
information should be read carefully and strictly applied. Nonobservance of this information could
cause risks for the health and safety of people and economic damage. This information, provided
by the Manufacturer in the original language (Italian) is also available in other languages to satisfy
legislative and/or commercial needs. This manual must be kept in good conditions by a
responsible person in an ideal place so that it is always available for consultation. In case this
manual is lost or deteriorates, a replacement should be requested directly to the manufacturer
quoting the manual code. This manual reflects the state of the instrument at the time of input in
the market: however, the manufacturer reserves the right to make changes, add or improve the
manual without notice.
Identification of the product
The identification label is applied on the instrument.
To determine the identification code of the instrument, consult also the sales catalogue.
Environmental conditions
Temperature range: min. 0°C - max. +50°C.
It is forbidden to use the instrument other than for its intended use and in potentially explosive
conditions or where anti-explosive elements are used.
Storage
Here below are some recommendations to be followed for the storage of the instrument:
•Avoid environments with excessive humidity and those exposed to bad weather (avoid
open areas).
•Avoid placing the instrument directly on the ground.
•Store the instrument in its original packing.
Conformity declaration and EC marking
The instrument respects the following EC Community Directive:
2014/30/EU Electromagnetic compatibility, 2011/65/EU RoHS.
Maintenance
The instrument does not require particular maintenance except cleaning, to be done only with a
soft cloth slightly damped with ethylic alcohol or water. Do not use hydrocarbon solvents (petrol,
thinners, etc.): the use of these products could affect the proper functioning of the instrument.
Repairs should be done only and exclusively at the FIAMA technical assistance centre.
Calibrations and tests
It is advisable to calibrate the instrument periodically, once every working year.
To do the calibration, follow the procedure indicated in the present manual.
Assistance request
For any kind of technical assistance request, contact the sales department of the Manufacturer
directly indicating the information given on the identification label, the number of hours used and
the type of defect.
Manufacturer’s responsibility
The manufacturer declines any responsibility in case of :
•Use of the instrument contrary to the national safety and accident-prevention laws.
•Incorrect installation, incorrect procedures or nonobservance of the instructions provided in
the present manual.
•Defective electrical power supply.
•Modifications or tampering.
•Operations carried out by untrained or unqualified staff.

EP7 Electronic position indicator
Date: 13/01/16 File: EP7_ing_rev1.7.doc Page: 3/8
The safety of the instrument also depends on the strict observance of the procedures indicated in
the manual: always operate the instrument in its functioning capacity and carry out a careful
routine maintenance.
Note:
•All phases of inspection and maintenance should be carried out by qualified staff.
•The configurations provided in the manual are the only ones permitted.
•Do not try to use the instrument in any way which is contrary to the provided indications.
•The instructions in this manual do not substitute but are complimentary to the obligations of
the applicable legislation regarding safety laws.
Installation
Before installing the instrument, take note of the following warnings:
a) Connect the instrument following strictly the instructions of the manual.
b) It is the responsibility of the user to check, before using, the correct settings of the parameters
of the instrument to avoid damage to persons or things.
c) The instrument MUST NOT BE IN FUNCTION IN A DANGEROUS ENVIRONMENT
(inflammable or explosive).
d) The unit has parts sensitive to electrostatic charges, therefore handling of the inner
electronic parts must be carried out with appropriate care to avoid permanent damage.
Description
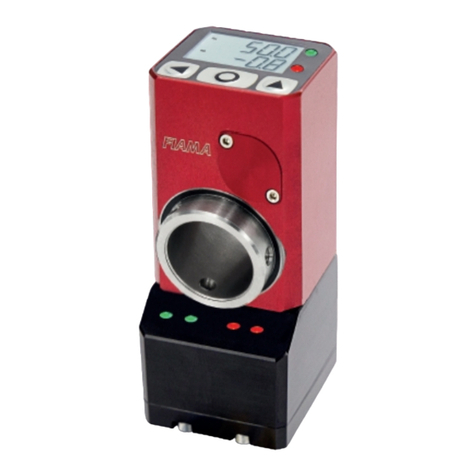
The electronic position indicator EP7, supplied with an internal battery, integrates in the same case
a position sensor and a display unit, and constitutes a device for measuring linear or angular
movements: it is compact, easy to install and applicable in many types of industry (packaging,
woodworking, aluminum, coil, etc.)
The display has 5 digit plus a sign (range -99999 +99999) with 7,5mm-high digits that allow an
excellent readability also at a distance.
With the 3 frontal buttons it is possible to program the value on the display for each turn of the
hollow shaft and activate the following functions: reset/preset of the displayed value,
absolute/relative displayed value, mm/inches conversion.
There are also 3 distinct origins available for the correction of the displayed value when using
different tools and the offset function for the compensation of tool wear.
On the display all activated functions are showed by a symbol.
The electronic parts are protected inside an elegant and resistant case made of self-extinguishing
and shock-proof plastic material.
The power supply is internal and is based on a single ½AA 3,6V battery which has a typical 4 year
lifetime. Low-power is indicated on the display with an icon; battery substitution is very easy and
does not cause loss of the correct displayed value when carried out without moving the shaft.
Mechanical installation
Fit the EP7 through its hollow shaft onto the machine shaft, taking care that the lock pin fits
correctly into the Ø6mm hole.
For this purpose, prepare the hole for the lock pin (bore 6,1mm, depth 6mm) ensuring that the
distance between the axis of the hole and the axis of the drive shaft is 30mm, see image 1 and 2
below. Then fit the instrument in and fix it with 2 M4 screws placed on the hollow shaft, see image
3 and 4.
1 2 34

EP7 Electronic position indicator
Date: 13/01/16 File: EP7_ing_rev1.7.doc Page: 4/8
Programming
To access programming of the parameters, keep pressed until 3$66
3$663$66
3$66 appears on the display.
Now press 2 times ENTER/RESET and 3 zeroes will appear. The first digit on the right will be
blinking: with (digit increase) and (digit selection) insert the pass code which is 273 and
confirm with ENTER/RESET. In case of incorrect insertion of the password, the unit exits
programming.
The various parameters can be scrolled with and in order of appearance they are:
X,6
X,6X,6
X,6 value to be displayed after one complete rotation of the shaft
QG(&
QG(&QG(&
QG(& number of decimal places
W$6W,
W$6W,W$6W,
W$6W, button activation mode *
G,U
G,UG,U
G,U counting direction
* When the Offset, Preset, and Origin Change functions are set, also the 2))6W
2))6W2))6W
2))6W,3U6W
3U6W3U6W
3U6W, 3U6
3U63U6
3U6, 3U6
3U63U6
3U6,
3U6
3U63U6
3U6 parameters will appear (see further below).
To modify the selected parameter press two times ENTER/RESET (the first time displays only the
value). With and set the desired value and confirm with ENTER/RESET.
To set a negative number, press until the last digit on the left blinks then press once again
and after press so that the minus sign will appear.
To exit programming press .
Value to be displayed after one complete rotation of the hollow shaft: X,6
X,6X,6
X,6
This parameter, together with the following one, defines the value which is displayed after one
rotation of the hollow shaft. The allowable range is from 0,0001 to 99999.
The decimal place is set after programming the last digit on the left: after pressing , the decimal
place will blink and with it can be moved to the desired position. Confirm with ENTER/RESET.
Number of decimal places: QG(&
QG(&QG(&
QG(&
It is the number of decimal places to visualize on the display, allowed range from 0 to 4.
Example 1: if each rotation of the hollow shaft will cause a displacement of 50, set X,6
X,6X,6
X,6=50 and
QG(&
QG(&QG(&
QG(&=0.
Example 2: if each rotation of the hollow shaft will cause a displacement of 12,345 and the desired
output on the display is 12.3, set X,6
X,6X,6
X,6=12.345 and QG(&
QG(&QG(&
QG(&=1.
Button activation mode: W$6W,
W$6W,W$6W,
W$6W,
This parameter programs the button functions.
The value is a number with 3 digits, each corresponding to a button: the digit on the right sets the
ENTER/RESET button, the digit in the middle sets while the last digit on the left sets .
The possible values are in the following table:
VALUE ENTER/RESET
0 Not active Not active Not active
1 mm/inch conversion abs/rel
measurement Reset
2 Not active Not active Preset
3 Not active Not active Fast Preset
4 Not active Not active Change of origin
0,1,2
5 Not active Not active Offset
6 Not active Not active Fast Offset
7 Not active Not active Delayed reset *
(after 3s)
8 Not active Not active Delayed preset *
(after 3s)
* Delayed means that to activate the function (reset or preset), it is necessary to keep
ENTER/RESET pressed for approximately 3 s.

EP7 Electronic position indicator
Date: 13/01/16 File: EP7_ing_rev1.7.doc Page: 5/8
Reset: reset function of the displayed value; after pressing ENTER/RESET,the displayed value is
set to zero.
Preset: preset function of the displayed value; after pressing ENTER/RESET,the displayed value
becomes equal to the value in the 3U6W
3U6W3U6W
3U6Wparameter, which can be set immediately after W$6W,
W$6W,W$6W,
W$6W,
(when the digit on the right is set to 2).
Fast Preset: the fast setting of the displayed value on the display; after pressing ENTER/RESET
3U6W
3U6W3U6W
3U6W appears and pressing 2 times ENTER/RESET it is possible to set the value directly (use and
and then confirm with ENTER/RESET). This function is useful when the displayed value must be
corrected often.
Origin change (correction of the displayed value for tool changes): with this function 3 different
origins (0,1,2) can be set and with ENTER/RESET it is possible to switch from one origin to another.
After setting 4 in the first digit on the right of the W$6W,
W$6W,W$6W,
W$6W,parameter, 3U6
3U63U6
3U6 will appear and after
pressing 2 times ENTER/RESET it is possible to set the nominal value for tool 0 (for example the
radius of cutter 0), which is then confirmed by pressing ENTER/RESET.
Now 3U6
3U63U6
3U6 will appear which is the nominal value for tool 1 (for example the radius of cutter 1): set
the correct value and confirm with ENTER/RESET.
Finally 3U6
3U63U6
3U6 will appear which is the nominal value for tool 2 (for example the radius of cutter 2):
set the correct value and confirm with ENTER/RESET.
In practice 3U6
3U63U6
3U6,3U6
3U63U6
3U6, and 3U6
3U63U6
3U6 are the nominal values associated to the three different tools
which are used.
As a special case, if 3U6
3U63U6
3U6 is set to zero, 3U6
3U63U6
3U6 and 3U6
3U63U6
3U6 are the values to display in origin 1 and in
origin 2 respectively.
ABS/REL function: Enables passing from an absolute to relative value; after pressing , the
displayed value is temporarily set to zero to measure a relative motion of the shaft. On the display
the REL icon indicates that the current display is relative to the reference point that has just been
created. Pressing again causes the absolute value to be displayed and the ABS icon will appear.
mm/inch conversion: Pressing converts the measurement from millimeters to inches and
back. When in inch mode, the INCH icon will appear and the displayed value will have an additional
decimal place. When the parameter QG(&
QG(&QG(&
QG(&=4 the mm/inch conversion is not available.
Offset: This parameter is added to or subtracted from the displayed value to correct it in case, for
example, of a tool change or to compensate tool wear. After setting a positive offset value, the
displayed value will be the measured value plus the offset value. After setting a negative offset
value, the displayed value will be the measured value minus the offset value.
Fast Offset: After pressing ENTER/RESET,2))6W
2))6W2))6W
2))6W appears and by pressing two times ENTER/RESET
it is possible to set directly the value to be displayed (use buttons and confirm with
ENTER/RESET). This function is useful if it is necessary to correct often the displayed value.
Counting direction G,U
G,UG,U
G,U
It sets the counting direction, allowed values 0 or 1.
By setting 0, the displayed value increases turning the shaft clockwise.
By setting 1, the displayed value decreases turning the hollow shaft clockwise.
Adjustment of displayed value
After the installation of instrument on the machine and setting of all parameters, in order to visualize
on the display the correct value it is necessary to carry out the reset or preset.
Position the shaft in a point in which the correct measure that has to be visualized is known exactly
(for example the stroke end point) or measure the position in that point of the shaft. Program
parameter W$6W,
W$6W,W$6W,
W$6W, with value 3 in the first digit on the right and exit programming.

EP7 Electronic position indicator
Date: 13/01/16 File: EP7_ing_rev1.7.doc Page: 6/8
Now press ENTER/RESET and 3U6W
3U6W3U6W
3U6Wwill appear, press again 2 times ENTER/RESET and set the correct
value to display, then confirm with ENTER/RESET. The display will now show the desired value.
If the required value is zero, instead of the preset function it is possible to use the reset function by
setting 1 in the first digit on the right in the W$6W,
W$6W,W$6W,
W$6W,parameter so that pressing ENTER/RESET will bring
the displayed value to zero.
Now that the instrument is adjusted, it is necessary to insert the desired W$6W,
W$6W,W$6W,
W$6W,parameter to avoid
accidental reset/preset of the displayed value.
Battery replacement
The instrument is supplied with a ½AA 3,6V lithium battery, which assures a typical functioning of
approximately 4 years.
When the battery runs down, an icon appears on the display.
To enter into the battery-holder it is necessary to remove the front cover by carefully inserting a flat
screwdriver on the sides. After taking off the cover, pull the battery out and substitute it with a new
one, paying attention to the polarity: the positive pole must face the side of the ENTER/RESET
button. The instrument is protected against inversion of polarity and wrong insertion, and in this
case will not switch on.
Removing the battery from the instrument switches it off after a few seconds: at this point do not
rotate the hollow shaft to avoid losing the correct displayed value. As soon as the battery is fitted,
the instrument switches on with the same value on the display which was present at the moment
when it was switched off. If the shaft has not be moved, the displayed value will be correct. In case
the shaft moved when the instrument was off, to re-establish the correct measure it is necessary to
repeat the adjustment process.
Display icons
1. Indicator of low battery, it is activated when is it necessary to change the battery.
2. Indicator of inches measurement.
3. Indicator for origin 1 and 2
4. Indicator of relative displayed value.
5. Not used.
Error message
RX(U
RX(URX(U
RX(U: the current displayed value passed the maximum value that can be visualized (possible
range: from –99999 to 99999).
1
2
3
45

EP7 Electronic position indicator
Date: 13/01/16 File: EP7_ing_rev1.7.doc Page: 7/8
Dimensions
View A View B
BATTERY
HOLDER
PROGRAMMING
BUTTONS
DISPLAY DIGIT
HEIGHT 7,5mm
STAINLESS STEEL
HOLLOW SHAFT
INCLINED
DISPLAY 25°

EP7 Electronic position indicator
Date: 13/01/16 File: EP7_ing_rev1.7.doc Page: 8/8
General characteristics
Hollow shaft diameter 20mm H7, 14mmH7
Max. rotation speed 1000 RPM for brief periods
Resolution 4000 impulses/revolution
Range -99999; 99999
Display High readability LCD with 7.5mm high digits
Keyboard 3 digits for programming and functions activation
Available functions reset/preset, absolute/incremental value, mm/inch
conversion, 3 distinct origins for tool changing
Power supply battery ½ AA, voltage 3,6V (lithium thionyl chloride)
Battery life Typical 4 years continuous use
Weight 100g
Protection degree IP54
Working temperature 0-50°C
Relative humidity 35-85%
Electromagnetic compatibility 2014/30/EU
RoHS 2011/65/EU
Manufacturer
All communications to the manufacturer should be addressed to:
FIAMA s.r.l.
Via G. Di Vittorio, 5/A
43126 San Pancrazio (Parma) - Italy
Tel. (+39) 0521.672.341
Fax. (+39) 0521.672.537
e-mail: info@fiama.it
web: www.fiama.it
FIAMA srl is not responsible for any damage to persons or things caused by tampering and
by incorrect use and in any case which is not conforming to the features of the instrument.
Table of contents
Other FIAMA Measuring Instrument manuals
Popular Measuring Instrument manuals by other brands
Flybox
Flybox Omnia57 G-METER Installation and user manual
National Instruments
National Instruments PXIe-4162 Getting started guide
Sonel
Sonel MPI-506 user manual

PCB Piezotronics
PCB Piezotronics 356B07 Installation and operating manual

Kane
Kane KANE975 manual

Berthold
Berthold DUO XPERT LB 470RID operating manual

