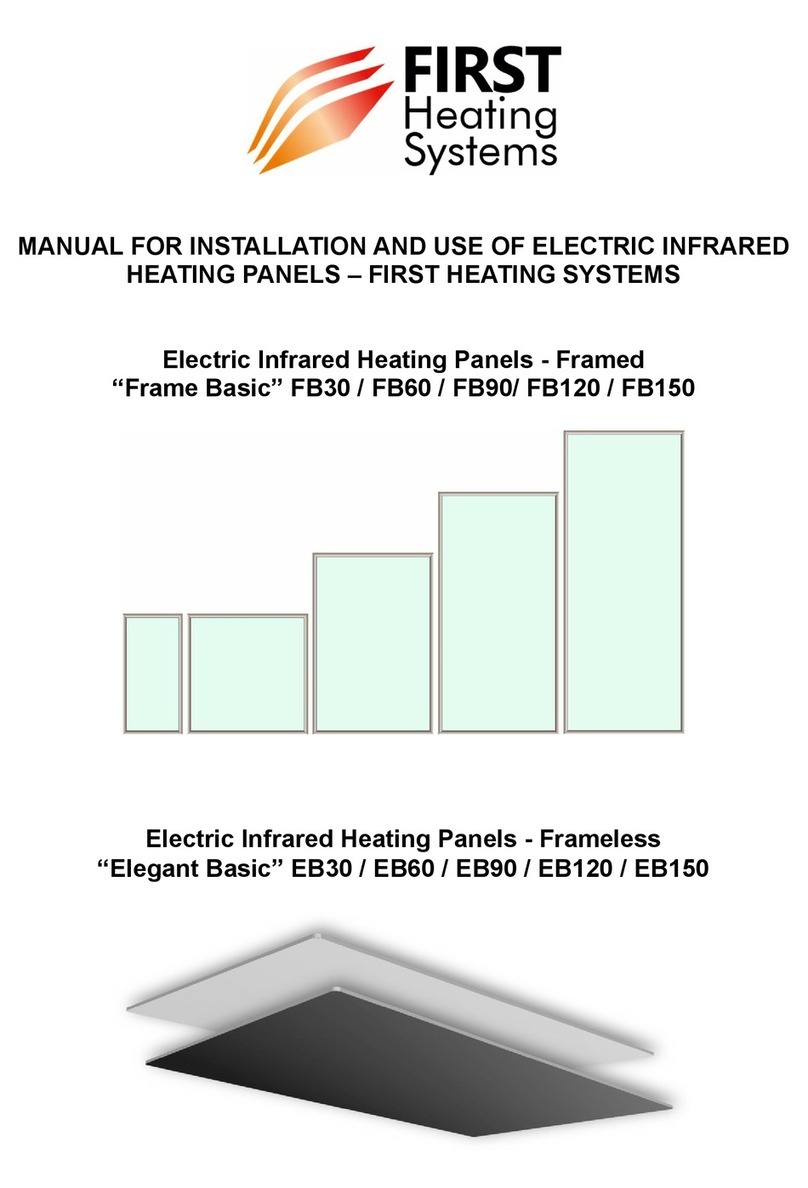
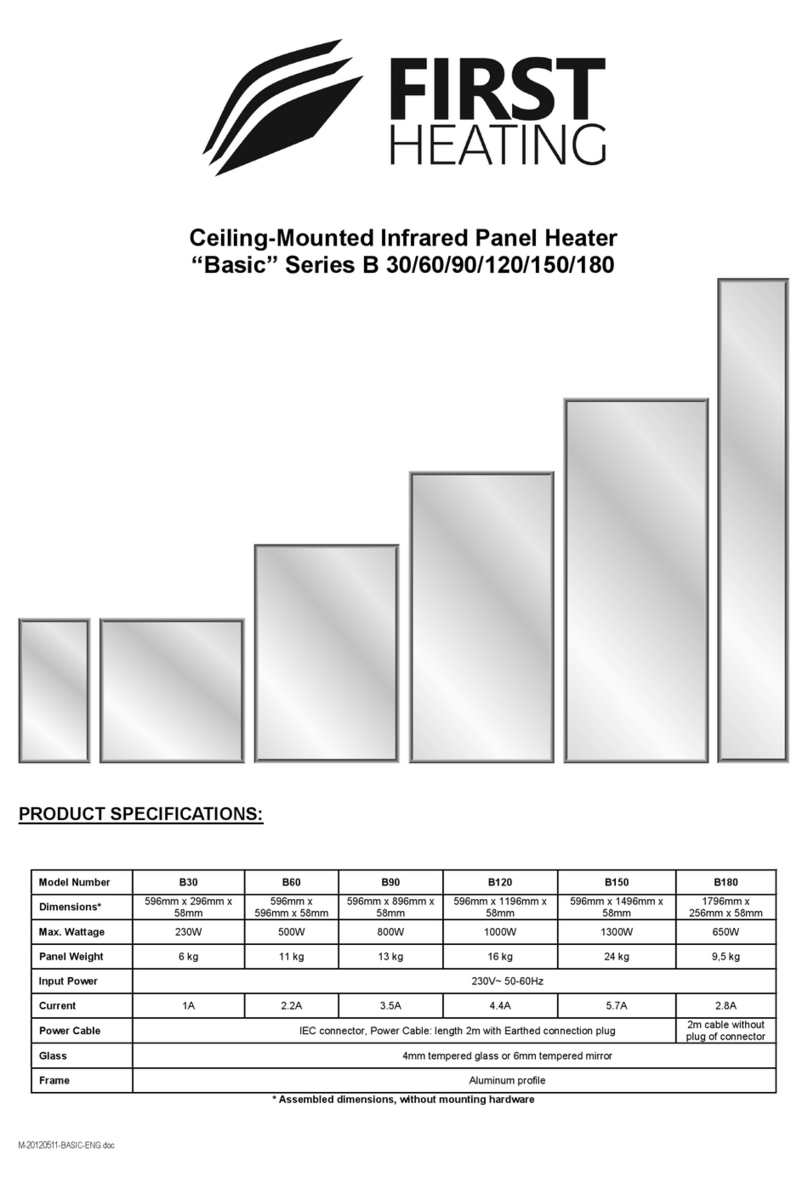
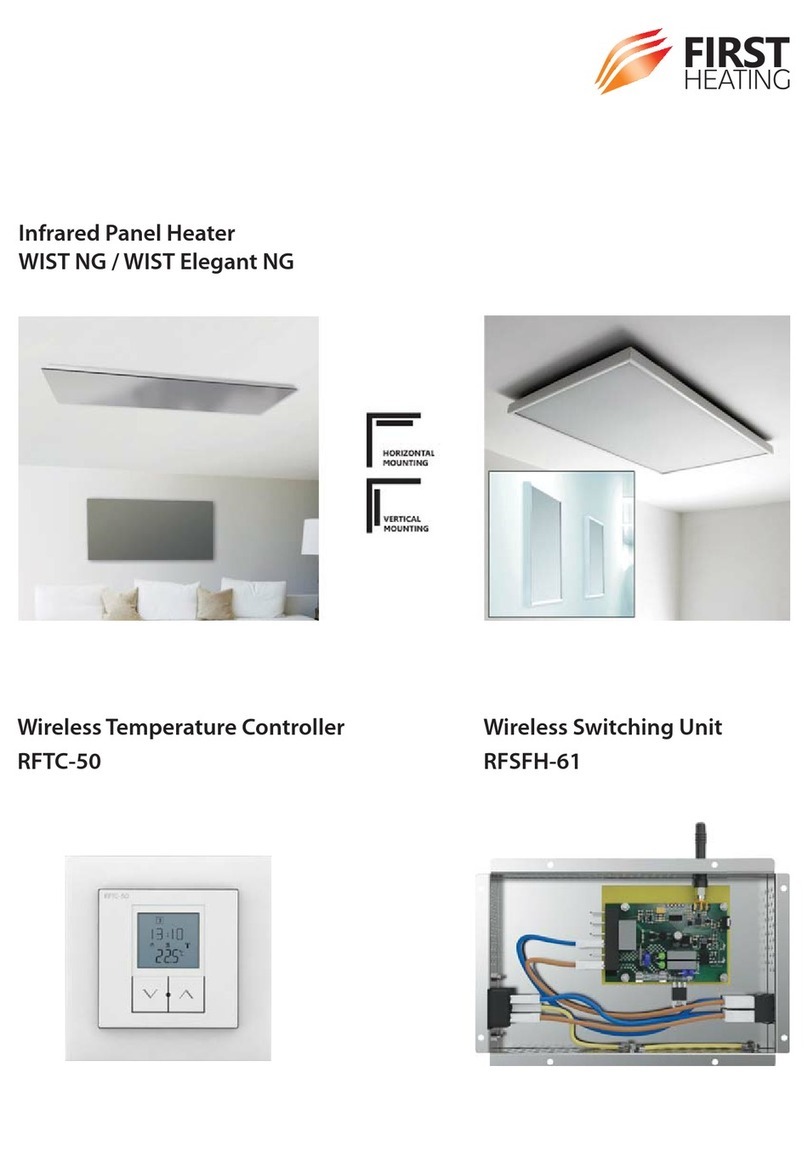
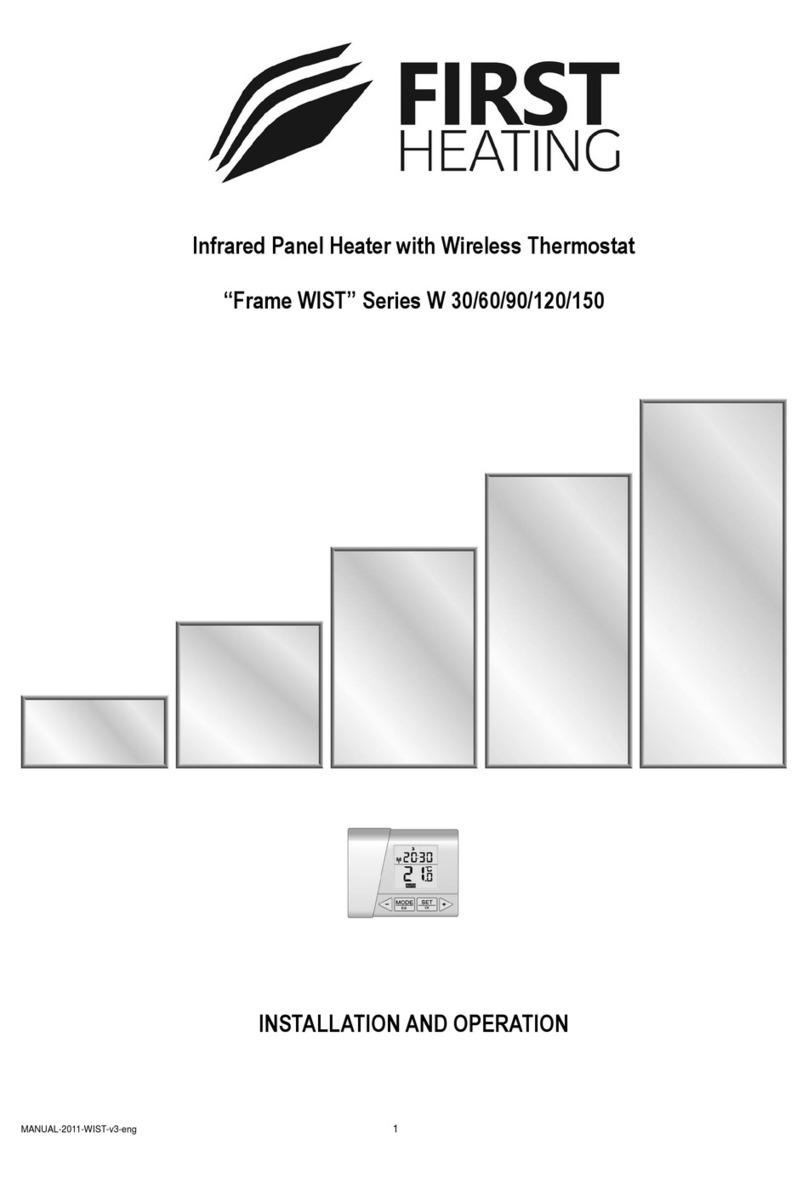
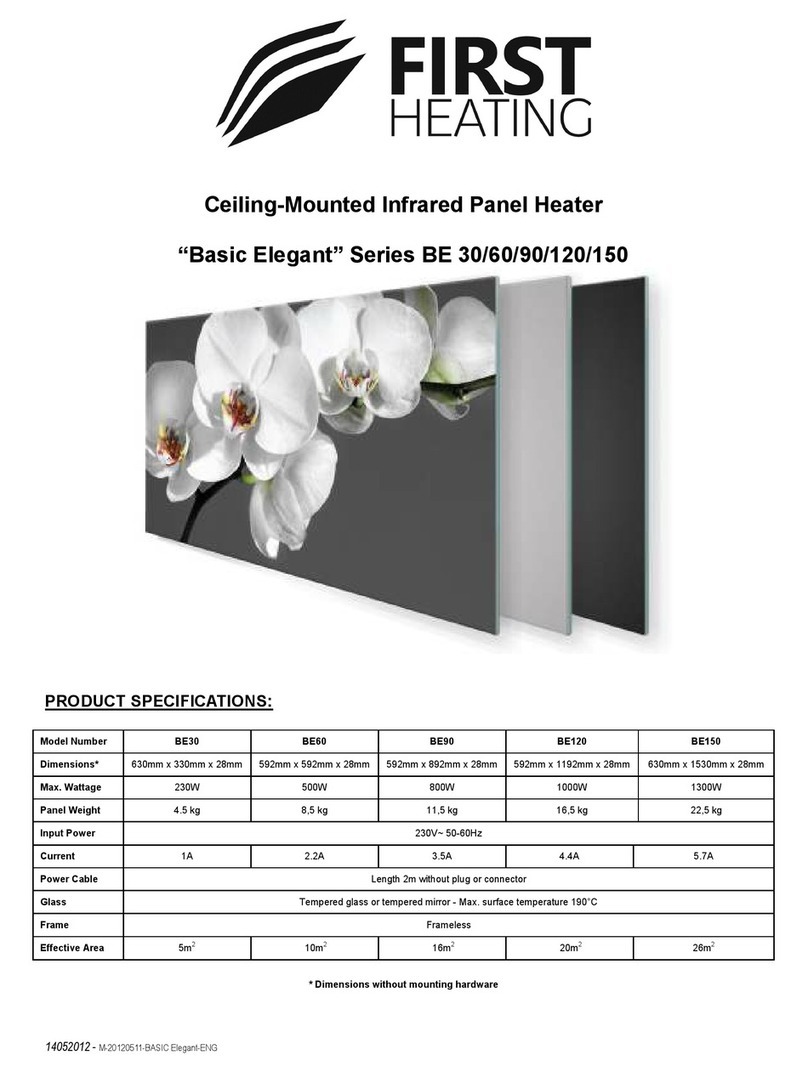
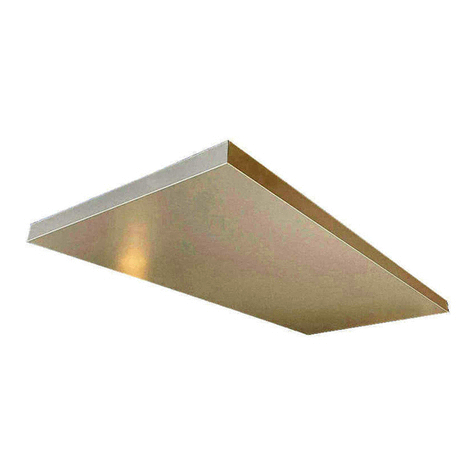
First Heating BASIC Frame FB30 Reference manual

MANUAL FOR INSTALLATION AND USE OF INFRARED HEATING PANELS
BASIC Frame (with frame)
FB30 / FB60 / FB90/ FB120 / FB150
BASIC Elegant (without frame)
EB30 / EB60 / EB90 / EB120 / EB150

TECHNICAL PARAMETERS
INFRARED ELECTRIC PANEL HEATERS – FIRST Heating Systems
BASIC FRAME
BASIC Elegant
Panel type
30
60
90
120
150
30
60
90
120
150
Length
296
mm
596
mm
896
mm
1196mm
1496mm
292
mm
592
mm
892
mm
1192mm
1492mm
Width
596
mm
596
mm
596
mm
596 mm
596 mm
592
mm
592
mm
592
mm
592 mm
592 mm
Height
35 mm
35 mm
35 mm
35 mm
35 mm
28 mm
28 mm
28 mm
28 mm
28 mm
Power
230 W
500 W
800 W
1000 W
1300 W
230 W
500 W
800 W
1000 W
1300 W
Current load
1,0 A
2,2 A
3,5 A
4,4 A
5,7 A
1,0 A
2,2 A
3,5 A
4,4 A
5,7 A
Weight
4,2 kg
7 kg
9,9 kg
12,7 kg
15,5 kg
4,2 kg
7 kg
9,9 kg
12,7 kg
15,5 kg
Surface
temperature –
front of panel
150°C
150°C
150°C
150°C
150°C
150°C
150°C
150°C
150°C
150°C
Surface
temperature of
the back cover
at 220V-250V
85-
112°C
85-
112°C
85-
112°C
85-112°C
85-112°C
85-
112°C
85-
112°C
85-
112°C
85-112°C
85-112°C
Thermal
regulation
NO
NO
NO
NO
NO
NO
NO
NO
NO
NO
Voltage
230 V AC
230 V AC
Frequency
50-60 Hz
50-60 Hz
Fuse
Fuse for overheat protection.
Fuse for overheat protection.
Power cable
With silicone insulation, white, 3 × 1, length 2m,
terminated with plug
With silicone insulation, white, 3 × 1, length 2m,
terminated with plug
Glass
Tempered safety glass, float, 4mm
Tempered safety glass, float, 4mm
Glass with print
Tempered safety glass, float, 5mm, ESG, ceramic
print, resistant to scratches and humid environments.
Tempered safety glass, float, 5mm, ESG, ceramic
print, resistant to scratches and humid environments.
Frame
Aluminium profile
Frameless
Back cover
Aluminium flat sheet
Aluminium flat sheet
Certification
EMC-B-00600-19
LVD-B-00599-19
Examination report 31-10302/IP
Final report 31-10302/EZ
EMC-B-00600-19
LVD-B-00599-19
Examination report 31-10302/IP
Final report 31-10302/EZ
COP (Coefficient
of Performance)
2,5
2,5
IP Rating
IP 54
IP 54
Installation
Ceiling, wall
Ceiling,wall
Warranty
5 years
5 years
RECOMMENDATION FOR HEATING POWER CONTROL:
For effective control of heating power and room temperature, it is necessary that this panel be supplemented with a temperature controller /
thermostat (see Accessories) or other equipment on the market that allows control of the heating element output.
PACKAGE CONTENTS:
Heat panel
Installation brackets
(x4)
+ wrench
Bracket bolts (x4)
Screws and anchors (x4)
Washers (x4)
Installation template

Panel placement:
The heating panel can be used in bathrooms at ZONE 3 (see picture below). In any case, make sure that the socket to which you connect the panel is equipped
with a circuit breaker.
The panel heats with infrared waves, so it is not recommended to install it behind furniture or other obstacles, as this could reduce its performance and also
endanger safety. The heating panel should be placed so that it is at approximately at the same distance from all persons in the room so that the heating will be
pleasant for everyone.
Panel installation instructions:
Step 1: Choose the ideal place.
Step 2: Make sure that all packing materials have been removed.
Step 3: The installation kit is included in the package. Make sure it is securely attached. The package includes anchors for concrete or masonry. For other types
such as plasterboard, etc., it is necessary to consult a professional company for the correct selection of anchors.
Step 4: Before drilling into the ceiling or wall, make sure that there are no electrical cables, gas or water lines, or other obstacles in the area that could be
damaged.
Step 5: Place the template on the ceiling or wall with adhesive tape. Level the template with a spirit level. Mark the positions of the screw holes on the ceiling or
wall with a pencil.
Step 6: Using a drill, drill the holes with a drill bit suitable for the type of ceiling or wall. For concrete or brick ceilings, use an 8 mm diameter drill bit.
Step 7: Insert the anchors into the holes and screw in the screws so that they protrude approximately 1 cm from the ceiling or wall.
Step 8: Attach the included brackets to the back of the panel using the included washer and screw.
Step 9: Hang the panel with the brackets on the screws in the ceiling or wall and tighten the screws with the enclosed wrench.
Step 10: Clean the front glass panel as recommended below.
Step 11: Insert the panel plug into an electrical outlet.
At the end customer's request, we will supply panels with bootlace crimp ferrules. We recommend installation by a professional company! The manufacturer
FIRST Heating Systems is only liable for installations performed by a First Heating Systems service technician.
MAINTENANCE / CLEANING for the front of the panel:
BASIC panels with black or white glass - we recommend using common soap cleaners when the surface is dirty. In case of greasing or significant soiling, you can
use alcohol and clean it with a soft cloth. Never use abrasive cleaners!
BASIC panels with printed glass - we recommend gently cleaning only with a damp soft cloth and wiping thoroughly. Never use abrasive cleaners!

SAFETY INSTRUCTIONS:
•FIRST BASIC heating panels are designed for wall and ceiling installation.
•Each panel is equipped with a set of special brackets that, when used properly, provide a secure installation.
•The appliance is safe to touch and will not cause burns from very quick contact with the heated glass. Prolonged contact with the
heated glass can cause injury.
•Small children should not be left unattended near the heating panel, as prolonged contact with the heated panel may cause injury.
•The appliance is suitable for use in the bathroom. However, direct contact with water must always be avoided (see heating panel
installation).
•If any object or liquid enters the panel, unplug the panel immediately and have it checked by a qualified First Heating Systems
service technician before using it again.
•The appliance is equipped with a silicone power cable with grounding, which must be used with standard earthed sockets. If the
power cord or the appliance is damaged, contact FIRST Heating Systems as it must be repaired by a specialist.
•DO NOT disassemble the appliance. Disassembly will void the warranty. Disassembly and reassembly must not be performed
outside the factory or a specialized service center.
•TO REDUCE RISK OF ELECTRIC SHOCK, always unplug the power cord if a fault is detected, or if the panel needs to be moved.
•PROTECTION AGAINST OVERHEATING AND FIRE HAZARD: The front glass panel can reach a surface temperature of up to
150°C. Do not place flammable substances or objects in front of the panel. The surface temperature of the back cover at 220V-
250V reaches 85-112 ° C. For installation and electrical installation in plasterboard, etc., seek an electrician or specialist.
•Installation on flammable materials is prohibited.
•CLEANING: ALWAYS disconnect the panel from the power supply before cleaning; never clean it when it is connected to the
power supply.
•WARNING: To prevent the panel from overheating, do not cover the heating panel with anything!
FOR FIRST USE:
•If you notice an odor after turning it on, it is likely that the new heating element is heating up. If the odor persists after 1 hour of
operation, turn off the panel, locate and remove the odor source. If the odor persists for 2 days, contact your dealer.
•The panel MUST NEVER be placed directly under an electrical socket! Position the panel so that the power cord plug is next to
the panel.
•The panel MUST NEVER BE USED if the glass is damaged! If the glass is damaged, contact your dealer.
•FIRST panels are designed to withstand a slight overvoltage of 220 - 250V, depending on the area where they are used.
Before use, make sure that the panel you are installing is suitable for your area. If this is not the case, do not plug the
appliance into an electrical outlet and contact your supplier. If the panel is plugged into an outlet with the wrong voltage or the
voltage fluctuations exceed the above range, the warranty of FIRST Heating Systems does not cover such damage.
©2021 FIRST Heating Systems s.r.o.
Manufacturer warranty service and
post-warranty service:
FIRST Heating Systems s.r.o.
Plynárenská 291
261 01 Příbram 1
Czech Republic
EU VAT: CZ06668062
Tel: +420 775 462 636
info@firstheatingsystems.com
www.firstheatingsystems.com
This manual suits for next models
9
Other First Heating Heater manuals
Popular Heater manuals by other brands
BIOCLEAR
BIOCLEAR HeatSync Instructions for use

Black Body
Black Body AIR FLASH Assembly instructions
Sentiotec
Sentiotec CP-RM-HSR-4S Instructions for installation
solamagic
solamagic 500W user guide

Valor
Valor 541 Masquerade Installer and owner guide
Dimplex
Dimplex DTD2R05 Installation and operating instructions
