First Heating Basic Series User manual

M-20120511-BASIC-ENG.doc
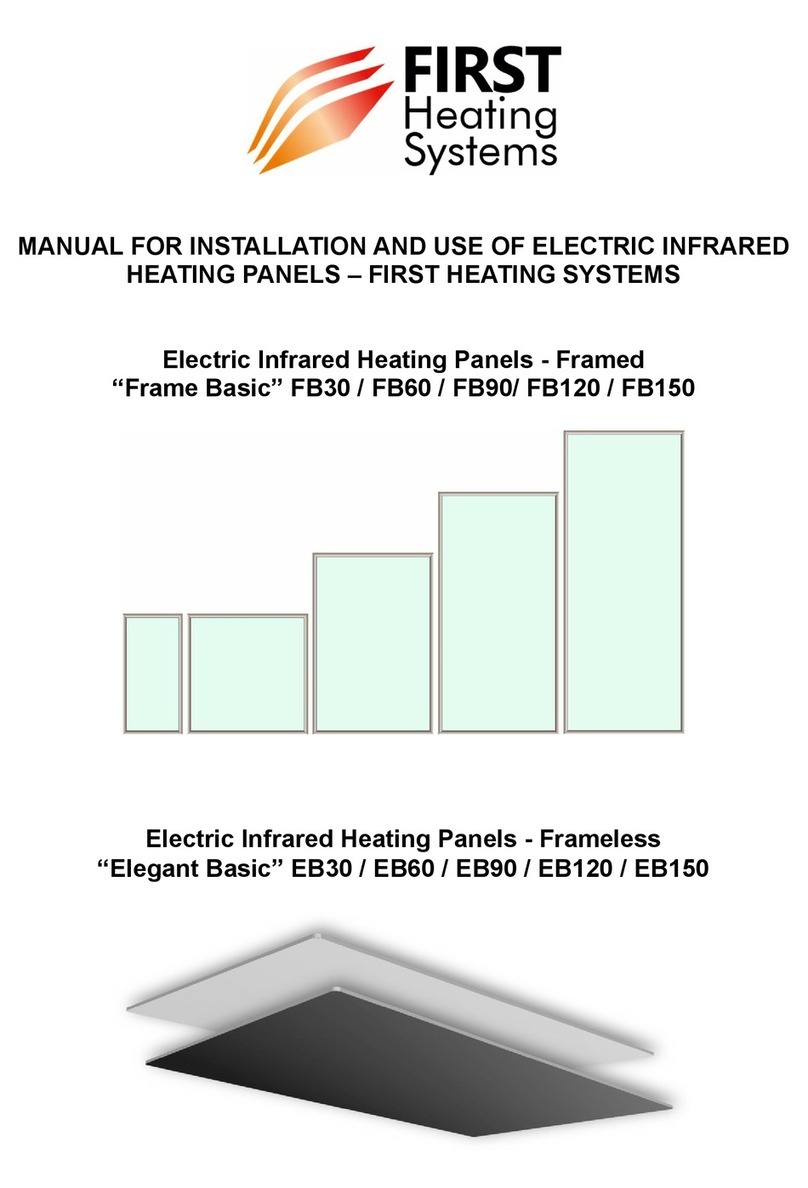
Ceiling-Mounted Infrared Panel Heater
“Basic” Series B 30/60/90/120/150/180
PRODUCT SPECIFICATIONS:
Model Number B30 B60 B90 B120 B150 B180
Dimensions* 596mm x 296mm x
58mm
596mm x
596mm x 58mm
596mm x 896mm x
58mm
596mm x 1196mm x
58mm
596mm x 1496mm x
58mm
1796mm x
2
56
mm x 58mm
Max. Wattage 230W 500W 800W 1000W 1300W 650W
Panel Weight 6 kg 11 kg 13 kg 16 kg 24 kg 9,5 kg
Input Power 230V~ 50-60Hz
Current 1A 2.2A 3.5A 4.4A 5.7A 2.8A
Power Cable IEC connector, Power Cable: length 2m with Earthed connection plug 2m cable without
plug o
f
connector
Glass 4mm tempered glass or 6mm tempered mirror
Frame Aluminum profile
* Assembled dimensions, without mounting hardware

2
PACKAGE CONTENTS:
Heating panel
Power c
able (2m)
Mounting brackets (x4)
Mounting bracket screws (x4)
Screws/ plugs for ceiling (x4)
Washers (x4)
10mm wrench (x1)
Installation Template
INSTALLATION:
For proper climate control and efficient electrical consumption, a
thermostat or other temperature-control apparatus must be
connected to the heating panel.
The appliance is suitable for use in bathrooms at ZONE 3
(please see illustrations). In all cases, be sure that the power
outlets are equipped with an RCD (Residual Current Device) to
protect the electrical circuit.
Because the panel radiates infrared waves, it should not be
obstructed by or placed behind furniture and other objects, it
could restrain its performance and may cause injury. The heater
should be installed at a position where occupants would
normally be at the same distance from it.

M-20120511-BASIC-ENG.doc
Once the most favorable installation position has been identified, please follow the steps:
Step 1: Place the installation template on the ceiling using tape and mark the 4 locations of the holes for the wall plugs and
mounting screws. Verify that there are no electrical cables in the ceiling where you will be drilling.
Step 2: Use a drill bit suitable for the ceiling material type. For concrete/ brick ceilings, use a drill bit with a diameter of 8mm.
Step 3: Wall plugs for solid (concrete, brick) ceilings are provided. Put the plugs in the holes and fix the screws with a washer until
each washer remains about 1cm below the ceiling. In case of doubt, please ask for assistance from a professional.
Step 4: Hang the panel using its mounting brackets on the screws, rotate the two loose brackets 180 degrees, and then secure
them with the 10mm wrench for stability. Plug the power cable into the panel cable socket.
Step 5: Plug the power cable into 230V, standard electrical outlet.
SAFETY NOTES:
FIRST Heating Basic panel models are designed for ceiling installation and are equipped with mounting brackets to provide
support.
The appliance is safe to touch; however, prolonged contact with the panel while it is in operation may cause injury.
Small children should not be left unattended near the heating panel as prolonged contact with the panel may cause injury.
The appliance can be used in bathrooms but it must not come into contact with water.
If any fluids or foreign object may become lodged within the panel, disconnect it from power and have it checked by a service
technician.
The appliance has an earthed power cord which is to be used with 230V power outlets. In case the power cord or the
appliance itself becomes damaged, it should be repaired by a professional.
DO NOT attempt to disassemble the appliance. It contains many parts and the warranty will become void. Dis-assembly and/
or reassembly should not be done outside the factory or a specialized service center.
TO AVOID ELECTROCUTION, remove the power cord if a defect has been identified, or if the panel is to be moved.
PROTECTION AGAINST OVERHEATING AND FIRE HAZARD: The panel can at instances reach surface temperatures of
160°C. DO NOT cover the panel at any time nor put easily flammable fabrics or other objects directly under the panel.
If drilling into the ceiling for installation, first check that the area is free of electrical wires, gas, water pipes, or any other
obstacles that could be damaged.
FIRST TIME USE: verify that all of the packaging materials have been removed. In case you notice an odor due to panel
operation, switch it off immediately, then identify and remove the source. In case the smell persists, contact your point of sale.
Install the panel where its plug will be easily accessible.
DO NOT cover the power outlet with the panel.
FIRST panels are designed to withstand moderate power drops/surges at voltages between 220V and 250V. Verify before use
that the panel you are installing is suited for your regional supply voltage. When this would not be the case, do not plug in the
appliance and contact your supplier. In case the panel is plugged into an outlet with the wrong voltage, or when power surges
are out of the range as described before, the warranty will NOT cover these damages.
Do not attempt to clean the heating panel while it is connected to the electrical power supply. First unplug the power cord, and
then the appliance may be cleaned with a soft, dry cloth.
DO NOT COVER: To prevent the panel from overheating, do not cover or conceal it with textiles, items of clothing, or
other objects of any type.
WARNING: Be sure that the heating panel is installed above its electrical power outlet.
WARNING: The heating panel may not used if its glass cover is damaged. Immediately turn off the heating panel if damage to
the the glass occurs.
The heating panel is not intended for use by persons (including children) with reduced physical, sensory or mental capabilities.
Those lacking experience concerning the use of heating panels should be given instruction by a person aware of their safe
use.
Children should be supervised not to play with heating panels. They are NOT toys and children should be clearly instructed
and supervised by adults.
FIRST Heating s.r.o.
Revoluční 3
110 00 Praha 1
Czech Republic
Tel: (+420)
221 709 689
-
90
www.firstheating.com
©2012 FIRST Heating s.r.o.

M-20120511-BASIC Elegant-ENG.doc
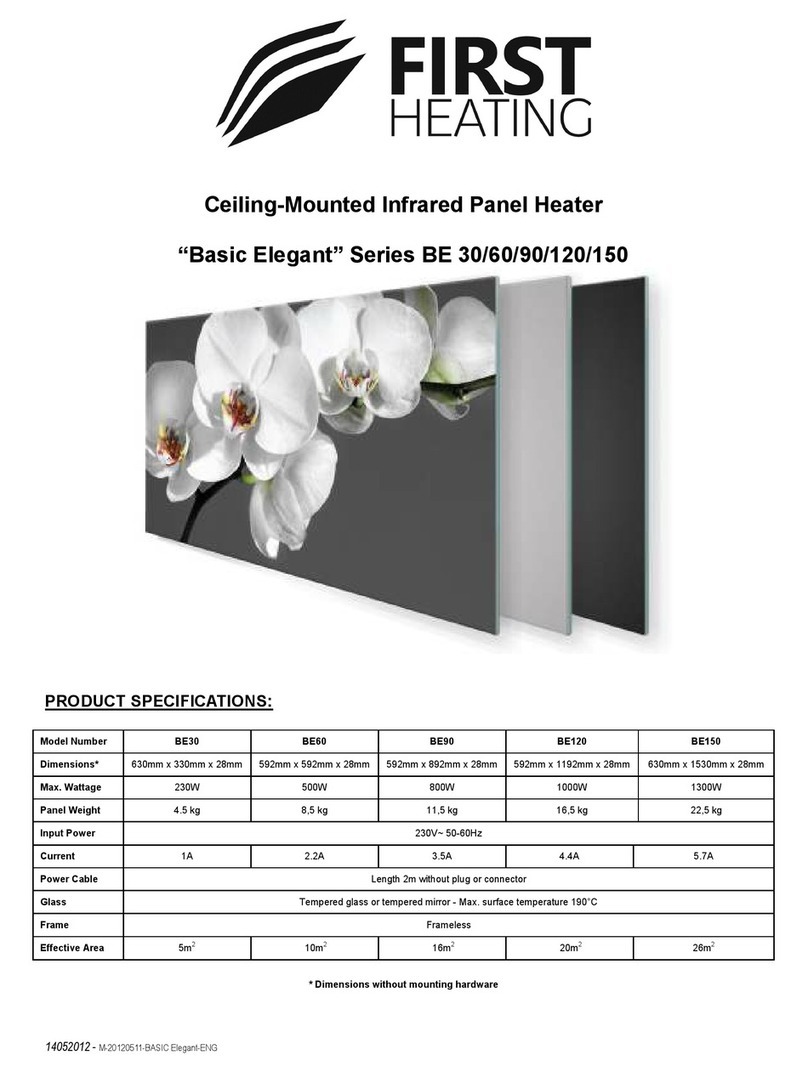
Ceiling-Mounted Infrared Panel Heater
“Basic Elegant” Series BE 30/60/90/120/150
PRODUCT SPECIFICATIONS:
Model Number BE30 BE60 BE90 BE120 BE150
Dimensions* 630mm x 330mm x 28mm 592mm x 592mm x 28mm 592mm x 892mm x 28mm 592mm x 1192mm x 28mm 630mm x 1530mm x 28mm
Max. Wattage 230W 500W 800W 1000W 1300W
Panel Weight 4.5 kg 8,5 kg 11,5 kg 16,5 kg 22,5 kg
Input Power 230V~ 50-60Hz
Current 1A 2.2A 3.5A 4.4A 5.7A
Power Cable Length 2m without plug of connector
Glass 5mm tempered glass or 6mm tempered mirror - Max. surface temperature 160°C
Frame Frameless
* Assembled dimensions, without mounting hardware

2
PACKAGE CONTENTS:
Heating panel (Power cable 2m)
Mounting brackets (x4)
Mounting bracket screws (x4)
Screws/ plugs for ceiling (x4)
Washers (x4)
10mm wrench (x1)
Installation Template
INSTALLATION:
For proper climate control and efficient electrical consumption, a
thermostat or other temperature-control apparatus must be
connected to the heating panel.
The appliance is suitable for use in bathrooms at ZONE 3
(please see illustrations). In all cases, be sure that the power
outlets are equipped with an RCD (Residual Current Device) to
protect the electrical circuit.
Because the panel radiates infrared waves, it should not be
obstructed by or placed behind furniture and other objects, it
could restrain its performance and may cause injury. The heater
should be installed at a position where occupants would
normally be at the same distance from it.

M-20120511-BASIC Elegant-ENG.doc
Once the most favorable installation position has been identified, please follow the steps:
Step 1: Place the installation template on the ceiling using tape and mark the 4 locations of the holes for the wall plugs and
mounting screws. Verify that there are no electrical cables in the ceiling where you will be drilling.
Step 2: Use a drill bit suitable for the ceiling material type. For concrete/ brick ceilings, use a drill bit with a diameter of 8mm.
Step 3: Wall plugs for solid (concrete, brick) ceilings are provided. Put the plugs in the holes and fix the screws with a washer until
each washer remains about 1cm below the ceiling. In case of doubt, please ask for assistance from a professional.
Step 4: Hang the panel using its mounting brackets on the screws, rotate the two loose brackets 180 degrees, and then secure
them with the 10mm wrench for stability.
Step 5: Plug the power cable into 230V, standard electrical outlet.
SAFETY NOTES:
FIRST Heating BASIC Elegant panel models are designed for ceiling installation and are equipped with mounting brackets to
provide support.
The appliance is safe to touch; however, prolonged contact with the panel while it is in operation may cause injury.
Small children should not be left unattended near the heating panel as prolonged contact with the panel may cause injury.
The appliance can be used in bathrooms (zone 3) but it must not come into contact with water.
If any fluids or foreign object may become lodged within the panel, disconnect it from power and have it checked by a service
technician.
The appliance has an earthed power cord which is to be used with 230V power outlets. In case the power cord or the
appliance itself becomes damaged, it should be repaired by a professional.
DO NOT attempt to disassemble the appliance. It contains many parts and the warranty will become void. Dis-assembly and/or
reassembly should not be done outside the factory or a specialized service center.
TO AVOID ELECTROCUTION, remove the power cord if a defect has been identified, or if the panel is to be moved.
PROTECTION AGAINST OVERHEATING AND FIRE HAZARD: The panel can at instances reach surface temperatures of
160°C. DO NOT cover the panel at any time nor put easily flammable fabrics or other objects directly under the panel.
If drilling into the ceiling for installation, first check that the area is free of electrical wires, gas, water pipes, or any other
obstacles that could be damaged.
FIRST TIME USE: verify that all of the packaging materials have been removed. In case you notice an odor due to panel
operation, switch it off immediately, then identify and remove the source. In case the smell persists, contact your point of sale.
Install the panel where its plug will be easily accessible.
DO NOT cover the power outlet with the panel.
FIRST panels are designed to withstand moderate power drops/surges at voltages between 220V and 250V. Verify before use
that the panel you are installing is suited for your regional supply voltage. When this would not be the case, do not plug in the
appliance and contact your supplier. In case the panel is plugged into an outlet with the wrong voltage, or when power surges
are out of the range as described before, the warranty will NOT cover these damages.
Do not attempt to clean the heating panel while it is connected to the electrical power supply. First unplug the power cord, and
then the appliance may be cleaned with a soft, dry cloth.
DO NOT COVER: To prevent the panel from overheating, do not cover or conceal it with textiles, items of clothing, or
other objects of any type.
WARNING: Be sure that the heating panel is installed above its electrical power outlet.
WARNING: The heating panel may not used if its glass cover is damaged. Immediately turn off the heating panel if damage to
the the glass occurs.
The heating panel is not intended for use by persons (including children) with reduced physical, sensory or mental capabilities.
Those lacking experience concerning the use of heating panels should be given instruction by a person aware of their safe
use.
Children should be supervised not to play with heating panels. They are NOT toys and children should be clearly instructed
and supervised by adults.
FIRST Heating s.r.o.
Revoluční 3
110 00 Praha 1
Czech Republi
c
Tel: (+420)
221 709 689
-
90
info@firstheating.com
www.firstheating.com
©2012 FIRST Heating s.r.o.
This manual suits for next models
6
Table of contents
Other First Heating Heater manuals
Popular Heater manuals by other brands

FAFCO
FAFCO SUPER solar beat Installation and owner's manual

Propex
Propex COMPACT 1600W X1 operating instructions
Haverland
Haverland RCZ Instruction & installation manual
DeLonghi
DeLonghi HCX9115ECA manual

Melchioni
Melchioni BLANCO PLUS user manual

Karisma
Karisma INFRARED EVO Use and maintenance instructions
Timberk
Timberk TCH Q1 800 instruction manual
Fondital
Fondital 2200 Technical data and instructions

Helo
Helo Ringo Black product manual

Desa
Desa MASTER WA 29 A user manual
Bellus
Bellus 616908 Operation instructions
Pinnacle Climate Technologies
Pinnacle Climate Technologies REMINGTON REM-18-PCH-O User's manual & operating instructions
