FISNAR DC200 User manual

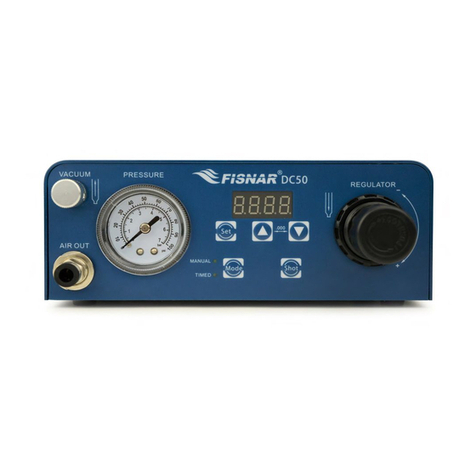
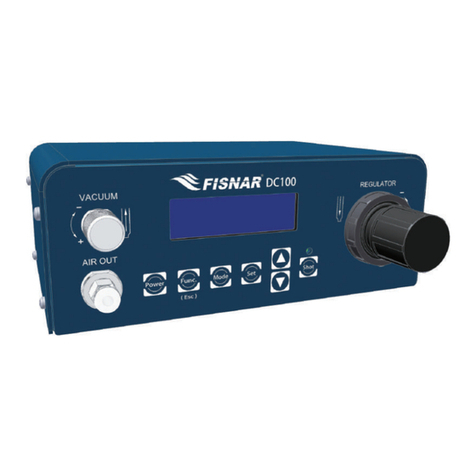
DC200 Digital Dispenser
Operating Manual
© 2015 Fisnar | Phone: (973) 646-5044 | E-mail: [email protected]

DC200 Digital Dispenser Operating Manual
© 2015 Fisnar - 2 - DC200 Rev A
Table of Contents
Product Safety Statements 4
Specifications 6
Accessories 6
External Controls 7
Machine Setup 8
Dispense Setup 9
Operations 10
Controls 11
Dispense Modes 13
Purge Mode 13
Teach Mode 14
Timed Mode 15
Time+ Mode 16
Int Mode 17
Function Menu 18
Unlock / Lock 19
Add Dispense Time 20
Glue Alarm 21
Pressure Alarm 23
Vacuum Alarm 24
Auto Purge
Robot Alarm
26
27
Power Switch 28
Dispense Count 29
Dispense Time
Language
29
30
Used Time 31
Calibration 32
Pressure Regulator Calibration 33
Vacuum Regulator Calibration 34
External Control 35
I/O Connections 35
I/O Schematic 36
Multiple Dispensers 37
© 2015 Fisnar | Phone: (973) 646-5044 | E-mail: [email protected]

DC200 Digital Dispenser Operating Manual
© 2015 Fisnar - 3 - DC200 Rev A
Model DC200 Digital Dispenser
The DC200 digital dispenser, with its versatile design, makes it perfectly suited for a wide
variety of dispensing applications; from microdot deposits, to large potting and filling.
Adjustable air output pressure and vacuum function with digital display.
A multi-purpose, programmable alarm timer to disable the dispenser after a specific amount of
time – useful for automated applications and materials with shortened shelf life and/or pot life
(i.e. two-component, pre-mixed frozen, etc.).
Tolerance on the input air pressure can be set to ensure consistent pressure all throughout the
dispensing.
OVERVIEW

DC200 Digital Dispenser Operating Manual
© 2015 Fisnar - 4 - DC200 Rev A
Do not operate the unit in excess of its maximum ratings / settings.
Make sure that the input air supply is clean and dry.
If corrosive or flammable fluids are being used, an inline filter must be installed to
help prevent the fluids from being sucked back into the unit.
The fluid being dispensed may be toxic and / or hazardous. Refer to the Material
Safety Data Sheet for proper handling and safety precautions.
Do not smoke or use near an open flame when flammable materials are being
dispensed.
Do not expose the dispenser directly to sunlight.
Avoid cleaning the dispenser with aggressive solvents – neutral detergents are
preferred.
Do not overfill the barrel and/or lay the barrel on its side. This will prevent fluids
from flowing back into the unit – refer to figures A& Bbelow.
DC200 Malfunction
If the DC200 malfunctions, shut down the unit immediately. This can be done by
either pressing the power switch or disconnecting the power cord.
SAFETY

DC200 Digital Dispenser Operating Manual
© 2015 Fisnar - 5 - DC200 Rev A
Inappropriate Use
If the DC200 is used in a way other than described in this manual, it may cause damage to
self or property.
Do not use any components with the DC200 other than Fisnar authorized
components.
Do not use incompatible materials.
Do not make any modifications to the DC200.
All repairs are to be done by Fisnar trained employees.
Do not operate the unit in excess of its maximum ratings / settings.
Fire Prevention
Refer to the following instructions to avoid any fire or explosion.
Access your surroundings and the location of the nearest fire extinguisher and
Emergency Exit.
Do not smoke or use near an open flame when flammable materials are being
dispensed.
Immediately disconnect power if any sparking or smoke appears.
Do not expose the dispenser directly to sunlight.
Maintenance
The DC200 is generally a maintenance free dispenser. However, to ensure smooth
operation please follow the below instructions.
Only use non-woven cleaners on the LCD.
Avoid cleaning the dispenser with aggressive solvents – neutral detergents are
preferred.
Ensure that compressed air supply to the DC200 is clean and moisture free.
Do not lay the barrel on its side. This will prevent fluids from flowing back into
the unit.
SAFETY

DC200 Digital Dispenser Operating Manual
© 2015 Fisnar - 6 - DC200 Rev A
PECIFT
ACCESSORIES
Item Quantity
Power Adapter (Input: 100 – 240 VAC / Output: 24 VDC ) 1
Foot Pedal 1
Air Inlet Hose 1
Cartridge Holder 1
Consumables Kit 1
I/O SOCKET Signal Cable 1
Power Adaptor (Input: 100 – 240 VAC / Output: 24 VDC) 1
Foot Pedal 1
Air Inlet Hose 1
Cartridge Holder 1
Consumables Kit 1
I/O Socket Signal Cable 1
Push Tube Fitting 1/4" OD Tube x 1/8" NPT 1
SPECIFICATIONS
Dimensions: 180 × 195 × 80 (W × D × H mm)
Weight: 1 KG (2.2 lbs.)
Input Voltage: 100 – 240 VAC
Rated Power: 18W
Cycle Rate: 600+/min
Relative Humidity: 20 – 90% (no condensation)
Operating Temperature: 10 – 40Ԩ (50 – 104Ԭ)
Timer: 0.008s – 9999s
Air Input: 100 psi ( 7 bar ) max
Air Output: 0 – 100 psi ( 7 bar)

DC200 Digital Dispenser Operating Manual
© 2015 Fisnar - 7 - DC200 Rev A
EXTERNAL CONTROLS
FIG. 1: External Controls
Item Illustration Item Illustration Item Illustration
1 Vacuum Control 7 Scroll Buttons 13 Air Inlet Port
2 Air Outlet Port 8 Shot / Purge Button 14 Foot Switch Connector
3 Power Button 9 Display 15 Fuse
4 Function / Escape
Button 10 Air Pressure
Regulator 16 Exhaust Port
5 Mode Button 11 Power Input Connector
6 Set Button 12 I/O Connector

DC200 Digital Dispenser Operating Manual
© 2015 Fisnar - 8 - DC200 Rev A
MACHINE SET UP
FIG. 2: Front and Back Views
1. Connect air hose (1) from compressed air 70-100psi (5-7 bar) to the air inlet port on the back
of the dispenser. See FIG. 2.
2. Insert the Foot Switch connector (2) to the port on the back of the dispenser. See FIG. 2.
3. Connect Electrical Power Cord (3) to the port on the back of the dispenser. See FIG. 2.

DC200 Digital Dispenser Operating Manual
© 2015 Fisnar - 9 - DC200 Rev A
DISPENSE SETUP
4. Fill the barrel (with barrel tip cap on the barrel) with material to be dispensed. Attach barrel to
barrel adapter head as shown below. See FIG. 3.
Do not overfill the barrel and/or lay the barrel on its side. This will prevent fluids
from flowing back into the unit – refer to figures A& Bbelow.
5. Connect the barrel adapter air tube with the “Air Out” port on the front of the dispenser. (4)
See FIG. 2.
FIG. 3: Dispenser Set Up

DC200 Digital Dispenser Operating Manual
© 2015 Fisnar - 10 - DC200 Rev A
OPERATION
MAIN SCREEN DISPLAY
Program Displays the currently selected program. Up to ten (10) individual
programs can be saved to the DC200 for future recall.
Mode Displays the current mode the saving program is in. There are five (5)
dispense modes available: PURGE, TEACH, TIMED, TIME+ and INT.
Features Displays which feature(s) are currently turned ON (i.e. Lock, Glue Alarm,
Pressure Alarm, Vacuum Alarm and Auto Purge).
Parameters Displays the values of the saved parameters (i.e. dispensing time,
pressure and vacuum).

DC200 Digital Dispenser Operating Manual
© 2015 Fisnar - 11 - DC200 Rev A
CONTROLS
Power On Press the key when the machine is OFF to turn the machine ON.
Power Off Press the key when the machine is ON to save everything and turn the
machine OFF.
Switch Modes Press the key to set the program to the required dispense mode (i.e.
PURGE, TEACH, TIMED, TIME+, INT).
Set Parameters Press the key to scroll through the dispense parameter settings (i.e.
TIME, PRES and VAC).
Switch Programs Press the keys to switch programs – see below.
FIG. 4: Controls
Set Pressure Press the key to display the current setting. Turn the regulator knob
clockwise to increase the pressure as needed.
Set Vacuum Press the key to display the current setting. Turn the vacuum knob
clockwise to increase the vacuum as needed.
Switch Units Press the keys while adjusting pressure or vacuum to switch
between pressure unit displays (i.e. psi, kgf/cm
2
, MPa, kPa and bar).

DC200 Digital Dispenser Operating Manual
© 2015 Fisnar - 12 - DC200 Rev A
CONTROLS
Set
Time/Interval
Press the key to display the current setting. Press the keys to
change the time values. Note that the time can only be set under TIMED, TIME+
or INT modes.
Press the key again to choose which decimal place to edit, including the
position of the decimal point.
Press and hold the key to save.
FIG. 5: Controls
Enter Function
Menu Press the key to enter the function menu.
Dispense Shot Press the key to run the currently selected program and actuate the
machine.

DC200 Digital Dispenser Operating Manual
© 2015 Fisnar - 13 - DC200 Rev A
DISPENSE MODES
FIG. 6: Dispense Modes
PURGE MODE
Use the key to switch to PURGE mode.
PURGE mode allows the operator to activate the machine on demand
whenever the dispense signal is tripped (i.e. foot pedal is pressed).
Press the foot pedal or the key to start the machine. Release to stop.
The TIME shown will reset to zero (0) seconds every time the machine is
cycled.

DC200 Digital Dispenser Operating Manual
© 2015 Fisnar - 14 - DC200 Rev A
DISPENSE MODES
FIG. 7: Dispense Modes
TEACH MODE
Use the key to switch to TEACH mode.
TEACH mode allows the operator to record the dispense time.
Press the foot pedal or the key to start the machine. Release to stop.
The TIME shown will be cumulative from every time the machine is cycled.
Press and hold the key to reset the timer to zero (0).
The time shown on the screen will be the total time the machine is cycled.
Once the time required is obtained, switch to TIMED, TIME+ or INT mode to
save the value.

DC200 Digital Dispenser Operating Manual
© 2015 Fisnar - 15 - DC200 Rev A
DISPENSE MODES
FIG. 8: Dispense Modes
TIMED MODE
,
Use the key to switch to TIMED mode.
TIMED mode allows the operator to dispense material at a fixed time interval.
Press the keys to change the time values.
Press the key again to choose which decimal place to edit, including the
position of the decimal point.
Press and hold the key to save.
Press the foot pedal or the key to start the machine. The machine will
continue dispensing until the set time is satisfied.
Pressing the key will stop the dispensing regardless of whether the set
time is up or not. This shot will be considered “incomplete” and will not count
towards the cumulative dispense counter. The timer will reset to the original
programmed time value.

DC200 Digital Dispenser Operating Manual
© 2015 Fisnar - 16 - DC200 Rev A
DISPENSE MODES
FIG. 9: Dispense Modes
TIME+ MODE
Use the key to switch to TIME+ mode.
TIME+ mode allows the operator to program a second timed shot, useful for
making slight adjustments on the dispense time without changing the original
value in TIMED mode.
This mode is suitable for sensitive (temperature, humidity, short pot life, etc.)
materials that require tweaking of the timed value (or pressure) over time to
achieve consistency on the dispensed amount.
Press the keys to change the value.
Press the foot pedal or the key to start the machine. The machine will
continue dispensing until the set time is satisfied.
Pressing the key will stop dispensing regardless of whether set time is up
or not. This shot will be considered “incomplete” and will not count towards the
cumulative dispense counter. The timer will reset to the original programmed time
value.
The time value saved under TIME+ mode will not affect the values in other
modes (i.e. TIMED, INT). However, changing the time value in other modes
will also change the value in TIME+ mode.

DC200 Digital Dispenser Operating Manual
© 2015 Fisnar - 17 - DC200 Rev A
DISPENSE MODES
FIG. 10: Dispense Modes
INT INT MODE
,
Use the key to switch to INT mode.
INT mode allows the operator to control the material being dispensed within the
programmed dispense time interval. This combines the precision of a timed shot
with the flexibility of an operator control shot.
Press the keys to change the time values.
Press the key again to choose which decimal place to edit, including the
position of the decimal point.
Press and hold the key to save.
Press the foot pedal or the key to start the machine. Release to stop. The
timer will continue to count down until, either: (1) the foot pedal is released, or; (2)
the set time is satisfied.
The timer will only reset to the original programmed time value once it reaches zero
(0).
A full shot cycle is counted towards the cumulative dispense counter whenever the
timer reaches zero (0).

DC200 Digital Dispenser Operating Manual
© 2015 Fisnar - 18 - DC200 Rev A
TheDC200 controller offers built-in functions that provide additional control to any dispensing
application.
Instructions:
Press the key to enter the Function menu.
Press the keys to scroll through the available built-in functions.
Press the key to enter the selected function menu.
Press the key to exit.
Overview:
Function Description
1. Unlock / Lock Locks or unlocks the controls.
2. Add Dispense
Time
Sets the amount of time added to the TIME+ value after a
predetermined number of shots.
3. Glue Alarm Sets the total amount of dispense time required to empty the
barrel or cartridge.
4. Pressure Alarm Sets the pressure and tolerance required for optimum
dispensing conditions.
5. Vacuum Alarm Sets the vacuum and tolerance required for optimum dispensing
conditions.
6. Auto Purge Sets the dispense time and delay time for automatic purging of
material.
7. Robot Alarm Let dispenser & external equipment stop working after receiving
warning signal.
8. Power Switch Unit is turned on by power being supplied to it instead of using
the on/off switch.
9. Dispense Count Displays the total number of dispensed shots made per work
cycle. This counter is resettable.
10. Dispense Time Displays the total dispense time made per work cycle. This timer
is resettable.
11.
Language
Choose LCD display language
12. Used Time Displays the total number of hours the machine is being used.
This timer is not resettable.
FUNCTION MENU

DC200 Digital Dispenser Operating Manual
© 2015 Fisnar - 19 - DC200 Rev A
1. Unlock / Lock
This function allows the user to lock the dispenser controls so it cannot be inadvertently modified.
Only the button will function if the lock is engaged.
FIG. 11: Unlock/Lock Function
1. There is only one (1) parameter required for this function: MODE. Use the buttons
to toggle between locked and unlocked state.
FIG. 12: Locked
2. A letter “L” will show on the main screen when the machine is locked.
FUNCTION MENU

DC200 Digital Dispenser Operating Manual
© 2015 Fisnar - 20 - DC200 Rev A
2. Add Dispense Time
This function allows the user to program a cumulative time offset added to the original timed shot after a
predetermined number of shots were made. This functionality is particularly useful to control the dispensed
material amount as the barrel or cartridge empties over time.
This function is used in conjunction with the TIME+ mode.
FIG. 13: Add Dispense Time
1.
There are three (3) parameters required for this function: MODE, Trigger Count and Add Time. Press
the key to scroll through these parameters.
2. Use the keys to turn the Add Dispense Time MODE On or Off.
3. Use the keys to set the Trigger Count value (predetermined number of shots). Press and
hold the key to save.
4.
Use the keys to set the Add Time value. Press the key again to choose which
decimal place to edit, including the position of the decimal point. Press and hold the key to
save.
5. A plus “+” symbol will show on the main screen when this function is turned ON.
FIG. 14: Add Dispense Time
FUNCTION MENU
Table of contents
Other FISNAR Dispenser manuals
Popular Dispenser manuals by other brands
Kogan
Kogan Pawever Pets PPCAGEDISPA user guide
Sulzer
Sulzer COX COSMO SP-750.121 operating instructions

Perlick
Perlick Draft Arm installation instructions

Franke
Franke SD300 Installation and operating instructions
STODDART
STODDART SPPL.HSD.HS.001 installation manual
Elkay
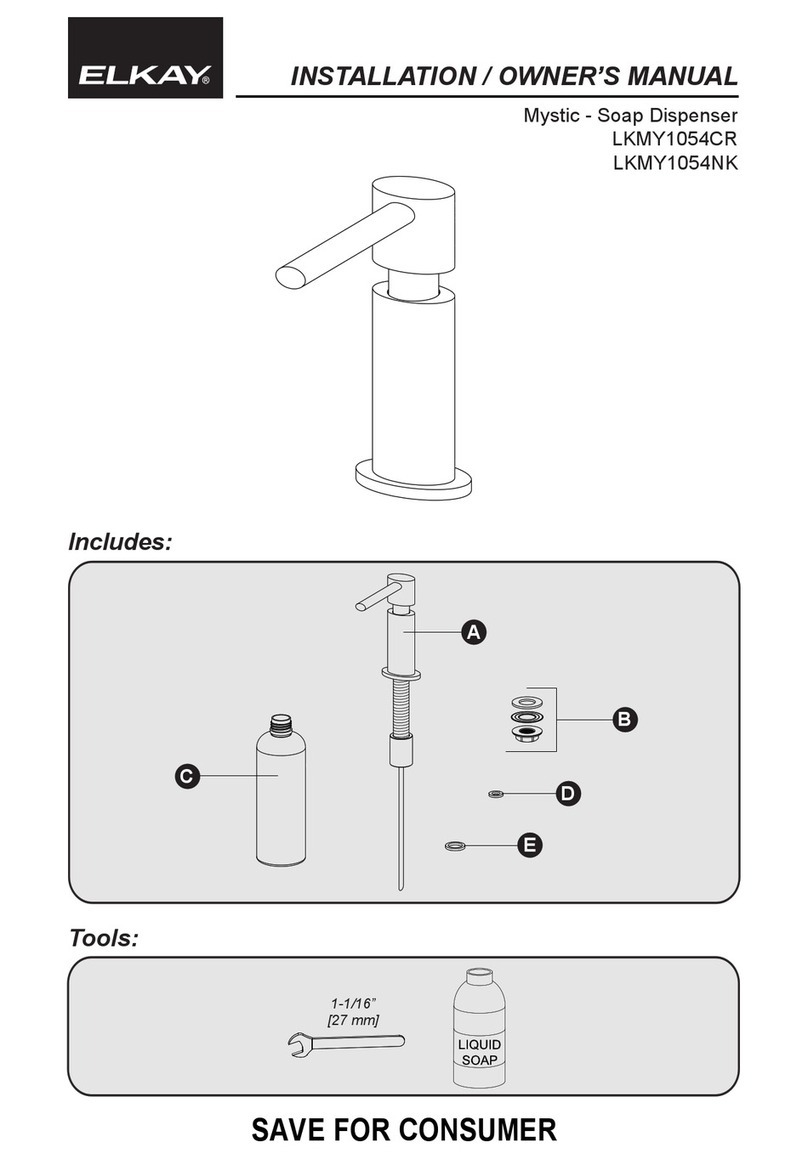
Elkay Mystic LKMY1054CR Installation and owner's manual
