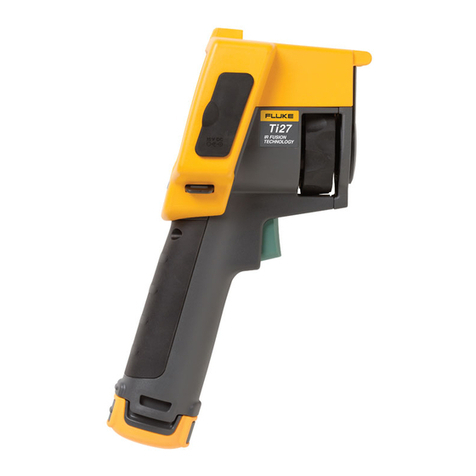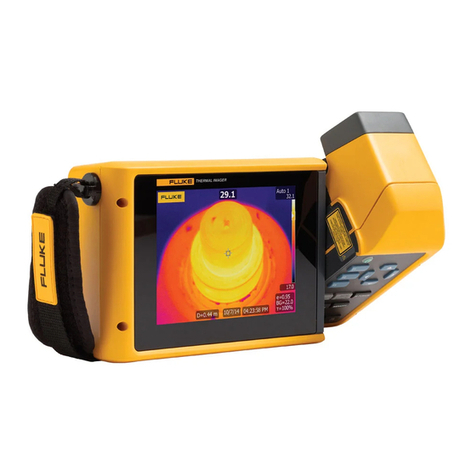
QuickStart: FLUKE Ti40, Ti45, Ti50, Ti55, TiR2, TiR3, TiR4
© 2011 The Snell Group / 322 N. Main St. / Suite 8 / Barre, VT 05641 / 800.636.9820 / www.thesnellgroup.com
FLUKE Ti40 – Ti55 Page 2
move the Joystick left or right while the center level value is highlighted.
7. PAUSE IMAGE: To pause the image, tap the Trigger Button, the image will indicate this in the upper left corner
of the LCD. Tapping the Trigger Button again to return to a live image.
8. SAVE IMAGE: To save an image it is recommended that you first pause the image as above. Once sure that
the pause image is the one you wish to save, press and hold the Trigger Button for about 1-2 seconds. This initiates
the save process, the saved file name will now be visible in the upper left corner of the LCD as the image remains
paused. Tapping the Trigger Button again to return to a live image.
9. RECALL: To recall a saved image push the Menu button this will display the
main menu on the LCD. Use the Joystick to move the arrow cursor to highlight
“Browse Images” (Fig 3). Tap the Select button and you will be taken to your
saved images, nine to a page. Use the cursor and Select button to move through
the pages and to select the saved image you wish to view. Once selected double
tap the Select button. The selected image will show full view in the LCD.
Tap the Trigger Button to return to a live image
10. PALETTE: Change color palettes by using the Cursor Control Joystick to move the arrow cursor on
top of the palette indicator bar (Fig 4). Tapping the Select button will change the palette to the next
choice. Scroll through all choices by repeatedly tapping the Select button.
11. RANGE: To change range push the Menu button which will show the main menu on the LCD.
Use the Joystick to move the arrow cursor to highlight “Camera Settings” (Fig 5) and tap
the Select button.
Position the pointer over the “Lens” folder tab and tap the Select button.
Position the pointer over the desired range radio button and tap Select.
Tap the Trigger Button to accept the changes and return to a live image.
12. EMISSIVITY: To change the emissivity value (Fig 6), highlight the current value by
using the Cursor Control Joystick to move the arrow cursor on top of the emissivity value
then tap Select.
Move the Cursor Control Joystick up and
down to change to the desired value.
When finished, tap the Select button again
to deselect.
13. BACKGROUND: To change the Background Temperature value (Fig 6), highlight the current value by using the
Cursor Control Joystick to move the arrow cursor on top of the background value then tap Select.
Move the Cursor Control Joystick up and down to change to the desired value.
When finished, tap the Select button again to deselect.
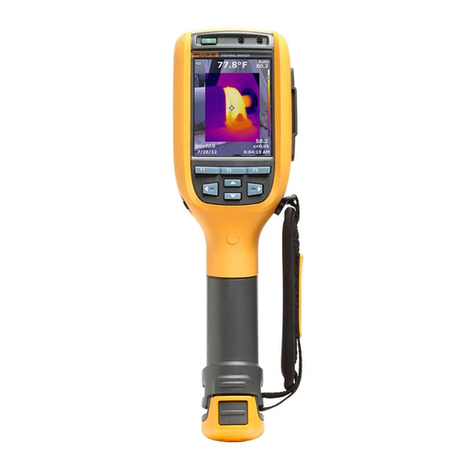
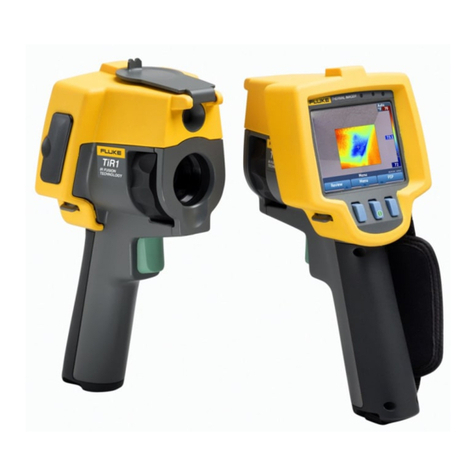
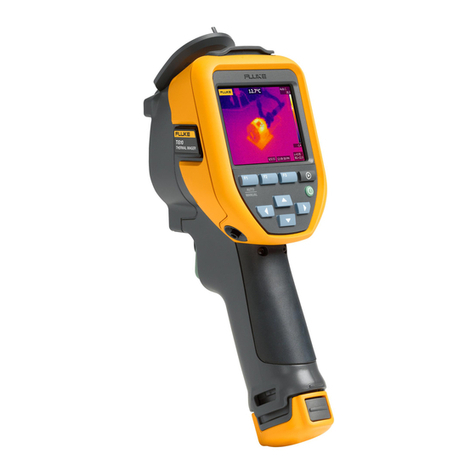
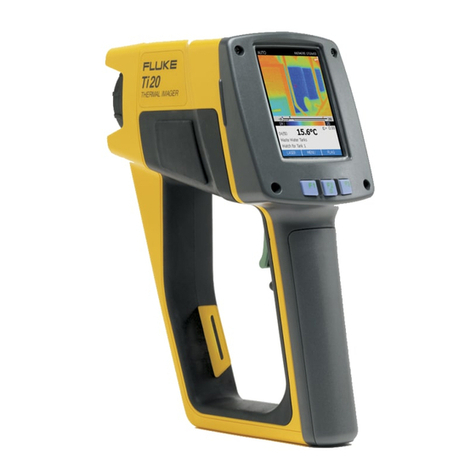
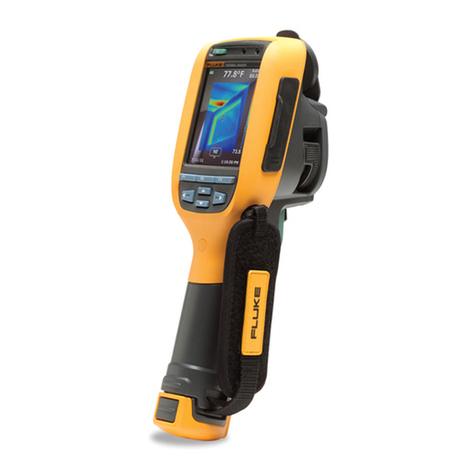
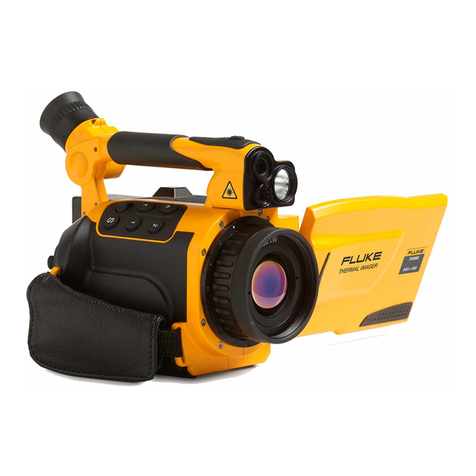
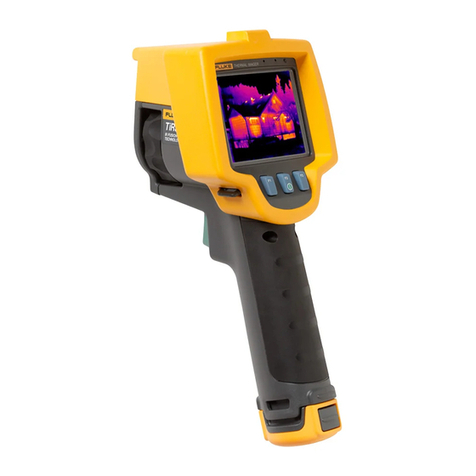
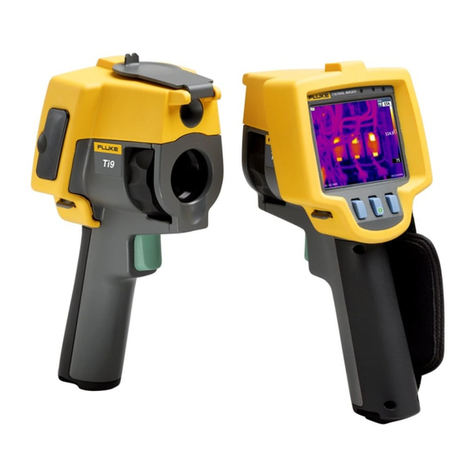
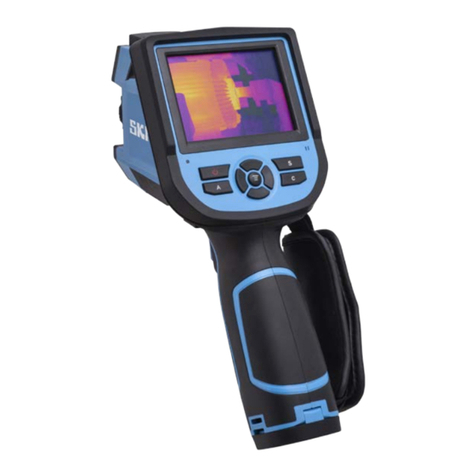
Fluke Ti 40, Ti45, TiR2
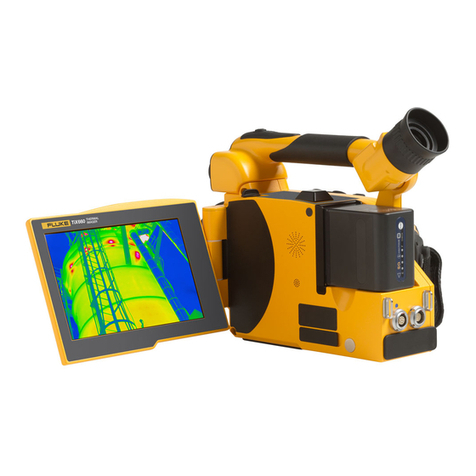
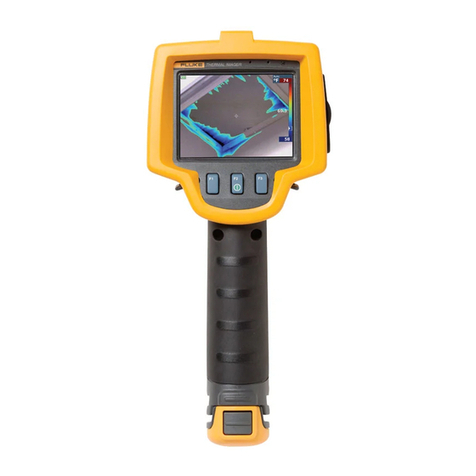
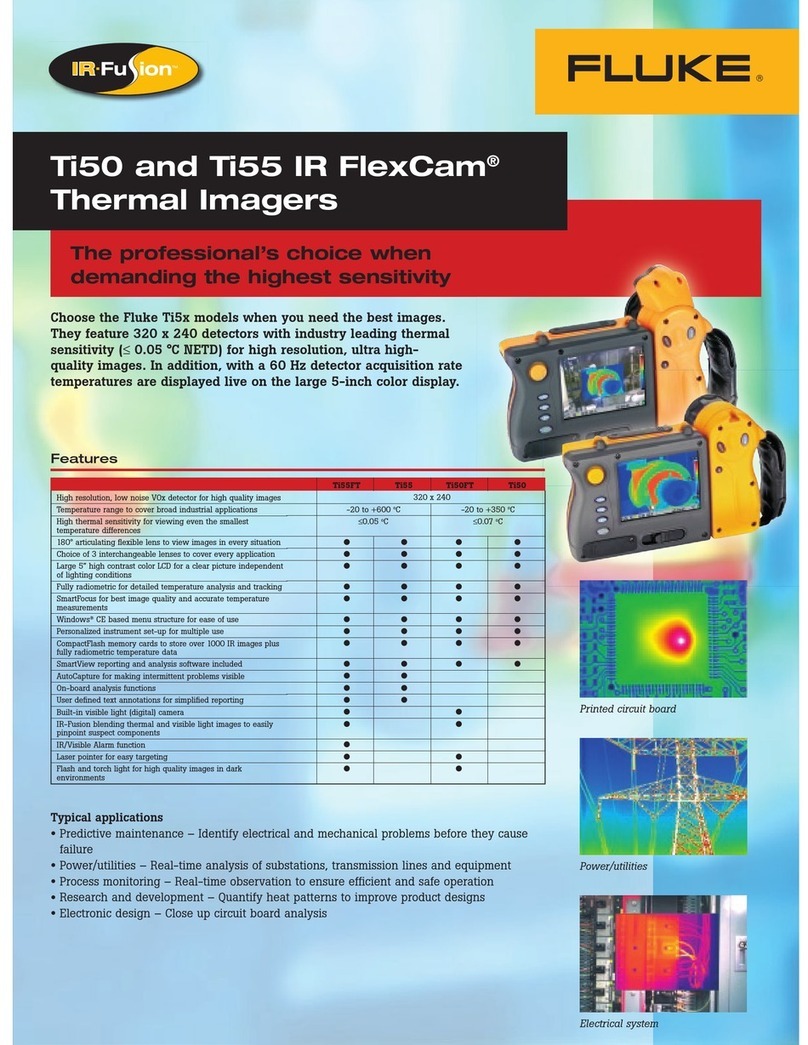
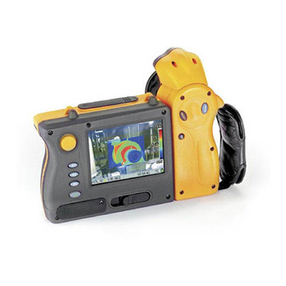
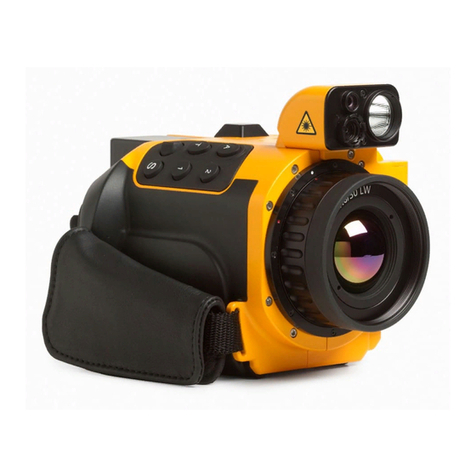
Fluke Ti50, Ti55, TiR3, TiR4
Fig 4
Fig 3
IFOV =1.3 mRad (Theoretical with 240 x 320 Detector and standard 23˚x17˚lens) Detect 1in. target @ 64ft.
IFOV =2.6 mRad (Theoretical with 120 x 160 Detector and standard 23˚x17˚lens) Detect 1in. target @ 32ft.
Fig 5
Emissivity Value Background Temp Value
