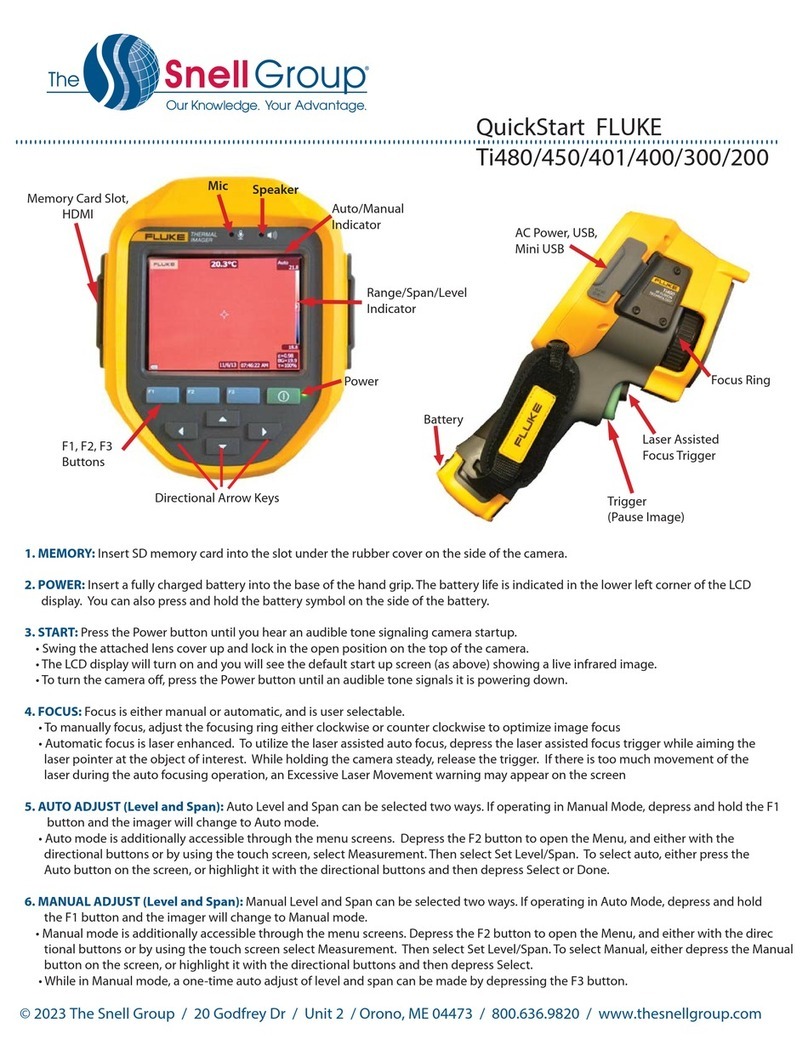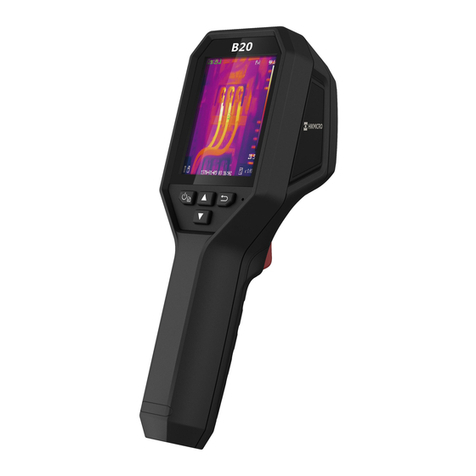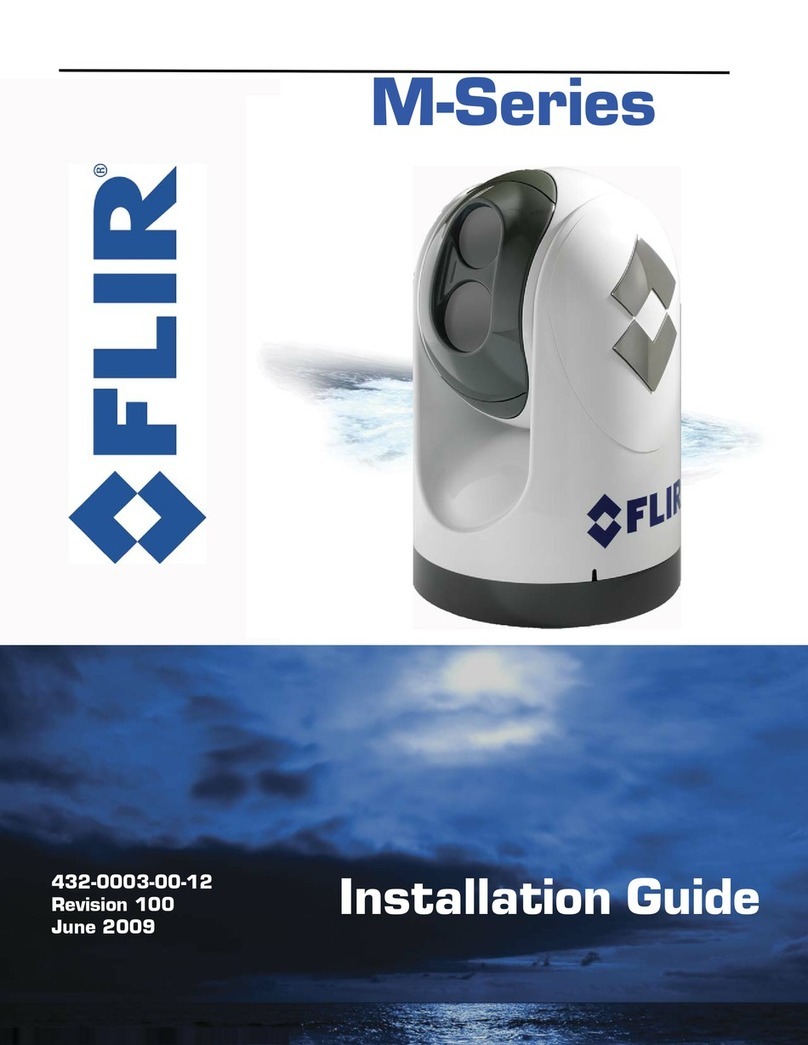
QuickStart: Fluke TiX-640, TiX-660, TiX-1000
© 2013 The Snell Group / 322 N. Main St. / Suite 8 / Barre, VT 05641 / 800.636.9820 / www.thesnellgroup.com
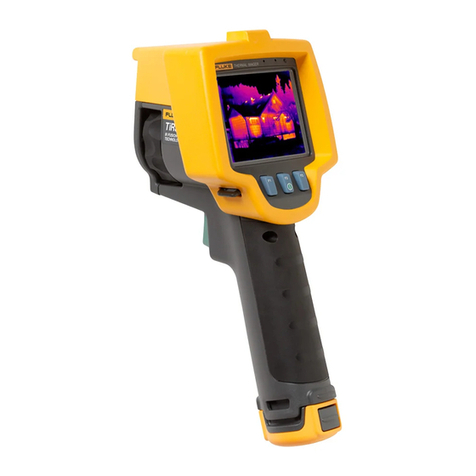
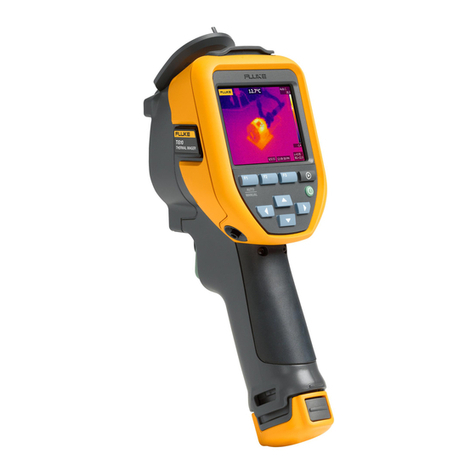
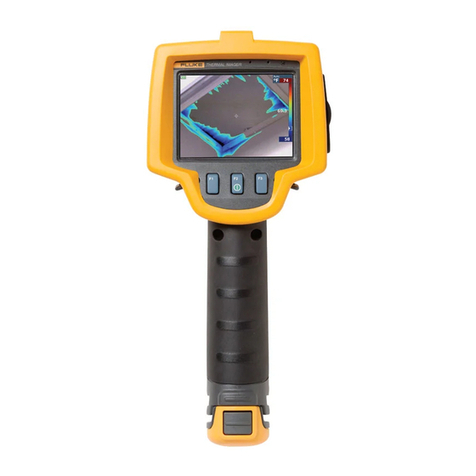
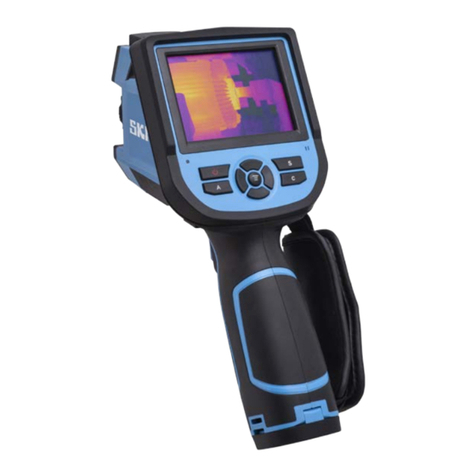
Fluke Ti-400, Ti-300, Ti-200
access the two Automatic adjustments by selecting the icon and then choosing Level/Range and pushing enter
and use the joystick according to the side menu to highlight either Automatic (one time) or Automatic (continue).
6. MANUAL ADJUST (Level and Span): Push and hold the C button, then use the joystick according to the side
menu to adjust span (left/right) or level (up/down). You could also input a specific span and level by inputting the
desired numbers. To do so select the icon and choose Level/Range, then Input, changing the numbers and
selecting OK. Depressing the A button momentarily will perform a one-time auto adjust while remaining in the manual
mode.
7. PAUSE IMAGE (Freeze): Live images are paused by depressing the S button part way down. To go back to the
live mode, depress the C button.
8. SAVE IMAGE: Press the S button part way down to freeze the image, and then S again to save. Or, you can press
the S button all the way down to immediately save the image without freezing it first.
9. RECALL IMAGE: Depress the C button to get to the menu, then go to the icon and choose “load” by hitting
enter and choose either single file or gallery. If single is chosen, scroll through the image numbers/thumbnail to the
desired image and hit enter. If gallery is chosen, a thumbnail gallery will be displayed. Chose the image and hit enter.
10. PALETTE: Push the C button to get the menu, then to the menu and scroll down to palette and hit select. The
choice will be highlighted and scroll up/down to the desired new palette, then hit select and then OK/select.
11. RANGE: From the menu go to the menu and choose “Range” and then select the specific temperature range
desired manually, or choose “automatic” to have the camera automatically choose the appropriate range of the
scene being viewed.
12. EMISSIVITY: From the menu go to menu and choose “correction”. Highlighter is on the current emissivity
value. To adjust highlight emissivity and then up/down to the desired value and press OK. NOTE: you can either
change any of the digits independently or move right to the single digit you want changed. You can also use the built-
in material chart by choosing “materials”.
13. BACKGROUND: From the menu, go to menu and choose correction, then scroll to “environmental
temperature” and change value to desired number.
14. TRANSMISSION: the menu, go to menu and highlight “Transmission”, select that choice and use the arrow
keys to change the value, then press the S button.
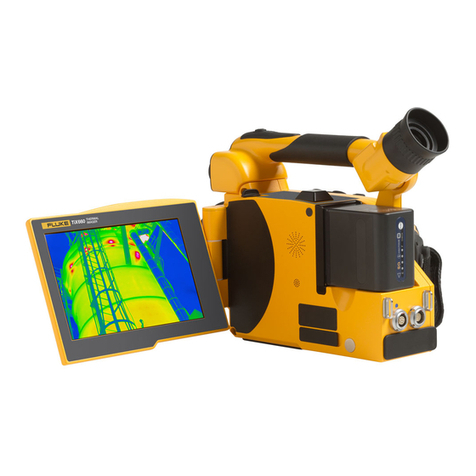
TiX-640/660
TiX-1000
IFOV =0.8 mRad (Theoretical with 640x480 Detector and standard 31˚x23˚lens) Detect 1in. target @ 104 ft.
IFOV =0.6 mRad (Theoretical with 1024x768 Detector and standard 32˚x25˚lens) Detect 1in. target @ 139ft.
