manuals.online logo
Brands
  1. Home
  2. •
  3. Brands
  4. •
  5. FarmTek
  6. •
  7. Lawn And Garden Equipment
  8. •
  9. FarmTek PolyMax 108293S User manual

FarmTek PolyMax 108293S User manual

1
GREENHOUSE BENCH KITS
Revision date: 10.26.21
All Rights Reserved. Reproduction
is prohibited without permission.
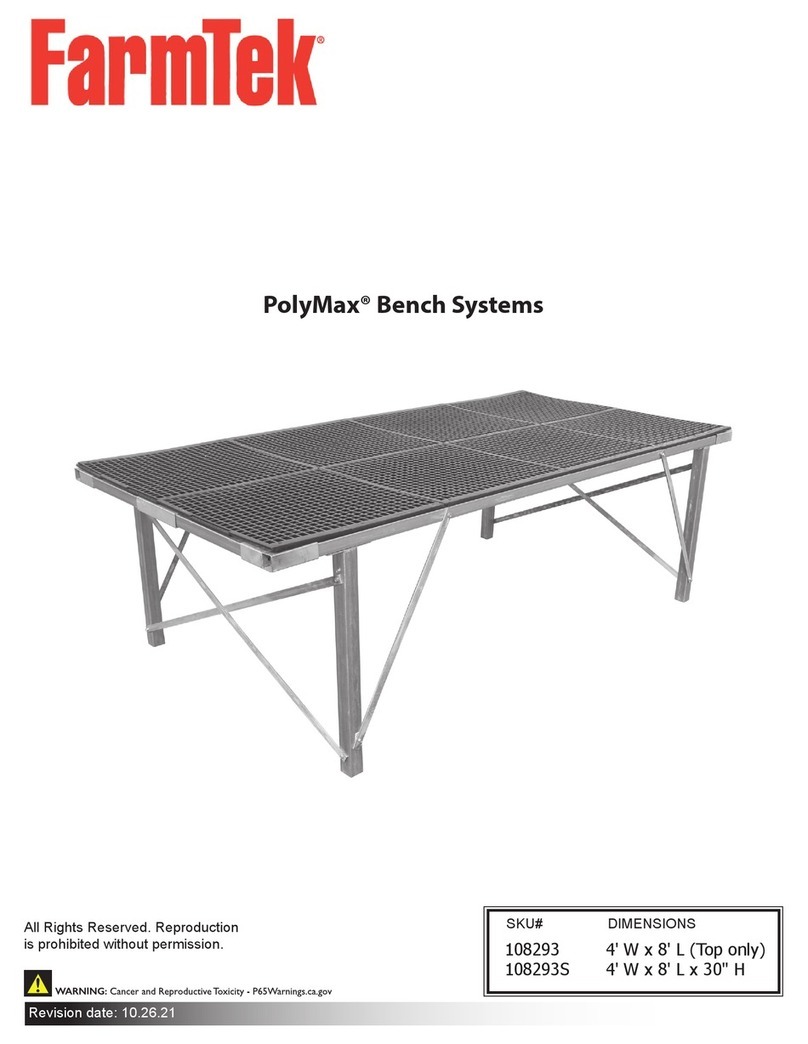
PolyMax® Bench System
Extension
SKU# DIMENSIONS
108293SE 4' W x 8' L x 30" H (extension)
For use with the
108293S Bench System
GREENHOUSE BENCH KITS
2Revision date: 10.26.21
READ THIS DOCUMENT BEFORE YOU
BEGIN TO ASSEMBLE THE BENCH.
Thank you for purchasing this PolyMax® Bench System
Extension. When properly assembled and maintained,
this product will provide years of reliable service. These
instructions include helpful hints and important information
needed to safely assemble and properly maintain the
product. Please read these instructions before you begin.
If you have any questions during the assembly, contact
Customer Service at 1-800-245-9881 for assistance.
SAFETY PRECAUTIONS
• Wear eye protection.
• Wear gloves when handling metal tubes.
• Use a portable GFCI (Ground Fault Circuit Interrupter)
when working with power tools and cords.
ASSEMBLY PROCEDURE
Following the instructions as presented will help ensure the
proper assembly of your bench.
The steps outlining the assembly process are as follows:
1. Verify that all parts are included in the shipment. Notify
Customer Service for questions or concerns.
2. Read these instructions and all additional
documentation included with the shipment before you
begin.
3. Gather the tools and assistants needed to assemble
the product.
4. Assemble the components in the order they are
presented in these instructions.
5. Assemble the frame.
6. Install and secure the PolyMax®.
7. Read the care and maintenance information.
8. Complete and return all warranty information as
instructed.
CARE AND MAINTENANCE
Proper care and maintenance of your bench is important.
Check the following items periodically to properly maintain
your bench.
• Check connections and all fasteners to verify that they
remain tight.
• Do not climb or stand on the bench at anytime.
• Replace all worn or damaged parts promptly.
• If the bench is moved, inspect all parts and
connections before reassembling and use.
• For replacement or missing parts, call 1.800.245.9881
for assistance.
REQUIRED TOOLS
The following list identifies the main tools needed to
assemble the feed bunk. Additional tools may be needed.
• Tape measure or measuring device
• Marker
• Variable speed drill and impact driver (cordless with
extra batteries works best)
• Hammers, gloves, and eye protection
UNPACK AND IDENTIFY PARTS
The following steps will ensure that you have all the
necessary parts before you begin to assemble the bench.
1. Unpack the contents of the shipment and place where
you can easily inventory the parts. Refer to the Bill of
Materials/Spec Sheets and this assembly guide.
2. Verify that all parts listed on the Bill of Materials/Spec
Sheets are present. If anything is missing or you have
questions, consult the Pictorial Parts Guide and all
diagrams throughout these instructions for clarification,
or contact Customer Service.
NOTE: At this time, you do not need to open the plastic
bags containing the fasteners (if used).
3
GREENHOUSE BENCH KITS
Revision date: 10.26.21
The following graphics and photos will help you identify the
different parts of the bench.
FA4482B
Tek Screw
104626
3-Way
Tube Fitting
104625
2-Way
Tube Fitting
HA2217
PolyMax® Bench
Top (4)
104624
One-Way W/Plate
Square Tube
SKU# Cut Length Quantity
S15P044 1.5" x 1.5" x 44" 1
102897 1.5" x 1.5" x 99" 2
S15P092 1.5" x 1.5" x 92" 1
S20P028 2" x 2" x 28" 2
Aluminum Strap
SKU# Cut Length Quantity
112480Z29 1" x 29" 2
112480Z53 1" x 53" 2
117413
Flat Screw
GREENHOUSE BENCH KITS
4Revision date: 10.26.21
1Before assembling the bench extension, layout and measure the 1.5" x 1.5" square tube lengths to verify
that you have all the correct tubes.
Determine the end of the original bench where the extension will be attached. Remove the Tek screws that
secure the Polymax® panel to the bench along this end. Remove any Tek screws that obstruct the 2-way
corner fittings of the original bench.
Carefully (and with assistance) flip the assembled bench frame onto its top. Locate two (2) 99" lengths of
square tube.
Slide the swaged end of the 99" tubes into the 2-way corner fittings and attach with a Tek screw.
NOTE: If the swaged ends do not fit entirely into the corner fittings, use a metal file or drill attachment to
smooth the pipe to receive the swaged end.
99" Tube
Tek screw
3"
ATTENTION: Verify that the swaged end
is inserted 3" into the 2-Way corner fitting.
99" Tube
99" Tube
Original Bench
(sold separately)
5
GREENHOUSE BENCH KITS
Revision date: 10.26.21
2Gather one (1) 92" tube and one (1) one-way plate (#104624).
Center a one-way plate on the end of the assembled bench as shown below. Attach using a Tek screw on
each side of the plate.
Slide a 92" tube into the fitting and secure with a Tek screw.
Center of frame
One-way Plate
92" Tube
Tek screw
Tek screws
Original Bench
(sold separately)
GREENHOUSE BENCH KITS
6Revision date: 10.26.21
3Gather one (1) 44" tube, two (2) 2-way corner fittings, and one (1) 3-way fitting.
Slide the 44" tube through the 3-way fitting first, and then assemble as shown below. Do not attach 3-way
fitting at this time.
Verify the outside-to-outside dimension is 48" and secure each corner fitting to the 44" tube using Tek
screws. Position Tek screws on the inside of the frame—one at each corner fitting.
Slide the assembled section onto the tubes as shown below. Do not attach to the 99" tubes or the 92" tube
at this time.
Slide 44" tube
through the
3-way fitting.
44" Tube
44" Tube
Tek
screw
Tek
screw
48"
outside-to-outside
Original Bench
(sold separately)
7
GREENHOUSE BENCH KITS
Revision date: 10.26.21
4Carefully (and with assistance) flip the frame onto its legs. Use a sawhorse or some other stable object to
prop the assembled extension frame so it is level with the original bench frame for the time being.
Gather four (4) PolyMax® (#HA2217) panels for the bench top. Set the PolyMax® panels in place and
square them on the frame. Using the panels as a guide, adjust the assembled end piece so that the panels
are flush with the frame. Do not secure panels with Tek screws at this time.
When the assembled section is in the correct position and the panels are flush with the frame, remove the
panels and secure the assembled end piece to the 99" tubes and the 92" tube using Tek screws.
Prop the extension
frame so it is level with
the original bench.
Ground Level
Adjust the assembled piece so
that the Polymax® panels are
flush with the frame.
Tek screw
Tek screw
Verify that the
panels are flush
with the frame
before securing
the assembled
section
Slide panels in to interlock.
Remove panels and secure
with Tek screws as shown.
Original Bench
(sold separately)
NOTE: The first panel will
interlock with the end panel
of the original bench
GREENHOUSE BENCH KITS
8Revision date: 10.26.21
5Gather two (2) one-way plates (104624).
Measure and mark a line 6-1/2" from each corner edge on the 99" tubes.
Position the edge of a one-way plate on this line and attach to the 99" tube using Tek screws on each side
of the plate.
Repeat for the remaining corner.
6-1/2"
Edge-to-edge
99" Tube
44" Tube
Tek screws
View shows underside of frame.
9
GREENHOUSE BENCH KITS
Revision date: 10.26.21
6Gather two (2) 28" lengths of 2" x 2" tube.
Slide a 28" tube over each one-way plate and secure as shown below using one Tek screw per leg.
28"
Tube
28"
Tube
Tube fits over
the fitting.
Tek screw
Original Bench
(sold separately)
View shows underside of frame.
GREENHOUSE BENCH KITS
10 Revision date: 10.26.21
7Gather two (2) 53" lengths of aluminum strap (112480Z53).
Measure 3" from each end of each leg. At these points, secure the aluminum straps to the legs as shown
below using Tek screws.
ATTENTION: Verify that the legs are straight before attaching the aluminum straps.
3"
3"
Tek screw
Original Bench
(sold separately)
View shows underside of frame.
11
GREENHOUSE BENCH KITS
Revision date: 10.26.21
8Gather two (2) 29" lengths of aluminum strap (112480Z29).
Secure a strap to each corner as shown below using Tek screws.
COMPLETED
BENCH
EXTENSION
FRAME
4-1/2"
24"
SIDE
VIEW
Tek screw
Tek screw
Leg
Top
Original Bench
(sold separately)
Bench Extension
GREENHOUSE BENCH KITS
12 Revision date: 10.26.21
9Gather four (4) PolyMax® (#HA2217) panels for the bench top.
Set the PolyMax® panels in place as shown and square them on the frame. Using the mounting holes in
the panels, secure them to the frame using 117413 flat screws. Do not overtighten. Screws should be snug.
Verify that flat screw tops are flush with the PolyMax® panel surface, or below.
NOTE: Pilot holes may need to be pre-drilled into the bench frame for flat screw connection.
Reinstall any flat screws that were removed from the original bench frame as needed.
Tek screws
Align panels
with frame
before attaching
with Tek screws.
NOTE: White dashed lines
show the seams between
the separate panels.
Slide panels in to interlock.
13
GREENHOUSE BENCH KITS
Revision date: 10.26.21
192-1/2"
Outside-to-Outside
48"
30"
Original Bench Frame with Extension
Dimensions
Outside-to-Outside

Other FarmTek Lawn And Garden Equipment manuals
FarmTek Growers Supply 112414S4X08 User manual

FarmTek

FarmTek Growers Supply 112414S4X08 User manual

FarmTek Growers Supply 109722 User manual

FarmTek

FarmTek Growers Supply 109722 User manual

FarmTek 103865 User manual

FarmTek

FarmTek 103865 User manual

FarmTek 108681 User manual

FarmTek

FarmTek 108681 User manual

FarmTek PolyMax 108293 User manual

FarmTek

FarmTek PolyMax 108293 User manual

FarmTek 104940 User manual

FarmTek

FarmTek 104940 User manual

FarmTek Growers Supply GrowSpan Estate Elite 104711 User manual

FarmTek

FarmTek Growers Supply GrowSpan Estate Elite 104711 User manual

FarmTek 10712 User manual

FarmTek

FarmTek 10712 User manual

FarmTek Growers Supply HydroCycle 11291950 User manual

FarmTek

FarmTek Growers Supply HydroCycle 11291950 User manual

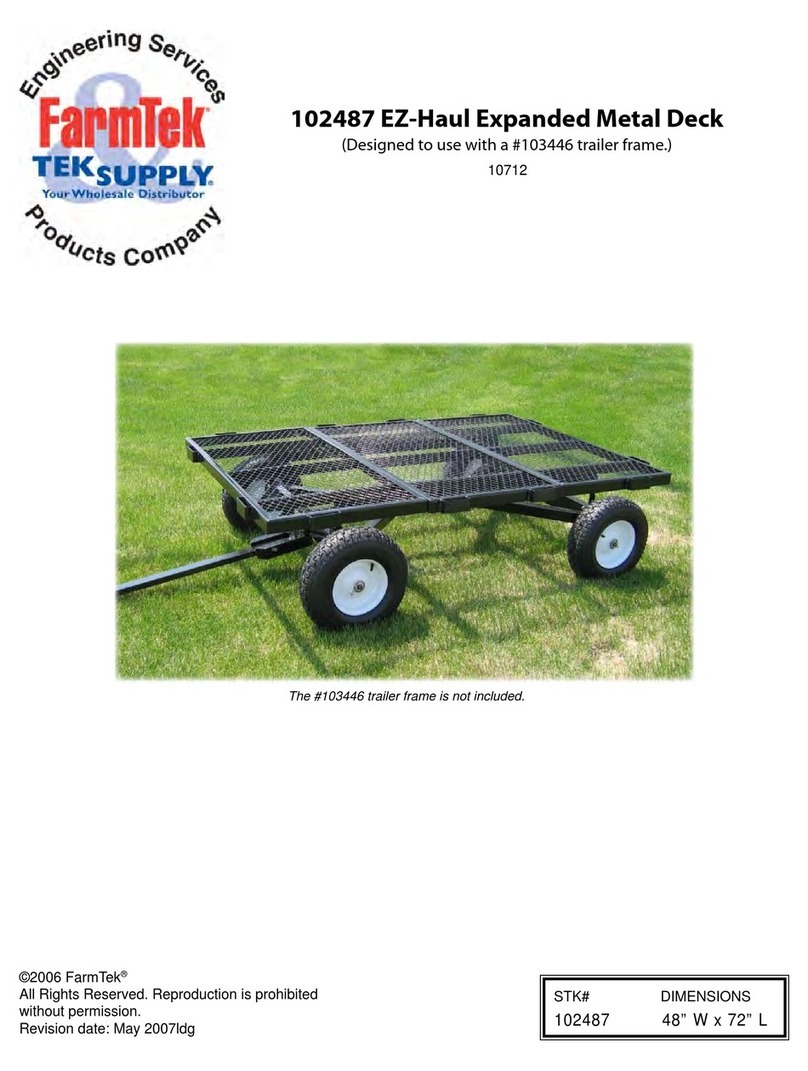
FarmTek TEK SUPPLY 102487 User manual

FarmTek

FarmTek TEK SUPPLY 102487 User manual

FarmTek FodderPro User manual

FarmTek

FarmTek FodderPro User manual

FarmTek PolyMax User manual

FarmTek

FarmTek PolyMax User manual

FarmTek 103780 User manual

FarmTek

FarmTek 103780 User manual

FarmTek 104299 User manual

FarmTek

FarmTek 104299 User manual

FarmTek Brute 108265 User manual

FarmTek

FarmTek Brute 108265 User manual

FarmTek Growers supply 112412S2X08 User manual

FarmTek

FarmTek Growers supply 112412S2X08 User manual

FarmTek Growers Supply HydroCycle Lettuce Pro NFT User manual

FarmTek

FarmTek Growers Supply HydroCycle Lettuce Pro NFT User manual

FarmTek Growers Supply ClearSpan 106457 User manual

FarmTek

FarmTek Growers Supply ClearSpan 106457 User manual

FarmTek 109912 User manual

FarmTek

FarmTek 109912 User manual

FarmTek WD8045 User manual

FarmTek

FarmTek WD8045 User manual

FarmTek Growers Supply 112416S6X10 User manual

FarmTek

FarmTek Growers Supply 112416S6X10 User manual

FarmTek PolyMax H1-10 User manual

FarmTek

FarmTek PolyMax H1-10 User manual

FarmTek 113502 User manual

FarmTek

FarmTek 113502 User manual

FarmTek 112415S5X08 User manual

FarmTek

FarmTek 112415S5X08 User manual

Popular Lawn And Garden Equipment manuals by other brands

Wolf Garten UV 30 EV instruction manual

Wolf Garten

Wolf Garten UV 30 EV instruction manual

Ikra IEAS 750 operating instructions

Ikra

Ikra IEAS 750 operating instructions

Costway GT2663 user manual

Costway

Costway GT2663 user manual

EINHELL GE-CG 18/100 Li Original operating instructions

EINHELL

EINHELL GE-CG 18/100 Li Original operating instructions

Kekkilä Thermal Composter manual

Kekkilä

Kekkilä Thermal Composter manual

alfresia JK09047201 instruction manual

alfresia

alfresia JK09047201 instruction manual

Superplant Ballast Digital 600W manual

Superplant

Superplant Ballast Digital 600W manual

SnowEx SS-4000 installation instructions

SnowEx

SnowEx SS-4000 installation instructions

BCP SKY5733 instruction manual

BCP

BCP SKY5733 instruction manual

Westfalia SMARTWORKS 880412 Original instructions

Westfalia

Westfalia SMARTWORKS 880412 Original instructions

AL-KO 38 Vb Comfort manual

AL-KO

AL-KO 38 Vb Comfort manual

Craftsman 19A30042791 installation manual

Craftsman

Craftsman 19A30042791 installation manual

Feider FST200PRO instruction manual

Feider

Feider FST200PRO instruction manual

Grizzly Tools ES 1231 Translation of the original instructions for use

Grizzly Tools

Grizzly Tools ES 1231 Translation of the original instructions for use

Gravely Tratch-O-Matic Owner's/operator's manual

Gravely

Gravely Tratch-O-Matic Owner's/operator's manual

Black & Decker BDSTGA9701 Assembly instructions

Black & Decker

Black & Decker BDSTGA9701 Assembly instructions

DANA 4360-128 parts list

DANA

DANA 4360-128 parts list

Zenoah POWER AUGER AG4300 Operator's manual

Zenoah

Zenoah POWER AUGER AG4300 Operator's manual

manuals.online logo
manuals.online logoBrands
  • About & Mission
  • Contact us
  • Privacy Policy
  • Terms and Conditions

Copyright 2025 Manuals.Online. All Rights Reserved.