Framery 2Q Lounge User manual

Framery 2Q Lounge
Installation instructions
English
Version 1.0
Tampere, Finland 16.2.2022


Framery 2Q Lounge
Contents
1 Warranty checklist....................................................................................... 5
2 Important safety and product instructions............................................... 6
2.1 Preface....................................................................................................................6
2.2 Product information................................................................................................ 6
2.3 Copyright.................................................................................................................6
2.4 Manual contents..................................................................................................... 6
2.5 Intended use...........................................................................................................6
2.5.1 Non-conventional use.................................................................................6
2.5.2 Ambient conditions for use.........................................................................7
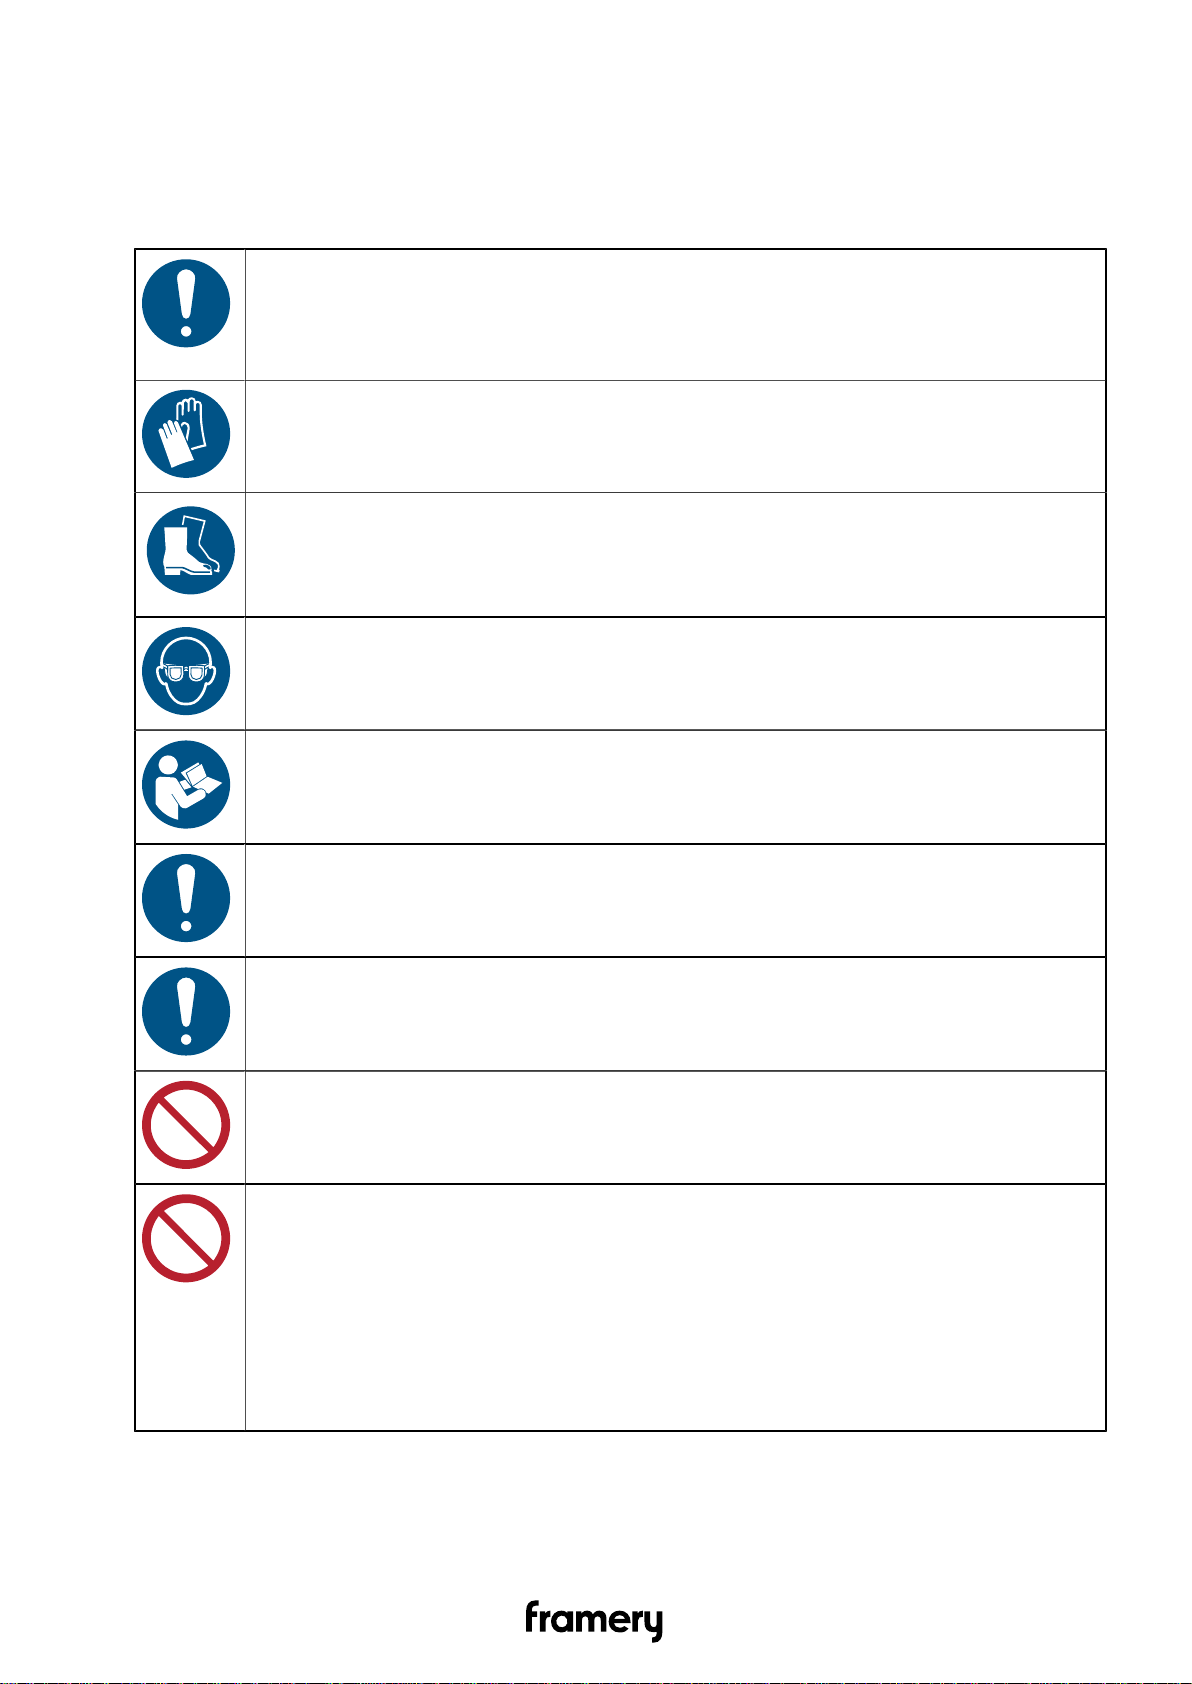
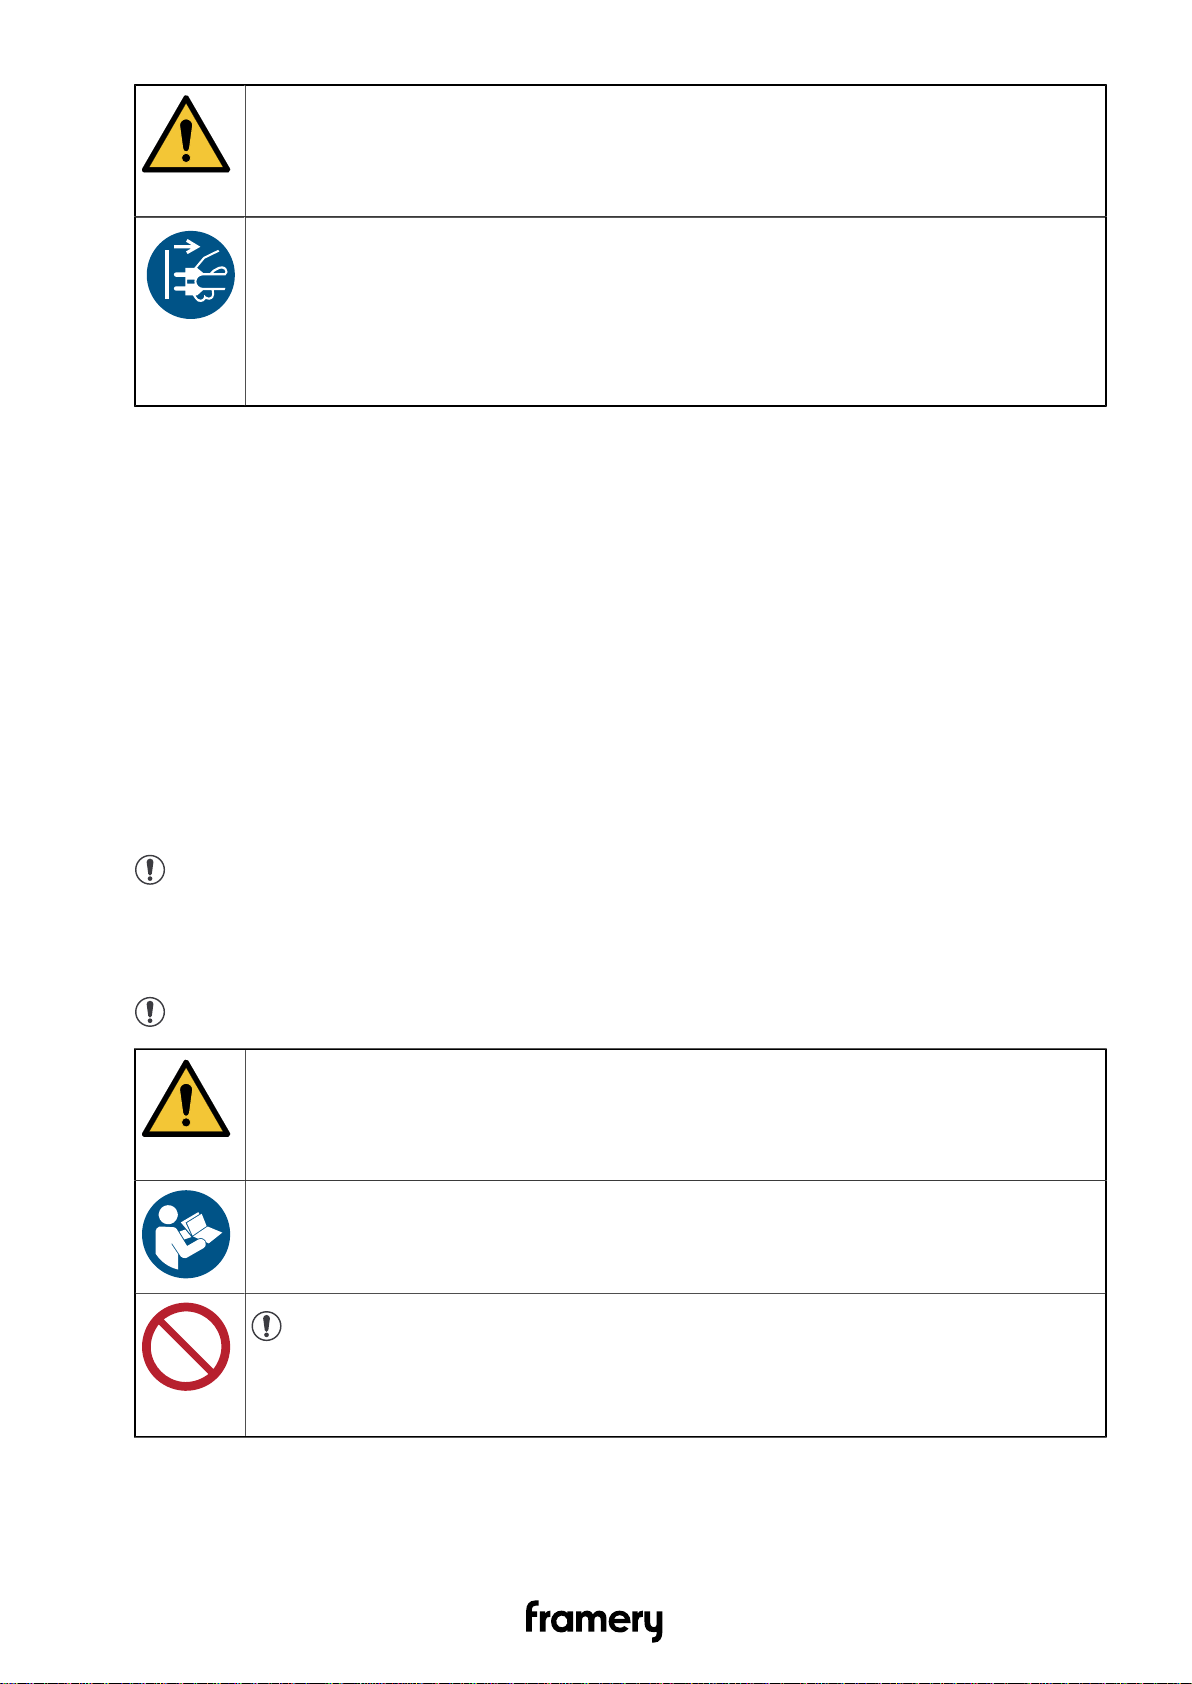
2.6 Warning, information, and safety symbols in this manual...................................... 7
2.7 Main safety risks related to the installation, maintenance, disassembly, and
use of the product.................................................................................................... 8
2.7.1 Installation, maintenance, and disassembly...............................................8
2.7.2 Electrical safety.......................................................................................... 8
2.7.3 Fire safety...................................................................................................9
2.7.4 Use............................................................................................................10
3 Packaging information.............................................................................. 13
4 Installation requirements.......................................................................... 16
4.1 Tools and accessories.......................................................................................... 16
5 Install the back frames and glasses........................................................17
5.1 Install the left-hand frames...................................................................................17
5.2 Install the right-hand frames and the other side glass......................................... 21
5.3 Install the first and center glasses....................................................................... 24
5.4 Finalize the installation of the back frames and glasses......................................26
6 Install the interior and its electrics..........................................................28
6.1 Install the control unit........................................................................................... 28
6.2 Install the seal and the metal trims......................................................................30
6.3 Install the power outlet......................................................................................... 37
6.4 Install the power mounting plate under the sofa.................................................. 38
6.5 Install the legs of the back sofa........................................................................... 41
6.6 Install the legs of the side sofa............................................................................43
6.7 Install the electrical connections to the power mounting plate............................. 43
6.8 Install the table..................................................................................................... 49
7 Install the front frames and glasses........................................................54
7.1 Install the corner and side frames....................................................................... 54
7.2 Install the control panel........................................................................................ 56
7.3 Install the booking system bracket (optional).......................................................60

Framery 2Q Lounge
7.3.1 Install the USB cord into the strike plate-side glass frame (optional)........61
7.3.2 Install the booking system bracket (optional)........................................... 62
7.3.3 Install the 5V unit (optional)..................................................................... 68
7.4 Install the side glasses.........................................................................................72
7.5 Install the front center frame................................................................................ 76
7.6 Finalize the installation of the front frames and glasses...................................... 77
7.7 Install the control panel cord and the ceiling threshold........................................78
8 Install the electrics in the ceiling.............................................................84
8.1 Install electrical connections to the control unit....................................................84
8.2 Install the motion detector....................................................................................87
8.3 Install the lights.................................................................................................... 89
9 Install the door...........................................................................................91
9.1 Install the floor threshold......................................................................................91
9.2 Install the door......................................................................................................92
9.3 Install the door handle..........................................................................................96
9.4 Install the smart lock handle (optional)................................................................ 98
9.4.1 Adjust the strike plate.............................................................................105
9.4.2 Check the lock function.......................................................................... 106
9.5 Adjust the door height........................................................................................ 109
9.6 Adjust the closing speed of the door................................................................. 112
9.7 Adjust the automatic door seal.......................................................................... 118
10 Install the cover panels and the body covers.................................... 120
10.1 Install the roof cover panels.............................................................................120
10.2 Install the roof cover plates..............................................................................121
10.3 Install the wall cover panels.............................................................................122
10.4 Install the bottom body covers......................................................................... 123
10.5 Install the wall body covers..............................................................................124
10.6 Install the roof body covers..............................................................................127
10.7 Finalize the installation of the body covers...................................................... 130
11 Install the cable clips............................................................................ 131
12 Install the piaggio table........................................................................ 133
13 Install the whiteboard............................................................................135
14 Install the display bracket and display cord (optional)......................139
15 Finalize the installation......................................................................... 147

Framery 2Q Lounge
1 Warranty checklist
For the product warranty to be valid:
Fill this checklist and send it to Framery after pod installation. Take a photo or scan the filled list and send it to Framery at
[email protected]. Leave the completed list inside the pod.
Country: _________________________________________
City: _________________________________________
Customer: _________________________________________
Pod serial number: _________________________________________
SO number: _________________________________________
Installation company: _________________________________________
Name of technician: _________________________________________
YES
All bolts and screws are tightened according to the instructions
When the door is left open, it is either at standstill or closes
The door is in the middle of the opening
The door handle is not loose and is installed according to instructions
The pod power cord is connected according to the instructions
The light and fans switch on when a person enters the pod
The fans are making a quiet and even sound
Air flows into the pod from the ventilation channels in the roof module
All furniture is installed securely and according to the instructions
Air flows out of the pod from the ventilation channels when the door is closed
The body covers are installed according to the instructions
The light inside the pod switches off after approximately 8 minutes of inactivity
All glasses are installed evenly and according to the instructions
All glass seals are installed according to the instructions
Circle the location of scratches or any other visual defects below. Attach pictures and descriptions of the defects
to the warranty email.
I certify that the pod is installed according to Framery installation instructions and the pod has been checked to be
operating correctly.
Signature and date: ___________________________________________________________
Installation instructions
5

Framery 2Q Lounge
2 Important safety and product instructions
2.1 Preface
This instruction manual describes the installation of the product. Everyone involved in
installing the product must read and understand the contents of the installation and safety
instructions.
This instruction manual gives you necessary information for the correct installation of the
product.
2.2 Product information
The information in this manual corresponds to the product at the time of delivery. All
information included in this manual is valid at the time of publication.
2.3 Copyright
This document must not be copied, presented, or delivered to a third party without explicit
permission from Framery. The use of this document for any purpose other than those
allowed by Framery is prohibited. Framery reserves the right to change the instructions
related to the product without separate notice.
2.4 Manual contents
The installation instructions contain the following information:
• General information about the purpose and content of the instructions
• Information related to safety
• Installation instructions
2.5 Intended use
The Framery 2Q is a pod intended for short term indoor commercial and household use by
one to six (1-6) people at a time.
Warning: WARNING –To reduce the risk of burns, fire, electric shock, or injury to
persons:
Use this product only for its intended use as described in the user instructions. Do not use
attachments not recommended by the manufacturer.
2.5.1 Non-conventional use
Any use or maintenance of the product that is not specifically allowed in the installation,
maintenance, troubleshooting or user instructions is prohibited, including the following:
• Installation, maintenance or disassembly of the pod without reading and understanding
the instructions for those actions
• Use of the pod beyond the limits of use
6Installation instructions

Framery 2Q Lounge
• Making alterations to the pod
• Using the pod in spite of obvious defects or damage
• Using the pod outdoors or in conditions where the temperature or air quality is not safe
• Climbing on top of the product or placing any load on the roof of the product
• Smoking in the pod
2.5.2 Ambient conditions for use
The pod is intended to be used in the following conditions:
• Ambient temperature: +15°C ... +30°C (59°F ... 86°F)
• Humidity: max. 50%
• Sufficient air quality surrounding the product
2.6 Warning, information, and safety symbols in this manual
The warnings in this manual have been divided into the following two categories:
• The term "DANGER" indicates a hazardous situation which, if not avoided, will result in
death or serious injury.
• The term “WARNING” indicates a hazardous situation which, if not avoided, could result
in death or injury.
The safety symbols found in this manual may also be posted on the product. All personnel
who install, disassemble, perform maintenance, or use the product are to be familiar
with and observe all safety symbols, labels, and instructions about the action they are
performing.
Table 1: Hazard
An exclamation point symbol inside a colored triangle indicates a hazardous
situation.
Table 2: Mandatory action
A white symbol inside a colored circle indicates an action that must be taken to
avoid a hazardous situation.
Table 3: Prohibited action
A ring with a diagonal bar indicates an action that is not allowed.
Installation instructions
7

Framery 2Q Lounge
2.7 Main safety risks related to the installation, maintenance, disassembly,
and use of the product
2.7.1 Installation, maintenance, and disassembly
WARNING!
To reduce the risk of burns, fire, electric shock, or injury to persons, obey
the following:
Use cut resistant safety gloves during the installation, maintenance, or
disassembly of the product.
Use steel toed safety boots during the installation, maintenance, or disassembly
of the product.
Use safety glasses during the installation, maintenance, or disassembly of the
product.
Read and understand the instructions and plan your work beforehand.
Obey all local rules and regulations regarding workplace safety.
Keep the work site tidy and free from debris throughout the installation,
maintenance, or disassembly process.
Do not climb on top of the product or place any load on the roof of the product.
Do not push the the finished product to move it without engaging the optional
casters.
The product is very heavy and moving the product after installation without
engaging the optional casters requires a significant amount of force. Moving
a finished product (not using the optional casters) without disassembly and
reassembly requires an on-site risk assessment to be performed by the party
responsible for moving the product.
2.7.2 Electrical safety
Input for the electrical system: 100-240 VAC (10 A) 50-60 Hz
The maximum load for the electrical system is 6.6 A.
8Installation instructions

Framery 2Q Lounge
DANGER!
To reduce the risk electric shock, obey the following:
Disconnect the power cord from the power outlet before starting any cleaning,
maintenance, or disassembly procedures.
The power cord serves as a power disconnect device for pluggable equipment.
The power outlet shall be located near the equipment and shall be easily
accessible.
WARNING!
To reduce the risk of burns, fire, electric shock, or injury to persons, obey
the following:
Connect the power cord to a properly grounded outlet only.
This product is for use on a nominal 120-volt circuit and has a grounding plug
that looks like the plug illustrated in the figure below. Make sure that the product
is connected to an outlet having the same configuration as the plug. No adapter
should be used with this product.
Keep the power cord of the product away from heated surfaces.
Do not use the pod if you notice any defects or damage to the electrical
equipment.
Do not connect any extension cords to the power outlet(s) of the product.
2.7.3 Fire safety
The fire load for the Framery 2Q is approx. 10400 MJ.
Installation instructions
9

Framery 2Q Lounge
WARNING!
To reduce the risk of burns, fire, electric shock, or injury to persons, obey
the following:
If safely possible to perform, disconnect the power cord from the power outlet if
there is a fire inside the product.
The power cord serves as a power disconnect device for pluggable equipment.
The power outlet shall be located near the equipment and shall be easily
accessible.
Fire safety end devices (alarms, sprinklers etc.) can also be installed inside the pods
(instructions available upon request). The need for end devices inside the pod is always
determined by the applicable local authorities.
2.7.4 Use
Maximum loads for the 2Q table options:
• Huddle table: 131lbs (60 kg)
• Lounge side table 33 lbs (15 kg)
• Lounge piaggio table: 78 lbs (35 kg)
Maximum loads for Framery 2Q seats:·
• Lounge back sofa: 900 lbs (408 kg)·
• Lounge side sofa: 900 lbs (408 kg)
Note: Framery does not supply seats for the 2Q Huddle.
Maximum load for the display bracket is 65 lbs (30 kg).
Maximum load for the 2Q Lounge whiteboard bracket is 33 lbs (15 kg).
Note: UL962 compliance is only guaranteed with Framery supplied furniture.
WARNING!
To reduce the risk of burns, fire, electric shock, or injury to persons, obey
the following:
Read and understand the user instructions before using the product.
Note: The following statement applies to use in Japan.
This equipment is not suitable for use in locations where children are likely to
be present.
10 Installation instructions

Framery 2Q Lounge
Note: The following statements apply to use in all other countries.
Close supervision is necessary when this furnishing is used by, or near
children, invalids, or disabled persons.
Keep children away from extended foot support (or other similar parts).
Risk of injury! Keep hands and other body parts clear of the side edges of the
table when raising or lowering the electrically adjustable table top. This applies
to all Framery pods with an electric adjustable table.
Do not use the product if the surrounding conditions are in any way hazardous;
the air circulating inside the pod is derived from the surrounding space.
Do not use the product if the ventilation is not functioning.
Do not use the product if the ventilation channels are blocked. Keep the
ventilation channels free of lint, hair, and the like.
Do not use the pod if you notice any defects in the electrical equipment or if
the product is not working properly. Disconnect the power cord from the power
outlet and contact your local dealer or the manufacturer immediately.
Do not drop or insert any object into any opening if not specifically instructed to
do so in this manual.
Do not use outdoors.
Do not use where aerosol (spray) products are being used or where oxygen is
being administered.
Do not climb on top of the product or place any load on the roof of the product.
Do not lean against the product.
Do not smoke inside the product.
Installation instructions
11

Framery 2Q Lounge
Do not obstruct the view through the front and back glasses by posting signs,
decorations, or by installing blinds or draperies that would prevent occupants
from seeing the visible alarm appliances located in the structure where the pod
is installed.
12 Installation instructions

Framery 2Q Lounge
3 Packaging information
Figure 1: Variant pallet (*optional components)
Installation instructions
13

Framery 2Q Lounge
4 Installation requirements
4.1 Tools and accessories
Figure 4: Tools and accessories needed for installation
Note: Use a white rubber mallet to prevent marks on the body covers.
Note: Use a plastic chisel to remove the body covers.
Note: Use a separate piece of carpet in the door installation.
Note: Use a lint-free cloth to clean the pod.
Note: Use a mild alcohol-based cleaning solution to clean the pod.
Tip: Use glass washing liquid as a lubricant to help install the seal.
16 Installation instructions

Framery 2Q Lounge
5 Install the back frames and glasses
When installing frames, push them into place and lightly tighten the screws with a wrench.
Tip: Line the piece with the other frames with a clamp or a rubber mallet.
When the frame is in place, tighten the screws fully.
5.1 Install the left-hand frames
1. Pull the power and LAN cords through the hole at the back of the pod.
2. Install the guide pins (2 pcs) to the installation holes.
Installation instructions
17

Framery 2Q Lounge
3. Install the back center frame with M8x55 bolts (3 pcs) and M8 washers (3 pcs).
Note: Press the acoustic panel aside to reach the bolt holes. Make sure that
you return the acoustic panel to its original position.
4. Install guide pins (8 pcs) to the installation holes.
18 Installation instructions

Framery 2Q Lounge
5. Install the lower center frame with black M8x50 countersunk screws (2 pcs).
Install the screws from the inside of the pod.
Note: Make sure that there is at least 2.75 m/9 ft (maximum 3.0/10 ft) of the
main power cord inside the pod. You can pull the excess cord back outside the
pod after the installation.
Note: Make sure that the cords are placed in the notch in the lower center
frame and that they are not not pinched.
6. Install the lower corner frame of the left-hand side with black M8x50 countersunk
screws (3 pcs).
Note: The seismic support bracket is optional. The maximum size of the
anchor bolt is M10. Follow the local regulations regarding seismic anchoring.
Installation instructions
19

Framery 2Q Lounge
7. Install the upper corner frame of the left-hand side with M8x55 bolts (3 pcs) and M8
washers (3 pcs).
Note: Press the acoustic panel aside to reach the bolt holes. Make sure that
you return the acoustic panel to its original position.
8. Install the left-hand side frame with M8x55 bolts (3 pcs) and M8 washers (3 pcs).
Tip: Use a clamp to straighten the frames if needed.
20 Installation instructions
Other manuals for 2Q Lounge
4
This manual suits for next models
1
Table of contents
Other Framery Office Equipment manuals
Popular Office Equipment manuals by other brands

LIGHTBOARD DEPOT
LIGHTBOARD DEPOT LBD4832-DT-A-1 Assembly instructions

SEM
SEM 2SSD Operation and maintenance manual

CyberData
CyberData 011311 Installation quick reference

Kodak
Kodak X-Omat 270 RA PROCESSOR Service manual

Mocka
Mocka Hatcher Office Drawers Assembly instructions

Steelcase
Steelcase Avenir Panel manual