France Air Harmony One Evo Series User manual

Harmony
One Evo
EN
Harmony One Evo 600
Harmony One Evo 900
NT 1583 A - 07/2019

2
1. BEFORE STARTING
Before installation, please read the chapter Safe use of an air curtain in which you will nd instructions for the correct and safe
use of the product.
This manual contains important instructions to ensure the correct installation of a door unit heater. Before installing the unit
heater, please read all the instructions below carefully and follow them! The manufacturer reserves the right to make changes,
including technical documentation, without prior notice. Please store this manual for future use. Please consider this manual as an
integral part of the product.
Declaration of conformity
The product has been designed, manufactured and placed on the market in compliance with the applicable regulations and com-
plies with the requirements of the Directives, including amendments, of the European Parliament and the Council in force. By ad-
hering to the standard conditions and operation/installation according to this manual, the product can be used safely. For product
evaluation, the harmonised standards specied in the current EC Declaration of Conformity have been used. To read the full EC
Declaration of Conformity in force, please visit www.france-air.com
This manual contains important instructions and safety instructions. To ensure proper operation and user safety, read and observe
all the following instructions carefully before installing the door heater! Any modication or work in the internal connection is
prohibited and will void the warranty. We recommend that you use original accessories. If you use accessories or regulations that
are not original, the product may be damaged. The manufacturer is not liable for damage resulting from the use of accessories that
are not original (regulations) or improper use of accessories (regulations).
Symbol Meaning
CAUTION! Warning or remark
READ CAREFULLY Important instructions
TECHNICAL SUPPORT Advice and practical information
TECHNICAL INFORMATION More detailed practical information
Reference to another section/part
of the user manual

3
READ CAREFULLY!
•The air curtain is not intended to carry air containing heavy dust, grease, chemical vapours and other polluting substances.
•The electrical protection rating of the unit heater is IP20 and it can be used at an ambient temperature between +5 and +40°C.
•No equipment should cover the suction ports and exhaust ports.
•No objects may be placed on the main unit of the unit heater.
•The power supply socket must be within a maximum distance of 1.5 m.
•To ensure clean operation, a safety distance in front of the suction port must be at least 150mm.
3. OPERATING CONDITIONS
5. INSTALLATION
4. TECHNICAL PARAMETERS
2.1 CHECK THE DELIVERY
READ CAREFULLY!
Upon delivery, check directly whether the product packaging is intact. In case of damage to the packaging, notify the carrier. If the
claim is not reported in time, a subsequent claim will no longer be accepted.
After unpacking, check that:
1. The designation on the packaging corresponds to the label on the unit heater.
2. The unit heater is not damaged.
The electric unit heater can be used in many dierent ways. Thus, it can be placed above the door, windows or on the wall. For
installation, please observe the instructions below. As this is a heating unit, it is necessary to comply with the basic heating rules. To
calculate the requirements of the heating source, it is also necessary to consider heating sources for the building's heating system.
1x
1x
2. UNPACKING
TECHNICAL INFORMATION
Type
Air ow rate
[m3/h]
Noise level
[dB(A)]** Voltage/
frequency
[V/Hz]
Fan power
consump-
tion
[A]
Fan input
power
[W]
Heater
e-
ciency
[kW]
Total con-
sumption
[A]
Total input
power
[kW]
Temperature
increase
Δt [°C]
Weight
[kg]
Maximum
speed
Minimum
speed 3m 5m
Harmony One Evo
600 315 285 46.5 42.1 230 / 50 0.4 57.0 2.4 11 2.5 22.0 6
Harmony One Evo
900 475 410 48.5 44.0 230 / 50 0.7 87.0 3.1 14 3.2 19.0 8
** Noise level measured at 3 and 5 m from the installation with maximum motor speed. Coecient of direction Q: 2.

4
6. INSTALLATION
6.1 RULES FOR INSTALLATION
READ CAREFULLY!
• The minimum safety distance indicated in the illustration
must be observed.
• If you install the unit heater above the door, place it as close
to the edge as possible on the upper part of the door. Make
sure that the suction and exhaust of the curtain are not ob-
structed in any way and that the air ow can freely ow into
the room.
• The unit heater is connected to the main power supply by
a cable with a plug. Please ensure that the power supply
socket is within a maximum distance of 1.5 m.
• Dowels for wall installation - not supplied with the deliv-
ery, 4 pieces of M8 screws for xing - not supplied with the
delivery.
1. Attach the brackets to the wall
2. Screw the unit heater (curtain) onto the brackets using the
screws (supplied with the delivery)
Detail of the connection of the unit heater to the brackets
TECHNICAL SUPPORT
To install the brackets, use the size 5 Allen key.
READ CAREFULLY
• Please ensure that the exhaust pipe is not obstructed in
any way and that the air can circulate freely in the room.
• The unit heater is connected to the main power supply by
a cable with a plug. Please ensure that the power supply
socket is within a maximum distance of 1.5 m.
• The minimum safety distance of 30cm between the unit
and ammable objects must be observed in all directions.
min. 150 mm
min. 50 mm
max. 1800 mm

5
6 2 CONNECTION TO POWER SUPPLY
READ CAREFULLY
• The unit heater is connected to the main power supply by a cable with a plug integrated into the unit.
• The power supply (electrical outlet) into which the unit heater is connected must be protected by a minimum 16A circuit breaker.
• The unit heater cannot be connected with an extension cord.
• The maximum curve of the power cable is 30mm.
6.3 CONTROL PANEL
Remote control connection
The remote control does not need to be adjusted, it is supplied pre-set by the manufacturer. The control is powered by a 12V
electric battery (LR23A), the electric batteries are included with the delivery. It is possible to link up to 60 units to one control. The
perimeter of the RF signal is 30 meters (open spaces).
6. INSTALLATION
152
176
161
190
30
max. 30mm
ON/OFF
ON/OFF

6
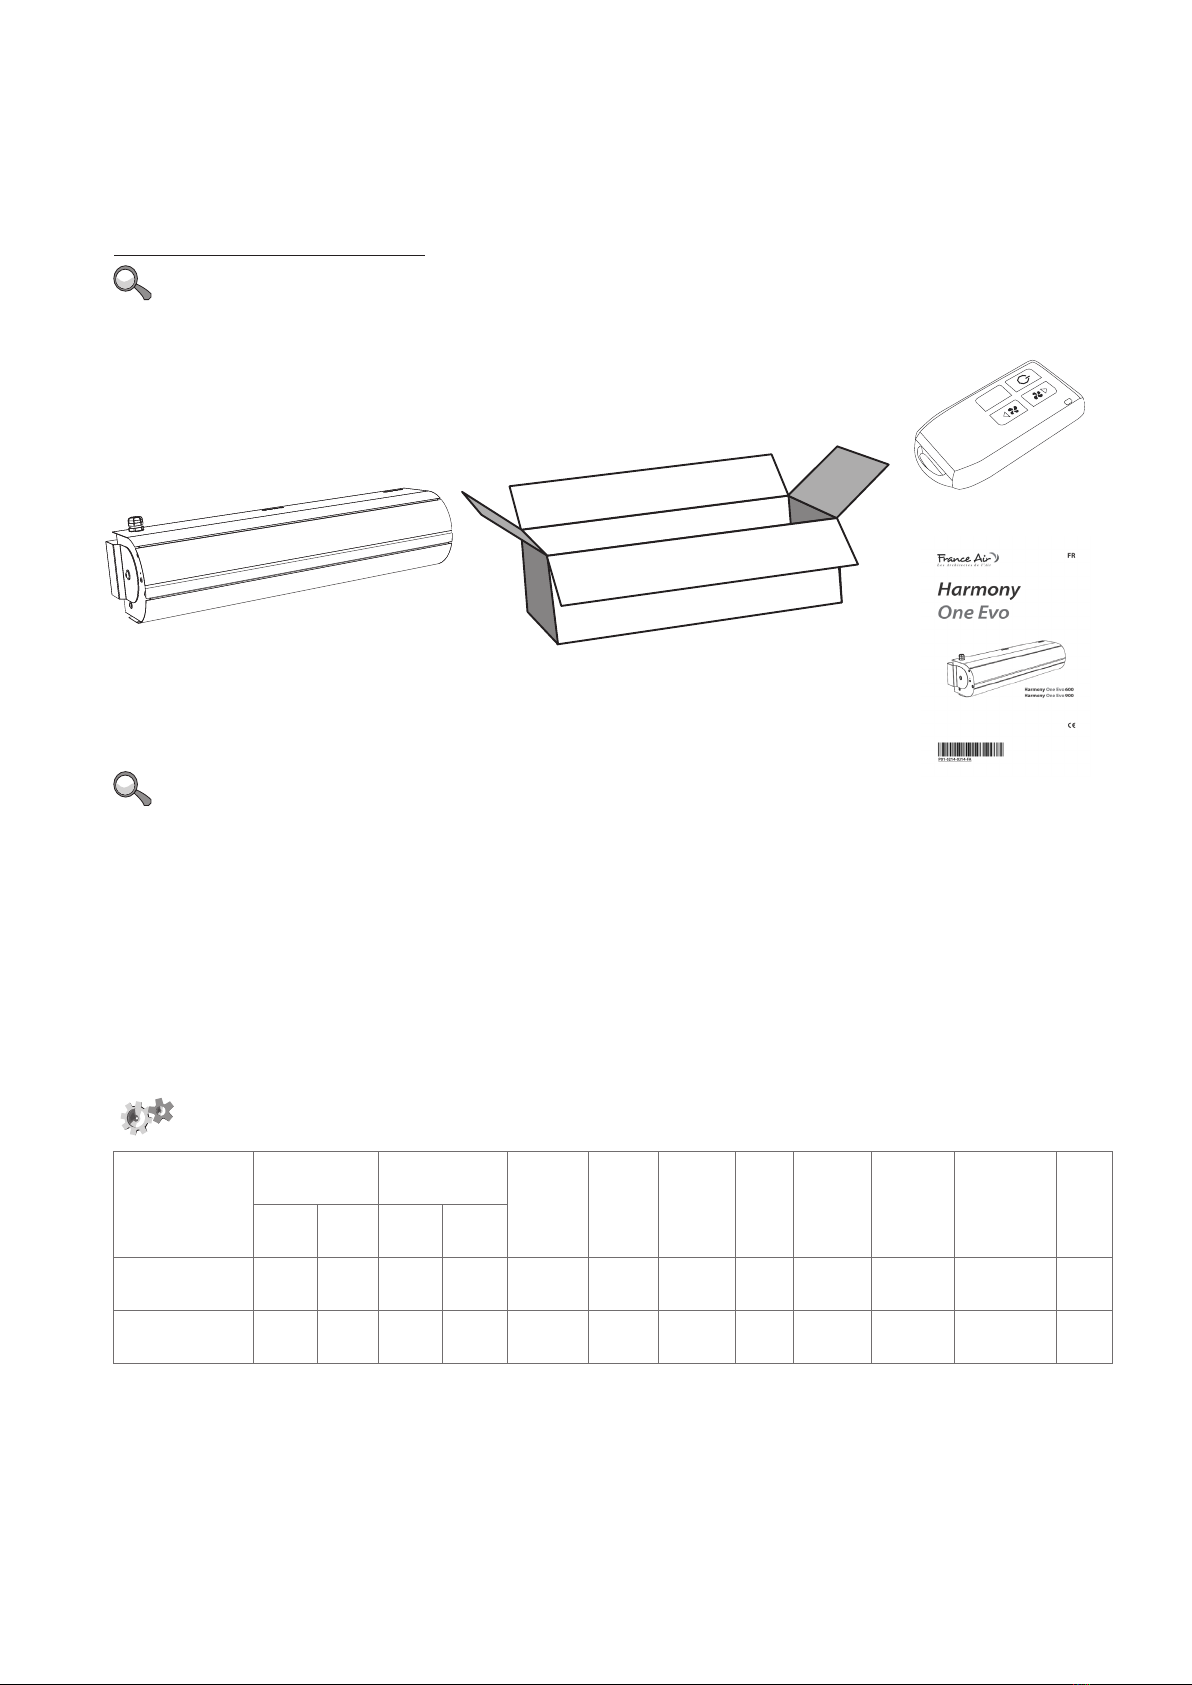
7. FIRST COMMISSIONING
READ CAREFULLY
Before the rst commissioning of the RF module curtain, check the following points:
• Did you not leave a tool or other object in the unit that could damage it?
• The power supply corresponding to the required value and water heating is necessary?
• Did you close the curtain properly?
Read the following instructions carefully before connecting the curtain.
8. CONTROLS
8.1 DESCRIPTION OF THE REGULATION AND ITS CONTROLS
Air curtain without heating:
Turn on the curtain by pressing the button on the remote control. As a result, you can use the speed button to increase or
decrease the ventilation speed. The selected degree is indicated by the illuminated LEDs on the integrated control panel. To
turn o the curtain, press the button.
Air curtain with electric heating:
Turn on the curtain by pressing the button on the remote control. As a result, you can use the speed button to increase or
decrease the ventilation speed. Use the button to select whether to switch the heating on or o. The operation of the fan
and heater is indicated by the LEDs on the integrated control panel. To turn o the curtain, press the button. One time turns the
curtain o, activates a cooling function automatically and cools the electric heater for 30 seconds, then automatically turns o. The
cooling of the current electric heating is indicated by a ashing speed 1 on the integrated panel.
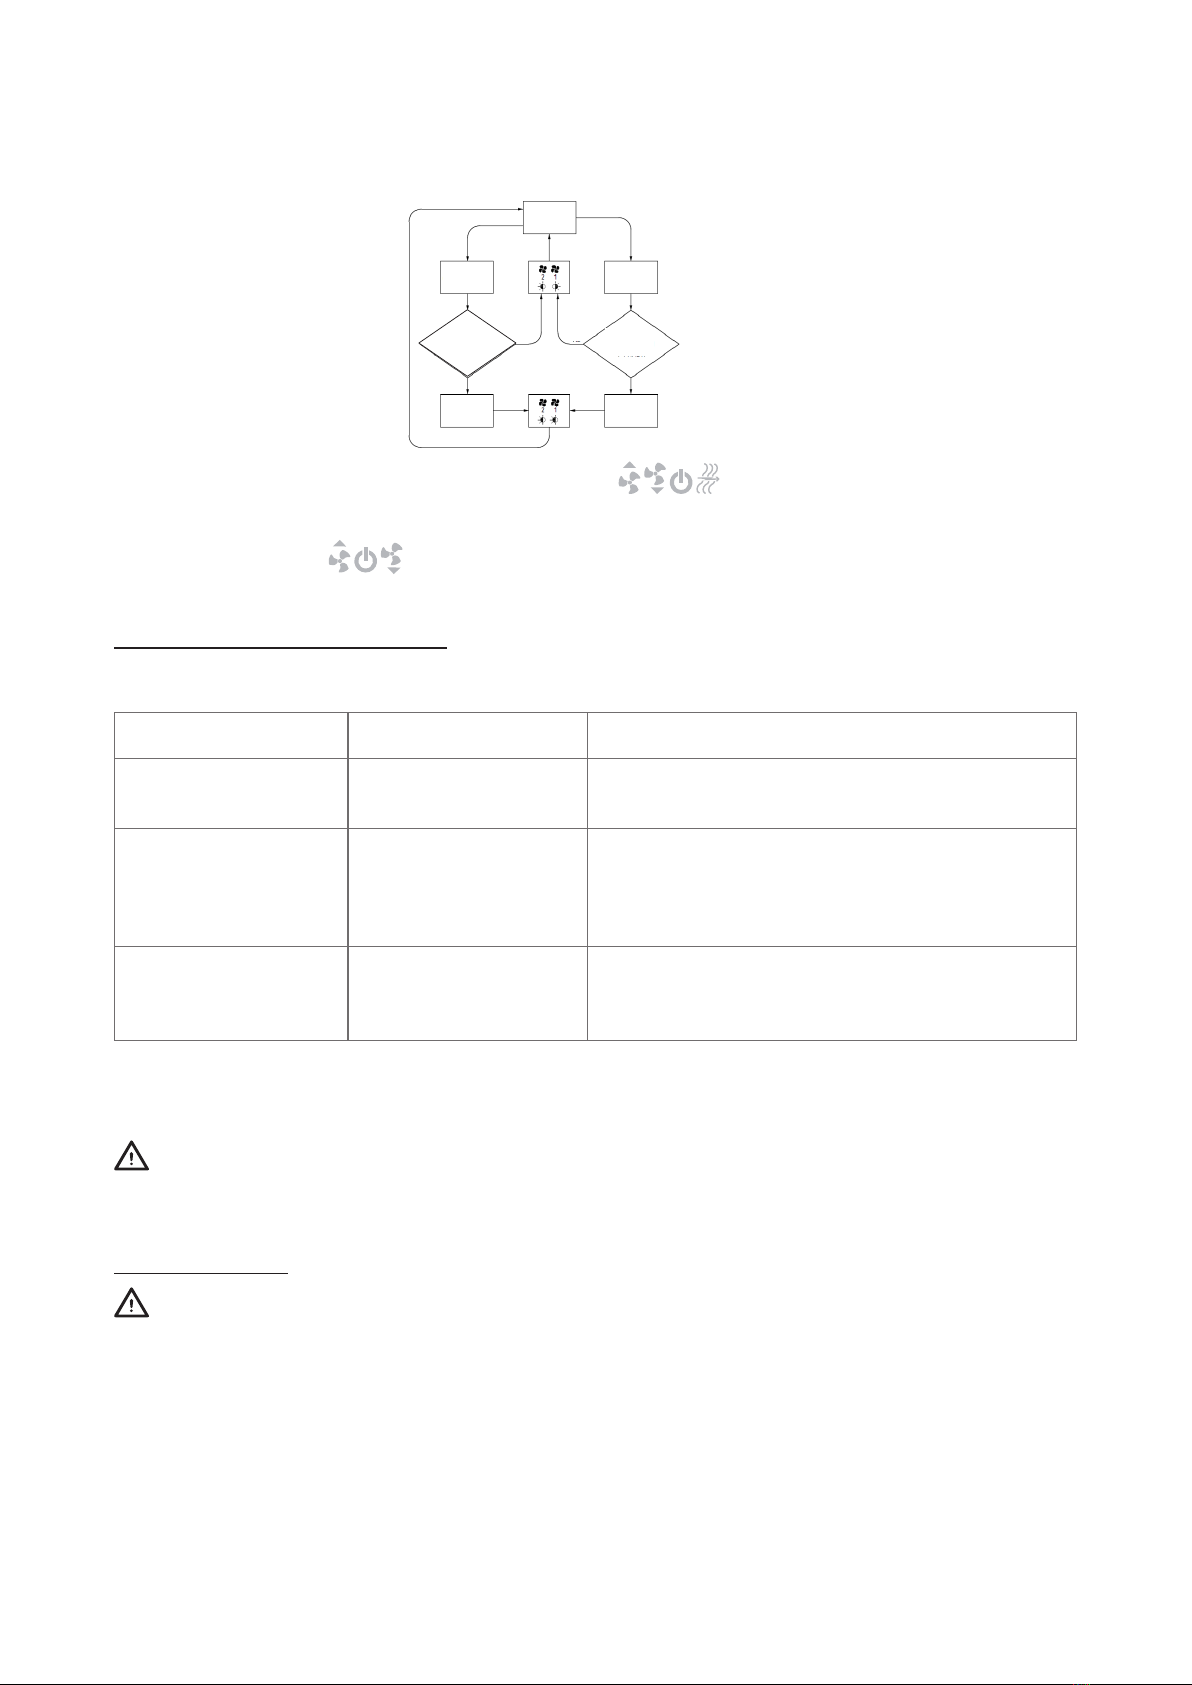
Programming (pairing):
This function is activated 30 seconds after the curtain is turned on (if the curtain was not connected to the front main power sup-
ply). Simultaneously press all four buttons on the control and hold for at least 4 seconds. If the fan 1 and fan 2 speed LEDs ash
simultaneously, the units are well paired. On the contrary, if the LEDs ash one after the other, the control is already paired or the
control limit has been reached (maximum 60 curtains per remote control). This function is activated 30 seconds after the curtain
has just been turned on (if the curtain was not connected to the main power supply before).
Unpairing:
This function is activated 30 seconds after the curtain has just been turned on (if the curtain was not connected to the main
power supply before). Simultaneously press the buttons and hold for at least 4 seconds. If fan 1 and fan 2 speed LEDs
ash simultaneously,
the units are connected. On the contrary, if the LEDs ash one after
the other, the control was not linked to the electronic system, and therefore it is not necessary to unpair them.
ON/OFF
ON/OFF
ON/OFF

7
8. CONTROLS
9. MAINTENANCE
START
A - Simultaneously press all buttons and hold for at least 4 seconds.
B - The control was not linked to the electronic system and there is still available memory space in the system.
C - The linking is done!
X - Simultaneously press the buttons and hold for at least 4 seconds.
Y - Control already linked?
Z - The clearing is done!
8.2 MALFUNCTION STATUS
In case of servicing on the curtain, it is necessary to disconnect it from the main power supply line; if you have any doubts
about this approach, never proceed with the repair and call the professional service!!!
Behaviour of the unit Presumed problem Solution
The unit does not work The curtain is disconnected
from the main power supply Check the main power supply to the curtain.
Remote control does not
work
The air curtain does not
receive any control signal from
the remote control.
Check if the batteries are dead.
Check the polarity of the batteries in the remote control.
Check if the remote control is too far from the curtain and if there is
any signal intervention.
The heating switches o
spontaneously The heater is overheated
The electric heater overheats because the air ow is not sucient.
Check that the fans are running at maximum speed and if the air
ow supplying the curtain is blocked.
CAUTION!
Before any operations inside curtain, the power cable must be disconnected. It is necessary to leave the curtain on for a while to
cool down.
9.1 CLEANING
CAUTION!
• It is prohibited to clean the unit with compressed air, aggressive chemicals, thinners or water.
• To clean the suction cover, use a ne brush or vacuum cleaner.
• Clean the unit using a wet cloth and non-aggressive cleaning products. Observe the safety rules.
YES YES
NONO
1
A
C
X
Y
Z
B

10. SERVICE
10.1 IF YOU CANNOT FIX THE PROBLEM YOURSELF
If you are unable to solve the problem, contact the supplier or exclusive distributor of 2VV. Warranty and post-warranty service is
provided by the supplier or by one of the authorised services, a list of which is available from the supplier.
Please provide the following information to the supplier or service centre:
• Number of the type of air curtain,
• Accessory used,
• Place of installation,
• Serial number,
• Installation conditions (including electrical conditions),
• Operating time,
• Detailed error description.
10.2 DEACTIVATION OF THE PRODUCT - BEFORE DISPOSING OF IT
Even old products contain reusable materials. Transport this type of material to the secondary material collection centre. It is pref-
erable to allow the product to be disposed of in the specialised area and thus it is possible to reuse the recycled materials. Take the
unusable parts to an authorised landll site.
The landll must comply with the national rules of the landll in force.
P01-0214-0314-FA
This manual suits for next models
2
Table of contents
Other France Air Heater manuals
Popular Heater manuals by other brands

SUNERZHA
SUNERZHA NUANCE Assembly and operating manual

Myson
Myson WHISPA III 12000 RCU Installation, operating, maintenance and after sales manual

Perel
Perel FT120C user manual

Harry Taylor
Harry Taylor HT2000 Installation & servicing manual

Reznor
Reznor RHC 4000 RJL Series Application Instructions

Trilite
Trilite Cozy Series Instruction guide