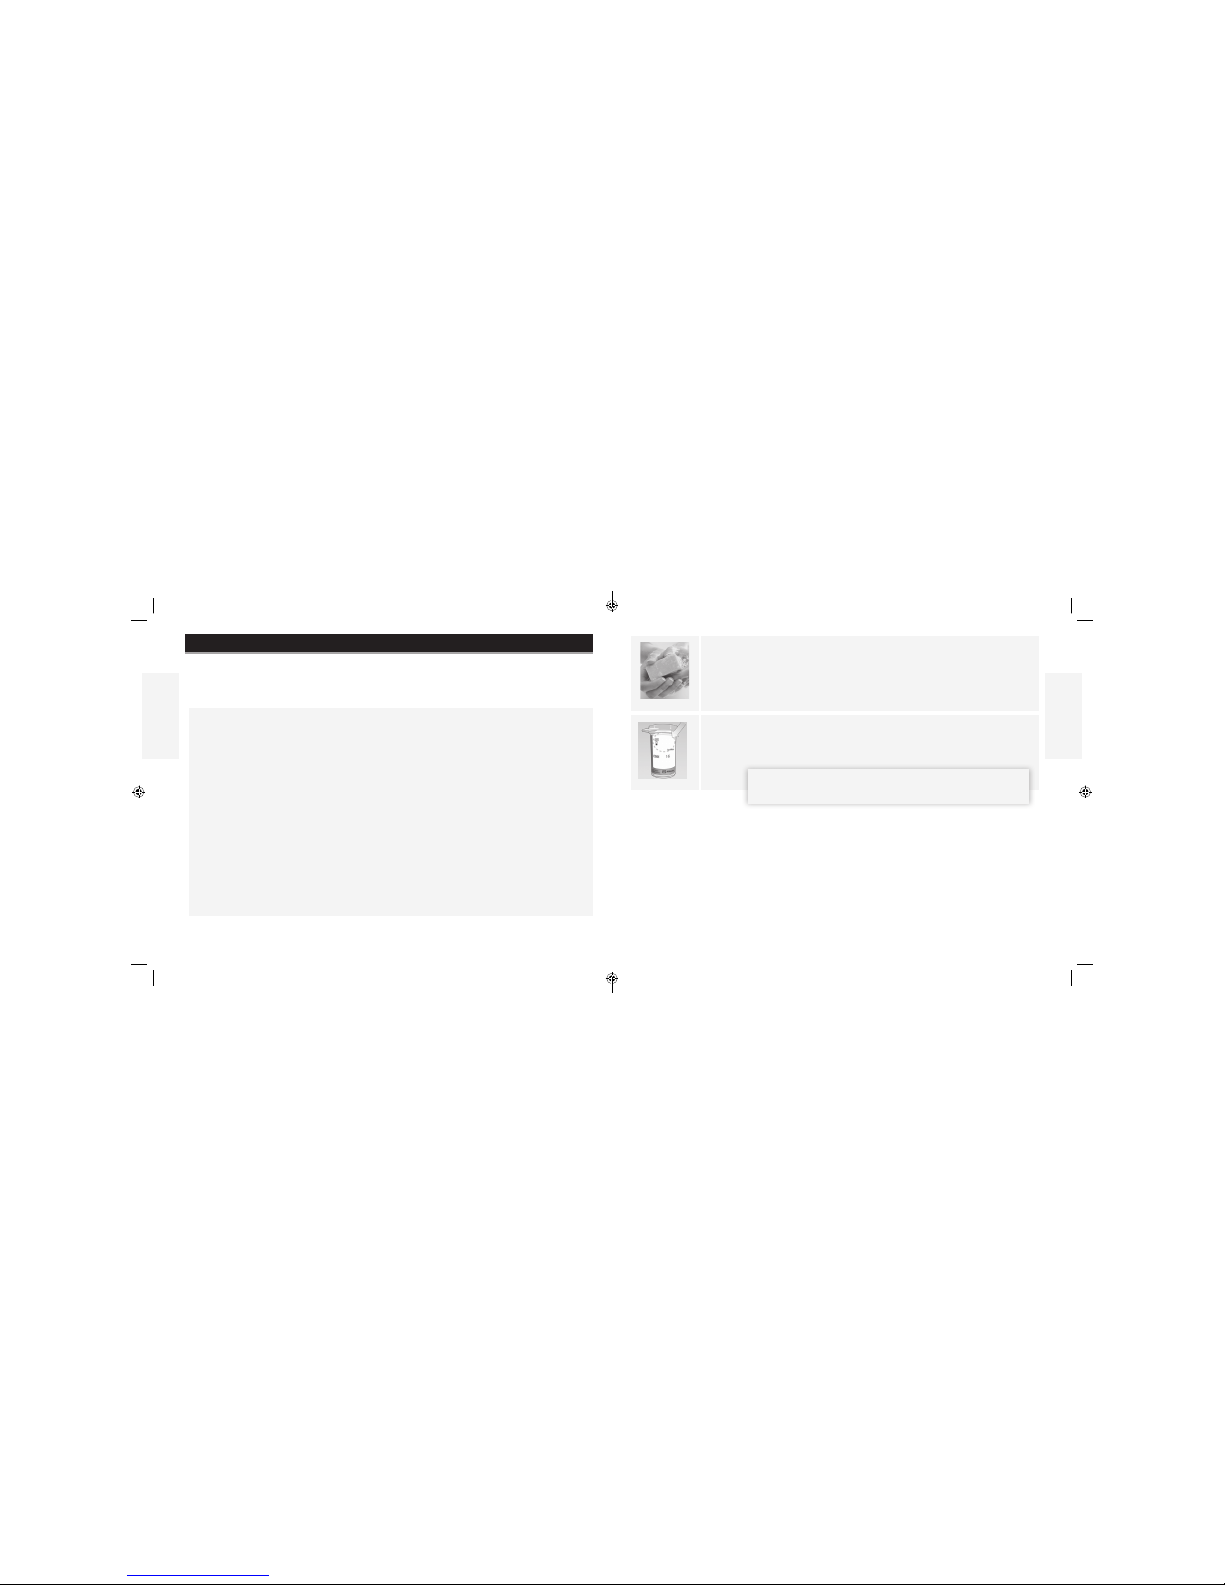
IMPORTANT:
The device must not be used on more than one person including other family members due to the
risk of spreading infection. All parts of the device and its accessories are considered biohazardous
and can potentially transmit infectious diseases, even after performing the cleaning procedure.1,2
If the meter is being operated by a second person who is providing testing assistance to the user,
the meter and lancing device should be cleaned and disinfected prior to use by the second person.
Use only FreeStyle Lite® test strips and FreeStyle® control solution with this meter. Other products
can produce inaccurate results.
1“FDA Public Health Notication: Use of Fingerstick Devices on More than One Person Poses Risk for Transmitting Bloodborne
Pathogens: Initial Communication” (2010) http://www.fda.gov/MedicalDevices/Safety/AlertsandNotices/ucm224025.htm.
2“CDC Clinical Reminder: Use of Fingerstick Devices on More than One Person Poses Risk for Transmitting Bloodborne Pathogens”
(2010) http://www.cdc.gov/injectionsafety/Fingerstick-DevicesBGM.html
Contact Customer CareToll Free at 1-888-522-5226 www.MyFreeStyle.com
English
English
1
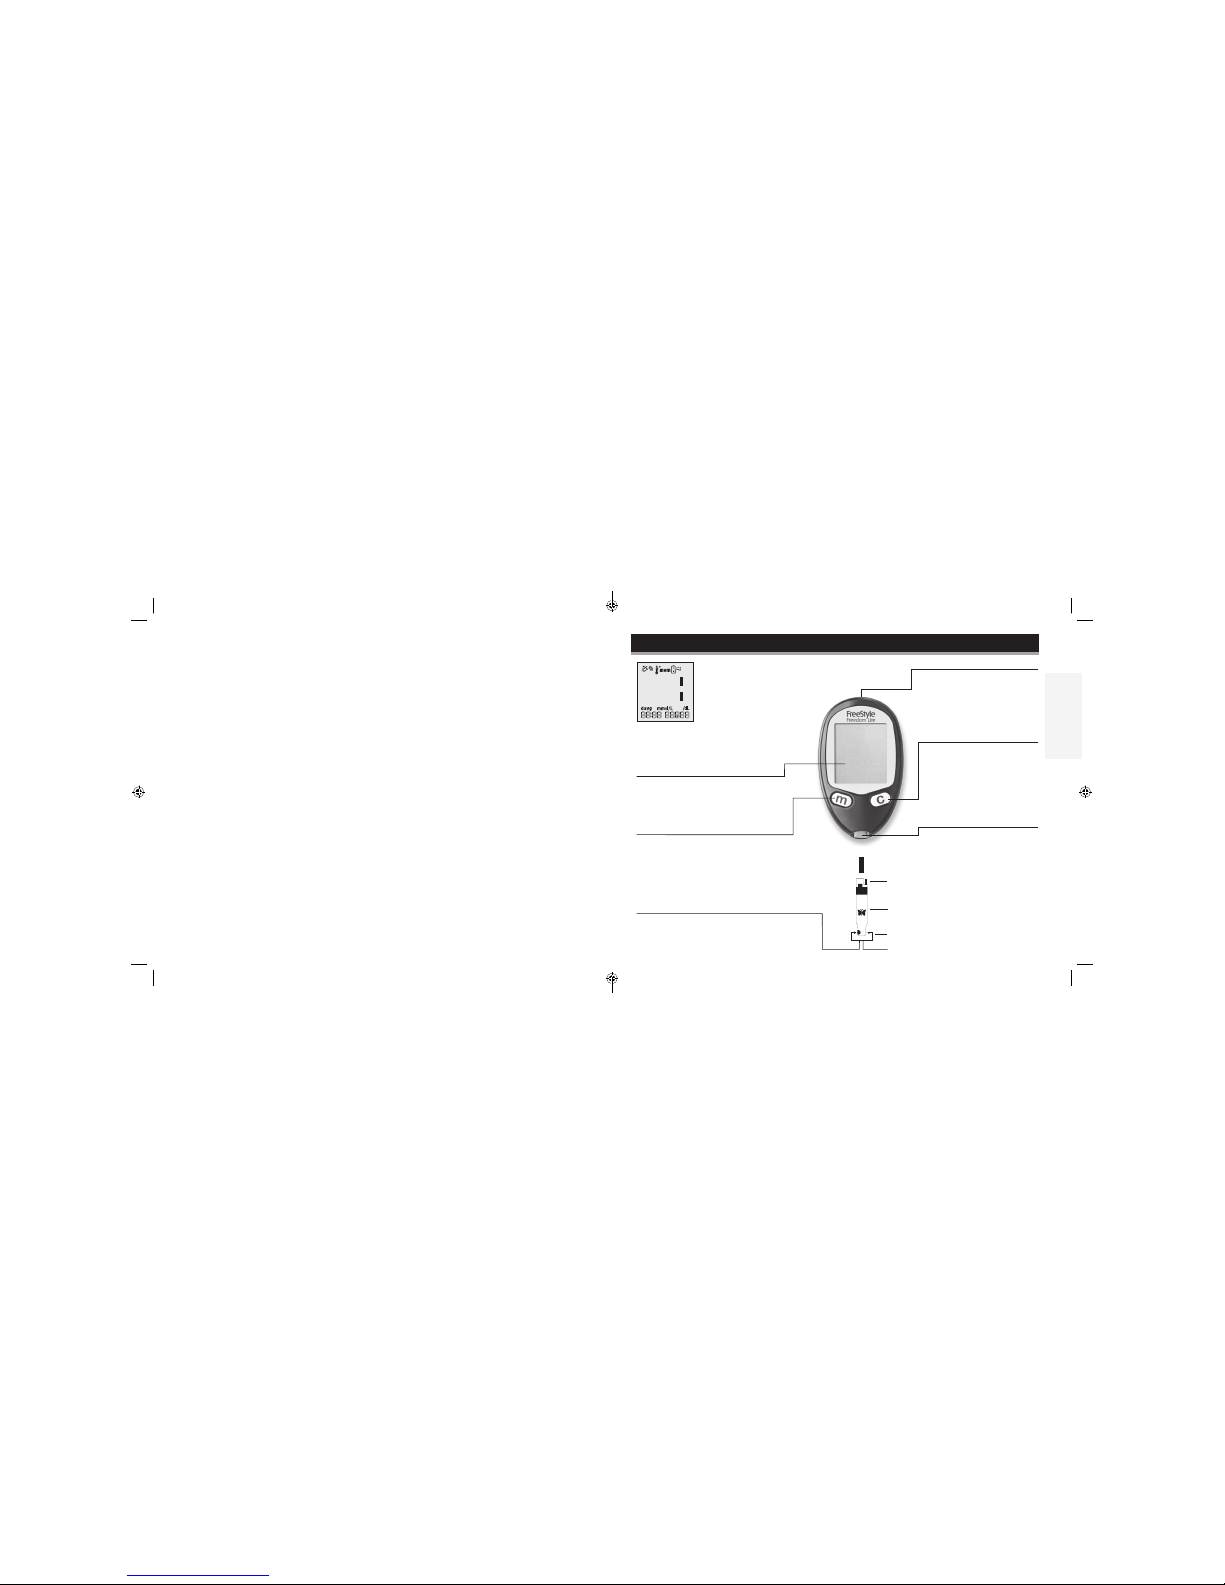
Important Information About Your Blood Glucose Monitoring System
Intended Use
The FreeStyle Freedom Lite Blood Glucose Monitoring System is intended for self-testing outside
the body (in vitro diagnostic use) by people with diabetes at home as an aid in monitoring the
eectiveness of a diabetes control program by quantitatively measuring glucose in fresh whole blood
from the nger, upper arm and palm. The FreeStyle Freedom Lite Blood Glucose Monitoring System
should not be used for the diagnosis of or screening of diabetes or for neonatal use. It is intended
to be used by a single person and should not be shared. Alternate site testing should be done only
during steady state times (when glucose is not changing rapidly). The FreeStyle Lite Blood Glucose
Test Strips are for use with the FreeStyle Freedom Lite Blood Glucose Meter to quantitatively measure
glucose (sugar) in fresh capillary whole blood samples drawn from the ngertips, upper arm and
palm.
ART22812-003_rev-A.indd 1-2
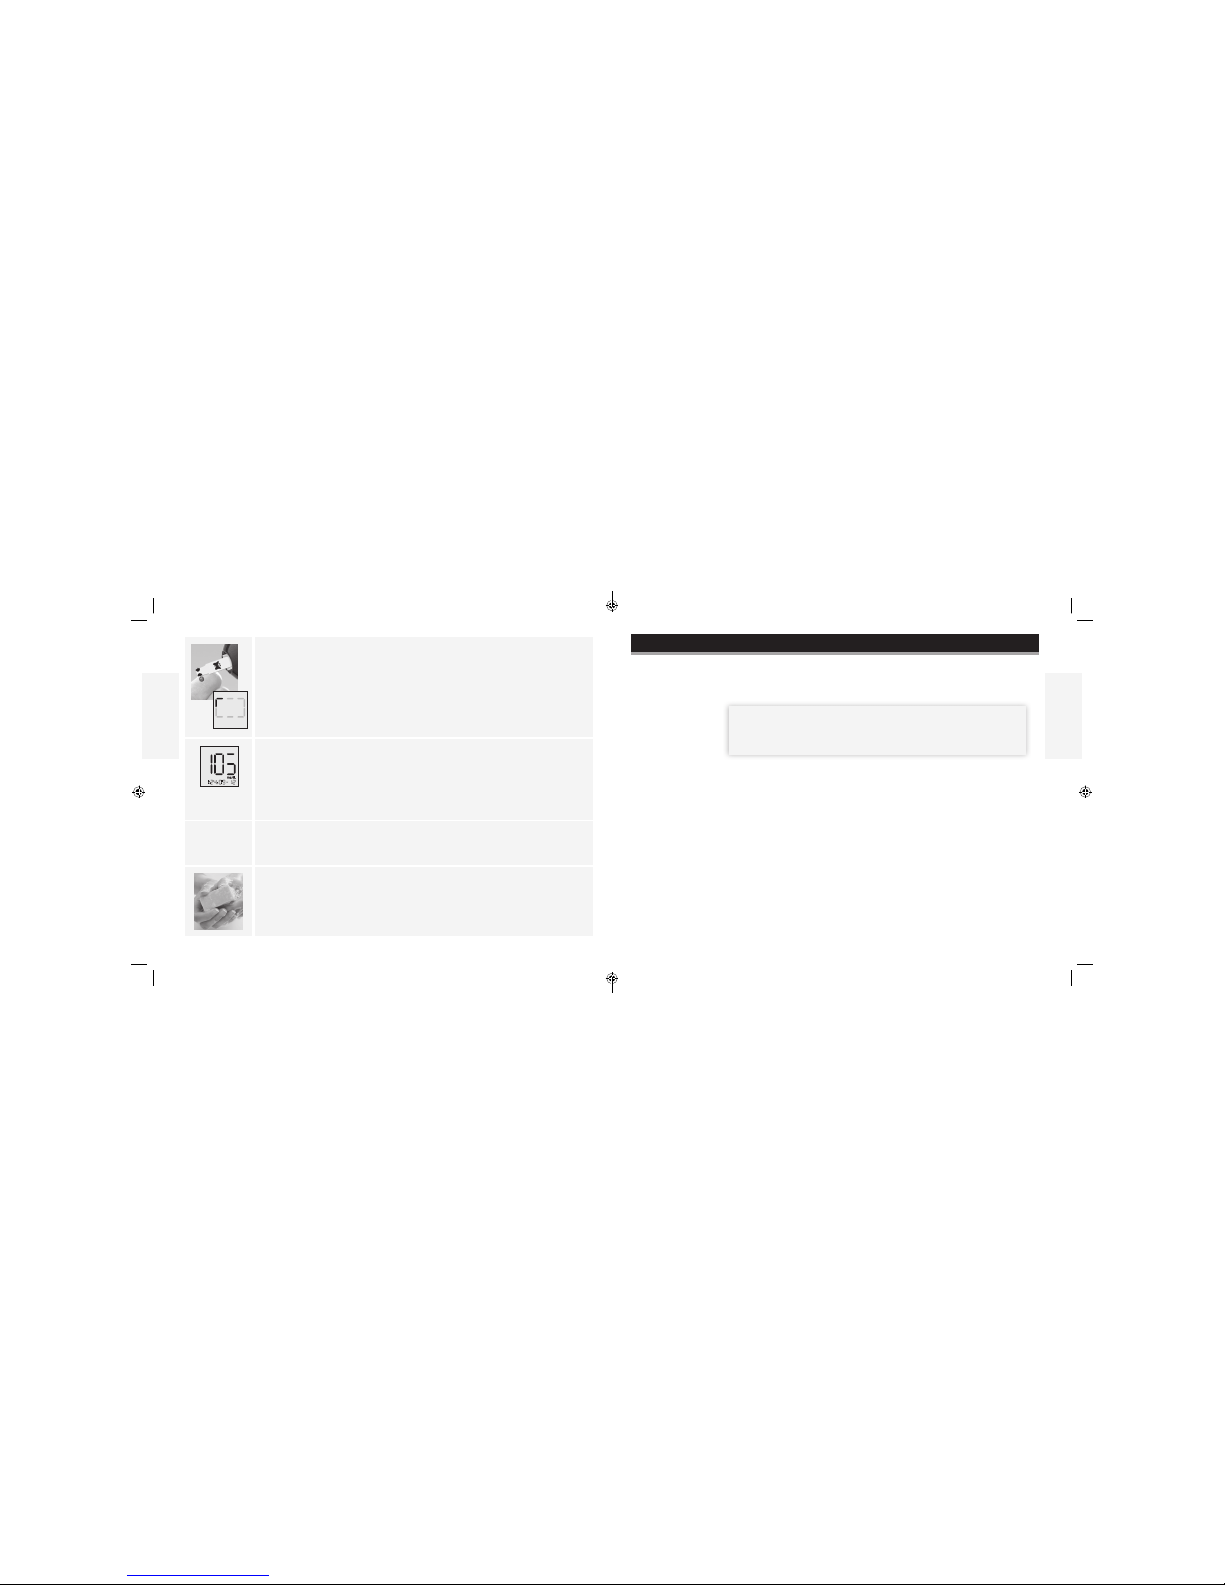
• The expected glucose level for a non-diabetic, non-pregnant fasting adult is under
100 mg/dL.3
• Two hours after meals, levels should be less than 140 mg/dL.3
• Consult your healthcare professional to determine the range that is appropriate for you.
Warning:
• Test on your ngers if you are testing for low blood glucose (hypoglycemia) or if you suer
from hypoglycemia unawareness.
• This system contains small parts that may be dangerous if swallowed.
Caution: Please read all the instructions provided in this owner’s booklet and practice
the testing procedures before using the FreeStyle Freedom Lite® system. Blood glucose
monitoring should be done with the guidance of a healthcare professional.
3American Diabetes Association. (2015). 2. Classication and Diagnosis of Diabetes. Diabetes Care, 38(Supplement 1), S8-S16.
11/10/16 11:02 AM
2