around or under your Sensor, remove the Sensor and stop using the
FreeStyle Libre System. Contact your health care professional before
continuing to use the FreeStyle Libre System.
• Intense exercise may cause your Sensor to loosen due to sweat or
movement of the Sensor. Remove and replace your Sensor if it starts to
loosen and follow the instructions to select an appropriate application
site.
• Do not reuse Sensors. The Sensor and Sensor Applicator are designed
for single use. Reuse may result in no glucose readings and infection.
Not suitable for re-sterilization. Further exposure to irradiation may
cause inaccurate results.
• If a Sensor breaks inside your body, call your health care professional.
How to Store the Sensor Kit:
• Store the Sensor Kit between 39°F and 77°F. Storage outside of this
range may cause inaccurate Sensor glucose readings. While you don’t
need to keep your Sensor Kit in a refrigerator, you can as long as the
refrigerator is between 39°F and 77°F. Do not freeze.
• Store the Sensor Kit between 10-90% non-condensing humidity.
When not to use the System:
• Do NOT use if the Sensor Kit package, Sensor Pack, or Sensor
Applicator appear to be damaged or already opened due to risk of no
results and/or infection.
• Do NOT use if Sensor Kit contents are past expiration date.
• Do NOT use if the Reader appears to be damaged due to risk of electric
shock and/or no results.
What to know before you Apply the Sensor:
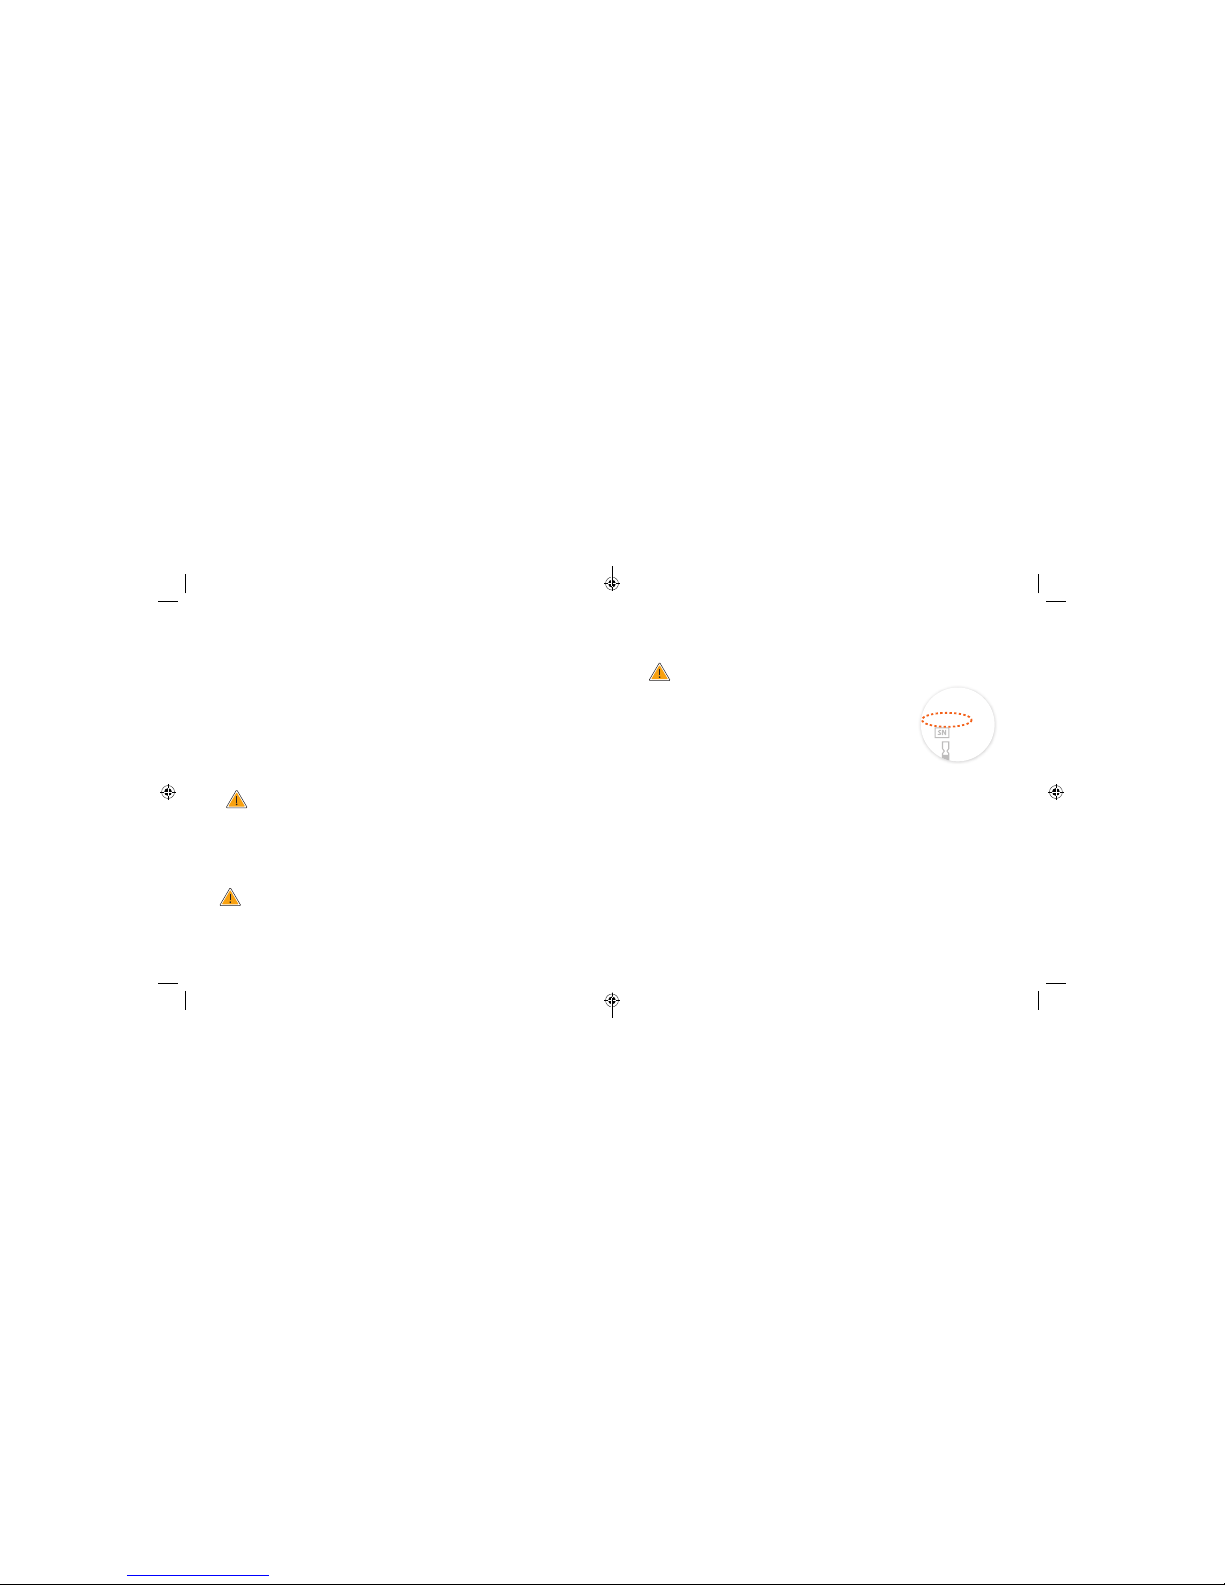
• The Sensor Pack and Sensor Applicator are
packaged as a set (separately from the Reader)
and have the same Sensor code. Check that the
Sensor codes match before using your Sensor
Pack and Sensor Applicator. Do not use Sensor
Packs and Sensor Applicators with dierent Sensor
codes together as this will result in incorrect
glucose readings.
• Clean the application site and ensure that it is dry prior to Sensor
insertion. This helps the Sensor stay attached to your body.
• Clean hands prior to Sensor handling/insertion to help prevent
infection.
• Change the application site for the next Sensor application to prevent
discomfort or skin irritation.
• Sensor placement is not approved for sites other than the back of the
arm. If placed in other areas, the Sensor may not function properly.
• Select an appropriate Sensor site to help the Sensor stay attached
to the body and prevent discomfort or skin irritation. Avoid areas
with scars, moles, stretch marks, or lumps. Select an area of skin