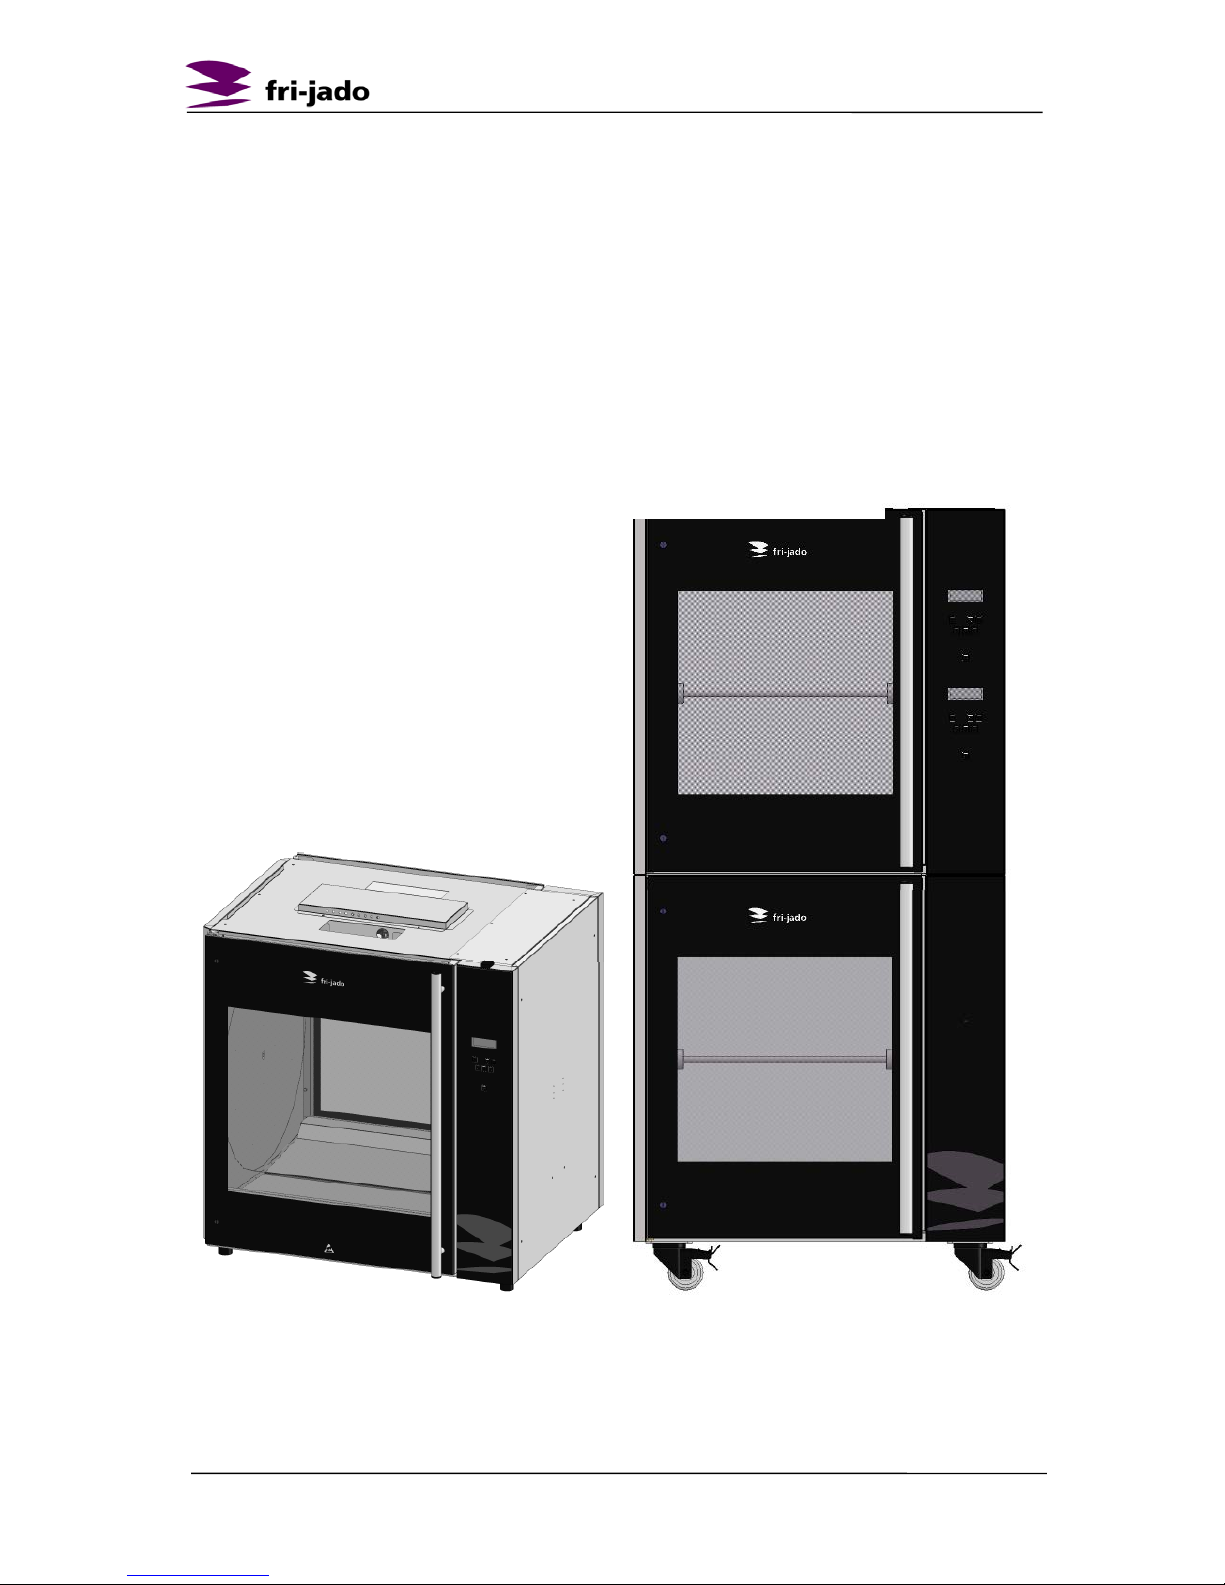
Fri-Jado TDR 5+5 User manual

TDR-P eco Models
EN (Original Instruction) 9123872 / 1306
USER MANUAL
TDR-P eco SERIES

TDR-P eco Models
EN 2 / 48
KEEP THIS USER MANUAL FOR FUTURE USE
© 2013 Fri-Jado BV, Etten-Leur, The Netherlands.
We advise you to contact your supplier for the guarantee period and conditions. Further we
refer to our General Terms and Conditions for Sales and Delivery that are available upon
request.
The manufacturer does not accept any liability for damage or injury caused by failing to
adhere to these regulations or by not observing the usual caution or care in actions,
operation, maintenance or repair activities, even if not explicitly described in this manual.
As a result of constant commitment to improvement, it may happen that your unit deviates in
detail from what is described in this manual. For this reason, the given instructions are only
a guideline for the installation, use, maintenance and repair of the unit referred to in this
manual.
This manual has been composed with the utmost care. The manufacturer shall, however,
not be held responsible for any mistakes in this manual nor for any consequences thereof.
The user is allowed to copy this manual for own use. Further all rights are reserved and
nothing in this manual may be reproduced and/or made public in any way.
Modifications:
In case of unauthorized modifications in or on the unit, every liability on the part of the
manufacturer becomes null and void.

TDR-P eco Models
EN 3 / 48

TDR-P eco Models
EN 4 / 48
CONTENTS
1. INTRODUCTION......................................................................................................... 6
1.1. General........................................................................................................................... 6
1.2. Identification of the unit................................................................................................ 6
1.3. Pictograms and symbols.............................................................................................. 6
1.4. Safety instructions........................................................................................................ 7
1.4.1. General....................................................................................................................... 7
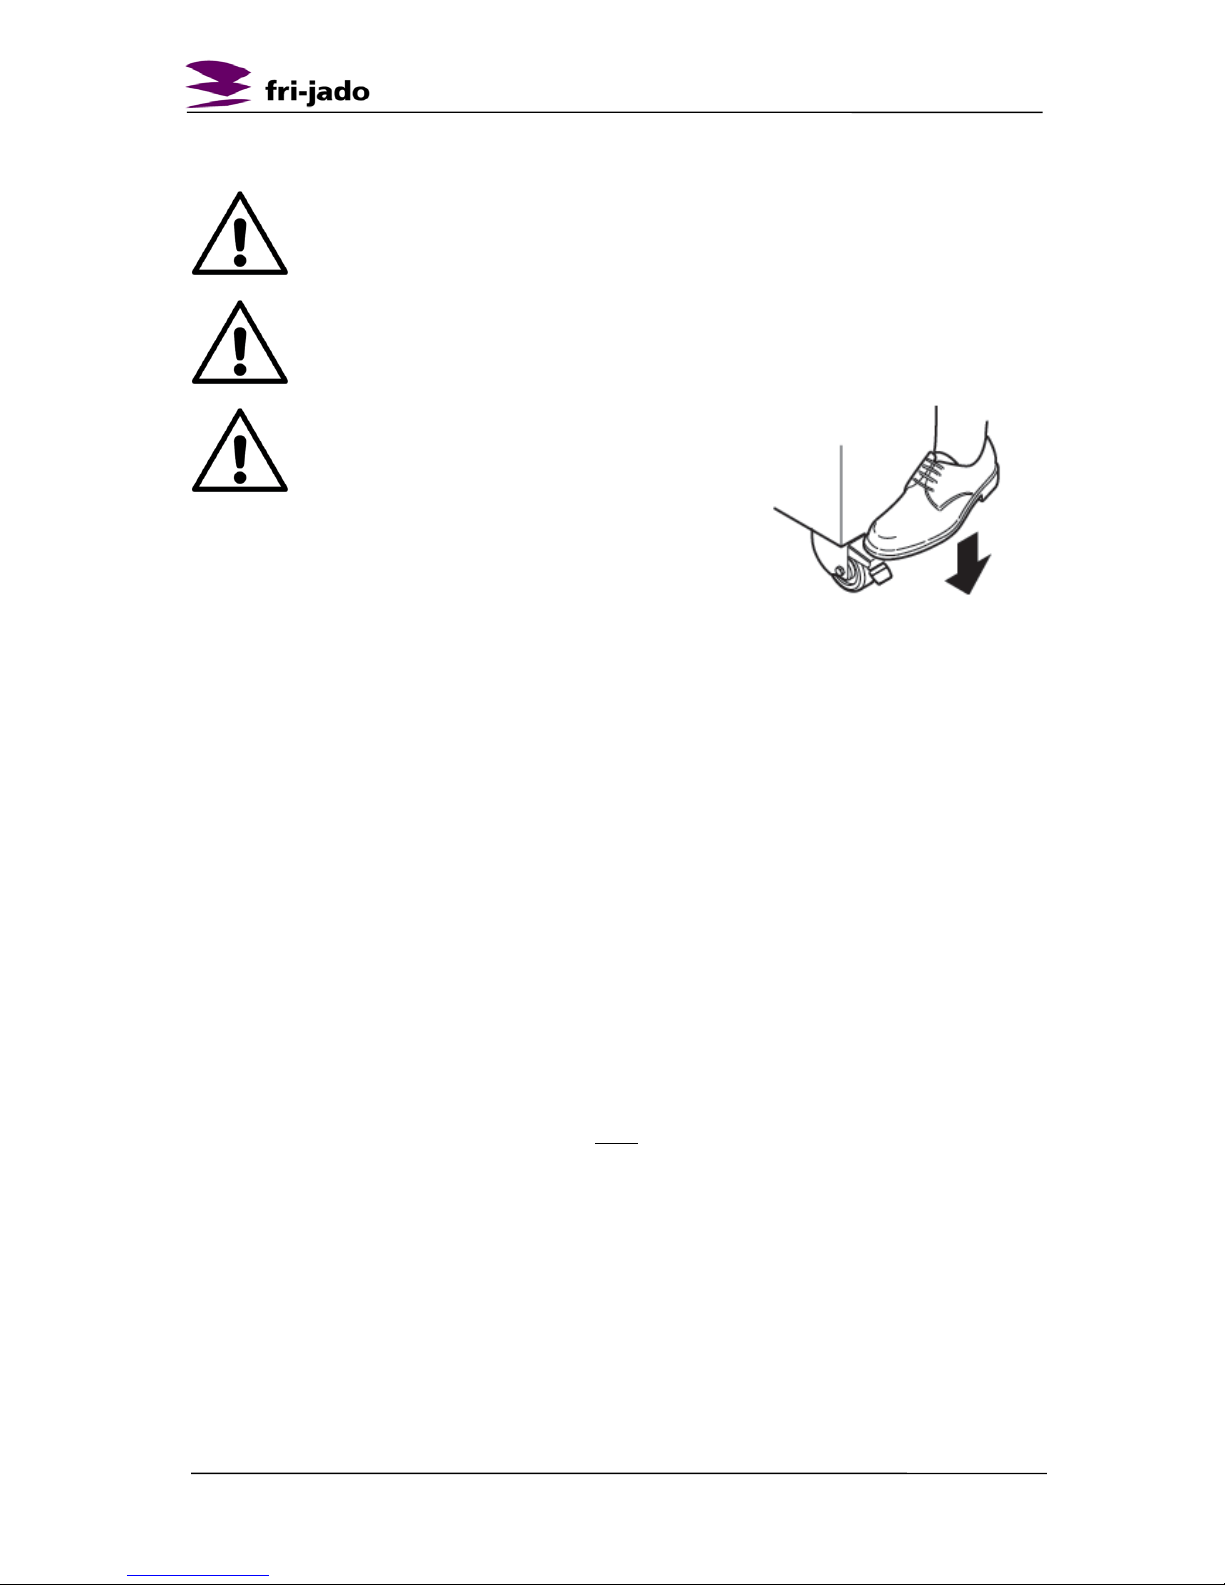
1.4.2. Moving........................................................................................................................ 8
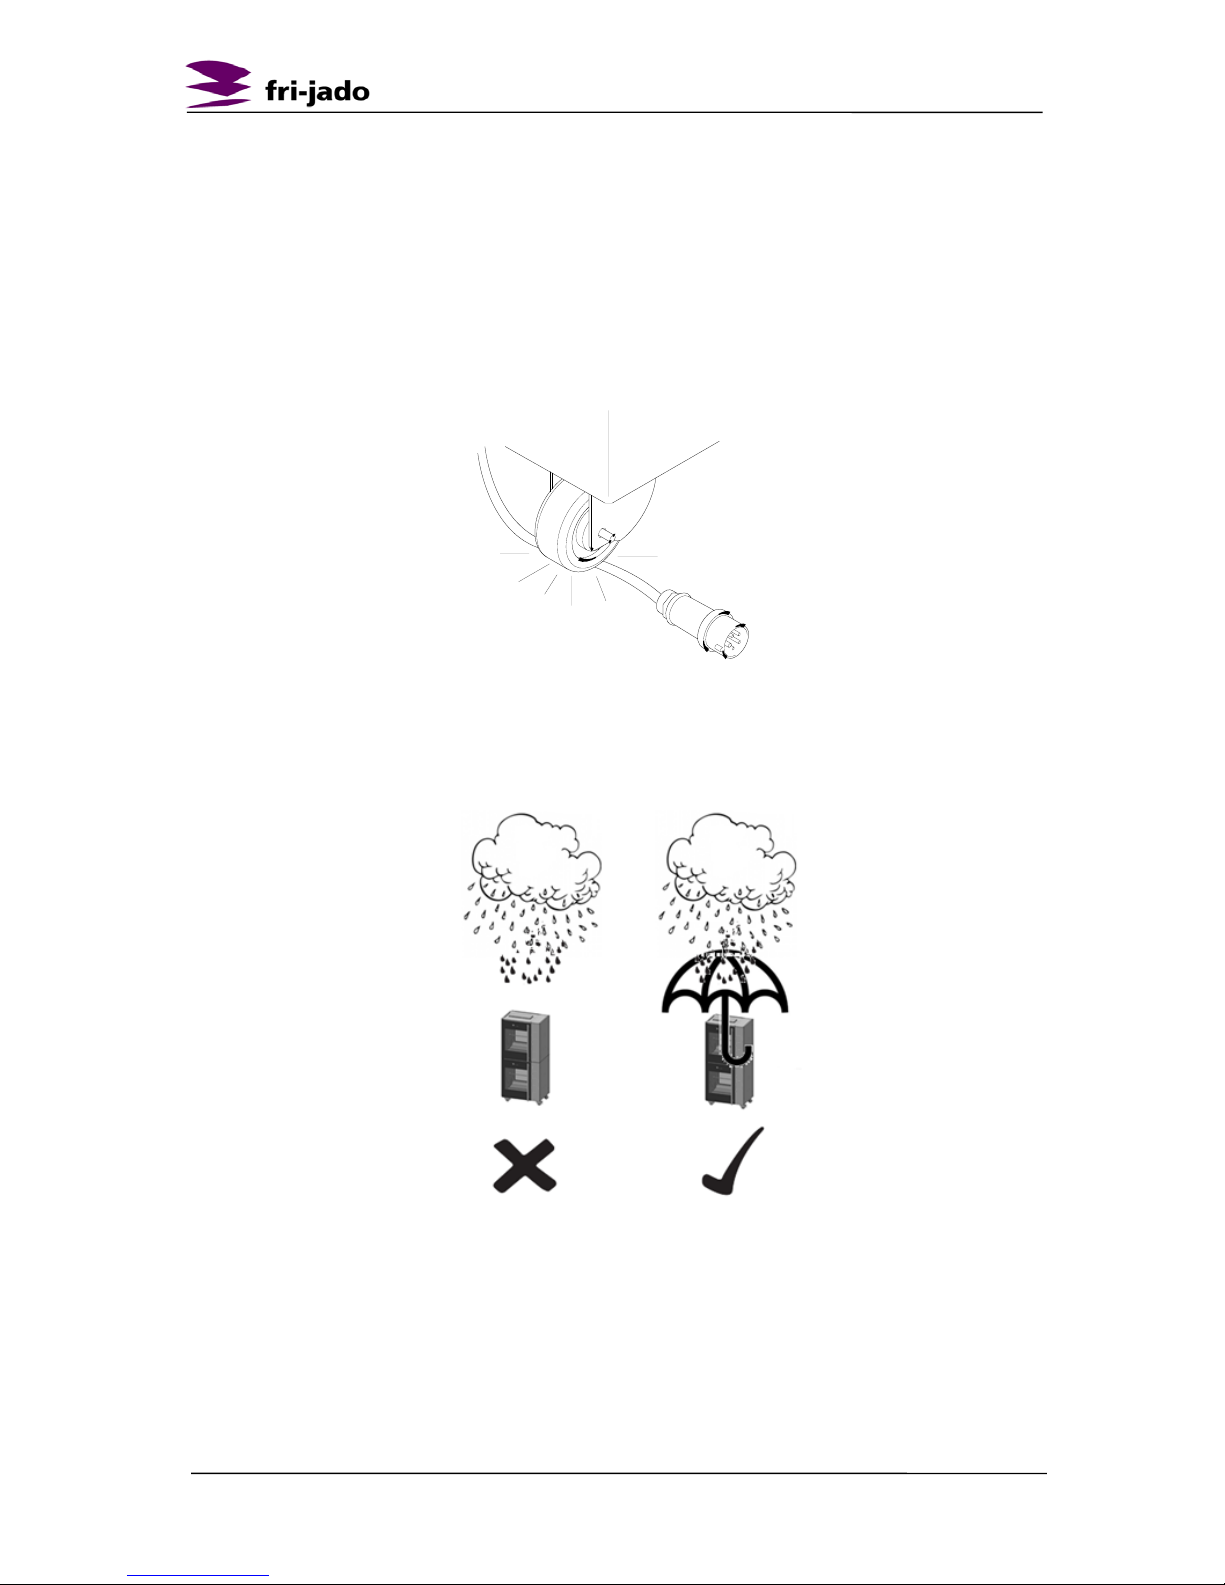
1.4.3. Outdoor use restrictions........................................................................................... 8
1.5. Hygiene .......................................................................................................................... 9
1.6. Service and technical support..................................................................................... 9
1.7. Storage........................................................................................................................... 9
1.8. Disposal.......................................................................................................................... 9
2. DESCRIPTION OF THE UNIT.................................................................................. 10
2.1. Technical description.................................................................................................. 10
2.2. Intended use................................................................................................................ 10
2.3. Accessories ................................................................................................................. 10
3. INSTALLATION AND FIRST USE ........................................................................... 11
3.1. Unpacking the unit...................................................................................................... 11
3.2. Dismantling the pallet................................................................................................. 12
3.3. Installation and positioning........................................................................................ 12
3.4. First use program........................................................................................................ 13
3.4.1. Metal odour.............................................................................................................. 14
4. OPERATION AND USE............................................................................................ 15
4.1. Control Panel............................................................................................................... 15
4.2. Switching-on the unit.................................................................................................. 16
4.3. Loading the rotisserie................................................................................................. 16
4.3.1. Loading the rotisserie using meat forks............................................................... 16
4.3.2. Loading the rotisserie using V-shape spits (accessory)................................... 18
4.3.3. Loading the rotisserie using meat baskets (accessory).................................... 18
4.3.4. Loading the rotisserie using chicken racks (accessory)................................... 19
4.3.5. Loading the rotisserie using two different accessories..................................... 20
4.4. Grilling time.................................................................................................................. 20
4.5. Taking out the products............................................................................................. 20
4.5.1. Taking out the meat forks...................................................................................... 20
4.5.2. Taking out the V-shape spit (accessory)............................................................. 21
4.5.3. Taking out the chicken racks (accessory)........................................................... 21

TDR-P eco Models
EN 5 / 48
4.5.4. Taking out the meat basket (accessory)............................................................. 21
4.6. Emptying grease drawer............................................................................................ 21
4.7. Switching-off the unit.................................................................................................. 22
5. OPERATION ............................................................................................................. 23
5.1. Operation of the rotisserie......................................................................................... 23
5.2. Operation options ....................................................................................................... 26
5.2.1. To end a running program..................................................................................... 26
5.2.2. Check the actual temperature............................................................................... 26
5.2.3. Check the remaining time in a program.............................................................. 27
5.2.4. Show all actual program information ................................................................... 27
5.2.5. Eco function............................................................................................................. 28
5.2.6. Cook correction....................................................................................................... 28
5.2.7. Display information................................................................................................. 29
6. MANAGER MENU .................................................................................................... 30
6.1. Manager menu items.................................................................................................. 30
6.2. Programming the rotisserie....................................................................................... 30
6.3. Programming parameters.......................................................................................... 36
6.4. Change pin code......................................................................................................... 38
6.5. Clock............................................................................................................................. 38
6.6. Transfer........................................................................................................................ 38
6.7. Version ......................................................................................................................... 38
6.8. USB............................................................................................................................... 39
7. CLEANING AND MAINTENANCE........................................................................... 40
7.1. Maintenance schedule............................................................................................... 40
7.2. Daily Cleaning............................................................................................................. 40
7.3. Weekly Cleaning......................................................................................................... 41
7.4. Monthly Cleaning........................................................................................................ 42
8. MALFUNCTIONS AND SERVICE............................................................................ 43
8.1. Replace the mains cord............................................................................................. 43
8.2. Replace a lamp........................................................................................................... 44
9. TECHNICAL SPECIFICATIONS .............................................................................. 45
10. ACCESSORIES AND OPTIONS.............................................................................. 46

TDR-P eco Models
EN 6 / 48
1. INTRODUCTION
1.1. General
This manual is intended for the user of the TDR-P eco. The features and controls are being
described, along with directions for the safest and most efficient use, in order to guarantee a
long life of the unit.
All pictograms, symbols and drawings in this manual apply to all available TDR models.
1.2. Identification of the unit
The identification plate can be found on the outside of the machine, and contains the
following data:
•Name of the supplier or the manufacturer
•Model
•Serial number
•Year of construction
•Voltage
•Frequency
•Power consumption
1.3. Pictograms and symbols
In this manual, the following pictograms and symbols are used:
WARNING
Possible physical injury or serious damage to the unit, if the instructions
are not carefully followed.
WARNING
Hazardous electrical voltage.
WARNING
Danger of getting injured by hot surfaces.
Suggestions and recommendations to simplify indicated actions.
Recycling symbol.
Direction of view symbol.

TDR-P eco Models
EN 7 / 48
1.4. Safety instructions
WARNING
The outside of the unit can be very hot.
WARNING
The maximum load on top of the unit may never exceed 50 kg (110 lbs).
WARNING
Always use the brakes on both front wheels:
1.4.1. General
The user of the unit will be fully responsible for abiding the locally prevailing safety- rules and
regulations.
The unit may be operated by qualified and authorized persons only. Anyone working on or
with this unit must be familiar with the contents of this manual and carefully follow all
guidelines and instructions. Never change the order of the steps to be performed. The
management must instruct the personnel on the basis of this manual and follow all
instructions and regulations.
The pictograms, labels, instructions and warning signs attached to the unit, are part of the
safety measures. They may never be covered or removed, and have to be clearly visible
during the entire lifetime of the unit.
Immediately repair or replace damaged or illegible pictograms, warnings and instructions.
•To avoid short-circuiting, never clean the unit using a water hose. For cleaning
instructions, see section 7.
•During the grill process, the unit can get very hot.
•When the door is opened the rotor stops and the heater is de-energized.
•The unit must be cleaned regularly to ensure proper functioning and prevent fire
hazard (over heating). Especially the back of the fan plate.
•The fat collecting drawer must be emptied regularly, to prevent overflow.
•This appliance is not intended for the use by persons (including children) with
reduced physical, sensory or mental capabilities, or lack of experience and
knowledge, unless they have been given supervision or instruction concerning use of
the appliance by a person responsible for their safety.
•Children should be supervised to ensure that they do not play with the appliance.

TDR-P eco Models
EN 8 / 48
1.4.2. Moving
When moving the unit:
•Before moving the unit, first switch off the mains voltage by pulling the plug from the
wall socket and empty the fat collecting drawer. After that, cool-down the unit for at
least ten minutes.
•The units equipped with wheels are not suited to pass ledges or obstacles higher
than 10 mm (0.4 inch).
•When moving the unit, always push at the centre of the unit. Never on top. Never at
the bottom.
•Make sure that the wheels can move freely, so they never touch the power lead (see
Figure 1).
Figure 1
1.4.3. Outdoor use restrictions
To avoid short-circuiting, the units may not be used outdoors unprotected. Placing under a
screen is allowed.
Figure 2

TDR-P eco Models
EN 9 / 48
1.5. Hygiene
The quality of a fresh product always depends on hygiene. Especially grilling products. With
the risk of salmonella contamination – especially for chicken products – you must make sure
that grilled products can never be mixed with uncooked products. Also contact between
grilled products and hands or tools that have been in contact with raw chicken meat, must be
avoided at all times.
Hands or tools that have been in contact with raw chicken meat, must be cleaned thoroughly.
1.6. Service and technical support
The electrical schematics of your unit is included. In case of malfunctions you can contact
your dealer/service agent. Make sure you have the following data available:
•Model.
•Serial number.
This data can be found on the identification plate.
1.7. Storage
If the unit will not be used temporarily, and will be stored, follow these instructions:
•Clean the unit thoroughly.
•Wrap the unit from getting dusty.
•Store the unit in a dry, non-condensing environment.
1.8. Disposal
Dispose of the machine, any components or lubricants removed from it safely in accordance
with all local and national safety and environment requirements.

TDR-P eco Models
EN 10 / 48
2. DESCRIPTION OF THE UNIT
2.1. Technical description
The unit uses a combination of direct infra-red radiation and convection heat.
The rotor is being wheeled by a maintenance-free motor and gearbox.
The fan ensures an equally divided heat. The glass panes are equipped with a heat
reflecting layer to keep the heat inside the grill.
The plating of the unit is made of stainless steel. The product contact parts are made of
stainless steel AISI 304 (eventual with PTFE coating).
The mains cable is provided with a plug.
The unit control keeps the temperature inside the unit fixed to level set by the operator.
During the entire process, the interior of the unit will be illuminated by halogen lamps.
The control has a capability to store 99 different programs.
2.2. Intended use
The TDR has been designed for grilling meat products. Any other use will not be regarded
as intended use.
The manufacturer accepts no liability whatsoever for loss or injury caused by failing to strictly
adhere to the safety guidelines and instructions in this manual or due to carelessness during
installation, use, maintenance and repair of the unit referred to in this manual and any of its
accessories.
Use the unit in perfect technical condition only.
2.3. Accessories
Your unit contains the following standard accessories:
•Meat forks.
•User manual.
For optional accessories refer to section 10.

TDR-P eco Models
EN 11 / 48
3. INSTALLATION AND FIRST USE
All packing materials used for this unit are suited for recycling.
After unpacking, check the state of the unit. In case of damage, store the packing material,
and contact the transporter within fifteen working days after receiving the goods.
3.1. Unpacking the unit
Your unit is packed in a plastic cover with protective corners, and a carton box around it.
All units are placed on a wooden pallet. Around the box there are two tightening straps.
Figure 3Figure 4
Figure 5
Remarks Figure 5:
1. Cut the two transportation seals from both sides of the rotor
2. Remove the transportation block of the fat collecting drawer
3. Remove all remaining packing materials from the unit
4. Take off the standard accessories.

TDR-P eco Models
EN 12 / 48
3.2. Dismantling the pallet
For proper unpacking the unit, the pallet must be taken apart. Use the instructions shown in
Figure 6.
Figure 6
3.3. Installation and positioning
Figure 7
•The user must have sufficient freedom of movement to properly operate the unit (see
Figure 7).
•The minimum free distance must be at least 250 mm (10 inch).
•During grilling, the glass panes will get very hot. While positioning, keep the unit out
of children’s reach.
•In case of a wheeled unit, the floor must be flat and levelled.
•The unit has a mains plug, and must be connected to a wall socket with the proper
mains voltage. The wall socket must be mounted by a certified electrician.

TDR-P eco Models
EN 13 / 48
3.4. First use program
When using the unit for the first time, clean the interior thoroughly with soap suds and heat
up the unit, see section 3.4.1. After commissioning discoloration of the cooking/grilling area
can occur.
The cleaning remains will find its way to the fat collection drawer, so this drawer must be
cleaned and emptied after cleaning the unit.

TDR-P eco Models
EN 14 / 48
•Place the bottom plates in the grilling compartment (see Figure 8).
Figure 8
3.4.1. Metal odour
To remove the metal odour that will appear at first use, the unit must be heated at the
maximum temperature (250°C/482°F) for at least half an hour (pre-set at program 99).
Bottom Plates

TDR-P eco Models
EN 15 / 48
4. OPERATION AND USE
4.1. Control Panel
Figure 9
Functions of the controls
Button
Function
ON / OFF
Switching the unit on / off
UNDO
Go back to previous menu
LIST
Receipt / Programming modus
FORWARD
One step ahead in setting
ROTOR
Switching the rotor on
OK
Acknowledge a function or change
BACK
One step back in setting
ON/OFF
UNDO
LIST
FORWARD
OK
BACK
ROTOR

TDR-P eco Models
EN 16 / 48
4.2. Switching-on the unit
4.3. Loading the rotisserie
First select a program (see section 5).
When the door is open press the rotor button to activate the rotor. This allow easy loading or
unloading the products.
Whilst loading the unit, make sure that the rotor gets evenly loaded, so that the mass of the
products is evenly spread over de rotor, causing an equal balance. Do not allow empty meat
forks, meat baskets and chicken racks etc. in the grilling process.
Figure 10
4.3.1. Loading the rotisserie using meat forks
The unit will be equipped with a set of meat forks.
Whole uncut chickens should always be grilled using the meat forks.
This way their natural fat will baste each other, giving a perfectly slender
cooking result.
Refer to the You-Tube movie: “Fri-Jado instruction for binding and
loading chicken”.
Pins for meat baskets
or chicken racks
Holes for meat forks
TDR 7/TDR 8
Hole for meat
baskets

TDR-P eco Models
EN 17 / 48
Figure 11
For preparing chicken or any other poultry, you can work as follows (see Figure 12).
Figure 12
1. Insert one point of the meat fork through the chest at the position of the wings. Insert
the other point through the drum sticks. Don’t forget to include the wings.
2. Leave some space between the products, for an even exposure and browning.
3. Put the meat forks onto the rotor disks in such a way that during grilling the chicken
breasts face the operator.
4. Put the points of the meat forks through the appropriate holes in the rotor disks (see
Figure 13).
5. The other end of the meat forks must be put through the corresponding holes in the
opposite rotor disk.
Figure 13
6. To insert the remaining meat forks in the unit, act as follows:
•Switch-on the unit using the on/off button’.
•With the door opened, use the rotor button to move the rotor to easily insert the
next meat fork. Keep the rotor button pressed until the rotor reaches the desired
position. To load the next meat fork, press the rotor button to rotate the rotor to
the next loading position.
•Repeat these steps, until all products are loaded.

TDR-P eco Models
EN 18 / 48
4.3.2. Loading the rotisserie using V-shape spits (accessory)
Figure 14
If you are using V-shape spits act as follows:
•Place the skewer into the small outside hole on the rotor end plate on your left (as
you face the oven). The back of the V-shape spit should be pointing towards you (see
Figure 14).
•Fit the other end on the spit into the small corresponding holes on the rotor end plate
on your right (as you face the oven).
•Make sure the spit is level. If spit is not level make sure you are using the correct
holes on the rotor end plates.
4.3.3. Loading the rotisserie using meat baskets (accessory)
Figure 15 (type for TDR-8 is shown)
If you are using meat baskets, act as follows:
•With the TDR 5 you must stick the ends of the meat baskets through the appropriate
holes of the rotor disks.
•With the TDR 7 and TDR 8 you must attach the meat baskets to the appropriate pins.
Whilst loading the unit with meat baskets, you must see to it, that the rotor gets evenly
loaded, so that the mass of the products is evenly spread over de rotor, causing an equal
balance.
Also see to it that no meat parts are sticking out of the baskets.

TDR-P eco Models
EN 19 / 48
Figure 16 (type for TDR 7 / TDR 8 is shown)
4.3.4. Loading the rotisserie using chicken racks (accessory)
When using chicken racks, (see Figure 17), you can use the principle as described in section
4.3.3.
Figure 17
For preparing chicken or any other poultry in the racks, you can use Picture 1 as an example.
Picture 1

TDR-P eco Models
EN 20 / 48
4.3.5. Loading the rotisserie using two different accessories.
WARNING
After loading the rotor, at least make ONE full rotation, and check
whether the rotor can spin without obstructions.
If you want to load the unit using two different accessories at the same time, always fill the
rotor with ONE accessory fewer than the maximum allowed quantity. See to it that
accessories of the same type are placed consecutively.
Example
For both TDR 5 and TDR 5 + 5: 1 meat fork + 2 meat baskets consecutively
4.4. Grilling time
Grilling time depends on a number of factors:
•The ambient temperature and draft in the direct vicinity of the unit.
•Grilling temperature.
•The initial product temperature.
•The sort of meat (fat or lean) and with or without additives.
•The mass and shape of the product.
•The total amount of meat to be grilled in one grilling cycle.
•The end result.
4.5. Taking out the products
WARNING
After the grilling, the interior of the unit and the glass panes are very hot.
Always use oven gloves when taking out the meat forks or other
accessories.
4.5.1. Taking out the meat forks
When taking out the meat forks, it is best to act as follows (see Figure 18):
Figure 18
1. Hold the meat fork firmly.
2. Slightly lift the end with the grips and shift the meat fork into the direction of its points.
This releases the meat fork.
3. Take the meat fork at its other end and take it out of the unit.
4. Remove the products from the meat fork.
This manual suits for next models
2
Table of contents
Other Fri-Jado Kitchen Appliance manuals
Popular Kitchen Appliance manuals by other brands

Morphy Richards
Morphy Richards HB01 instructions

Varimixer
Varimixer VS 25F/N instruction manual

CDA
CDA RC9020 Operating & installation instructions

Spring USA
Spring USA K2509-6 Installation & operation manual

Lifegoods
Lifegoods 9200000117202248 user manual

Ninja
Ninja Foodi NeverStick Bakeware Use & care guide