manuals.online logo
Brands
  1. Home
  2. •
  3. Brands
  4. •
  5. Friedrich
  6. •
  7. Air Conditioner
  8. •
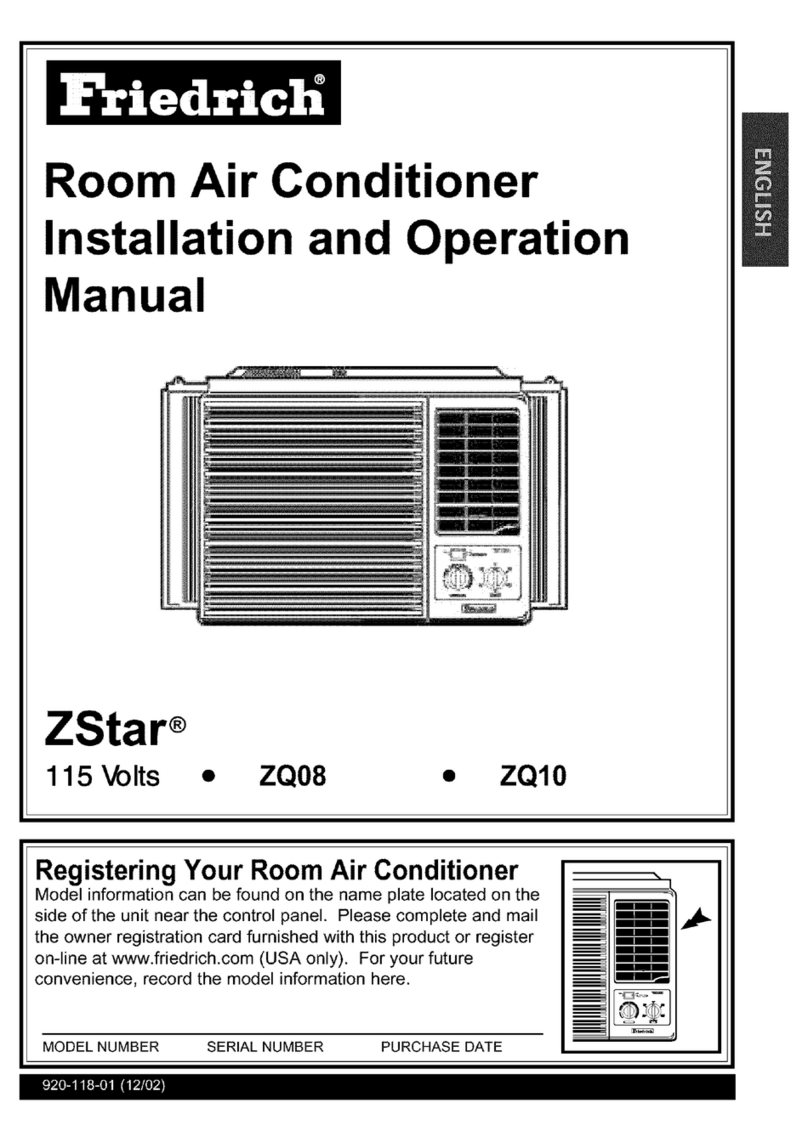
  9. Friedrich Chill+ EP18 User manual

Friedrich Chill+ EP18 User manual

230 EP18 EP24
0
F
Power
Mode
Timer
0n/0ff
Fan
Speed
Temp
CoolMoney
Saver
®
Fan
Only Dry
hr
Auto
Swing
0
F
Power
Mode
Timer
0n/0ff
Fan
Speed
Temp
CoolMoney
Saver
®
Fan
Only Dry
hr
Auto
Swing
16
For inner cleaning, contact an Authorized Service Center or a dealer.
Do not use harsh detergent that causes corrosion or damage on the unit.
Harsh detergent may also cause failure of product, fire, or electronic shock.
Check Filter: Your ‘Check Filter’ LED will
light up after approximately 250 hours of
operation, notifying you that your filter needs
to be cleaned.
Filter Reset: press ‘Temp ∨∧’ together to
turn off ‘Check Filter’ light.
*Timer Clear: On remote control, ‘Timer Clear’ button
will cancel the timer setting
8
21
3
4
5
678
3
2
5
6
7
*Filter Reset must be done from unit control
panel, not remote control
Push the ‘Mode’ button to rotate between
MoneySaver → Cool → Fan Only → Heat.
MoneySaver: The fan will stop when the compressor
stops cooling. The fan will turn on approximately every
3 minutes to sample to room air and determine if more
cooling is needed.
MoneySaver has it’s own button on your remote control
Cool: fan runs continually for normal cooling operation
Fan Only: Fan-only operation
Heat: fan runs continually for normal heat operation
4. CHECK FILTER & FILTER RESET
6. OPERATION MODE SELECTOR
Electric Heater
41
8
26
41
18
Foam-PE
(Adhesive-Backed)
Type C (5) Type D (2)
Type A (11)
Carriage Bolt (2) Lock Nut (4)
Type B (7)
Foam strip
(Plain-Back)
Right frame
curtain
Window locking
bracket
Left frame
curtain
Frame guide(2)
Sill
bracket
(2)
Support bracket(2)
Drain joint pipe
4
4
4
10
3
3.
3
44
1. Open the window. Mark a line on the center of
the window stool between the side window stop
moldings.
Loosely attach the sill bracket to the support
bracket using the carriage bolt and the lock nut.
2. Attach the sill bracket to the window sill using
the screws (Type B).
Carefully place the cabinet on the window stool
and align the center mark on the bottom front
with the center line marked window stool.
3. Using the M-screw and the lock nut, attach the
support bracket to the cabinet track hole. Use
the first track hole after the sill bracket on the
outer edge of the window sill. Tighten the
carriage bolt and the lock nut. Be sure the
cabinet slants outward.
Do not drill a hole in the bottom pan. The unit is
designed to operate with approximately 1/2" of
water in bottom pan.
4. Pull the bottom window sash down behind the
Top retainer bar until they meet.
1. Do not pull the window sash down so tightly
that the movement of Frame curtain is
restricted. Attach the cabinet to the window
stool by driving the screws (Type B) through
the cabinet into window stool.
2. The cabinet should be installed with a very
slight tilt downward toward the outside.
NOTICE
Support
Bracket
Lock nut
Sill
Bracket
Carriage
Bolt
(M-Screw)
Front angle
Window stool
Window sash Top retainer bar
Cabinet
Foam-PE
Frame curtain
Screw(Type B)
Front Angle
Sash track
Foam-PE
Cabinet
Track hole
Support
Bracket
Carriage bolt
and lock nut
Machine screw(Type D)
and lock nut
Outer edge
of window
sill
Screw(Type B)
Sill bracket
Top
retainer
bar
Fig. 5
Fig. 6
Fig. 7
Fig. 8
Fig. 9
13
ENGLISH
5.
Pull each Frame curtain fully to each window sash
track, and pull the bottom window sash down behind
the Top retainer bar until it meets.
6.
Attach each Frame curtain the window sash by
using screws (Type C.) (See Fig. 10)
7.
Slide the unit into the cabinet.(See Fig. 11)
For security purpose, reinstall screws(Type A) at
cabinet's sides.
8.
Cut the Foam-strip to the proper length and insert
between the upper window sash and the lower
window sash.(See Fig. 12)
9.
Attach the Window locking bracket with a screw
(Type C.) (See Fig. 13)
10.
Attach the front grille to the cabinet by inserting the
tabs on the grille into the tabs on the front of the
cabinet. Push the grille in until it snaps into
place.(See Fig.14)
Lift the inlet grille and secure it with a screw (Type
A) through the front grille.(See Fig. 14)
Window installation of room air conditioner is now
completed. See ELECTRICAL DATA for attaching
power cord to electrical outlet.
Power Cord
Screw (Type A)
Screw
Window locking
bracket
Foam-Strip
Screw(Type C)
Fig. 10
Fig. 11
Fig. 12
Fig. 13
Fig. 14
Fig. 15
3.
4.
14
15
16

This manual suits for next models

1

Other Friedrich Air Conditioner manuals
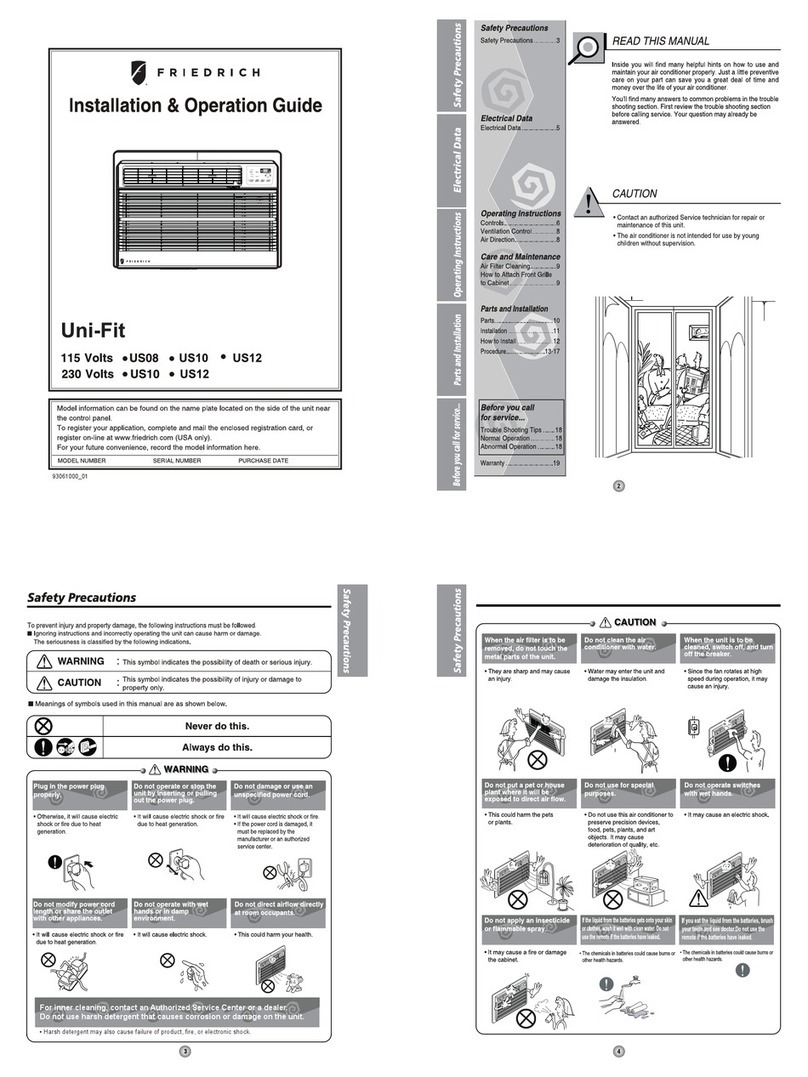
Friedrich M36YJ User manual

Friedrich

Friedrich M36YJ User manual
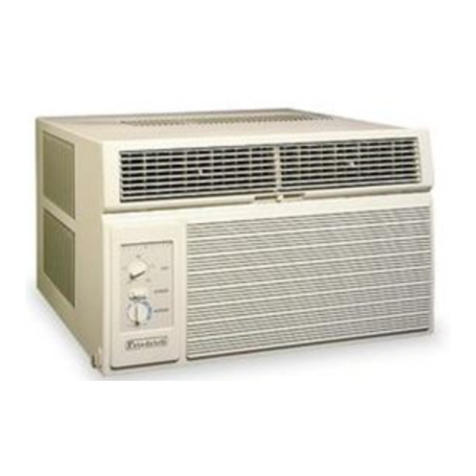
Friedrich MR24DY3F User manual

Friedrich

Friedrich MR24DY3F User manual

Friedrich WALLMASTER WMPTAC02 User manual

Friedrich

Friedrich WALLMASTER WMPTAC02 User manual

Friedrich Kuhl SQ05 User manual

Friedrich

Friedrich Kuhl SQ05 User manual

Friedrich ZoneAire P09B User manual

Friedrich

Friedrich ZoneAire P09B User manual

Friedrich CP05N10A Building instructions

Friedrich

Friedrich CP05N10A Building instructions

Friedrich FPHFR9A3A Guide

Friedrich

Friedrich FPHFR9A3A Guide

Friedrich CP08G10 User manual

Friedrich

Friedrich CP08G10 User manual

Friedrich FPHFC36A3B Wi-Fi Guide

Friedrich

Friedrich FPHFC36A3B Wi-Fi Guide

Friedrich M21DYF Quick setup guide

Friedrich

Friedrich M21DYF Quick setup guide

Friedrich KStar KQ08E10 User manual

Friedrich

Friedrich KStar KQ08E10 User manual

Friedrich CP05A10 Building instructions

Friedrich

Friedrich CP05A10 Building instructions

Friedrich 000 BTU'S User manual

Friedrich

Friedrich 000 BTU'S User manual

Friedrich QuietMaster KS10 User manual

Friedrich

Friedrich QuietMaster KS10 User manual

Friedrich ZoneAire P09B User manual

Friedrich

Friedrich ZoneAire P09B User manual

Friedrich ZoneAire P09B User manual

Friedrich

Friedrich ZoneAire P09B User manual

Friedrich ZoneAire P09B User manual

Friedrich

Friedrich ZoneAire P09B User manual

Friedrich MR18DC3E User manual

Friedrich

Friedrich MR18DC3E User manual

Friedrich PTAC Series Original operating instructions

Friedrich

Friedrich PTAC Series Original operating instructions

Friedrich CP06F10 Building instructions

Friedrich

Friedrich CP06F10 Building instructions

Friedrich MW24C3F User manual

Friedrich

Friedrich MW24C3F User manual

Friedrich MRM36Y3J User manual

Friedrich

Friedrich MRM36Y3J User manual

Friedrich MW18C3F User manual

Friedrich

Friedrich MW18C3F User manual

Friedrich WallMaster WE10B33C User manual

Friedrich

Friedrich WallMaster WE10B33C User manual

Popular Air Conditioner manuals by other brands

SPT WA-1511S user manual

SPT

SPT WA-1511S user manual

Taurus Alpatec R750 manual

Taurus Alpatec

Taurus Alpatec R750 manual

Honeywell HL10 Series user manual

Honeywell

Honeywell HL10 Series user manual

Panasonic CS-CZ25WKE Service manual

Panasonic

Panasonic CS-CZ25WKE Service manual

York DJ 300 Technical guide

York

York DJ 300 Technical guide

York YNKFZC024-055BAADAFX owner's manual

York

York YNKFZC024-055BAADAFX owner's manual

Samsung AQV12NSA Service manual

Samsung

Samsung AQV12NSA Service manual

Midea PD series manual

Midea

Midea PD series manual

Samsung AQV12J Series user manual

Samsung

Samsung AQV12J Series user manual

LG LW1213HR Energy guide

LG

LG LW1213HR Energy guide

Samsung MH FSBA Series installation manual

Samsung

Samsung MH FSBA Series installation manual

Panasonic CS-YS9TKV operating instructions

Panasonic

Panasonic CS-YS9TKV operating instructions

GE AGM24DH Owner's manual and installation instructions

GE

GE AGM24DH Owner's manual and installation instructions

DEVOLA DVCO60P user manual

DEVOLA

DEVOLA DVCO60P user manual

Haier HSU-10VNJ17 Operation manual

Haier

Haier HSU-10VNJ17 Operation manual

Sharp Plasmacluster GS-XP07ER Operation manual

Sharp

Sharp Plasmacluster GS-XP07ER Operation manual

Tokyo Gas MISTY IBD-4110ACSKJ3M manual

Tokyo Gas

Tokyo Gas MISTY IBD-4110ACSKJ3M manual

Samsung AS U Series User & installation manual

Samsung

Samsung AS U Series User & installation manual

manuals.online logo
manuals.online logoBrands
  • About & Mission
  • Contact us
  • Privacy Policy
  • Terms and Conditions

Copyright 2025 Manuals.Online. All Rights Reserved.