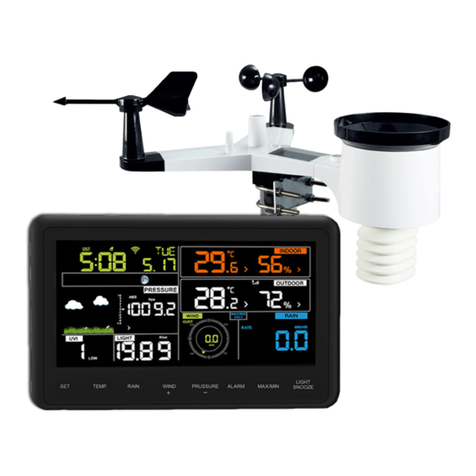
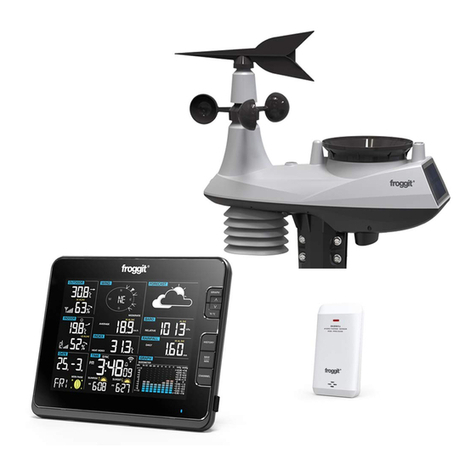
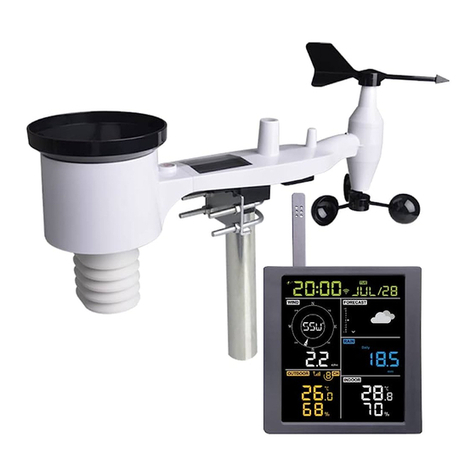
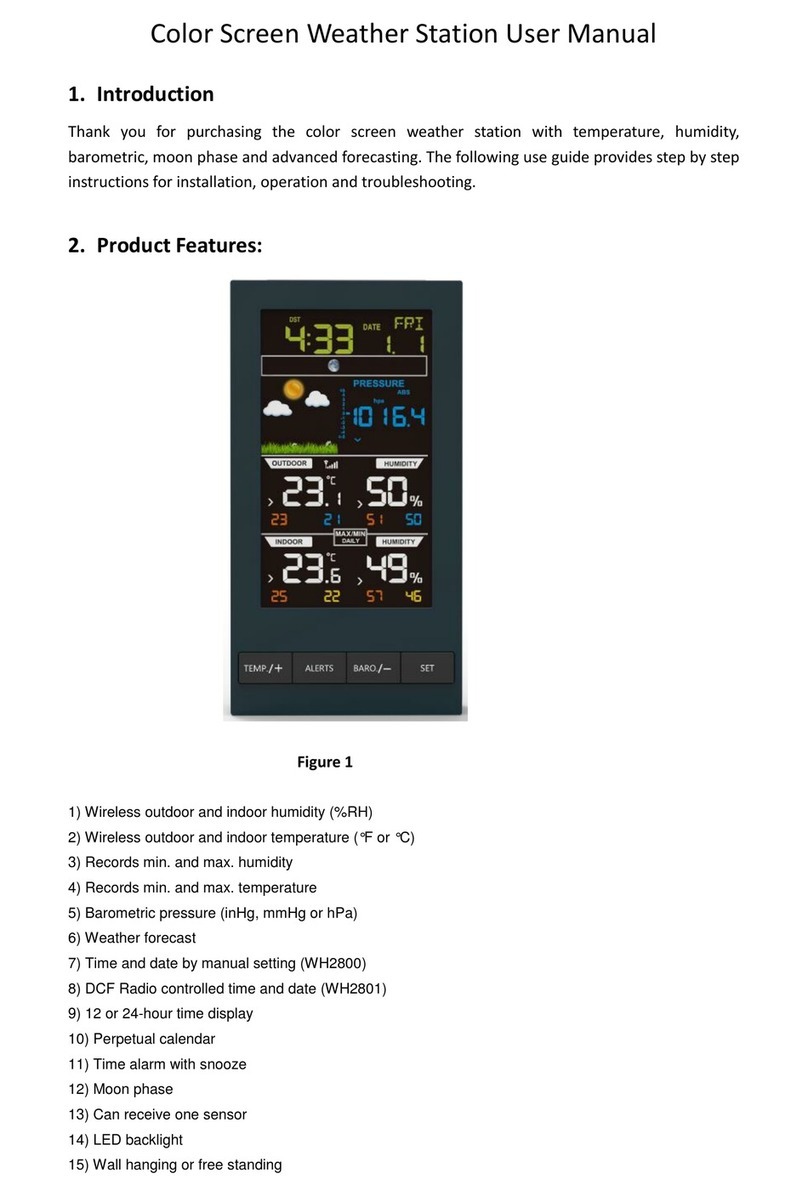
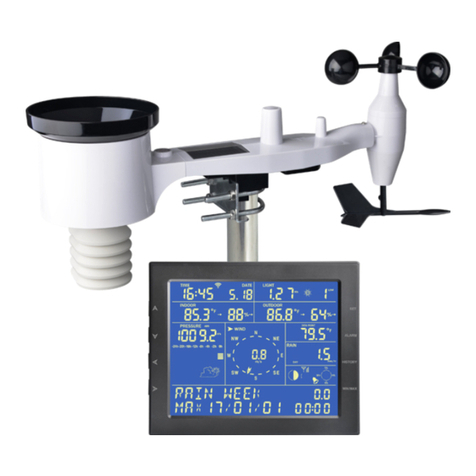
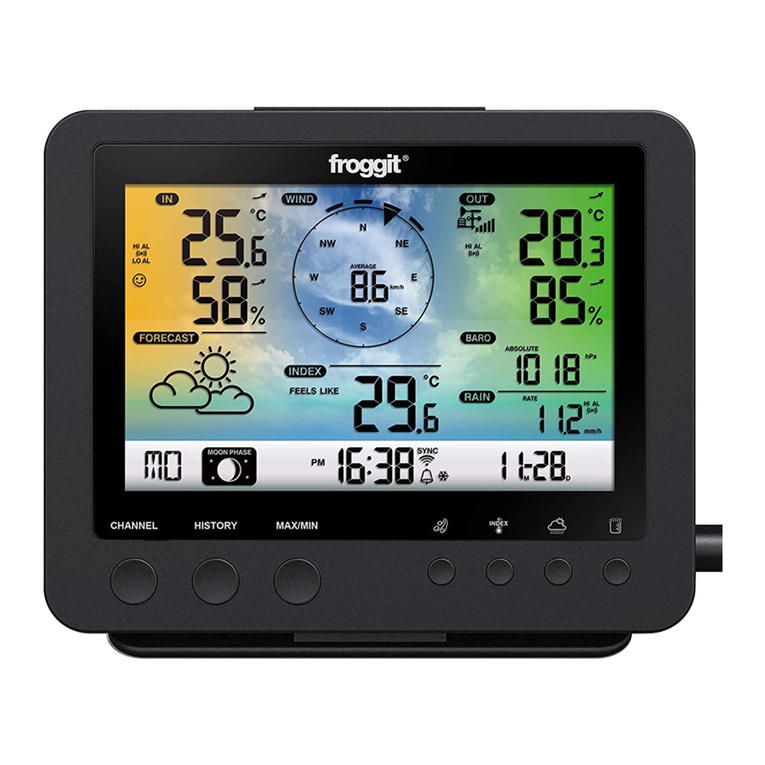
Froggit WH6000 PRO User manual

1
WH6000 PRO
WiFi Internet Wireless Weather
Station
Manual (EN)
Support/Updates/Manuals/Spare parts/compatible
products:
www.froggit.de

2
Table of contents
Overview 4
Displa Console 4
LCD displa 5
Thermo-h grometer indoor radio sensor 5
7-In-1 wireless outdoor sensor 6
Intelligent fan 7
Installation and set-up 7
Install 7-In-1 Wireless Sensor 7
Inserting batteries 8
Alignment of mounting post and direction 8
Install wireless indoor sensor 8
Placement of the wireless indoor sensor 9
Setting up the console 10
S nchronization of wireless 7-In-1 sensor &
Indoor sensor(s) 11
reate weather server account & set up WiFi connection 12
Setting up a WiFi connection 13
Setting up the weather server connection 14
Create a Wunderground account 17
Create WeatherCloud account 17
Live weather data 18
Firmware Update 18
Other console settings and functions
Manual setting of the clock 19
Moon phase 20
Sunrise and sunset time 20
Setting the alarm time 21
Activation of alarm and temperature pre-alarm function 21
Function Temperature / Humidit 22

3
Trend indicator 23
Wind 23
Dew point 24
Heat Index 24
Wind Chill 24
Weather Forecast 25
Barometric pressure 25
Rain 25
Light intensit , UV index & sunburn time 26
MAX/MIN data record 27
Historical data for the last 24 hours 27
Weather alarm setting 28
Backlighting 28
Maintenance 29
Troubleshooting 29
Specifications 31
General safety instructions 35

4
OVERVIEW
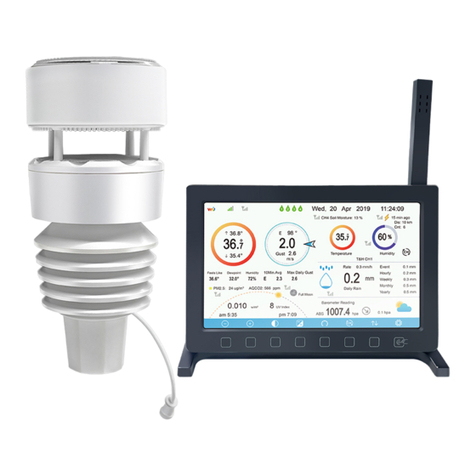
DISPLAY ONSOLE
1 Alarm/Snooze ke 9 Rain ke
2 LCD displa 10 Clock set ke 16 Index ke
3 Histor ke 11 Wall mounting holder 17 ˄ ke
4 MAX/MIN ke 12 Refresh ke 18 °C/°F ke
5 Channel ke 13 Sensor/WiFi ke 19 Reset ke
6 Baro ke 14 OFF/HI/LO slide 20 Alert ke
7 Wind ke switch 21 Batter door
8 Sun ke 15 Alarm ke 22 Table stand
23 Power jack

5
L D DISPLAY
Display section:
1 Outdoor temperature & humidit 7 Barometer
2 Wind direction & speed 8 Rainfall & Rain rate
3 Indoor (CH) temperture & humidit 9 Calendar
4 Weather index 10 Time / alarm
5 UV index & light intensit (Sun) 11 Moon phase &
6 Weather forecast Sunrise & Sunset time
THERMO-HYGRO INDOOR SENSOR
1 Transmission status LED 4 Reset ke
2 Wall mounting holder 5 Batter compartment
3 Channel slide switch

6
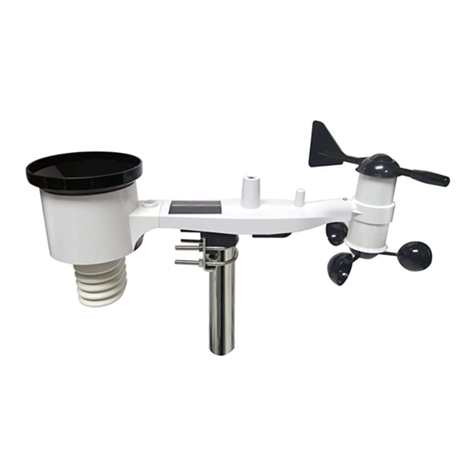
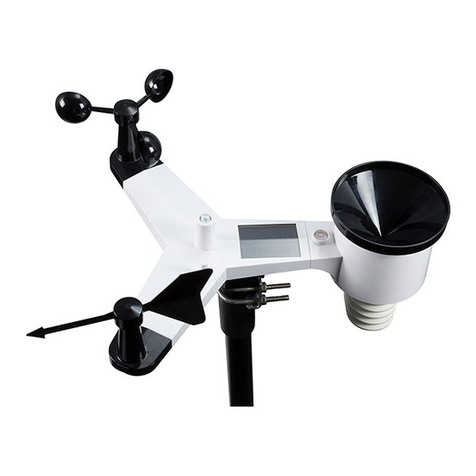
7-IN-1 OUTDOOR SENS
1Wind vane 8 Reset ke
2 Wind cups 9 Transmission LED
3 Antenna 10 Bubble level
4 Radiation shield 11Rain collector
5 Thermo-H gro sensor and Ventilating fan 12 UV/light sensor
6 Mounting parts 13 Solar panel
7 Batter door

7
SMART VENTILATING FAN
A fan is installed inside the radiation shields to reduce the effects of
solar heat.
The fan is driven b a solar panel and rotates automaticall under 2
conditions:
1. when the sun shines on the solar panel, and 2. the average wind
speed is less than 5 m/s for 1
minute.
INSTALLATION AND SETUP
Your console can be linked to a 7-in-1 wireless outdoor sensor and
up to 7 wireless indoor sensors.
(1 wireless indoor sensor is included)
INSTALL 7-IN-1 WIRELESS SENSOR
Your wireless 7-IN-1 sensor measures wind speed, wind direction,
precipitation, UV, light intensit , temperature and humidit for ou.
The sensor is alread calibrated and assembled.

8
INSERTING BATTERIES
Unscrew the batter cover on the bottom of the unit and insert the
batteries according to the +/- polarit indicated. Screw the batter
cover on tightl .
NOTE:
The red LED will start flashing ever 12 seconds.
ALIGNMENT OF MOUNTING POST AND DIRE TION
Install the 7-IN-1 wireless sensor in an open
Position without obstacles above and around the sensor for accurate
rain and wind measurements.
Install the sensor so that the smaller end is facing north to correctl
align the wind direction flag.
Attach the mounting stand and bracket (supplied) to correctl align
the wind vane.
INSTALL WIRELESS INDOOR SENSOR
Remove the batter compartment of the sensor.

9
Set the channel number for the sensor with the channel slide switch.
(e.g. channel 1)
Insert 2 x AA size batteries into the batter compartment and close
the batter cover according to the polarit indicated on the batter
compartment.
4. the sensor is in s nchronisation mode and will be automaticall
detected b the displa console within the next few minutes The
transmission status LED will start flashing ever 1 minute.
NOTE:
- If ou need to reassign the sensor channel, slide the channel slide
switch to the new channel.
position. To make the new channel number effective, press the [
RESET ] ke on the sensor.
- Avoid placing the sensors in direct sunlight, rain or snow.
- To prevent the sensor(s) and the console from not being able to be
connected to each other during the setup of the new console, please
turn
first select the sensor(s), and then press the [ RESET ] ke on the
main unit (not required for sensors).
PLA EMENT OF THE WIRELESS INDOOR SENSOR
Attach a screw to the wall where ou want to hang the sensor.
Use the wall bracket to hang the sensor on the screw. You can also
place the sensor on a table b itself.

10
SETTING UP THE ONSOLE
INSTALLING THE FUSE BATTERY
NOTE:
The emergenc batter can be used as a backup: Time & date,
Max/Min & weather records of the last 24 hours, Alarm
Setting values, offset value of weather data and sensor(s) channel
progression.
The built-in memor can save: Router setting and weather server
setting
SWITCH ON THE CONSOLE
Plug the supplied adapter into the power socket on the back of the
console.
Once the console is switched on, all segments of the LCD screen
are displa ed briefl .
The console will automaticall switch to Sensor S nc mode and AP
mode (see Setting up WI-FI connection).
NOTE:
If no displa appears on the LCD screen after the adapter is
inserted, press the [ RESET ] ke using a pointed object.

11
SYN HRONISATION OF WIRELESS 7-IN-1 SENSOR AND
INDOOR SENSOR(S)
Immediatel after switching on, in s nchronisation mode, the 7-in-1
sensor and the interior sensor are automaticall coupled to the
console. Once our sensors are paired, the
The signal strength indicator of the sensors and the weather forecast
will appear on our console displa .
BUILT-IN MEMORY
The console has a built-in FLASH memor where the most important
settings are stored. These include:
- Time zone, DST status, time SYNC status, WI-FI and weather
server settings, latitude /
Longitude, hemisphere setting, calibration values and sensor ID of
the sensor pair(s).
RESET AND RETURN TO FACTORY SETTINGS
To reset and restart the console, press the [ RESET ] ke once. To
reset the console
and restore the factor settings, press and hold the [ RESET ] ke
for 6 seconds.
RESYNCHRONIZING SENSORS
Press the [ SENSOR / WI-FI ] ke once to switch the console to the
sensor s nchronization mode,
and the console will re-register an sensors that have been
previousl registered with it.
This means that the console will not lose the connection of the
sensors ou paired previousl .
BATTERY REPLACEMENT AND MANUAL SENSOR PAIRING
Whenever ou have changed the batteries of the wireless indoor or
7-in-1 outdoor sensor, res nchronisation must be performed
manuall .
Replace all batteries in the sensor with new ones.
Press the [ SENSOR / WI-FI ] ke on the console to enter the sensor
s nchronization mode.

12
Press the [ RESET ] ke on the indoor or 7-in-1 outdoor wireless
sensor.
SYNCHRONIZING ADDITIONAL WIRELESS SENSOR(S)
(OPTIONAL)
The console can support up to 7 additional wireless sensors.
Press the [ SENSOR / WI-FI ] ke on the console once to enter the
s nchronization mode.
Press the [ RESET ] ke on the new sensor and wait a few minutes.
NOTE:
- The channel number of the indoor sensor must not be duplicated
between the sensors.
- This console can support different t pes of additional wireless
sensors, e.g. soil moisture and
Pool sensor. If ou want to couple additional sensors, please ask
our dealer for
more details.
POINT THE WIRELESS 7-IN-1 SENSOR SOUTH
The 7-IN-1 outdoor sensor is calibrated to face north for maximum
accurac . Whatever the case,
for the convenience of the user (e.g. users in the southern
hemisphere), it is possible to orient the sensor towards the south
(displa of the wind vane towards the south)
1. install the 7-IN-1 outdoor sensor so that the end of the wind meter
faces south.
Select "S" in the Hemisphere section of the Setup UI Setup page.
Press the Appl icon to confirm and exit.
NOTE:
If ou change the Hemisphere setting, the direction of the moon
phase is automaticall switched on.
REATE WEATHER SERVER A OUNT & SET UP WI-FI
ONNE TION
The console can upload weather data (outdoor data onl ) to
WUnderground and/or Weathercloud via WI-FI.
NOTE:

13
The Weather Underground and Weathercloud websites are subject
to change without notice.
SETTING UP A WI-FI ONNE TION
1. When ou turn on the console for the first time, the console
LCD flashes "AP" to indicate that it has entered AP (Access
Point) mode and is in Wlan search mode. The user can also
press and hold the [ SENSOR / WI-FI ] ke for 6 seconds to
displa the AP mode manuall .
2. Use the smartphone, tablet or computer to connect the
console via WI-FI.
3. Select the WiFi network settings for PC/Mac or the WI-FI
setting for Android/iOS, select the console SSID: PWS-
XXXXXXXX in the list and it will take a few seconds to
connect.
4. Once connected, enter the following IP address in the
address bar of our Internet browser to access the console
Web Interface:
http://192.168.1.1
NOTE:
- Some browsers treat 192.168.1.1 as a search, so make sure ou
include the http:// header.
- Recommended browsers, such as the latest version of Chrome,
Safari, Edge, Firefox or Opera.

14
STATUS OF THE WI-FI CONNECTION
Below is the status of the WI-FI icon on the console LCD:
SETTING UP THE WEATHER SERVER ONNE TION
Enter the following information in the "SETUP" page of the Web
Interface below to connect the console to the weather server. If ou
do not want to use Wunderground.com or Weathercloud.net, leave
the Station ID & Ke fields blank to ignore the data upload.
NOTE:
- If ou do not have a station ID and station ke available for
uploading, ou must first create an account with the respective
Weather Underground (WU) and
Create Weather Cloud (WC). Follow the registration to get the ID
and ke s.

15
- When the WI-FI setup is complete, our PC / Mac or mobile phone
will resume our default WI-FI.
- During AP mode, ou can press and hold the [ SENSOR / WI-FI ]
ke for 6 seconds to restore our previous setting.
TIME ZONE
To automaticall set the time displa to our time zone, change the
time zone on the SETUP page from '0:00' (default) to our time zone
(e.g. +1:00 for German ).
TIME SERVER CONNECTION STATUS
Once the console has connected to the Internet, it will
tr to connect to the Internet time server.
The time automaticall s nchronizes the Internet time server at
12:00AM and 12:00PM per da .
You can also press the [REFRESH ] ke to manuall retrieve the
Internet time within 1 minute.
PRESETTING IN THE WEB-INTERFACE
Press the "Advanced" ke at the top of the Web Interface to displa
the Preferences page. From this page, ou can set the calibration
data of the console.

16
CALIBRATION
1. the user can enter the offset and/or gain values for various
parameters, while the current offset and
the gain values are displa ed next to the corresponding blank value.
2 After completing the operation, press Appl at the bottom of the
SETUP page to appl the entered data.
The current offset value shows the previous value ou entered,
please enter the new
value in space, if changes are required, the new value takes effect
as soon as ou press "Appl ".
NOTE:
- Calibration of most parameters is not necessar , except for relative
pressure, which
must be calibrated at sea level to take height effects into account.

17
- The calibration values for room temperature and humidit are not
applicable to this console.
reate Wunderground Account
A. Register our personal Wi-fi weather station (PWS).
1 . At https://www.wunderground.com click on the "Join" button
in the upper right corner to open the registration page. Follow the
instructions to create our account
Note:
You must check our email address before ou can register our
weather station. Click "Send validation email" to receive an email
from wunderground.com containing a validation link. Click on the link
to complete the validation.
2 . Once ou have created our account and completed the email
validation, please go back to the WUndergound website. Click on
the button in the top right hand corner to open the drop down menu
and select "Add Weather Station" to create our Station ID.
3 . Fix the location on the map. Enter the height above the floor of
the wireless outdoor sensor ou are installing. Make a note of the
latitude/longitude value for the next step of the setup
4 . Enter a name for our PWS, and then select "Other" for "Station
Hardware". When ou are finished, click "Submit".
5 . Make a note of our station ID and the station ke for the further
setup step.
reate Weather loud account
1. go to https://weathercloud.net and go to the "Join us toda "
section and then follow the instructions to create our account
2. log in to Weathercloud and then go to the Devices page, click on
"+ New" to create a new device
3. enter all information on the Create New Device page
4. Make a note of our ID and ke for the next step in the setup
process

18
Live weather data
Wunderground
1 . To view the live data from the wireless outdoor sensor in a web
browser (PC or mobile version), please visit
www.wunderground.com and then enter our "Station ID" in the
search field in the menu bar. The weather information is displa ed
on the next page
Weather loud
1. to view the live data of our weather station in a web browser (PC
/ Mac or mobile version),
please visit https://weathercloud.net and log in with our own
account.
2. click on the icon within the pull-down menu of our station
Click the "Current", "Wind", "Evolution" or "Inside" icon to view the
live data from our weather station.
FIRMWARE UPDATE
1. download the latest firmware version to our PC / Mac
2. switch the console to AP (Access Point) mode and then connect
the PC / Mac to the console
3. click on the "Browse in firmware update" section and browse the
location of the file ou want to
in step 1. To update the WI-FI firmware, click the Browse button in
WI-FI firmware.
Click on the appropriate upload to start transferring the firmware file
to the console.
In the meantime, the console will automaticall perform the update
and show the update progress on the displa (i.e.
100 is complete).
The update time is approximatel 5 ~ 8 minutes.
6. the console will restart once the update is complete.

19
IMPORTANT NOTE:
- Please do not disconnect the power during the firmware update
process.
- Please make sure that the WI-FI connection of our PC/Mac is
stable.
- When the update process starts, do not operate the PC / Mac or
console until the update is complete.
- During the firmware update, the console will stop uploading data to
the cloud server. The connection is restored. If the console is unable
to connect to our router, please go to the SETUP page to run the
setup again.
- After the firmware update, If the setup information is missing,
please re-enter the setup information.
- Firmware update processes have a potential risk that cannot
guarantee 100% success. If the update fails, please repeat the
above step to update again.
OTHER ONSOLE SETTINGS AND FUN TIONS
MANUAL SETTING OF THE LO K
This console is designed to determine UTC time b s nchronising
with the assigned Internet time server. If ou want to use it offline,
ou can set the time and date manuall .
Press and hold the [ SENSOR / WI-FI ] ke for 6 seconds, and
return the console to normal mode.
In normal mode, press and hold the [ CLOCK SET ] ke for 2
seconds to displa the setting.
2. the setting sequence: DST AUTO/OFF Hour Minute Second
Second 12/24 Hour Format Year Month Da M-D/D/D-M Format
Time S nchronization ON/OFF Weekda Language.
Press the arrow ke s to change the value. Press and hold the quick
setting ke s.

20
Press the [ CLOCK SET ] ke to save and exit the setting mode, or
the machine will automaticall
exit the setting mode 60 seconds later without pressing an ke .
NOTE:
- In normal mode, press the [ CLOCK SET ] ke to switch between
the ear and date displa .
- During setting, ou can press and hold the [ CLOCK SET ] ke for
2 seconds to return to
normal model.
SUMMERTIME (DST)
The DST function is set to "AUTO" b default.
MOON PHASE
The moon phase is determined b the time, date and time zone. The
following table explains the moon phase s mbols from the northern
and southern hemispheres.
SUNRISE AND SUNSET
The console displa s the sunrise and sunset times of our location
b the time zone, latitude and longitude ou have entered. Please
enter the correct information in the relevant settings. If the latitude
Table of contents
Other Froggit Weather Station manuals

Froggit
Froggit WH2800 User manual

Froggit
Froggit WH3000SE Installation manual

Froggit
Froggit WH5500 User manual

Froggit
Froggit DP2000 User manual

Froggit
Froggit WH3000SE User manual

Froggit
Froggit WH6000 User manual

Froggit
Froggit WH3000 User manual
Froggit
Froggit HP2000 User manual

Froggit
Froggit HP1000SE User manual

Froggit
Froggit WH5300SE User manual
Popular Weather Station manuals by other brands

ACU-RITE
ACU-RITE 02032C instruction manual

smart home
smart home 888R25 user manual

Hama
Hama 00076045 "EWS-800" operating instructions

Discovery Channel
Discovery Channel Weathertech FX5000 manual

La Crosse Technology
La Crosse Technology WEATHER DIRECT WD-3103U owner's manual

Ambient Weather
Ambient Weather Fischer 4673-22 user manual