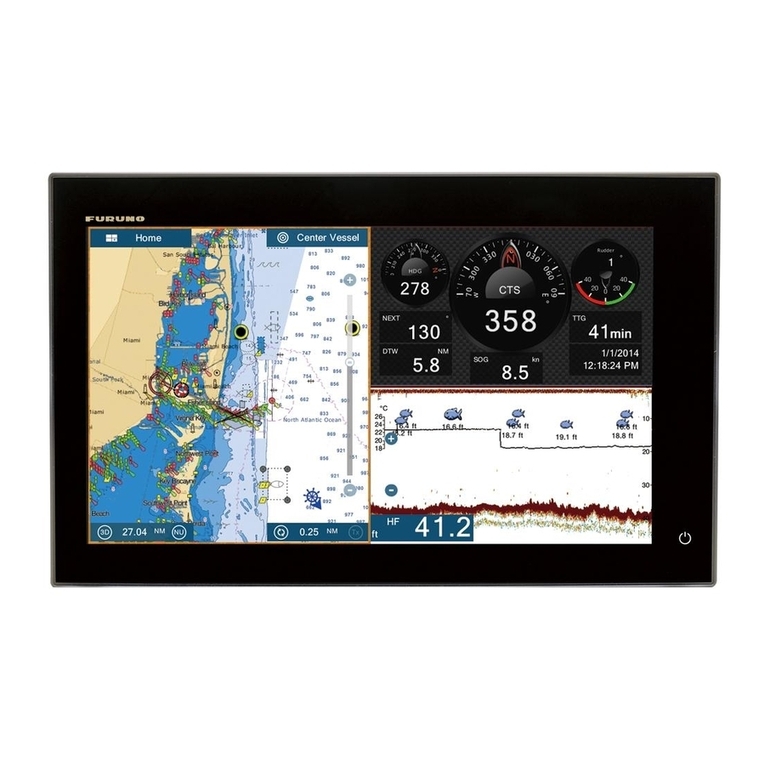
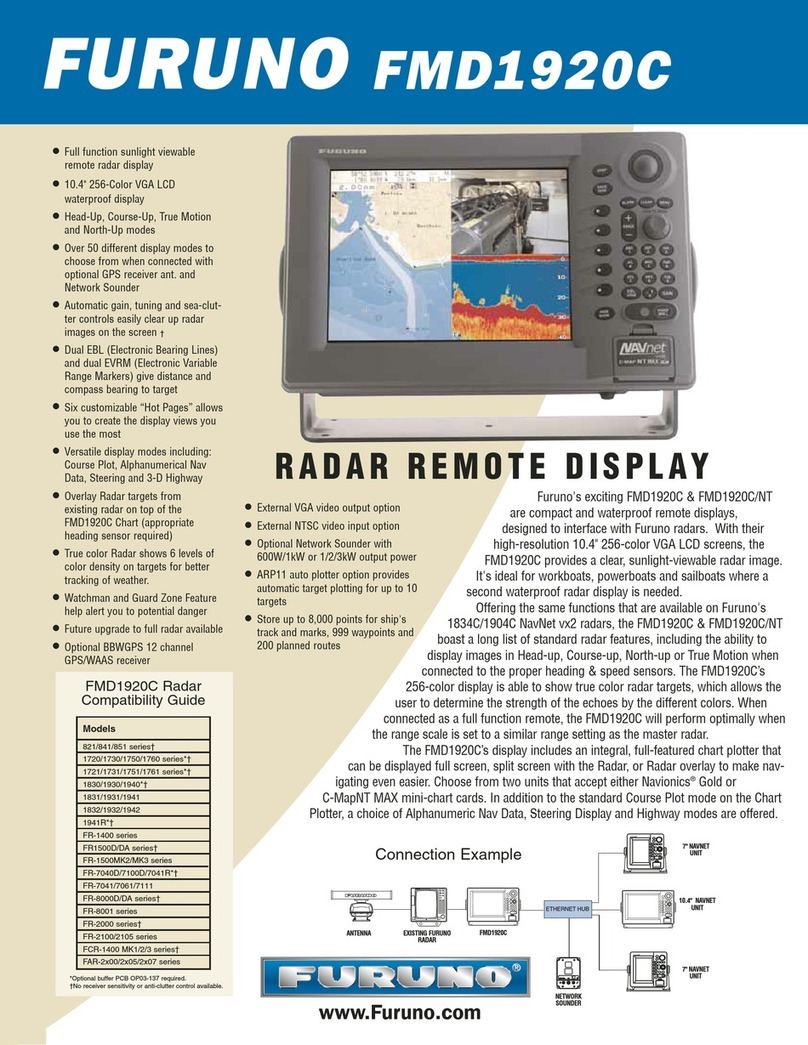
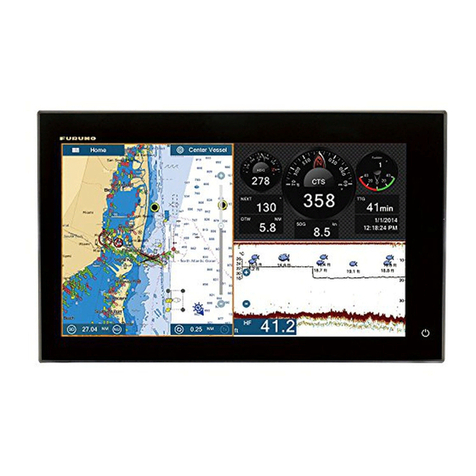
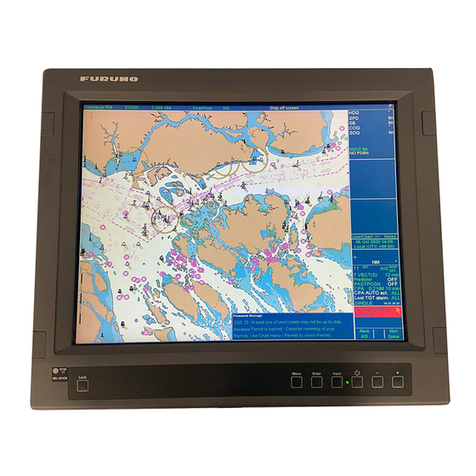
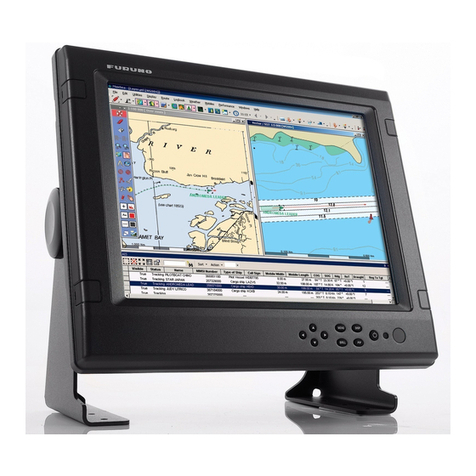
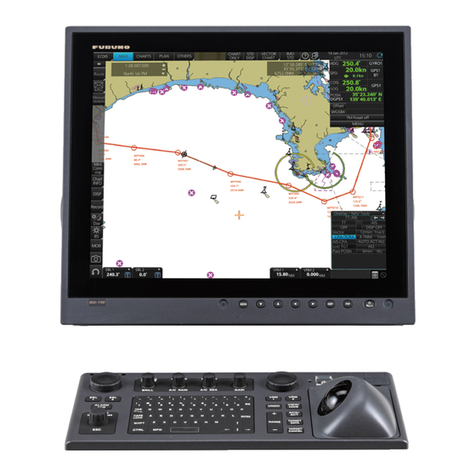
Furuno NAVnet 1722 User manual

000-144-422
(5m) cable
supplied
w/BBFF1
NAVNET QUICK SETUP GUIDE 10.4 inch series, single display (with optional equipment shown)
OR
cable included/attached
to the BBWGPS Use supplied GP32 cable (I/O)
and part # 000-144-418 cable
to connect (see wiring configurations page)
12-24 VDC
BBFF1 SOUNDER
12-24 VDC
BBWGPS
000-125-237 cable
supplied with PG1000
or use a # 000-117-603
cable to connect to a
external heading device
Heading device (optional)
Furuno PG1000
OR
other external
(required for overlay)
AD10 Furuno format
required for ARP11
radar autoplotter option
FURUNO GP32
OR
other external GPS
(optional)
FURUNO
NavPilot 500
OR
other Autopilot
Radar antenna
connection
(GP 1900C, N/A)
BBWGPS (only configure if the BBWGPS antenna is connected to DATA1)
1. Press "MENU", Select [SYSTEM CONFIGURATION], Select [NAV OPTION]
2. Select [NAV SOURCE SETTINGS], Change POSITION SOURCE to [FURUNO BB GPS]
3. Press "RETURN"
4. Select [GPS SENSOR SETTINGS], Select [WAAS SETUP], Set [WAAS MODE], [ON]
5. Press "RETURN" twice
6. Select [SYSTEM SETUP], Select [PORT SETUP], Select [GPS/NMEA PORT] , Set FURUNO GPS SENSOR to [YES]
7. Press [RETURN], then [MENU] for normal operations
STEP 1 (Confirm no simulator modes are selected [SIM] would be displayed in upper left corner of display)
Connect the GPS position source. Use the Furuno BBWGPS antenna, Furuno GP32 or any compatible external device
(must output NMEA sentences GGA, VTG, ZDA, see manufacturer specifications).
RADAR SETUP PROCEDURES:
NOTE: Installation Menu access required.
Press and hold [MENU] while powering on display (starts normally)
Press [MENU], [SYSTEM CONFIGURATION], [INSTALLATION SETUP]
Press [RADAR SETUP] these are REQUIRED ADJUSTMENTS!
ANTENNA TYPE
A 1823C
B 1833 / 1833C
F 1933 / 1933C
G 1943 / 1943C
H1953/C
ANTENNA ROTATION [ROTATE] (do not change)
TRANSMIT RADAR FOR 5 minutes prior to and continue for FOLLOWING
PROCEDURES (on the shortest range, set gain & sea control properly)
TUNING [OFF] Press [EDIT], select [ON], Press [ENTER], when complete
"NOW TUNING" disappears.
VIDEO ADJUST (important!) select [ON], press [ENTER], when complete "NOW
ADJUSTING VIDEO"disappears.
TIMING ADJUST [OFF] Press [EDIT], select [ON], visually select long straight
target, rotate knob to straighten target, Press [ENTER].
HEADING ADJUST (NOTE: factory setting 180° out for 24" dome antennas)
select [NEXT PAGE], HEADING ADJUST [OFF], Press [EDIT], select [ON], using
a range between 0.125-.25nm, rotate knob to bisect radar target, Press [SET]
Maximum radar ranges may need to be turned on using [MENU],
[RADAR RANGE SETUP] after "ANTENNA TYPE" is changed.
000-117-603
5m, cable
DATA 2 NETWORK
DATA 1
DATA 3
DATA 4
Connect the radar antenna to DJ1 of the radar display 1833C, 1933C, or
1943C. Also 1953C (see installation manual, PSU-005 section for more)
12-24 VDC
use the NavNet display "default" menu settings if connecting
an external GPS device (example: Furuno GP32 shown)
STEP 2 Applies to Radar only (Omit if installing a plotter)
POWER OFF then ON after any "MENU CHANGES" to store the new information.
Refer to the "Wiring configurations (10.4 inch display notes)" or "General Information" page for details
BBFF1(if installed): Displaying digital temperature and depth on NavNet display(s)
Press [MENU], [SYSTEM CONFIGURATION]
[GENERAL SETUP] (default is [NMEA] for displaying input from external depth and temperature devices)
TEMPERATURE SOURCE [ETR] (transducers with temperature sensor only)
DEPTH SOURCE [ETR]
Connect the BBFF1 network sounder to the display "network port" using the
supplied blue 000-144-422, 5m network cable
STEP 3 BBFF1 Network sounder if Installed (Plug and Play)

12-24 VDC
000-144-422
(5m) cable
supplied
w/BBFF1
NAVNET QUICK SETUP GUIDE 7 inch series, single display (with optional equipment shown)
OR
cable included/attached
to the BBWGPS
Use supplied GP32 cable
(I/O) and part # 000-144-418
cable to connect
12-24 VDC
BBFF1 SOUNDER
12-24 VDC
000-125-237 cable
supplied with PG1000
or use a # 000-117-603
cable to connect to a
external heading device
Heading device (optional)
Furuno PG1000
OR
other external
(required for overlay)
AD10 Furuno format
required for ARP11
radar autoplotter option
FURUNO GP32
OR
other external GPS
Radar antenna
connection
(GP1700C, N/A)
BBWGPS (only configure if the BBWGPS antenna is connected to DATA1)
1. Press "MENU", Select [SYSTEM CONFIGURATION], Select [NAV OPTION]
2. Select [NAV SOURCE SETTINGS], Change POSITION SOURCE to [FURUNO BB GPS]
3. Press "RETURN"
4. Select [GPS SENSOR SETTINGS], Select [WAAS SETUP], Set [WAAS MODE], [ON]
5. Press "RETURN" three times
6. Select [SYSTEM SETUP], Select [PORT SETUP], Select [GPS/NMEA PORT] , Set FURUNO GPS SENSOR to [YES]
7. Press [RETURN], then [MENU] for normal operations
STEP 1 (Confirm no simulator modes are selected [SIM] would be displayed in upper left corner of display)
Connect the GPS position source. Use the Furuno BBWGPS antenna, Furuno GP32 or any compatible external device
(must output NMEA sentences GGA, VTG, ZDA, see manufacturer specifications).
RADAR SETUP PROCEDURES:
NOTE: Installation Menu access required.
Press and hold [MENU] while powering on display (starts normally)
Press [MENU], [SYSTEM CONFIGURATION], [INSTALLATION SETUP]
Press [RADAR SETUP] these are REQUIRED ADJUSTMENTS!
ANTENNA TYPE
A 1722 / 1722C
B 1732 / 1732C
C 1742 / 1742C
F 1762 / 1762C
ANTENNA ROTATION [ROTATE] (do not change)
TRANSMIT RADAR FOR 5 minutes prior to and continue for FOLLOWING
PROCEDURES (on the shortest range, set gain & sea control properly)
TUNING [OFF] Press [EDIT], select [ON], Press [ENTER], when complete
"NOW TUNING" disappears.
TIMING ADJUST [OFF] Press [EDIT], select [ON], visually select long straight
target, rotate knob to straighten target, Press [ENTER].
HEADING ADJUST (NOTE: factory setting 180° out for 24" dome antennas)
select [NEXT PAGE], HEADING ADJUST [OFF], Press [EDIT], select [ON], using
a range between 0.125-.25nm, rotate knob to bisect radar target, Press [SET]
Maximum radar ranges may need to be turned on using [MENU],
[RADAR RANGE SETUP], after "ANTENNA TYPE" is changed
DATA 2
DATA 1
NETWORK
DATA3 output to
optional autopilot
or other device is
available, see wiring
configurations page
(7" display NOTES)
Connect the radar antenna to DJ1 of the radar display 1722/C, 1732/C,
1742/C or 1762/C
use the NavNet display "default" menu settings if connecting
an external GPS device (example: Furuno GP32 shown)
BBWGPS
STEP 2 Applies to Radar only (Omit if installing a plotter)
POWER OFF then ON after any "MENU CHANGES" to store the new information.
Refer to the "Wiring configurations (7 inch display notes)" or "General Information" page for details
Connect the BBFF1 network sounder to the display "network port" using the
supplied blue 000-144-422, 5m network cable
STEP 3 BBFF1 Network sounder if Installed (Plug and Play)
BBFF1(if installed): Displaying digital temperature and depth on NavNet display(s)
Press [MENU], [SYSTEM CONFIGURATION]
[GENERAL SETUP] (default is [NMEA] for displaying input from external depth and temperature devices)
TEMPERATURE SOURCE [ETR] (transducers with temperature sensor only)
DEPTH SOURCE [ETR]

NAVNET QUICK SETUP GUIDE, multiple component configuration with 10.4" and 7" displays
(optional equipment shown)
cable
included & attached
to the BBWGPS
BBWGPS
000-125-237 cable
supplied with PG1000
or use a # 000-117-603
cable to connect to a
external heading device
Heading device (optional)
Furuno PG1000
OR
other external
(required for overlay)
AD10 Furuno format
required for ARP11
radar autoplotter option
(optional)
FURUNO
NavPilot 500
OR
other Autopilot
000-144-601 (0.5m)
Radar antenna
connection
(GP 1900C, N/A)
DATA 2 NETWORK
DATA 1
DATA 3
DATA 4
(see wiring page for more)
12-24 VDC
12-24 VDC
RADAR DISPLAY SETUP:
1. Confirm initial configuration using the single display setup page
2. Press [MENU], [SYSTEM CONFIGURATION], [SYSTEM SETUP], [PORT SETUP],
[OUTPUT THROUGH NETWORK], select and turn ON "GGA", "VTG" and "ZDA".
This sends required position, track, time and date information to all other network devices.
3. CHART SOURCE: Press [EDIT] and add PLOTTER (under NETWORK SETUP menu)
1. Connect and configure a single display and network sounder (if installed) before continuing(see page 1).
2. Confirm no simulation modes are selected, [SIM] would display in upper left corner.
3. Connect all displays (any combination of up to four 7 inch and/or 10.4 inch displays total can be used in
the network) and any combination of other network devices such as a BBFF1, BBFF3, or FAX30.
4. Use a standard ethernet hub if three (3) or more network devices are present.
a) Care should be taken to supply a stable voltage to the hub from the primary display (any 7 pin port
with 12VDC output) or other stable and filtered "12VDC" supply voltage.
"INSTALLATION MENU required for following. Press and hold [MENU] while powering on display"
5. All displays must have a different "HOST NAME" and "IP ADDRESS".
a) A two(2) display system will usually be correct. Three(3) or more displays will require configuration
c) Press [MENU], [SYSTEM CONFIGURATION], [INSTALLATION SETUP], "NETWORK SETUP" to configure.
b) Refer to the IP ADDRESS, HOST NAME chart for examples. DO NOT rename the "RADAR" display.
6. CHART SOURCE: Input all displays [HOST NAME] on network, omit own HOST NAME
(see below setup boxes and"General Information" page for detailed instructions)
MODEL IP ADDRESS alternate HOST NAME alternate
1722/1732/1742/1762 172.031.003.004 172.031.003.006 RADAR RADAR1
1722C/1732C/1742C/1762C 172.031.003.001 172.031.003.007 RADAR RADAR2
1833/1933/1943 172.031.003.002 172.031.003.008 RADAR RADAR3
1833C/1933C/1943C/1953C 172.031.003.003 172.031.003.009 RADAR RADAR4
GP-1700 172.031.014.002 172.031.014.010 PLOTTER PLOTTER1
GP-1700C 172.031.014.001 172.031.014.011 PLOTTER PLOTTER2
GP-1900C 172.031.003.005 172.031.003.012 PLOTTER PLOTTER3
BBFF1 172.031.092.001 Do not change SOUNDER Do not change
BBFF3 (use IP/host switch) 172.031.092.001 172.031.092.011- 019 SOUNDER SOUNDER1-9
FAX30 172.031.008.001 N/A WXFAX N/A
see BBFF3 page for
all configurations
and setup information
FAX30
12-24 VDC
000-144-463
POWER OFF then ON after any "MENU CHANGES" to store the new information.
Refer to the Installation and Operator Manuals regarding detailed information on any steps
DATA 3 (same as DATA 4 on 10.4")
RADAR
PLOTTER
GENERAL CONFIGURATION:
000-146-289
(5m), null cable
supplied w/BBFF3
BBFF1 SOUNDER
12-24 VDC
BBFF3 SOUNDER1
12-24 VDC
(if installed)
refer to the BBFF3 and
FAX30 manuals for
additional information
Connect to hub uplink port only
000-144-463
(0.5m) adapter
000-144-423
(10m) cable
HUB
(local supply) NETWORK
000-144-463 000-144-424
(20m) cable
000-144-425
(30m) cable
PLOTTER DISPLAY SETUP:
1. If BBFF1 is installed refer to "single display setup page" for
"Displaying digital temperature and depth on NavNet display(s)".
2. Set up general function and display parameters using the
"NavNet General Information" page and operators manual.
3. CHART SOURCE: Press [EDIT] and add RADAR (under
NETWORK SETUP menu)

FAX 30 Weatherfax Quick Reference
Laptop
000-146-289 (null) cable,
5m (supplied w/ FAX30)
STEP 2
STEP 3
DATA 4
DATA 1
NETWORK
supplied
cable External
GPS
OR (ext. GPS)
FAX30 notes and information:
FAX30 accessable 15 seconds after powered on
Only viewable on a NavNet 10.4 inch color display and/or PC.
NavNet display: Press [DISP], select "WXFAX " then [ENTER] knob
PC viewing: Open web browser and enter IP address 172.31.8.1
(Important! "Log off" when done viewing with PC)
Stores a maximum of 12 images (depending on file size)
Receives one fax image or navtex message at a time.
Three modes are available: FAX, Navtex only or FAX (timer)& Navtex
Timer mode: FAX (highest priority), Navtex (lowest priority)
FAX30 has no internal clock: receives from NavNet "ZDA" sentence or
from PC computer's Web browser (turn "on" FAX30 before accessing)
Auto Navtex mode: requires navigation data (not available on PC)
FAX5 antenna coupler w/ 8' whip antenna remove FAX30 cover, locate
jumper J23 on the RCV board and set to "ACTIVE"
Long wire antenna requires no internal FAX30 jumper change
Locate either antenna away from TX antennas (MF and HF in particular),
noise generating equipment , rigging and masts.
Master Reset:
1. Unplug FAX30, remove cover, set S1 #1"on"
2. Connect power and turn "on" the NavNet display, confirm FAX30 LED is
flashing (after about 10 seconds).
3. Turn "off" NavNet display, disconnect FAX30 power, set S1 #1 "off"
4. Replace cover and reconnect FAX30 power cable.
PC (Personal Computer) configuration and information:
Minimum Requirements: PC with Windows 98, ME, 2000 or XP:
Best viewed with Internet Explorer 6.0 or, Netscape 7.0 and higher
(check Operators Manual for other compatability and special settings)
Internet Explorer Setup: (see manual for more andNetscape setup)
1. Start Internet Explorer, click [Tools], [Internet Options]
2. Under [General] tab in "Temporary Internet Files" click [Settings]
3. Select [Every visit to the page] to check for the newest version page
4. Click [OK], then select the "Security" tab, click [Custom Level]
5. Find "Scripting" enable [Active Scripting] & [Scripting of Java applets]
6. Click [OK], Click "Connections" tab and "LAN settings" button
7. Uncheck [Use a proxy server] under "Proxy Server" section
8. Click [OK] twice to close "Internet Options" window
Multiple PC's cannot access the FAX30 simultaneously:
Logoff one PC before trying to access from another PC
PC operations: Normally use the left mouse button; except when saving
a fax image which uses the right mouse button.
000-144-422 ,5m cable 000-144-463, 0.5m adapter
Standard cat 5 ethernet cable
Uplink
port only!
HUB
(required for 3 or more network devices)
Navtex notes and information:
Stores 130 messages (newest replace oldest when memory is full)
All messages begin with ZCZC (ID) and end with NNNN.
Example: ZCZC with IA55 followed by message and ending with NNNN.
Where:I = TX station ID, A= Message category and 55 = message number.
An (*) is displayed instead of character when character cannot be displayed
Message number "00" contains important emergency information
Message Categories: Recommended minimum are A, B, Dand L
A: Coastal navigational warning
B: Meterorlogical warning
D: Search and Rescue Alert
L: Navarea warnings
Message categories are selectable: see operators manual 4.4.2 for more
optional
FAX5
2.6 meter
whip antenna
OR
6 meter whip or
wire antenna
12-24VDC
see: NAVNET QUICK SETUP GUIDE
7 or 10.4 inch series for configuration information
STEP 1
NavNet display configuration and information :
GPS source: Connect BBWGPS or use external GPS (no menu
settings required), see NavNet Quick Setup guide for more
OUTPUT THROUGH NETWORK: Display with GPS connected
Press [SYSTEM CONFIGURATION], [SYSTEM SETUP], [PORT
SETUP], [OUTPUT THROUGH NETWORK], select and turn "ON"
GGA, VTG and ZDA, press [MENU] to complete.
NavNet display software version:
C-Map 11,2 or higher
Navionics 15,2 or higher
Receive notification:Select from the FAX30 [MODE SETUP] screen
[AUX] icon displays on lefthand side of screen (not on FAX display)
Computer Network Settings:
IP ADDRESS: 172.31.100.100
SUBNET MASK: 255.255.0.0
BBFF3 Network Sounder Quick Reference
DATA 4
DATA 1
NETWORK
supplied
cable
External GPS
OR
(ext. GPS)
000-144-422 ,5m cable 000-144-463, 0.5m adapter
BBFF1
if installed second
BBFF3 not allowed
000-144-463, 0.5m adapter
000-144-423 ,10m cable
BBFF3 (second)
if installed no BBFF1 allowed
OR
only one
allowed with
BBFF3 (master)
STEP 1
BBFF3 sounder configuration: (*will not transmit unless transducer settings are entered)
Configure: BBFF3 first: if a BBFF1 is also installed (see BBFF1 section below for more information)
1. Connect BBFF3 as shown with power "OFF" and remove cover
2. Set "TAP H" (High), (see chart inside cover) note the tap position and confirm in the NavNet display menu.
3. Set "TAP L"(Low), (see chart inside cover) if installed, note and confirm in the NavNet display menu.
Furuno Transducer types are stored in BBFF3 memory. Use NavNet menu to confirm.
Other Transducers can also be used. Contact a dealer, Furuno for details
4. Set BBFF3 "HOST NAME" switch on front panel to "0", connect power cable and turn power switch "ON"
NavNet display configuration, confirmations and information :
NavNet display software version: C-Map 11,2 or higher, Navionics 15,2 or higher
1. Press and hold [MENU] while powering "ON" NavNet display (starts normally)
2. Press [MENU], [SYSTEM CONFIGURATION], [INSTALLATION SETUP], [NETWORK SETUP]
3. Confirm SOUNDER SOURCE is "SOUNDER"
4. Press [RETURN], [NETWORK SOUNDER SETUP], [FREQ SETUP](if not shown confirm "HOST NAME"
switch is set to "0" and BBFF3 power is "ON",
Preprogrammed transducers:
1. Select [TRANSDUCER SETUP], press [EDIT], and select "MODEL NUMBER"
2. Select "HIGH FREQUENCY" and choose appropriate transducer, press [ENTER] and confirm tap setting
3. Repeat previous step for "LOW FREQUENCY" if installed
4. Power the NavNet display "OFF" then "ON"; confirm that the sounder picture advances
Other Transducers:
1. Select [TRANSDUCER SETUP], press [EDIT], and select "MANUAL"
"Tap Settings must be done properly: contact Furuno directly for settings"
2. Select "HIGH FREQUENCY", press [EDIT], rotate "control knob" to select frequency (25-220) and press [ENTER]
3. Repeat previous step for "LOW FREQUENCY" if installed
4. Power the NavNet display "OFF" then "ON"; confirm that the sounder picture advances
BBFF3 multiple installation: (2 network sounders maximum)
1. Setup master BBFF3 (having highest power and lowest frequency) per Step 2 above, then power "OFF".
2. Set second BBFF3 "HOST NAME" to "0" and configure per Step 2 above, then power "OFF"
3. Set second BBFF3 "HOST NAME" switch to "1", then power "ON" both units
4. Press [DISP], then any one of the "soft keys" on the NavNet display to select between "SOUNDER SOURCE"
"NOTE: Master BBFF3 is"SOUNDER and the second BBFF3 is SOUNDER1"
BBFF1 (if installed) with BBFF3 (master): (2 network sounders maximum)
1. Power "OFF" BBFF3, set "HOST NAME" switch to "1", power BBFF3 "ON".
This retains all setings and changes the BBFF3 "HOST NAME" to "SOUNDER1". To access see notes below.
2. Press [DISP], then any one of the "soft keys" on the NavNet display to select between "SOUNDER SOURCE"
"NOTE: BBFF1 is SOUNDER and the BBFF3 is SOUNDER1"
STEP 2
000-144-463, 0.5m adapter
000-144-424 ,20m cable
000-146-289 (null) cable,
5m (supplied w/ BBFF3)
HUB
(required for 3 or more network devices) BBFF3 (master)
NOTE: When installing (2) BBFF3 sounders
connect a "KP" (keying pulse) cable 000-127-656,
5m to NET KP (OUT/IN) port for best performance
(see manual for detailed information)
Maximum of two(2) network sounders
Erasing BBFF3 Transducer Settings: Remove power and cover, press and hold S1 (TDCLR) on CPU
board, release when TX/STBY LED flashes slowly. Reassemble and reenter transducer settings.
BBFF3 Master Reset: Remove power and cover. Locate and jumper J9 pins 5&6 while reapplying power.
Confirm LED blinking, remove power, reassemble, reapply power and follow setup procedures above.
BBFF3: Displaying digital depth on NavNet display(s) (no temperature connection is available)
BBFF1(if installed): Displaying digital temperature and depth on NavNet display(s)
Press [MENU], [SYSTEM CONFIGURATION] (the Depth and Temp display is based on the selected BBFF unit)
[GENERAL SETUP] (default is [NMEA] for displaying input from external depth and temperature devices)
TEMPERATURE SOURCE [ETR] (transducers with temperature sensor only) available only on BBFF1
DEPTH SOURCE [ETR] available on BBFF1 or BBFF3
STEP 3
Uplink
port only!

NAVNET GENERAL INFORMATION
Radar setup (manual tuning) for maximum detection:
1. Power on the radar and transmit.
2. Range out to maximum range.
3. Adjust SEA and RAIN control (press [GAIN] key to access) to off or minimum.Set A/C AT [OFF].
4. Adjust GAINto maximum (press [GAIN] key to access and select [MAN] under GAIN SENSITIVITY).
5. Slowly reduce GAIN until only small amounts of noise (in the form of speckles) appear on the display.
6. Set RANGE to the desired range.
7. Adjust SEA control (used to reduce echoes from surrounding waves) as required.
Start at minimum and slowly adjust higher until small targets become distinguishable and clutter is reduced and/or broken
up into small dots (Do not over adjust).
8. Adjust RAIN control (used only in rain conditions) if required.
Start at minimum and slowly adjust higher until unwanted echoes and speckles are reduced (Do not over adjust).
9. This completes the procedure for maximum receive sensitivity and creates a reference to compare with the radar system
automatic gain, sea and rain functions.
Heading Input; connect to NavNet RADAR DISPLAY only: automatically shared on NavNet network (*see note for NMEA input)
AD10 (Furuno 4-wire): connect only to the heading port of the NavNet radar display (7" or 10" [port 2], 10.4" [port 3])
*NMEA (2-wire): connect to the NavNet radar heading input (pins 1 and 2) or any NMEA port (pins 3 and 4)
If using NMEA heading: Radar display [OUTPUT THROUGH NETWORK] port, turn HDG "ON" required for network sharing.
NOTE: Heading is required for radar chart overlay, waypoint mark (lollipop), TLL (target latitude/longitude), echo stretch, radar north-
up, course-up, true motion and optional ARP11(automatic radar plotter). The ARP11 requires FURUNO AD10 heading format.
Time Offsets (if used): This is set in [GPS SENSOR SETTINGS] or [NAV SOURCE SETTINGS] depending on the GPS source.
BBWGPS antenna: Press [MENU], [SYSTEM CONFIGURATION], [NAV OPTION], [GPS SENSOR SETTINGS], edit
[LOCAL TIME OFFSET] to proper offset (only for display with BBWGPS antenna connected).
External GPS source:Press [MENU], [SYSTEM CONFIGURATION], [NAV OPTION], [NAV SOURCE SETTINGS], edit
[LOCAL TIME OFFSET] to proper offset (for any display with an external GPS source and/or network displays).
IMPORTANT: Time must be offset the same for each display on the network (example: -05.00 hrs.) for proper waypoint operations.
Displaying different screen colors; factory programmed or user selectable "MANUAL" (displays menu selected colors)
Multi color radar display: Press [MENU], [RADAR DISPLAY SETUP], select "ECHO COLOR", change to "MULTI COLOR".
Chart color selections: Press [MENU], [CHART SETUP], [CHART DETAILS] (selections depend on type, C-MAP or Navionics)
Select Pre programmed or Manual color selection:
1. Enable settings by pressing [POWER/BRILL], [HUE] and selecting [DAY], [NIGHT], [TWILIGHT] or [MANUAL]
MULTIPLE DISPLAY NETWORKS:
A maximum of four(4) displays are possible on the network
Chart source allows for three additional HOST NAMES plus using own chart source.
Additional network devices including BBFF1, BBFF3 sounders and/or FAX30 weatherfax units can also be added.
Output Through Network Sentences: (Configure only on NavNet display with position source connected)
1. Press [MENU], [SYSTEM CONFIGURATION], [PORT SETUP], [OUTPUT THROUGH NETWORK]
2. Set GGA,VTG and ZDA to "ON" for proper position and waypoint operations (Not required in single display systems)
3. Press [RETURN], [MENU] to return to normal operations.
NOTE: Set CHART SOURCE options on each display in the network properly (even if no chart is present)
1. This allows for future expansion of addtional charts of same type i.e. Navionics or C-Map.
2. Proper type display software; Navionics or C-MAP/NT is required (type noted on display chart door).
3. All displays within a network can then use any chart from any display on the network.
4. Access CHART SOURCE using INSTALLATION SETUP (hold [MENU] while powering on display.
5. Press [MENU], [SYSTEM CONFIGURATION], [INSTALLATION SETUP], [NETWORK SETUP], edit "CHART SOURCE".
6. Include all displays HOST NAME's within the network omitting its own HOST NAME, then press [ENTER].
7. Press [RETURN], [MENU] to return to normal operations.
POWER OFF then ON after any "MENU CHANGES" to store the new information.
Refer to the Wiring configurations page or Installation and Operator Manuals regarding detailed information on any steps

AIR-033-407 adapter cable
( direct connection of smart sensor to DATA 4)
Terminal
Block
(local supply)
NAVNET 10.4"
Display
NOTES:
Waypoint information
from a external GPS is
possible by menu
selection.
Press [MENU],
[PLOTTER SETUP],
select [QP], edit QP to
"EXT WPT (RMB)"
and press [ENTER].
PORT PRIORITIES:
HIGHEST:
(*BBWGPS overrides
all ports)
NETWORK PORT
(any position data
coming in to display)
DATA 4 (NMEA I/O)
DATA 2 (NMEA I/O)
DATA 1 (NMEA I/O)*
LOWEST:
DATA 4
remaining wire colors
for 000-144-418 cable
are same as shown
on AIR-033-407 adapter
FURUNO
BBWGPS
antenna
FURUNO GP32
GPS system
OR
other external
GPS unit
(follow
manufacturer
wiring
specifications)
Autopilot
VHF RADIO
(DSC input)
DATA2 shown
OR
use DATA4
RS232 NMEA
output for RS232
level requirement
FURUNO
SMART
DEPTH SENSOR
Connect BBWGPS
attached cable
directly to the
NavNet display
DATA 1 (NMEA input/output)
blue (common ground)
green (input RS232)
yellow (output RS232)
bare wire (common ground)
white (output RS232)
blue (input RS232)
DATA 4 use AIR-033-407 adapter for DATA 4 (connect direct to DATA 1)
NMEA output(white RS232)
OR
Terminal
Block
(local supply)
DATA 2 (NMEA input/output)
DATA 3 (FurunoAD10 or NMEA Heading only)
FURUNO
PG1000
white (NMEA output +)
black (NMEA output -)
cable (local supply)
AND/OR
white (NMEA heading)
black (NMEA heading)
000-125-237 cable supplied with PG1000
cable (local supply)
OR (one only!)
NMEA input (blue RS232)
ext. buzzer (black)
+12VDC (red)
common ground(bare wire) for
12VDC, RS232 I/O & buzzer
7(P)
plug
FURUNO GP32
GPS system
OR
other external
GPS unit
(follow
manufacturer
wiring
specifications)
OR
Terminal
Block
(local supply)
white
NMEA
output(+)
RS422 blue
NMEA
output(-)
RS422
yellow
NMEA
input(+)
green
NMEA
input(-)
OR (one only!)
NAVNET Wiring Configurations
NOTE: These are examples of NavNet
wiring. Please contact Furuno or a local
authorized dealer for more advanced or
special configurations.
NAVNET 7" Display
NOTES:
Radar (17X2/C type) display
DATA 1 same as 10.4"
DATA 2 heading only!
DATA 3 same as 10.4" DATA 4
Plotter (GP1700C)
DATA 1 same as 10.4"
DATA 2 NMEA input/output
DATA 3 same as 10.4" DATA 4
Furuno BBWGPS
000-117-603 (5m) cable
000-144-418 (5m) cable
000-145-612 (1.2m) cable
(included with GP32)
000-144-418 (5m) cable
000-145-612 (1.2m) cable
(included with GP32)
Power supply connections are omitted for clarity
Refer to appropriate installation manual for more information
OR (one only!)
yellow (NMEA input +)
green (NMEA input -) from ext.
NMEA device
NavNet displays input & output NMEA data in
RS422 (+/-) and RS232 (+/ground) voltage levels,
use the appropriate connections as required.
RS422 + input (yellow)
RS422 - input (green)
Heading output
(NMEA)
NMEA input
NMEA input
Other manuals for NAVnet 1722
2
This manual suits for next models
20
Other Furuno Monitor manuals

Furuno
Furuno RD-30 User manual

Furuno
Furuno NAVNET 3D MFDBB User manual

Furuno
Furuno FMD-1712 User manual

Furuno
Furuno MU-155C Manual

Furuno
Furuno MU-200 User manual

Furuno
Furuno FEA-2107 User manual

Furuno
Furuno MFD12 User manual

Furuno
Furuno Mu 120c User manual

Furuno
Furuno FMD-3200-BB Manual

Furuno
Furuno FMD3100 User manual