NOTE: You can connect some Apple devices to the network
using a wired Ethernet connection, if applicable. Go to the
Apple website for more information.
2On your Apple device, open the music app you want to
stream to the stereo.
3From the music app or program, select or , and select
the name of the stereo.
4If necessary, start playing music on the app.
The stereo changes to the AIRPLAY source automatically
and plays audio from your Apple device.
NOTE: If your Apple device is using AirPlay 2 software, you
can connect to multiple stereos on the same network.
NOTE: You cannot stream the AIRPLAY source to other
stereos on the network using the Fusion PartyBus network
(Fusion PartyBus Networking, page 4). Using AirPlay 2
software, you can play content on multiple stereos on the
network, but the stereos must not be grouped.
NOTE: On some AirPlay devices, adjusting the volume on
the device affects the volume level on the stereo.
Setting an AirPlay Password
You can set a password that a user must enter when connecting
to the stereo using the AirPlay feature.
1Select > SETTINGS > AirPlay PASSWORD.
2Enter a password.
NOTE: The AirPlay password is case-sensitive.
When connecting to this stereo using the AirPlay feature, the
user must enter the password on their Apple device.
UPnP Playback
This stereo can play content from Universal Plug and Play
(UPnP) devices connected to the network, such as computers
and media servers. You must connect your UPnP device to the
same network as the stereo using a wired or wireless
connection, and you must configure the device to share media
over the network. See the owner's manual from your UPnP
device for more information.
After you have connected your UPnP device to the network and
configured it to share media, the UPNP source appears on the
source selection screen of each stereo on the network
(Selecting a Source, page 2).
Connecting a UPnP Device
You must connect your stereo to a network to play media from a
UPnP device, such as a NAS device.
1Connect your UPnP device to the same network as the
stereo, referring to the instructions provided with your UPnP
device and router if necessary.
2Select the UPnP source on the stereo (Selecting a Source,
page 2).
You can browse and play media from the UPnP device.
Fusion PartyBus Networking
The Fusion PartyBus networking feature allows you to connect
multiple compatible stereos together on a network, using a
combination of wired or wireless connections.
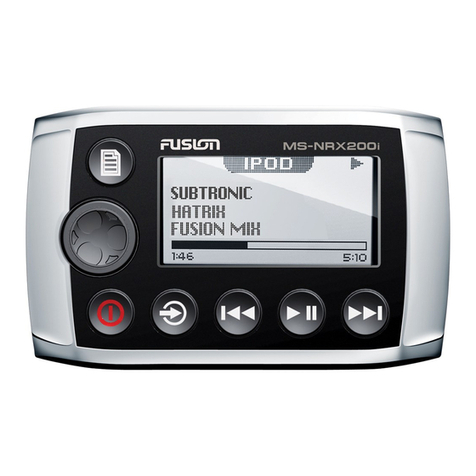
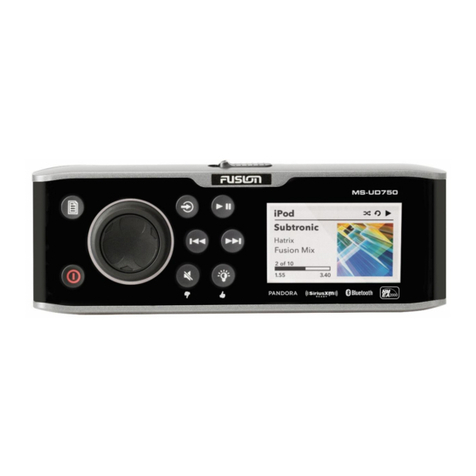
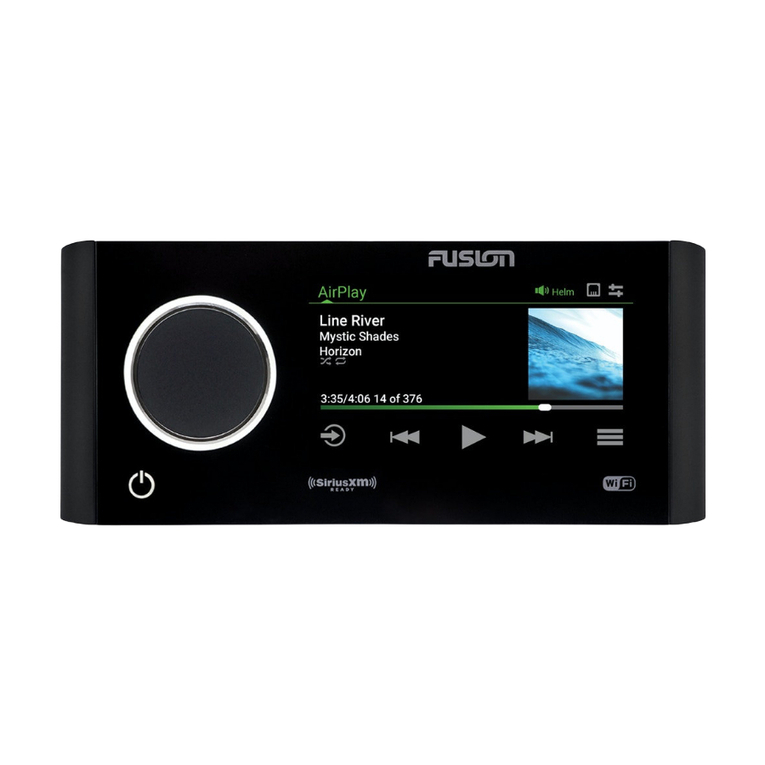
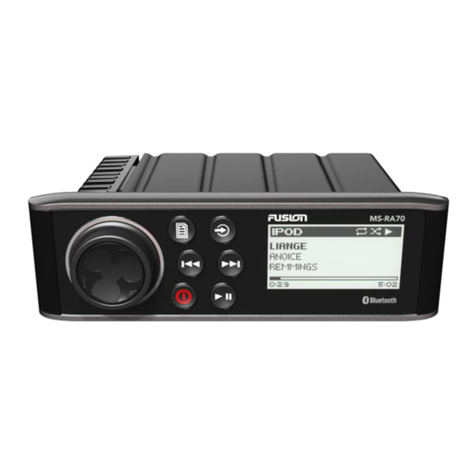
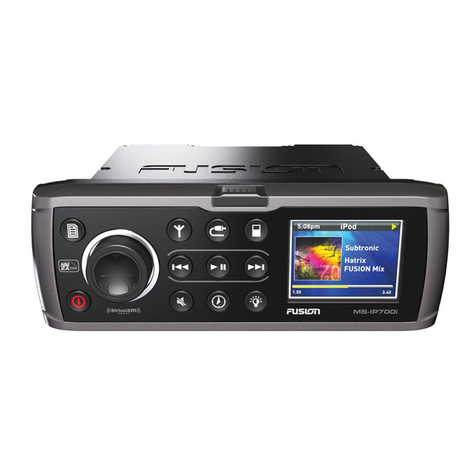
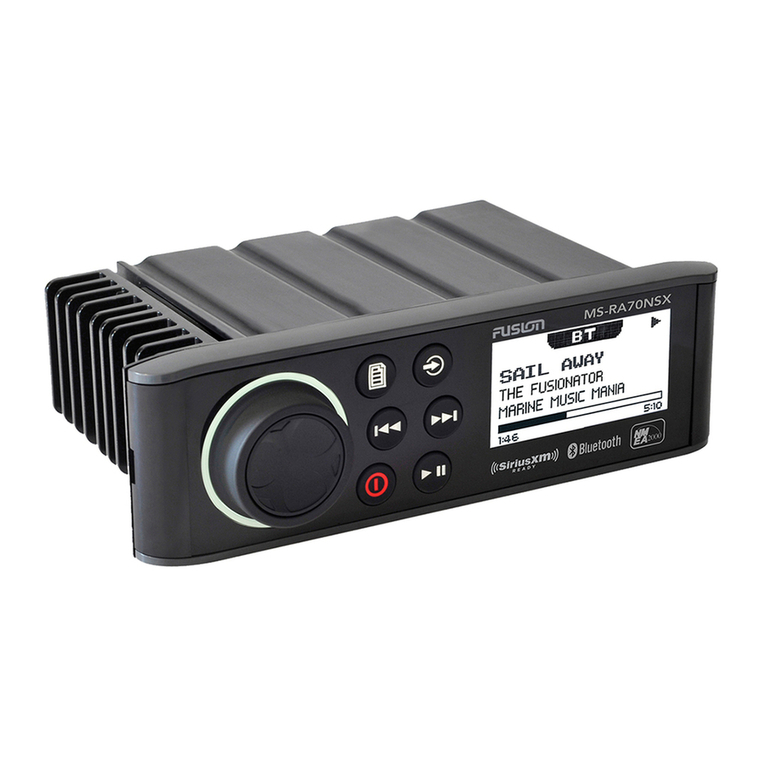
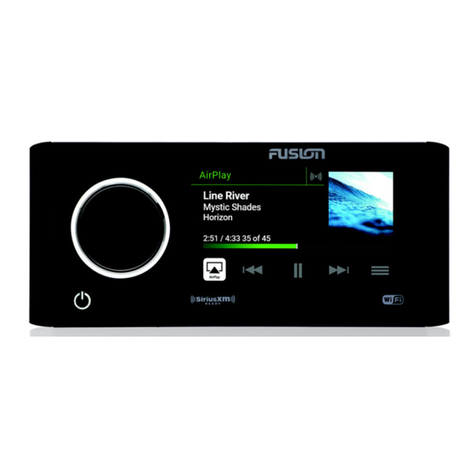
You can group a compatible stereo, such as the Apollo RA770
stereo, with other compatible stereos connected to the network.
Grouped stereos can share available sources and control media
playback on all of the stereos in the group, which allows for a
synchronized audio experience across the vessel. You can
quickly create, edit, and break up groups as needed from any
compatible stereo or remote control on the network.
You can use compatible stereos and remote controls, whether
they are grouped or not, to adjust the volume of the available
speaker zones for any stereo on the network.
You should refer to the installation instructions provided with
your stereo when constructing the Fusion PartyBus network.
You can connect up to eight Fusion PartyBus stereos on a
network wirelessly.
Creating a Group
Before you can create a group, you must connect multiple
compatible stereos to the Fusion PartyBus network. See the
installation instructions provided with your stereo for information
about installing and configuring the network.
1Press the dial to open the CONTROL screen.
2Turn the dial and select EDIT GROUP under the name of the
stereo you want to be the primary stereo in the group.
3Select the stereos you want to add to the group.
4Select GROUP.
When the stereo is in a group, you can control the volume of all
zones in a group at once from the CONTROL screen. From the
source screen, you can select the source of any stereo in the
group, except the Apollo SRX400 stereo and any sources that
are not enabled on the Fusion PartyBus network (General
Settings, page 5).
Editing a Group
1Press the dial to open the CONTROL screen.
2Turn the dial, and select EDIT GROUP.
3Select the devices you want to add to or remove from the
group.
4Select GROUP or UNGROUP.
Leaving a Group
You can leave the Fusion PartyBus group to play local sources
on the stereo.
1Press the dial to open the CONTROL screen.
2Turn the dial, and select EDIT GROUP under the name of the
group that you want to leave.
3Select the devices you want to remove from the group.
4Select UNGROUP.
Network Source Considerations
When selecting sources to play over the network, you should
observe these considerations.
• A zone stereo, such as the Apollo SRX400, can create or join
a group to control and play sources from other stereos, but it
cannot share its sources with the group.
• You cannot share an AirPlay source with grouped stereos.
Using AirPlay 2 software, you can play content on multiple
stereos on the network, but the stereos must not be grouped
(Apple AirPlay®, page 3).
• You can disable sharing on most sources by changing the
PARTYBUS ENABLED setting for the source. When
disabled, the source cannot be selected from a grouped
stereo (General Settings, page 5).
• When audio sources are shared over a data network, there is
a slight delay in the synchronized audio that may be
noticeable if you are also using an external audio source.
◦ If you have a television with an Optical Out connection to
the stereo and you continue to use the television
speakers, there will be a delay between the audio from the
television speakers and the optical audio synchronized on
the grouped stereos.
4 UPnP Playback
