5
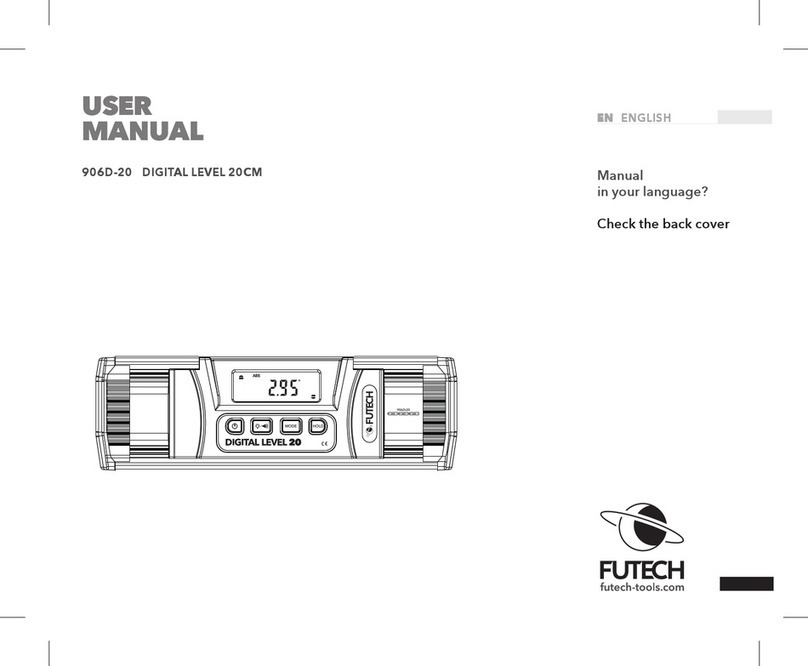
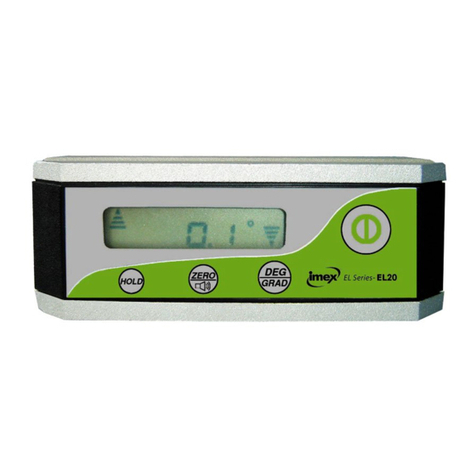
The inclination arrows [I] provide the desired
turning direction. When levelled (0° or 90°), the
display shows two hyphens at both sides of the
LCD Display [08].
CALIBRATING DEVICE
NOTE
Calibration is recommended before each use.
An ‘ERROR’ message is displayed when the
product tilts too much for- or backwards (to
display an accurate reading).
Two different types of calibration are available:
QUICK LEVEL/PLUMB CALIBRATION
This method is used to (level/plumb) calibrate
the device quickly.
· Turn on the digital level
· Hold the device against a (at) surface/wall
making sure the level bubble is centered.
· When holding the device in this position, hold
the calibration button [07] for 3 seconds.
When done properly, the LCD Display [08] will
ash ‘CAL’ on the screen. The calibration process
started.
When moving/tipping the device during this pro-
cess, ‘ERROR’ appears on the [08] LCD Display.
· To exit the calibration mode after an error,
shortly press the calibration button [07].
You can restart the procedure. The calibration
process is done when the LCD display [08] shows
‘RDY’. The device automatically leaves the calibra-
tion mode.
CALIBRATION
· When calibrating the device, put the device on
a at surface (i.e. surface of table).
This surface will be the reference surface.
· When holding the device under this angle,
hold the calibration button [07] and the Mode
button [02] for 3 seconds.
The calibration process initiated and the LCD
Display [08] shows ‘CAL1’.
· Push the Calibration button [07] shortly and the
LCD Display [08] starts ashing ‘CAL1’.
· When the LCD Display [08] shows ‘CAL2’, rotate
the device 180° in such a way that the device is
in the same position, but the screen faces now
away from the user.
· Push the Calibration [7] button shortly,
· ‘CAL2’ will ash on the [08] LCD Display.
When ready, the device will automatically exit the
calibration mode.
