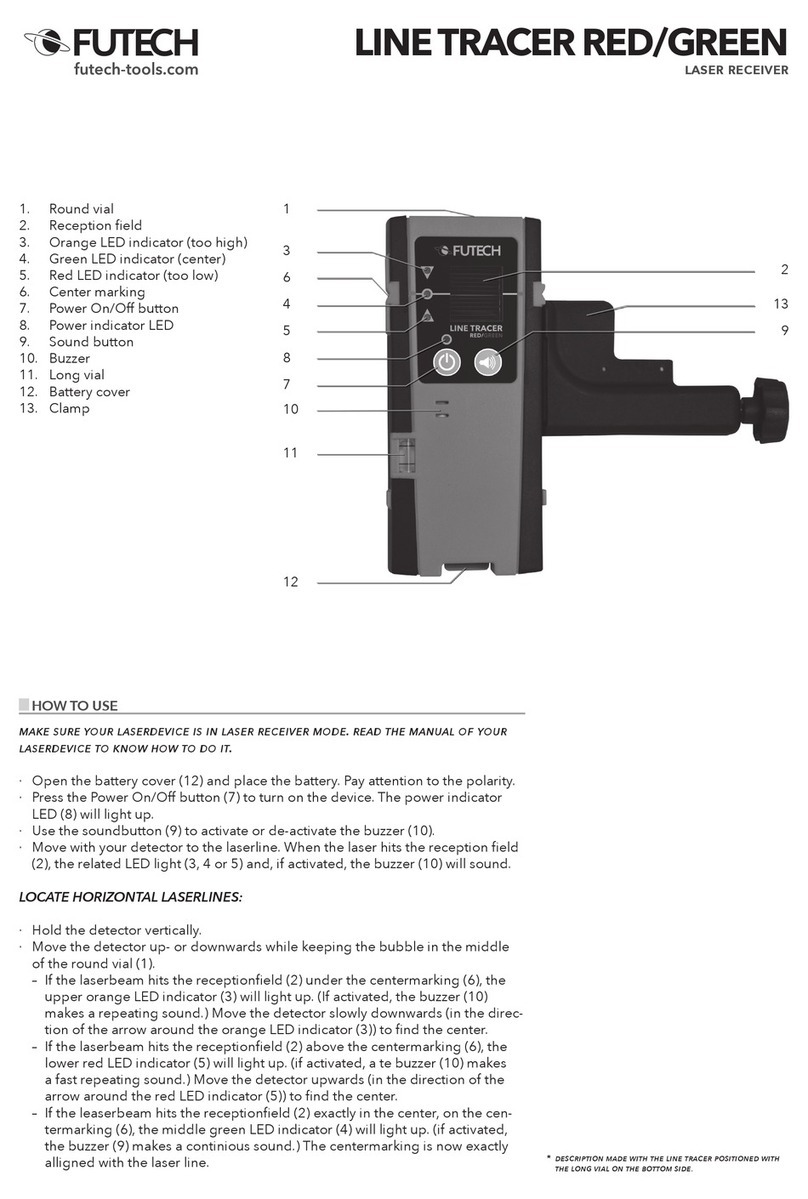
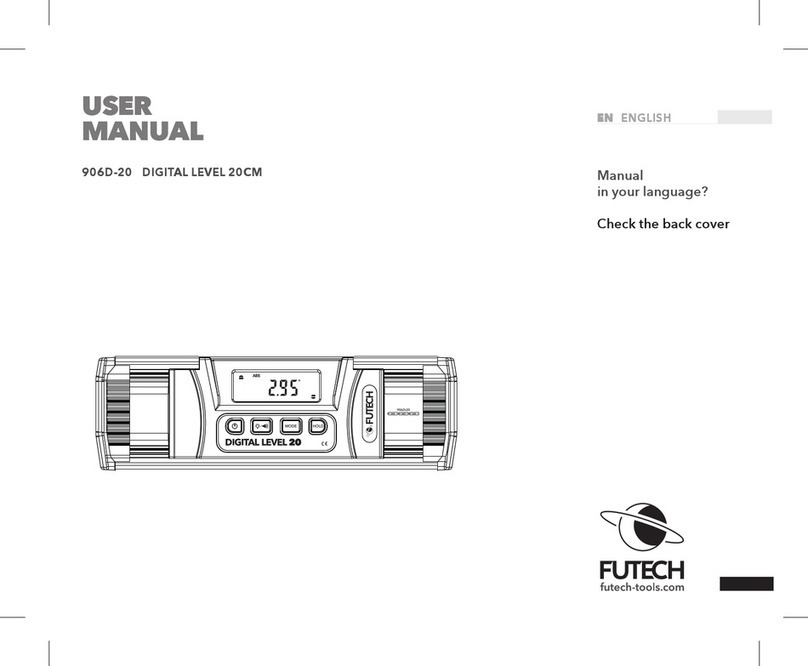
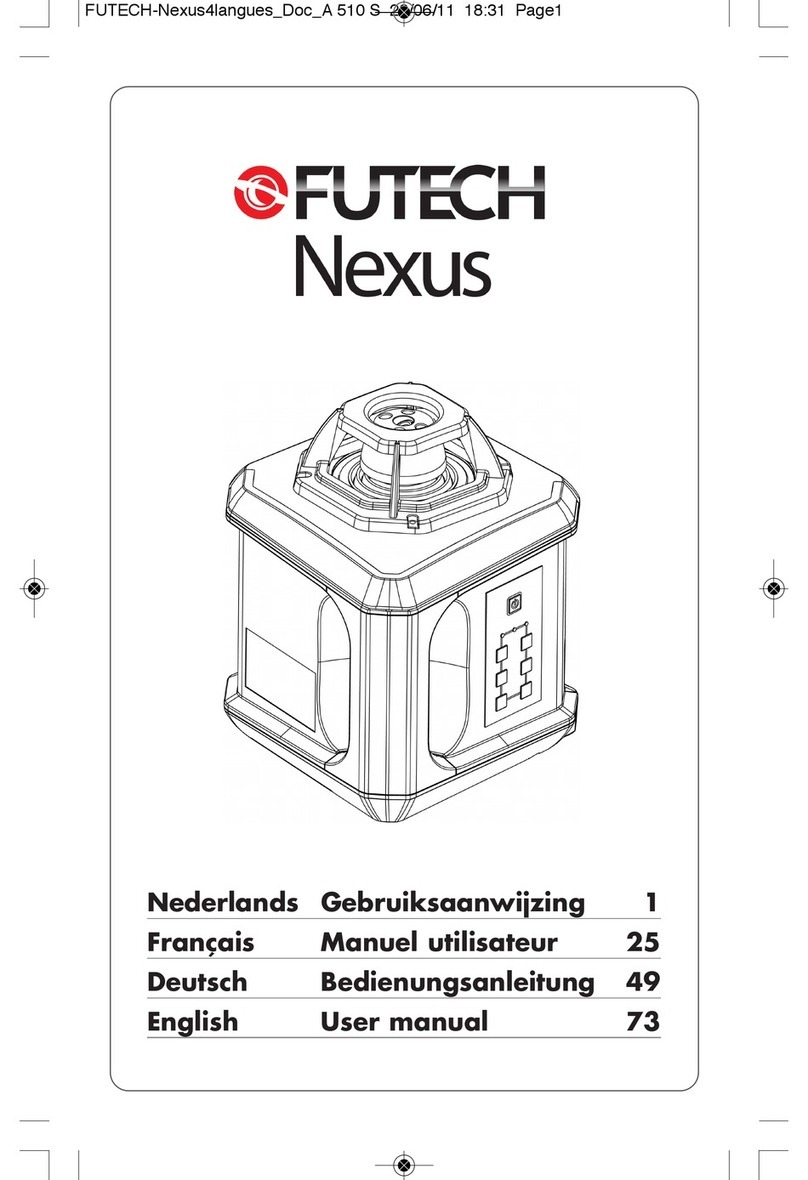
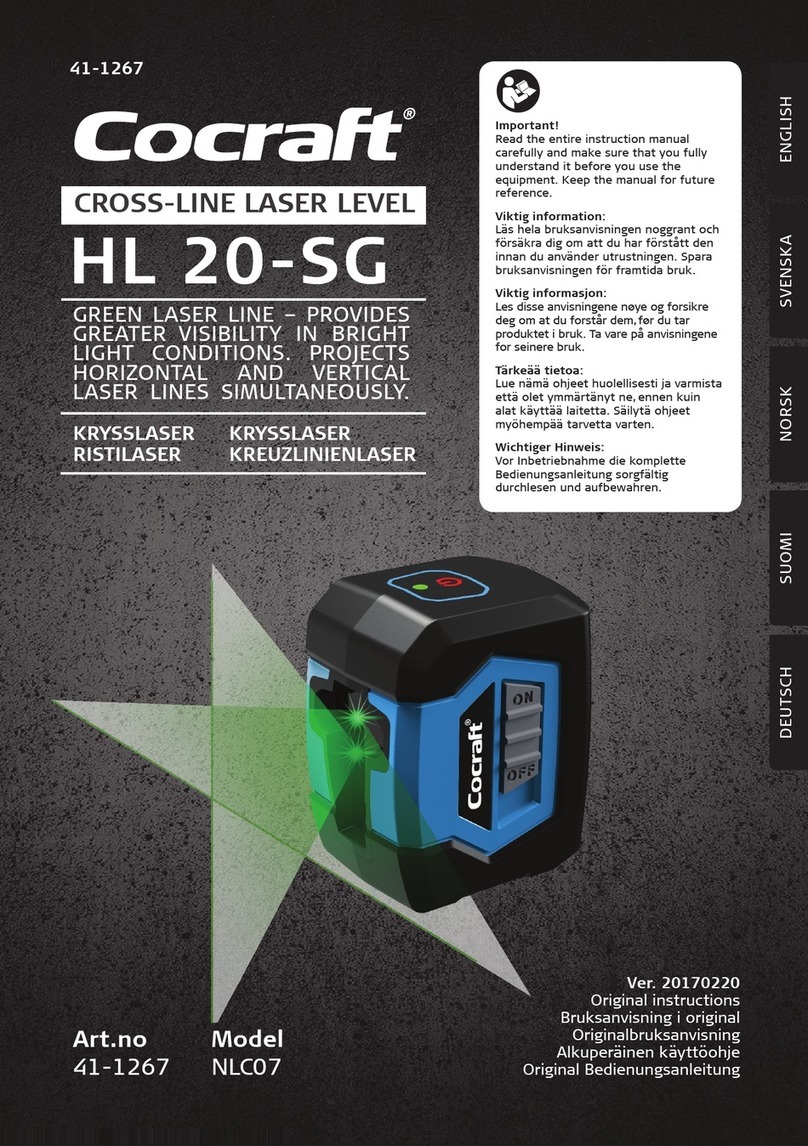
manuals.online logo
Brands
  1. Home
  2. •
  3. Brands
  4. •
  5. Futech
  6. •
  7. Laser Level
  8. •
  9. Futech 011.20R User manual

Futech 011.20R User manual

MANUAL 011.20R – 011.20G / SATURN 2.0 V1.0 – 10.2022 1
INSTRUCTION MANUAL [EN]
011.20R – SATURN 2.0 RED
011.20G – SATURN 2.0 GREEN
OVERVIEW
1. Receiver mode LED indicator
2. Power LED indicator
3. Slope warning LED indicator
4. Receiver mode button
5. Horizontal laser line / Power-button
6. Vertical laser line
7. USB-C socket (for power)
8. Battery compartment
9. ON/OFF / Pendulum Lock Switch
10. 1/4" Tripod connection
11. Vertical laser exit
12. Horizontal laser exit
13. USB-C connector (for charging)
14. LI-ION battery
13
12
9
10
11
2
46
7
8
13
14
5
MANUAL 011.20R – 011.20G / SATURN 2.0 V1.0 – 10.2022 2
SAFETY
Please read the complete safety instructions in the booklet delivered with this device.
Use extreme caution when the laser beam is turned on.
Do not let the beam enter your eyes, another person’s eyes or the eyes of an animal. Be careful that reflections
of the beam (on a reflective surface) do not strike your eyes.
Do not aim the laser beam at any gas that may explode.
FIRST USE
Remove protective films where applied.
Open the [4] battery compartment and insert the suplied battery. The battery must be inserted with
the arrow direction (see battery) pointing inside the product.
POWER
Type of battery: 7.4V Li-ion battery (2200 mAh)
Type of charger for battery: 5V-1A
The battery should only be charged with the included cable.
Charging only happens when the cable is connected to the main net and connected with the USB-C
connector (for charging) [13] which is situated on the battery [14].
Connecting the cable to the USB-C socket (for power) [7] does NOT charge the battery!
The product can also be powered directly from main power when the battery is unable to power
the device (i.e. battery is missing/ran flat). Using the USB-C socket (for power) [7] on the device and
the included power supply cable, the product will work normally.
While using the USB-C socket (for power) [7], the battery (if present inside the device) will
NOT charge.
When the [5] Power LED starts flashing, the battery is running low. This warning tells the user that
the apparatus will work for ±30 minutes before powering off.
USAGE
1. Aligned
Slide the ON/OFF / Pendulum Lock switch [9] to the ON side. The switch will hide ‘ON’ and ‘OFF’
becomes visible. The power LED indicator [4] will turn on. The pendulum levelling mechanism is
released, and the instrument will align on its own. The Horizontal laser line will light up.
Make sure that the instrument is placed on a flat surface with a maximum slope de 3,5°. If the slope
exceeds 3,5°, the lasers will start blinking. The slope warning LED indicator [6] start blinking too.
MANUAL 011.20R – 011.20G / SATURN 2.0 V1.0 – 10.2022 3
2. Manual slope
To work in manual slope mode, the pendulum needs to be blocked. Make sure the ON/OFF /
Pendulum Lock switch [9] is in the OFF position (OFF is covered, ON is visible).
Switch on the device by holding the Horizontal laser line / Power button [5] for approx. 3 sec. until
the laser switches ON. Now you can manually tilt the laser a tripod with tilting head to get the
desired slope.
To inform you the laser isn’t levelled, the laser line will blink shortly every 10 sec. The slope warning
LED indicator [3] blinks continuously.
We advise to use a slope adapter (optional) or tripod with tilting head (optional) to set slopes.
3. Horizontal / Vertical laser line
× Horizontal laser line (Horizontal alignment)
After the device is ON, the Horizontal laser line can be switched ON/OFF by pressing the Horizontal
laser line / Power-button [5].
It is recommended to place the horizontal line at working height. This will enhance work quality.
× Vertical laser line (Vertical alignment)
After the device is ON, the Vertical laser line can be switched ON/OFF by pressing the Vertical laser
line button [6]. The vertical laser line always forms a perfect 90° angle with the horizontal laser line.
4. Receiver mode
When working in a bright environment (e.g. outdoors) or over longer distances, laser lines become
less visible for the human eye. To find the laser lines in those situations, this laser can be used with a
laser receiver.
To activate the Receiver mode, press the receiver mode button [4].
The receiver mode LED indicator [1] will light up and you will notice the activated laser lines
decrease slightly in brightness. In receiver mode, the laser line will start blinking very fast (pulse at
10KHz) to allow the laser receiver, which operates by pulsed light, to detect the laser line.
To deactivate the receiver mode, press the Receiver mode button [4] again. The receiver mode LED
indicator [1] goes out and the brightness of the active laser lines will increase again.
5. Tripod connection
The bottom side of the device is provided with a 1/4" tripod connection.
MANUAL 011.20R – 011.20G / SATURN 2.0 V1.0 – 10.2022 4
IMPORTANT
Always LOCK the pendulum when transporting the device. The ON/OFF / Pendulum Lock switch
must be in the OFF position (OFF covered, ON visible). Only in this case the pendulum is locked
and safe to transport.
Not locking the pendulum during transport can damage your laser device.
MAINTENANCE
Repairs or services are not covered in this manual and should only be carried out by qualified
trained technicians. Periodically, wipe the body with a dry cloth. Do not use abrasives or solvents on
this instrument. For service, use only manufacturer’s specified parts.
To ensure the continued proper functioning of your laser, and to avoid measurement errors, we
recommend that you have your laser calibrated by an authorized service center at least once a year.
SPECIFICATIONS
011.20R
Saturn 2.0 Red
011.20G
Saturn 2.0 Green
Accuracy
±2 mm/ 10m
Range (without receiver)
15 m
Range (with receiver)
50 m
Dust- & waterproofness
IP54
Power connector
Included
Levelling
Pendulum leveling
Self-levelling range
±3,5°
Slope function
Manual
Maximum input slope
±45°
Built-in screw for tripod
¼”
Pendulum lock (manual slope)
Present
Transport safety mode for pendulum
Present
Amount of laser diodes
2
Laser frequency (receiver mode)
10 kHz
Laser class
Class 2: 635nm (< 1mW)
Class 2: 520nm (< 1mW)
Batteries
7,4V Li-ion battery 2200 mAh
Battery life (with all lines ON)
± 25 – 30h.
± 8 – 9.5h
Operating temperature
-5 °C < T < 40 °C
Power connector
Present
Charger integrated in power connector
Yes
Thickness x width x height
105 x 60 x 95 mm
Weight
0,42 kg

This manual suits for next models

2

Other Futech Laser Level manuals

Futech PROCROSS 8.0 DS User manual

Futech

Futech PROCROSS 8.0 DS User manual

Futech MULTICROSS 8 HIGH PRECISION RED User manual

Futech

Futech MULTICROSS 8 HIGH PRECISION RED User manual

Futech MULTICROSS 8 HPSD User manual

Futech

Futech MULTICROSS 8 HPSD User manual

Futech MULTICROSS 8 User manual

Futech

Futech MULTICROSS 8 User manual

Futech PARA DS RED User manual

Futech

Futech PARA DS RED User manual

Futech 906D-20 User manual

Futech

Futech 906D-20 User manual

Futech SATURN 2.0 RED User manual

Futech

Futech SATURN 2.0 RED User manual

Futech RED RACER 050.01.1E User manual

Futech

Futech RED RACER 050.01.1E User manual

Futech MULTISQUARE 5 User manual

Futech

Futech MULTISQUARE 5 User manual

Futech PARA ONE RED User manual

Futech

Futech PARA ONE RED User manual

Futech MULTICROSS 8 User manual

Futech

Futech MULTICROSS 8 User manual

Futech 150.12.TL User manual

Futech

Futech 150.12.TL User manual

Futech EAGLE 32 User manual

Futech

Futech EAGLE 32 User manual

Futech 0273DG User manual

Futech

Futech 0273DG User manual

Futech MULTICROSS 3D COMPACT 030.03D User manual

Futech

Futech MULTICROSS 3D COMPACT 030.03D User manual

Futech MULTICROSS 4D ELECTRONIC User manual

Futech

Futech MULTICROSS 4D ELECTRONIC User manual

Futech PARA ONE RED User manual

Futech

Futech PARA ONE RED User manual

Futech 850.060DM User manual

Futech

Futech 850.060DM User manual

Futech Nexus User manual

Futech

Futech Nexus User manual

Futech SPINNER RED User manual

Futech

Futech SPINNER RED User manual

Popular Laser Level manuals by other brands

Velleman LL40T quick start guide

Velleman

Velleman LL40T quick start guide

Westfalia 83 82 20 instruction manual

Westfalia

Westfalia 83 82 20 instruction manual

Fluke PLS 6R user manual

Fluke

Fluke PLS 6R user manual

VONROC LL501DC Original instructions

VONROC

VONROC LL501DC Original instructions

GeoMax Zone80 DG user manual

GeoMax

GeoMax Zone80 DG user manual

DeWalt LaserChalkLine DW088 quick start guide

DeWalt

DeWalt LaserChalkLine DW088 quick start guide

LaserLiner PowerCross-Laser 5G manual

LaserLiner

LaserLiner PowerCross-Laser 5G manual

Johnson 40-6065 instruction manual

Johnson

Johnson 40-6065 instruction manual

Magnusson IM0301 manual

Magnusson

Magnusson IM0301 manual

Metrica BRAVO LASER 360 + 2V operating manual

Metrica

Metrica BRAVO LASER 360 + 2V operating manual

ADA INSTRUMENTS 2D Basic Level operating manual

ADA INSTRUMENTS

ADA INSTRUMENTS 2D Basic Level operating manual

PLS HDR 1000 operating manual

PLS

PLS HDR 1000 operating manual

CST Berger Lasermark Wizard LM30 instruction manual

CST

CST Berger Lasermark Wizard LM30 instruction manual

Bosch RC5 Operating/safety instructions

Bosch

Bosch RC5 Operating/safety instructions

Bosch Professional GCL 2-50 Original instructions

Bosch

Bosch Professional GCL 2-50 Original instructions

Klein Tools LBL100 instructions

Klein Tools

Klein Tools LBL100 instructions

Bauer 20204L-B Owner's manual & safety instructions

Bauer

Bauer 20204L-B Owner's manual & safety instructions

Johnson 40-6164 instruction manual

Johnson

Johnson 40-6164 instruction manual

manuals.online logo
manuals.online logoBrands
  • About & Mission
  • Contact us
  • Privacy Policy
  • Terms and Conditions

Copyright 2025 Manuals.Online. All Rights Reserved.