manuals.online logo
Brands
  1. Home
  2. •
  3. Brands
  4. •
  5. Gardenline
  6. •
  7. Outdoor Furnishing
  8. •
  9. Gardenline 7884 User manual

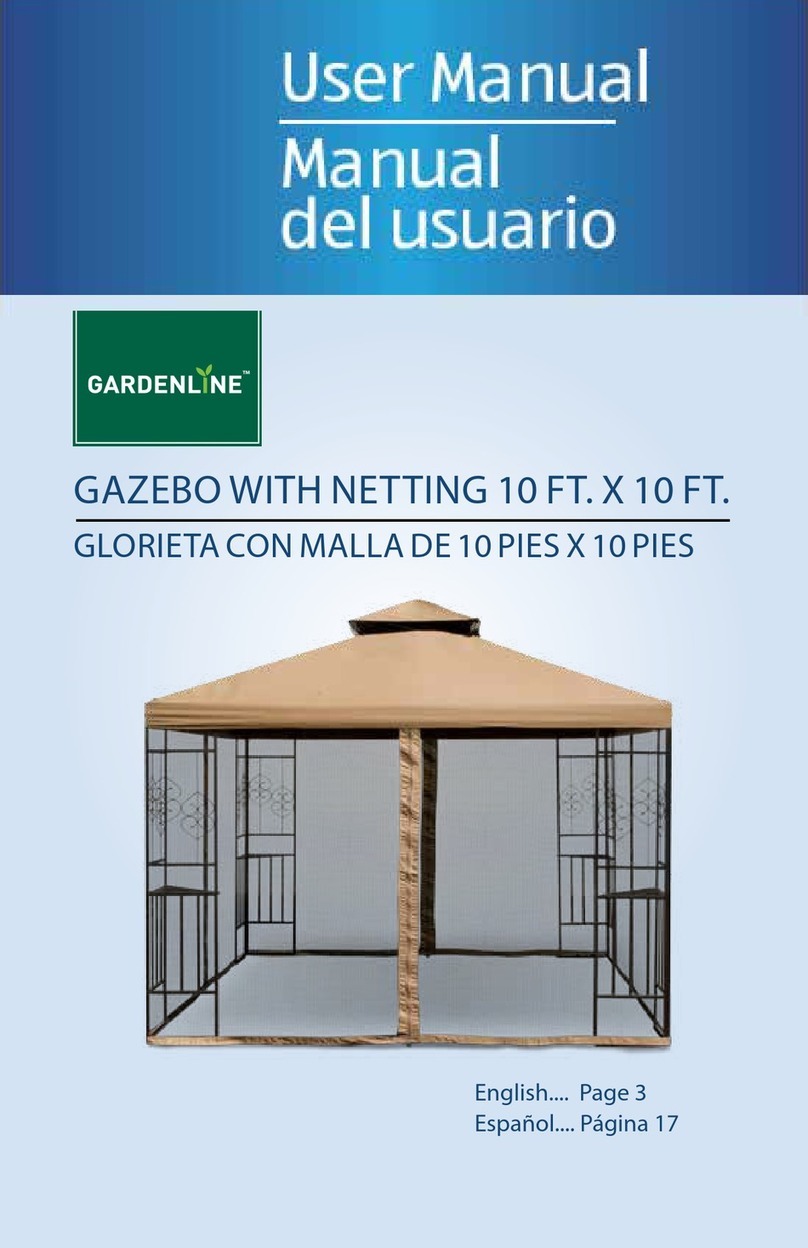
Gardenline 7884 User manual

YEAR WARRANTY
AÑOS DE GARANTÍA
2
[email protected]
1800 599 8898
USA
MODEL: 7884 PRODUCT CODE: 7884 4/2016
DISTRIBUTED BYtDISTRIBUIDO POR:
ALDI INC., BATAVIA, IL 60510
www.aldi.us
"'5&34"-&44611035t4&37*$*01047&/5"
USA
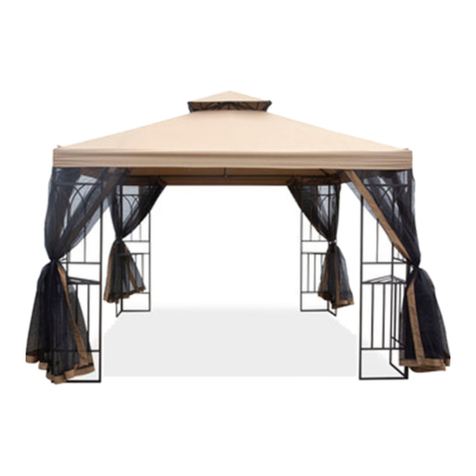
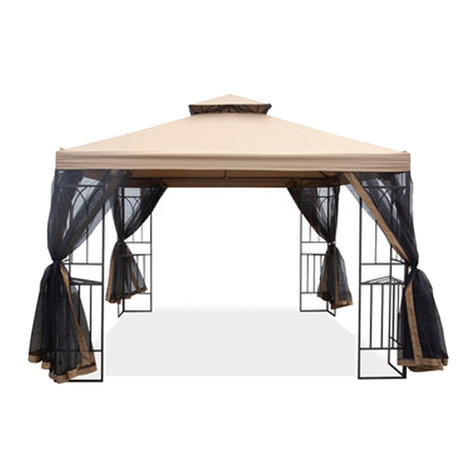
Gazebo with Netting
AFTER SALES SUPPORT 1
1800 599 8898 [email protected]
MODEL: 7884 PRODUCT CODE: 7884 04/2016
USA
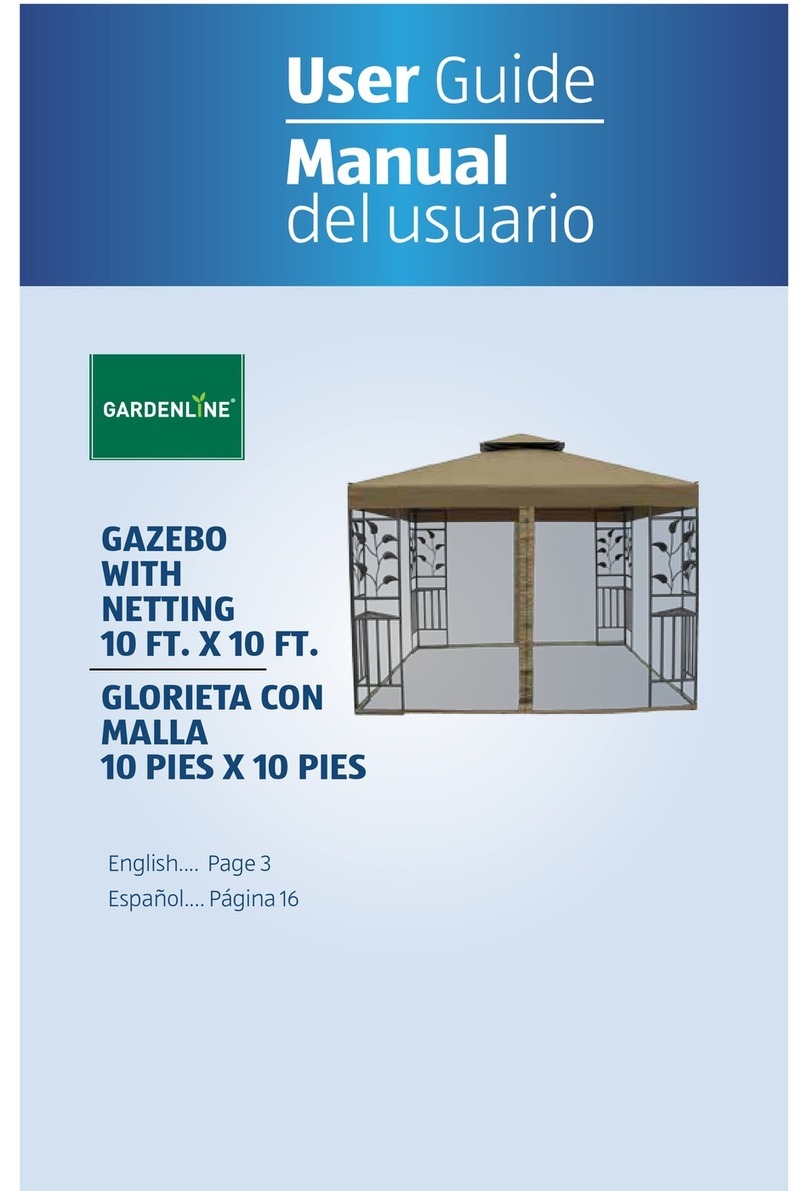
User Guide
Manual
del usuario
GAZEBO
WITH
NETTING
10 FT. X 10 FT.
GLORIETA CON
MALLA
10 PIES X 10 PIES
English.... Page 3
Español.... Página 16
Contents
Geng Started .................................. 3
Parts List ............................................. 4
Assembly Instrucons ........................ 6
Warranty ............................................ 12
Para comenzar .................................. 16
Lista de piezas .................................... 17
Instrucciones de ensamblaje .............. 19
Garana ............................................ 25
Gazebo with Netting
AFTER SALES SUPPORT 27
1800 599 8898 [email protected]
MODEL: 7884 PRODUCT CODE: 7884 04/2016
USA
1. No guarde la glorieta sino hasta que se haya secado completamente.
2. Esta glorieta debe ser ensamblada por dos o más adultos.
3. El toldo no debe permanecer instalado en condiciones extremas o de
viento.
4. El peso máximo soportado por el gancho es de 10 libras (4.5 kg).
5. Los componentes de acero para accesorios y muebles de jardín están
tratados con pintura anóxido que los protegen contra el óxido. No
obstante, debido a la naturaleza del acero, puede producirse oxidación
superficial si el recubrimiento anóxido se raya; esto es un proceso natural.
Para minimizar las probabilidades de que esto ocurra, se recomienda
tener cuidado al ensamblar y manejar el producto, a fin de evitar que la
pintura se raye. Si se producen daños o rayas, se recomienda pintar el
área inmediatamente con pintura anóxido. El óxido superficial puede
eliminarse fácilmente con una aplicación muy ligera de aceite normal de
cocina. Si se produce oxidación superficial y no se toma ninguna medida
para resolver el problema, el óxido puede comenzar a gotear sobre el
balcón o pao, y provocar manchas diciles de eliminar.
Warranty
ADVERTENCIA
MANTENER LAS LLAMAS Y LAS FUENTES DE CALOR ALEJADAS
DEL TEJIDO DE ESTE TOLDO. Este toldo está fabricado con un tejido
que cumple con la norma CPAI-84 de resistencia a las llamas. No es
ignífugo. El tejido arderá si entra en contacto connuo con una llama.
Glorieta con malla Garana
SERVICIO POSVENTA
Gazebo with Netting
26 AFTER SALES SUPPORT
[email protected] 1800 599 8898
MODEL: 7884 PRODUCT CODE: 7884 04/2016
USA
Condiciones de la garana
Esmado Cliente:
La garana de ALDI le ofrece amplios beneficios en comparación con la obligación
legal que se deriva de una garana.
Para hacer una reclamación bajo la garana, por favor envíenos:
• el arculo defectuoso conjuntamente con el recibo de compra original y la
tarjeta de garana completada de manera apropiada.
• el producto defectuoso con todos los componentes incluidos en el
embalaje.
La garana no cubre a los daños ocasionados por:
• Accidentes oeventos imprevistos (por ejemplo, rayos, viento, agua,
fuego).
• Uso otransporte inadecuados.
• Rotura o explosión de los tubos debido a la exposición al agua y a las
temperaturas bajo cero
• Oxidación general de la estructura
• Incumplimiento de las instrucciones de seguridad ymantenimiento.
• Otro tratamiento o modificación inadecuados.
• Decoloración normal de los tejidos, tapizado o telas
Después del vencimiento del período de garana, todavía ene la posibilidad
de mandar a reparar su producto si usted corre con los gastos. Si la reparación o
esmación de los costos no es gras, usted será informado de ello previamente.
Esta garana no limita la obligación legal del vendedor derivada de una garana. El
período de garana sólo se puede extender de acuerdo con una norma legal. En los
países donde se requiere por la ley una garana (obligatoria) y/o almacenamiento
de repuestos y/o un sistema de compensación, se aplicarán las condiciones mínimas
legales. En el caso de que se reciba un producto para su reparación, ni la compañía
de servicio ni el vendedor asumen ninguna responsabilidad por los datos o
configuraciones que puedan haberse almacenado en el producto por el cliente.
Período de garana: 2 años a parr de la fecha de compra*
Costos: Reparación/intercambio gras o reembolso.
No hay costos de transporte.
AVISO Póngase en contacto con nuestra línea directa de atención por
teléfono, correo electrónico o fax antes de retornar el producto.
Esto nos permite proporcionar ayuda en caso de posibles
errores del operador.
Glorieta con malla Garana
SERVICIO POSVENTA
Gazebo with Netting
AFTER SALES SUPPORT 3
1800 599 8898 [email protected]
MODEL: 7884 PRODUCT CODE: 7884 04/2016
USA
Geng Started
Idenfy all parts packaged in carton against the parts
list. Remove all protecve materials and place parts on
a non-abrasive surface to avoid scratching. If any parts
are missing or damaged, DO NOT aempt to assemble.
Please contact our customer service center (Monday-Friday
9:00am – 5:00pm EST) at 1-800-599-8898.
Cauon
Read all the instrucons before assembly. Failure to do so may result in faulty
assembly and potenal injury! Assemble product on a so, non-abrasive
surface such as a carpet or cardboard to avoid damaging the item. Seek assis-
tance to assemble bulky or heavy items. Aer final alignment, make sure all
bolts and nuts are securely ghtened with screw covers pressed in place.
Getting Started
Gazebo with Netting
4 AFTER SALES SUPPORT
[email protected] 1800 599 8898
MODEL: 7884 PRODUCT CODE: 7884 04/2016
USA
Pack Contents / Parts
Pack contents / parts
APanel (5 Leaves)
BPanel (6 Leaves)
CCorner Canopy Rib
DCanopy Middle Rib
ECross Beam
FCross Beam Connector
GCorner Connector
HCanopy Two Tier Ribs
IConnector
JMain Canopy
KSmall Canopy
LCorner Shelf
MStake
NRope
OM6 x 25mm Screws & Nuts
PM6 x 40mm Screws & Nuts
QM6 x 48mm Screws & Nuts
RNeng Panel
SPlasc Ring
Sus datos:
Fecha de la compra*
Nombre
Dirección
Correo electrónico
Lugar de la compra
Descripción de la avería:
TARJETA DE GARANTÍA
GLORIETA CON MALLA
Phone lines available
Monday to Friday
9am - 5pm EST.
ĞǀƵĞůǀĂƐƵƚĂƌũĞƚĂĚĞŐĂƌĂŶơĂ
completada junto con el producto
defectuoso a:
TDC USA, Inc.
14 Madison Road
&ĂŝƌĮĞůĚE:ϬϳϬϬϰ
United States of America
[email protected]
*Le recomendamos que guardeĞůƌĞĐŝďŽũƵŶƚŽĐŽŶĞƐƚĂƚĂƌũĞƚĂĚĞŐĂƌĂŶơĂ
AÑOS DE GARANTÍA
2
MODEL: 7884 PRODUCT CODE: 7884 04/2016
[email protected]
1800 599 8898
USA
SERVICIO POSVENTA
Las líneas telefónicas
están disponibles de
lunes a viernes, de
9 a.m. a 5 p.m. EST
Gazebo with Netting
24 AFTER SALES SUPPORT
[email protected] 1800 599 8898
MODEL: 7884 PRODUCT CODE: 7884 04/2016
USA
Aviso: En caso de malas condiciones meteorológicas o viento fuerte,
quite el toldo principal (K) de la glorieta.
Este gazebo puede verse afectado por el viento. Asegúrese de que
todas las cuerdas de las esquinas estén firmemente aseguradas con
estacas y que todas las estacas en la parte inferior del panel estén
completamente insertadas en el terreno. En las situaciones de
condiciones meteorológicas adversas, se recomienda encarecidamente
quitar el toldo principal del gazebo para que no se produzcan daños.
Este producto está diseñado para el esparcimiento y no es un refugio
contra las condiciones meteorológicas adversas.
Glorieta con malla Instrucciones de ensamblaje
SERVICIO POSVENTA
Gazebo with Netting
AFTER SALES SUPPORT 5
1800 599 8898 [email protected]
MODEL: 7884 PRODUCT CODE: 7884 04/2016
USA
Parts List
H
C
I
S
K
J
N
L
M
R
BA
D
GE F
O P Q
Descripon Qty Descripon Qty
A Panel (5 Leaves) 4 K Small Canopy 1
B Panel (6 Leaves) 4 L Corner Shelf 4
C Corner Canopy Rib 4 M Stake 12
D Canopy Middle Rib 4 N Rope 4
E Cross Beam 8 O M6 x 25mm Screws & Nuts 16
F Cross Beam Connector 4 P M6 x 40mm Screws & Nuts 12
G Corner Connector 4 Q M6 x 48mm Screws & Nuts 16
H Canopy Two Tier Ribs 4 R Neng Panel 4
I Connector 1 S Plasc Ring 32
J Main Canopy 1
Gazebo with Netting
6 AFTER SALES SUPPORT
[email protected] 1800 599 8898
MODEL: 7884 PRODUCT CODE: 7884 04/2016
USA
Assembly Instructions
At the lower poron of the panel, using two M6 x 40mm Screws &
Nuts (P), screw the Panels A & B together. At the top corner, first place
the Corner Connector (G) into the corner of the aached panels, then
use M6 x 40mm Screws & Nuts (P) to screw all the pieces together.
Connue finishing one set of panels by adding the Corner Shelf (L) to
the panels. See picture above.
Q
Q
AB
L
P
P
G
Gazebo with Netting
AFTER SALES SUPPORT 23
1800 599 8898 [email protected]
MODEL: 7884 PRODUCT CODE: 7884 04/2016
USA
Assembly Instructions
Instale el toldo principal (J) sobre la parte superior de la glorieta de un
lado a otro. Fije el toldo pequeño (K) al toldo principal (J) con el velcro.
Con la ayuda de un marllo, inserte las estacas (M) en el terreno a
través de la parte inferior de los paneles. Para dar más estabilidad, una
la cuerda (N) a la esquina del toldo principal (J) y ate el otro extremo
de la cuerda (N) a la estaca (M).
Inserte las anillas de plásco (S) en los ojales de metal en la parte
superior de la malla (R). Enganche las anillas de plásco (S) alrededor
del exterior de la glorieta sobre los travesaños (E).
O
N
LT
M
R
N
R
E
S
K
J
Glorieta con malla Instrucciones de ensamblaje
SERVICIO POSVENTA
Gazebo with Netting
22 AFTER SALES SUPPORT
[email protected] 1800 599 8898
MODEL: 7884 PRODUCT CODE: 7884 04/2016
USA
Assembly Instructions
Con cuidado, coloque el techo recién ensamblado encima de la
glorieta. Conecte la varilla de esquina del toldo (C) al conector de
esquina (G) ubicado en la parte superior de los paneles. Asegure la
varilla central del toldo (D) al conector de travesaño (F) con tornillos y
tuercas M6 x 25 mm (O).
H
M
M
M
M
P
E
C
D
D
D
E
E
G
L
L
L
L
FO
Glorieta con malla Instrucciones de ensamblaje
SERVICIO POSVENTA
Gazebo with Netting
AFTER SALES SUPPORT 7
1800 599 8898 [email protected]
MODEL: 7884 PRODUCT CODE: 7884 04/2016
USA
Assembly Instructions
Connect two Cross Beams (E) together with Cross Beam Connector (F),
secure by using 3 pcs M6 x 25mm Screws & Nuts (O). Leave one screw
hole empty to be used on page 9. Place the aached crossbeams on
top of the panels. Cross Beam (E) goes on top of panel (B) and on top
of Panel (A). Use M6 x 48mm Screws & Nuts (Q) to secure the cross
beams to the panels. Please see above picture for reference.
RF
O
E
E
E
E
B
A
Q
Gazebo with Netting
8 AFTER SALES SUPPORT
[email protected] 1800 599 8898
MODEL: 7884 PRODUCT CODE: 7884 04/2016
USA
Assembly Instructions
Alternate inserng the Canopy Middle Rib (D) and Canopy Two
Tier Rib (H) into Connector (I). Make sure the spring-loaded buon
is snapped through the slot and locked in place on the connector.
The Canopy Middle Rib (D) should be placed into the smaller tube of
the Connector (J). Place Corner Canopy Rib (C) into the Canopy Two
Tier Rib (H).
Place the Small Canopy (K) onto the Two Tier Ribs (H). Slip the rib ends
into the corner pockets of the canopy.
Loading limit of the hook is 10 lbs.
IJ
D
C
C
D
HI
Gazebo with Netting
AFTER SALES SUPPORT 21
1800 599 8898 [email protected]
MODEL: 7884 PRODUCT CODE: 7884 04/2016
USA
Assembly Instructions
Inserte alternavamente la varilla central del toldo (D) y la varilla de
dos niveles del toldo (H) en el conector (I). Asegúrese de que el botón
con resorte este insertado en la ranura y asegurado al conector. La
varilla central del toldo (D) debe instalarse en el tubo más pequeño del
conector (I). Una la varilla de esquina del toldo (C) a la varilla de dos
niveles del toldo (H).
Ponga el toldo pequeño (K) sobre las varillas de dos niveles (H). Inserte
los extremos de las varillas en las esquinas del toldo.
El peso máximo soportado por el gancho es de 10 libras (4.5 kg).
IJ
D
C
C
D
HI
Glorieta con malla Instrucciones de ensamblaje
SERVICIO POSVENTA
Gazebo with Netting
20 AFTER SALES SUPPORT
[email protected] 1800 599 8898
MODEL: 7884 PRODUCT CODE: 7884 04/2016
USA
Assembly Instructions
Conecte dos travesaños (E) juntos con el conector de travesaño (F), y
asegúrelos con 3 tornillos y tuercas M6 x 25 mm (O). Deje un agujero
vacío para usarlo en la página 22. Coloque los travesaños unidos
encima de los paneles. El travesaño (E) debe colocarse sobre el panel
(B) y sobre el panel (A). Ulice tornillos y tuercas M6 x 48 mm (Q) para
asegurar los travesaños a los paneles. Consulte la imagen sobre estas
líneas para guiarse.
RF
O
E
E
E
E
B
A
Q
Glorieta con malla Instrucciones de ensamblaje
SERVICIO POSVENTA
Gazebo with Netting
AFTER SALES SUPPORT 9
1800 599 8898 [email protected]
MODEL: 7884 PRODUCT CODE: 7884 04/2016
USA
Assembly Instructions
Carefully place the newly formed roof on top of the gazebo.
Connect the Corner Canopy Rib (C) to the Corner Connector (G) that is
on the top corner of the panels. Secure the Canopy Middle Rib (D) to
the Cross Beam Connector (F). Assemble by using M6 x 25mm screw &
nut (O).
H
M
M
M
M
P
E
C
D
D
D
E
E
G
L
L
L
L
FO
Gazebo with Netting
10 AFTER SALES SUPPORT
[email protected] 1800 599 8898
MODEL: 7884 PRODUCT CODE: 7884 04/2016
USA
Assembly Instructions
Put the Main Canopy (J) on the top of the gazebo from one side
to another. Velcro the Small Canopy (K) to the Main Canopy (J). Ham-
mer the Stakes (M) through the boom of the panels into the ground.
To enforce stability, loop Rope (N) onto the corner of the Main Canopy
(J) and e the other end of the Rope (N) to Stake (M).
Insert the Plasc Rings (S) onto the metal grommets on the top of the
Neng (R). Hook the Plasc Rings (S) around the outside of the gazebo
on the Cross Beam (E).
O
N
LT
M
R
N
R
E
S
K
J
Gazebo with Netting
AFTER SALES SUPPORT 19
1800 599 8898 [email protected]
MODEL: 7884 PRODUCT CODE: 7884 04/2016
USA
Assembly Instructions
En la parte inferior del panel, una el panel (B) al panel (A) ulizando
dos tornillos y tuercas M6 x 40 mm (P). En la esquina superior, coloque
primero el conector de esquina (G) en la esquina de los paneles
ensamblados; a connuación, ulice los tornillos y tuercas M6 x 40
mm (P) para unir todas las piezas. Connúe ensamblando un juego de
paneles añadiéndoles la estantería de esquina (L). Vea la imagen sobre
estas líneas.
Q
Q
AB
L
P
P
G
Glorieta con malla Instrucciones de ensamblaje
SERVICIO POSVENTA
Gazebo with Netting
18 AFTER SALES SUPPORT
[email protected] 1800 599 8898
MODEL: 7884 PRODUCT CODE: 7884 04/2016
USA
H
C
I
S
K
J
N
L
M
R
BA
D
GE F
O P Q
Descripción Cant. Descripción Cant.
A Panel (5 hojas) 4 K Toldo pequeño 1
B Panel (6 hojas) 4 L Estantería de esquina 4
CVarilla de esquina del toldo 4 M Estaca 12
D Varilla central del toldo 4 N Soga 4
E Travesaño 8 O Tornillos y tuercas M6 x 25 mm 16
F Conector de travesaño 4 P Tornillos y tuercas M6 x 40 mm 12
G Conector de esquina 4 Q Tornillos y tuercas M6 x 48 mm 16
HVarillas de dos niveles del toldo 4 R Panel de malla 4
I Conector 1 S Anilla de plásco 32
J Toldo principal 1
Glorieta con malla Lista de piezas
SERVICIO POSVENTA
Gazebo with Netting
AFTER SALES SUPPORT 11
1800 599 8898 [email protected]
MODEL: 7884 PRODUCT CODE: 7884 04/2016
USA
Note: In case of adverse weather condions or strong wind, please
remove the Main Canopy (J) from the gazebo.
This gazebo is suscepble to wind. Please make sure each rope at the
corners is ghtly staked down and each stake at the boom of the
panel is hammered down. In the event of adverse weather condions,
it is highly recommended that the Main Canopy is removed from the
gazebo so that no damage will occur to the gazebo.
This product is designed for leisure use only and is not a shelter against
adverse weather condions.
Assembly Instructions
Your details:
Date of purchase
Name
Address
E mail
LocaƟŽŶŽĨƉƵrchase
ĞƐĐƌŝƉƟŽŶŽĨŵĂůĨƵŶĐƟŽŶ
WARRANTY CARD
GAZEBO WITH NETTING
Phone lines available
Monday to Friday
9am - 5pm EST.
ZĞƚƵƌŶyour cŽŵƉůĞƚĞĚ
warraŶty carĚǁŝƚŚƚŚĞĨĂƵůƚLJ
ƉƌŽĚƵĐƚƚŽ
dh^/ŶĐ
ϭϰDĂĚŝƐŽŶZŽĂĚ
&ĂŝƌĮĞůĚE:ϬϳϬϬϰ
hŶŝƚĞĚ^ƚĂƚĞƐŽĨŵĞƌŝĐĂ
ƐƵƉƉŽƌƚΛƚĚĐƵƐĂŝŶĐĐŽŵ
* We recŽŵŵĞŶĚyou kĞĞƉƚŚĞrecĞŝƉƚǁŝƚŚƚŚŝƐwarraŶty carĚzŽƵŵƵƐƚŝŶĐůƵĚĞĂĐŽƉLJŽĨLJŽƵƌƌĞĐĞŝƉƚ
YEAR WARRANTY
2
MODEL: 7884 PRODUCT CODE: 7884 04/2016
[email protected]
1800 599 8898
USA
Gazebo with Netting
AFTER SALES SUPPORT 17
1800 599 8898 [email protected]
MODEL: 7884 PRODUCT CODE: 7884 04/2016
USA
Contenido de la caja / Piezas
APanel (5 hojas)
BPanel (6 hojas)
CVarilla de esquina del toldo
DVarilla central del toldo
ETravesaño
FConector de travesaño
GConector de esquina
HVarillas de dos niveles del toldo
IConector
JToldo principal
KToldo pequeño
LEstantería de esquina
MEstaca
NSoga
OTornillos y tuercas M6 x 25 mm
PTornillos y tuercas M6 x 40 mm
QTornillos y tuercas M6 x 48 mm
RPanel de malla
SAnilla de plásco
Glorieta con malla Contenidodelacaja/ Piezas
SERVICIO POSVENTA
Gazebo with Netting
16 AFTER SALES SUPPORT
[email protected] 1800 599 8898
MODEL: 7884 PRODUCT CODE: 7884 04/2016
USA
Para comenzar
Compare todas las piezas incluidas en la caja con la lista de
piezas. Quite todos los materiales de protección y ponga
las piezas sobre una superficie no abrasiva para evitar que
se rayen. Si falta alguna pieza, NO intente ensamblar la
unidad. Llame a nuestro centro de atención al cliente (de
lunes a viernes de 9:00 a.m. a 5:00 p.m. EST) al
1-800-599-8898.
Precauciones
Lea todas las instrucciones antes de ensamblar la unidad. ¡No hacerlo puede
resultar en un ensamblaje incorrecto, lo que puede ocasionar lesiones!
Ensamble la unidad sobre una superficie blanda y no abrasiva, tal como una
alfombra o cartón, para evitar dañarla. Pida ayuda para ensamblar las partes
pesadas y voluminosas. Tras la alineación final, asegúrese de que todos
los pernos y tuercas estén firmemente apretados y estén cubiertos con los
embellecedores.
Glorieta con malla Para comenzar
SERVICIO POSVENTA
Gazebo with Netting
AFTER SALES SUPPORT 13
1800 599 8898 [email protected]
MODEL: 7884 PRODUCT CODE: 7884 04/2016
USA
Warranty period: 2 years from date of purchase*
Costs: Free repair / exchange or refund.
No transport costs.
ADVICE Please contact our service hotline by phone, email or
fax before sending the device. This allows us to provide
support in the event of possible operator errors.
Warranty
Warranty condions
Dear Customer,
The ALDI warranty offers you extensive benefits compared to the statutory
obligaon arising from a warranty.
In order to make a claim under the warranty, please send us:
• together with the faulty item the original receipt and the warranty
card properly completed.
• the faulty product with all components included in the packaging.
The warranty does not cover damage caused by:
• Accident or unancipated events (e.g. lightning, wind, water, fire).
• Improper use or transport.
• Bursng or cracking of tubing due to exposure to water and freezing
temperatures
• General frame rusng
• Disregard of the safety and maintenance instrucons.
• Other improper treatment or modificaon.
• Normal fade of fabrics, upholstery or woven materials
Aer the expiry of the warranty period, you sll have the possibility to have
your product repaired at your own expense. If the repair or the esmate of
costs is not free of charge you will be informed accordingly in advance.
This warranty does not limit the statutory obligaon of the seller arising from
a warranty. The period of warranty can only be extended in accordance with a
legal standard. In countries when a (compulsory) warranty and/or spare part
storage and/or a system for compensaon are/is required by law, the statutory
minimum condions apply. In the event that a product is received for repair,
neither the service company nor the seller will assume any liability for data or
sengs possibly stored on the product by the customer.
Gazebo with Netting
14 AFTER SALES SUPPORT
[email protected] 1800 599 8898
MODEL: 7884 PRODUCT CODE: 7884 04/2016
USA
1. When storing, do not repack your gazebo unl completely dry.
2. This gazebo must be assembled by two adults or more.
3. This gazebo canopy must not be leaached in windy or extreme
condions.
4. Loading limit of the hook is 10 lbs.
5. Steel components for garden accessories and furniture are treated with
rust inhibing paint that protects them from rust. However, due to the na-
ture of steel, surface oxidaon (rusng) will occur if this protecve coang
is scratched. This is a natural process. To minimize this condion, it is rec-
ommended that care be taken when assembling and handling the product
in order to prevent the paint from being scratched. If scratching or damage
occurs, it is recommended that the area be touched-up immediately with
rust inhibing paint. Surface rust can be removed easily using a very light
applicaon of common cooking oil. If surface oxidaon (rusng) occurs and
no measures are taken to correct it, the oxidaon may start dripping on
the deck or pao, which may cause damaging strains that may be difficult
to remove.
Warranty
WARNING
KEEP ALL FLAME AND HEAT SOURCES AWAY FROM THIS TENT
FABRIC. This tent is made with fabric that meets CPAI-84 specificaons
for flame resistance. It is not fire proof. The fabric will burn if lein
connuous contact with any flame source.
.

Other manuals for 7884

2

Other Gardenline Outdoor Furnishing manuals

Gardenline 22008-17 User manual

Gardenline

Gardenline 22008-17 User manual

Gardenline 7884 User manual

Gardenline

Gardenline 7884 User manual

Gardenline 55662 User manual

Gardenline

Gardenline 55662 User manual

Gardenline 22096-18 User manual

Gardenline

Gardenline 22096-18 User manual

Gardenline 7884-14/21619 User manual

Gardenline

Gardenline 7884-14/21619 User manual

Gardenline 21994-17 User manual

Gardenline

Gardenline 21994-17 User manual

Gardenline 22095-18 User manual

Gardenline

Gardenline 22095-18 User manual

Gardenline 49964 User manual

Gardenline

Gardenline 49964 User manual

Gardenline 32720-20 User manual

Gardenline

Gardenline 32720-20 User manual

Gardenline 1537 User manual

Gardenline

Gardenline 1537 User manual

Gardenline 7884 User manual

Gardenline

Gardenline 7884 User manual

Gardenline 22098-18 User manual

Gardenline

Gardenline 22098-18 User manual

Gardenline 32720 User manual

Gardenline

Gardenline 32720 User manual

Gardenline 5 PIECE PATIO SET User manual

Gardenline

Gardenline 5 PIECE PATIO SET User manual

Gardenline 4699 User manual

Gardenline

Gardenline 4699 User manual

Gardenline 22466 User manual

Gardenline

Gardenline 22466 User manual

Popular Outdoor Furnishing manuals by other brands

Arrow Storage Products DS108EU Owner's manual & assembly guide

Arrow Storage Products

Arrow Storage Products DS108EU Owner's manual & assembly guide

PHI VILLA THD5-078-096 Use and care guide

PHI VILLA

PHI VILLA THD5-078-096 Use and care guide

Wisteria Lane KX-016GR instruction manual

Wisteria Lane

Wisteria Lane KX-016GR instruction manual

Target Threshold 009050409 Assembly instructions

Target

Target Threshold 009050409 Assembly instructions

Safavieh Outdoor Montclair PAT6712 quick start guide

Safavieh Outdoor

Safavieh Outdoor Montclair PAT6712 quick start guide

PHI VILLA THD-E02GF093 Installation & owner/operator use and care guide

PHI VILLA

PHI VILLA THD-E02GF093 Installation & owner/operator use and care guide

Safavieh Outdoor Edna PAT7719 quick start guide

Safavieh Outdoor

Safavieh Outdoor Edna PAT7719 quick start guide

Naterial FLORA II ORIGAMI instruction manual

Naterial

Naterial FLORA II ORIGAMI instruction manual

OBI 495792 instruction manual

OBI

OBI 495792 instruction manual

Costco L-GG084PCO-C1 Assembly instructions

Costco

Costco L-GG084PCO-C1 Assembly instructions

netta LYQ205-45S Assembly & operation instructions

netta

netta LYQ205-45S Assembly & operation instructions

Sunjoy L-GZ093PST Assembly instructions

Sunjoy

Sunjoy L-GZ093PST Assembly instructions

leco Hollywood Laureen 47 36400 214 manual

leco

leco Hollywood Laureen 47 36400 214 manual

Backyard Creations FC-30-MN Use and care guide

Backyard Creations

Backyard Creations FC-30-MN Use and care guide

BHG BH17-092-097-23 Assembly instructions

BHG

BHG BH17-092-097-23 Assembly instructions

Jack-Post CG-44 Use and care guide

Jack-Post

Jack-Post CG-44 Use and care guide

Garden Treasures SD08108 quick start guide

Garden Treasures

Garden Treasures SD08108 quick start guide

Landscape Fusion A1000 Assembly instructions

Landscape

Landscape Fusion A1000 Assembly instructions

manuals.online logo
manuals.online logoBrands
  • About & Mission
  • Contact us
  • Privacy Policy
  • Terms and Conditions

Copyright 2025 Manuals.Online. All Rights Reserved.