Garmin inReach User manual
Page 1of 11
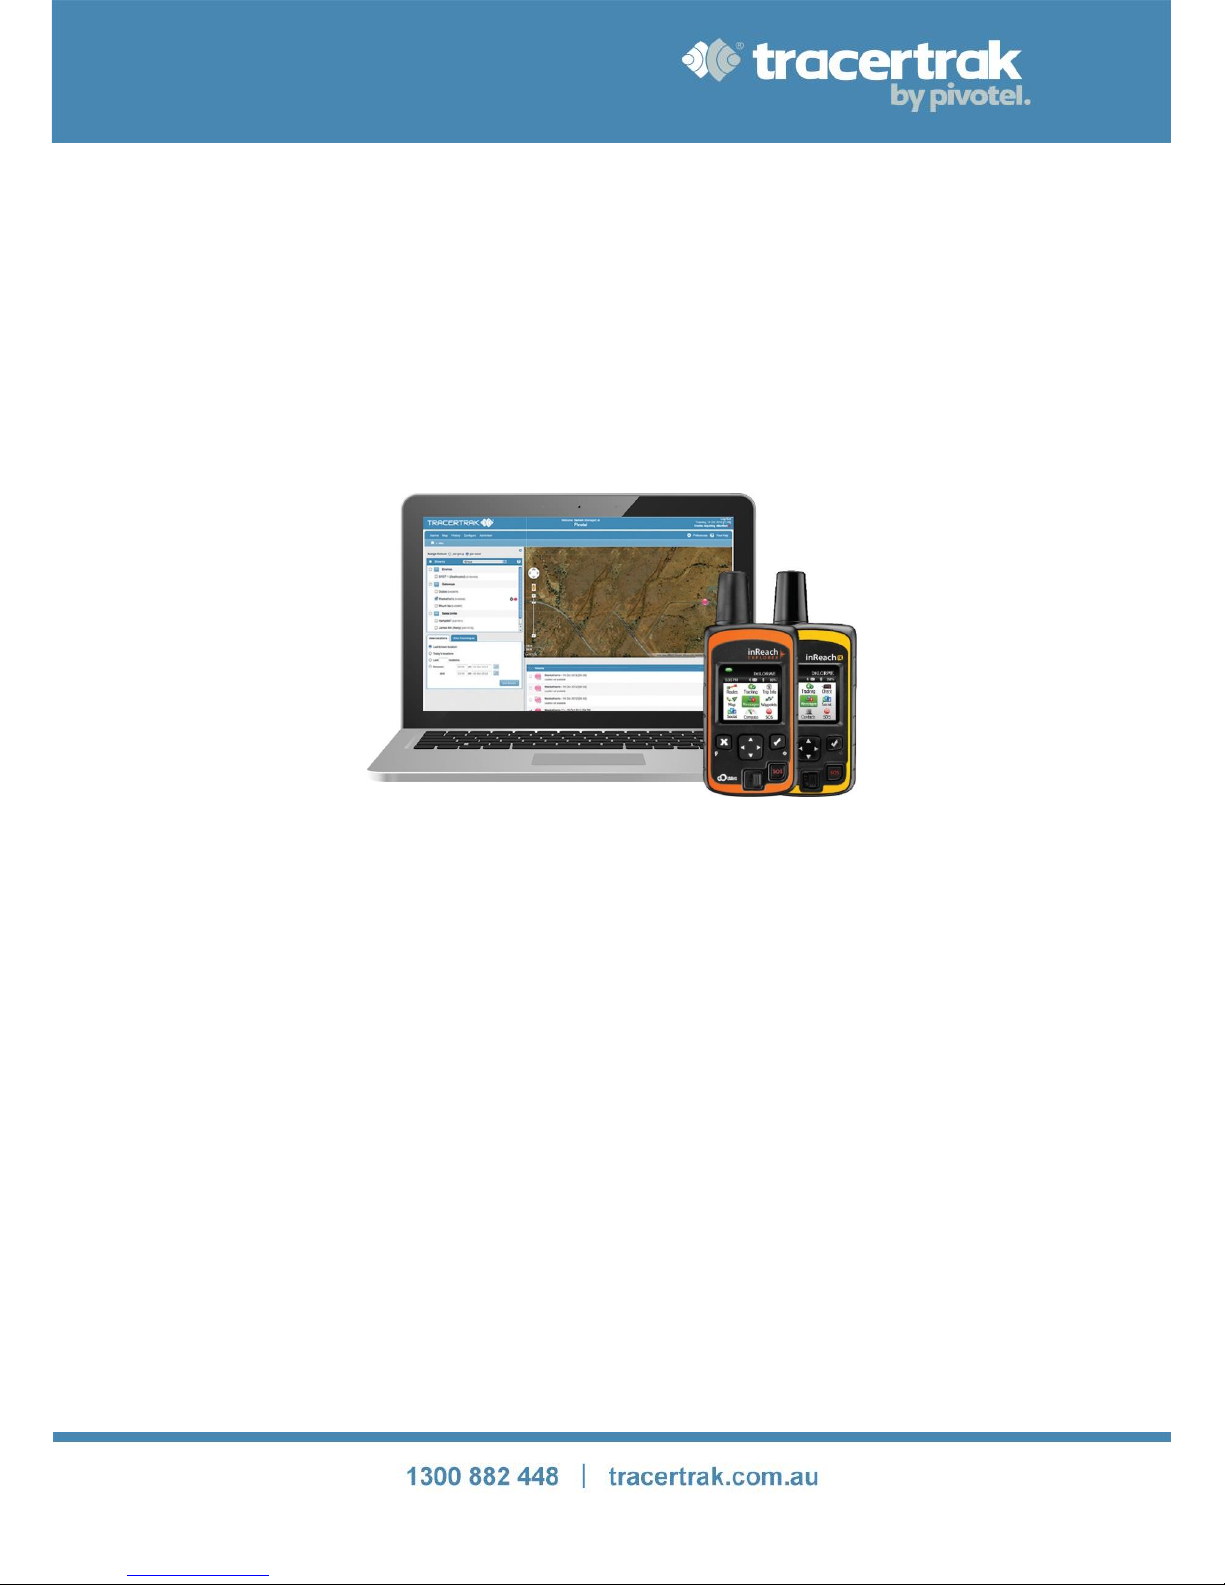
inReach –Device User Guide

Page 2of 11
Contents
inReach –Device User Guide..................................................................................................................................1
Device Layout –SE & Explorer................................................................................................................................3
Device Layout –SE+ & Explorer+............................................................................................................................4
Getting Started: First Time Use ..............................................................................................................................5
First Time Power On ...............................................................................................................................................5
Overview of Supported Features............................................................................................................................5
Supported Features: ............................................................................................................................................... 6
Unsupported Features:...........................................................................................................................................6
Supported Features ................................................................................................................................................6
Tracking ..................................................................................................................................................................6
Contacts.................................................................................................................................................................. 6
Text Messages ........................................................................................................................................................7
Send Preset Messages ............................................................................................................................................9
SOS Activation ...................................................................................................................................................... 10
SOS Cancel ............................................................................................................................................................ 11

Page 3of 11
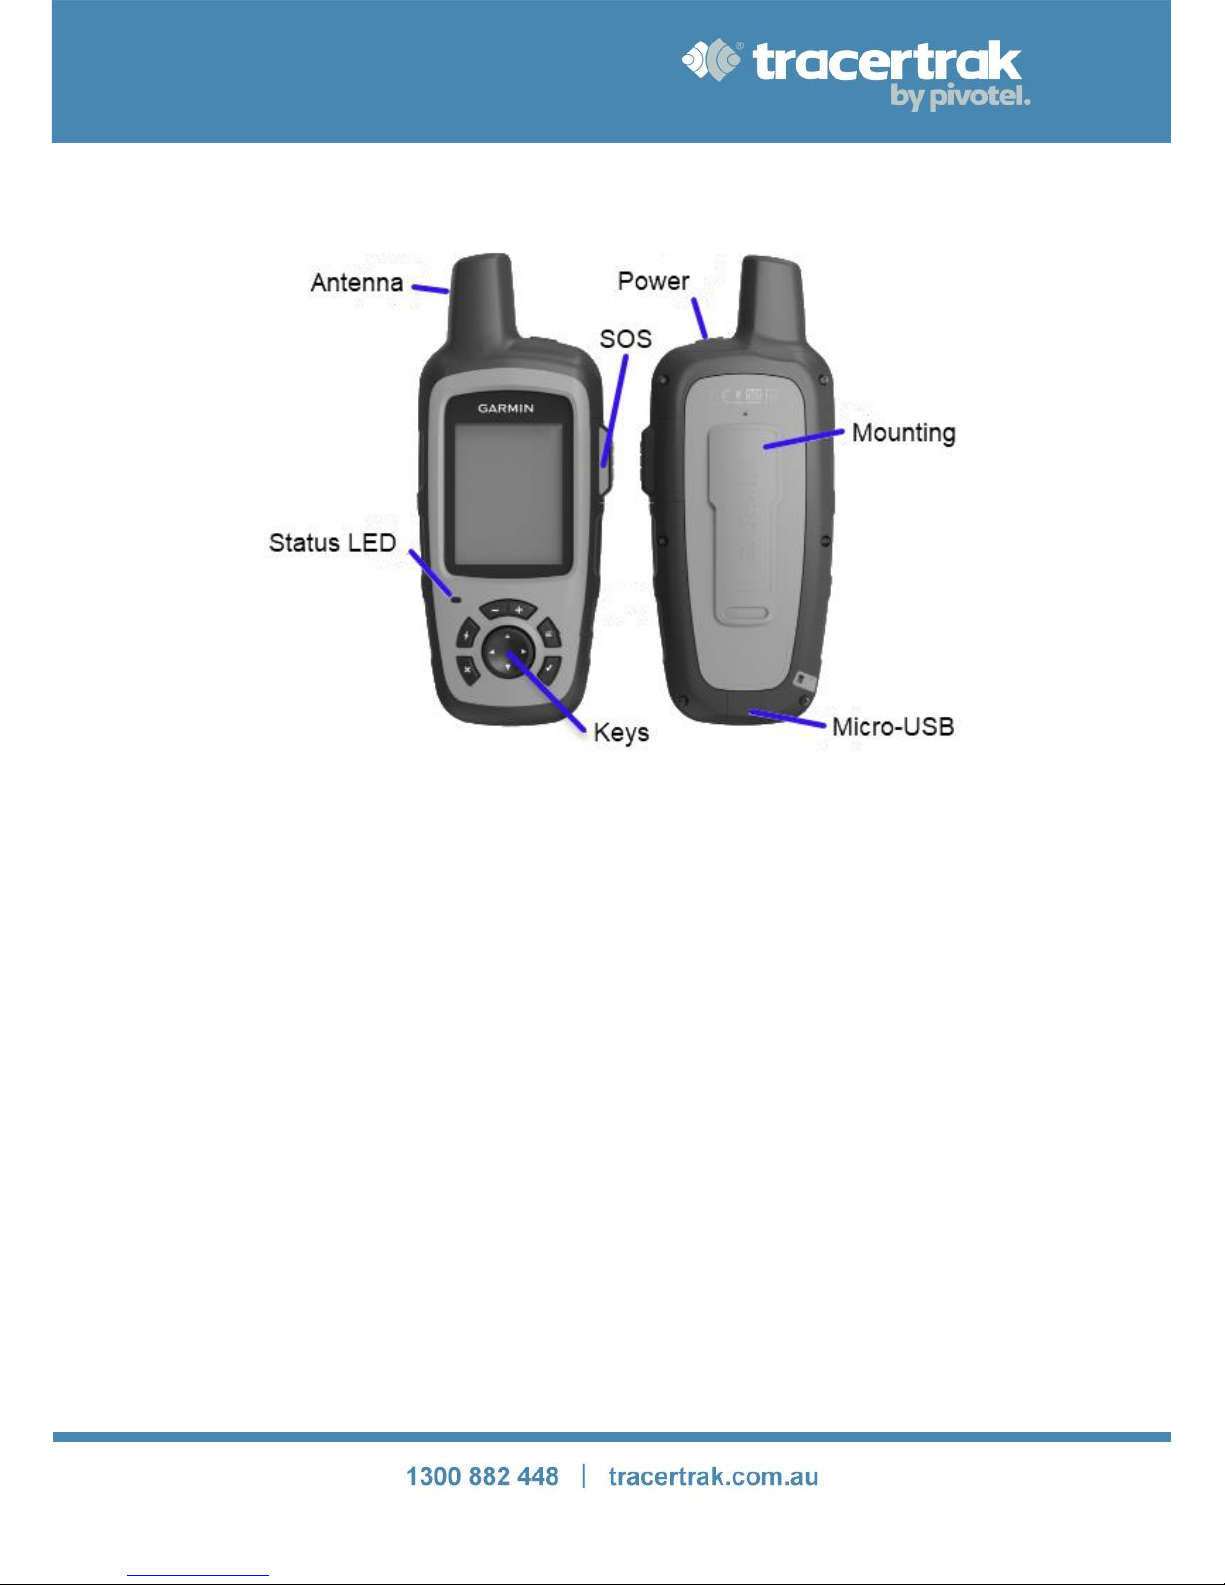
Device Layout –SE & Explorer
Antenna: Keep the satellite communicator antenna pointing up toward the sky and the face of the device
pointing away from your body.
Status Light: The light flashes green when there is a new message waiting. It flashes red when there is something
important for you to see, like low power or a sending message delay.
Micro-USB Port: Lift the micro-USB protective cover to access the micro-USB port beneath. Use this port for
charging and for updates when notified.
Power/Enter: Press and hold for three seconds to power the inReach on. When on, press to select highlighted
objects or hold to access keyboard shortcuts when sending messages.
Directional Pad - Press arrows to highlight a section on the screen or hold to access keyboard shortcuts when
sending messages.
Quit/Preset Messages Shortcut: Press to back out of pages or operations. Press and hold to access the inReach
Messages shortcut.
SOS Button Lock: Slide the SOS button lock to the left to unlock the SOS button in an emergency.
SOS Button: Press and hold the SOS button for three seconds to send a distress message to Tracertrak. If you
inadvertently activate SOS or need to end an active SOS, press and hold the SOS button for five seconds while in
SOS to send a Cancel SOS message to Tracertrak.
Page 4of 11
Device Layout –SE+ & Explorer+
Antenna: Keep the satellite communicator antenna pointing up toward the sky and the face of the device
pointing away from your body.
Status Light: The light flashes green when there is a new message waiting. It flashes red when there is something
important for you to see, like low power or a sending message delay.
Micro-USB Port: Lift the micro-USB protective cover to access the micro-USB port beneath. Use this port for
charging and for updates when notified.
Power: Press and hold for three seconds to power the inReach on and off.
Keys: Directional Pad - Press arrows to highlight a section on the screen. Use the tick button and cross button
to select and exit menus.
SOS Button: Flip the SOS panel open to expose the SOS button in an emergency.
Press and hold the SOS button for three seconds to send a distress message to Tracertrak. If you inadvertently
activate SOS or need to end an active SOS, press and hold the SOS button for five seconds while in SOS to send
a Cancel SOS message to Tracertrak.

Page 5of 11
Getting Started: First Time Use
First Time Power On
Press and hold the Power/Enter button for three seconds to power on the inReach. The first time you turn on
the device it will prompt you to activate it by creating a service account (see figure 1). Tracertrak inReach devices
are shipped pre-activated, so all you need to do is select the ‘Activate’ option and navigate through the
remaining screens.
Figure 1 inReach Activation Screen
The inReach needs a clear view of the sky to get a good satellite signal and complete the setup process. Go
outside and stand in an open area away from tall buildings and trees.
Overview of Supported Features
inReach is a 2-way Satellite Communicator that can track, locate and communicate from nearly anywhere in the
world using the Iridium Satellite Network, the only satellite service with 100% global coverage.
Tracertrak is a powerful monitoring and exception management system that helps organisations achieve the
highest standard in remote worker safety compliance utilising satellite based personal tracking devices.
inReach and Tracertrak together deliver the world’s most advanced, affordable remote worker communications
solution. The purpose of this guide is to provide a Tracertrak inReach device user with an understanding as to
how the various elements of this functionality come together to make Tracertrak an effective tool to maximise
your remote worker safety.
When activated in Tracertrak the inReach supports a range of features which interact with the Tracertrak system.
Other manuals for inReach
1
Table of contents
Other Garmin Radio manuals

Garmin
Garmin VHF 115 AIS Series Service manual

Garmin
Garmin A01653 Instruction manual

Garmin
Garmin GDL 69 User manual

Garmin
Garmin GDL 69 User manual

Garmin
Garmin XM WX Owner's manual

Garmin
Garmin XM GDL 69 User manual

Garmin
Garmin GDL 69 Series User manual

Garmin
Garmin GHS II User manual

Garmin
Garmin VHF 11 Series User manual

Garmin
Garmin GROUP RIDE RADIO Instruction manual


