Gates Pro Action User manual
Introduction Page 1
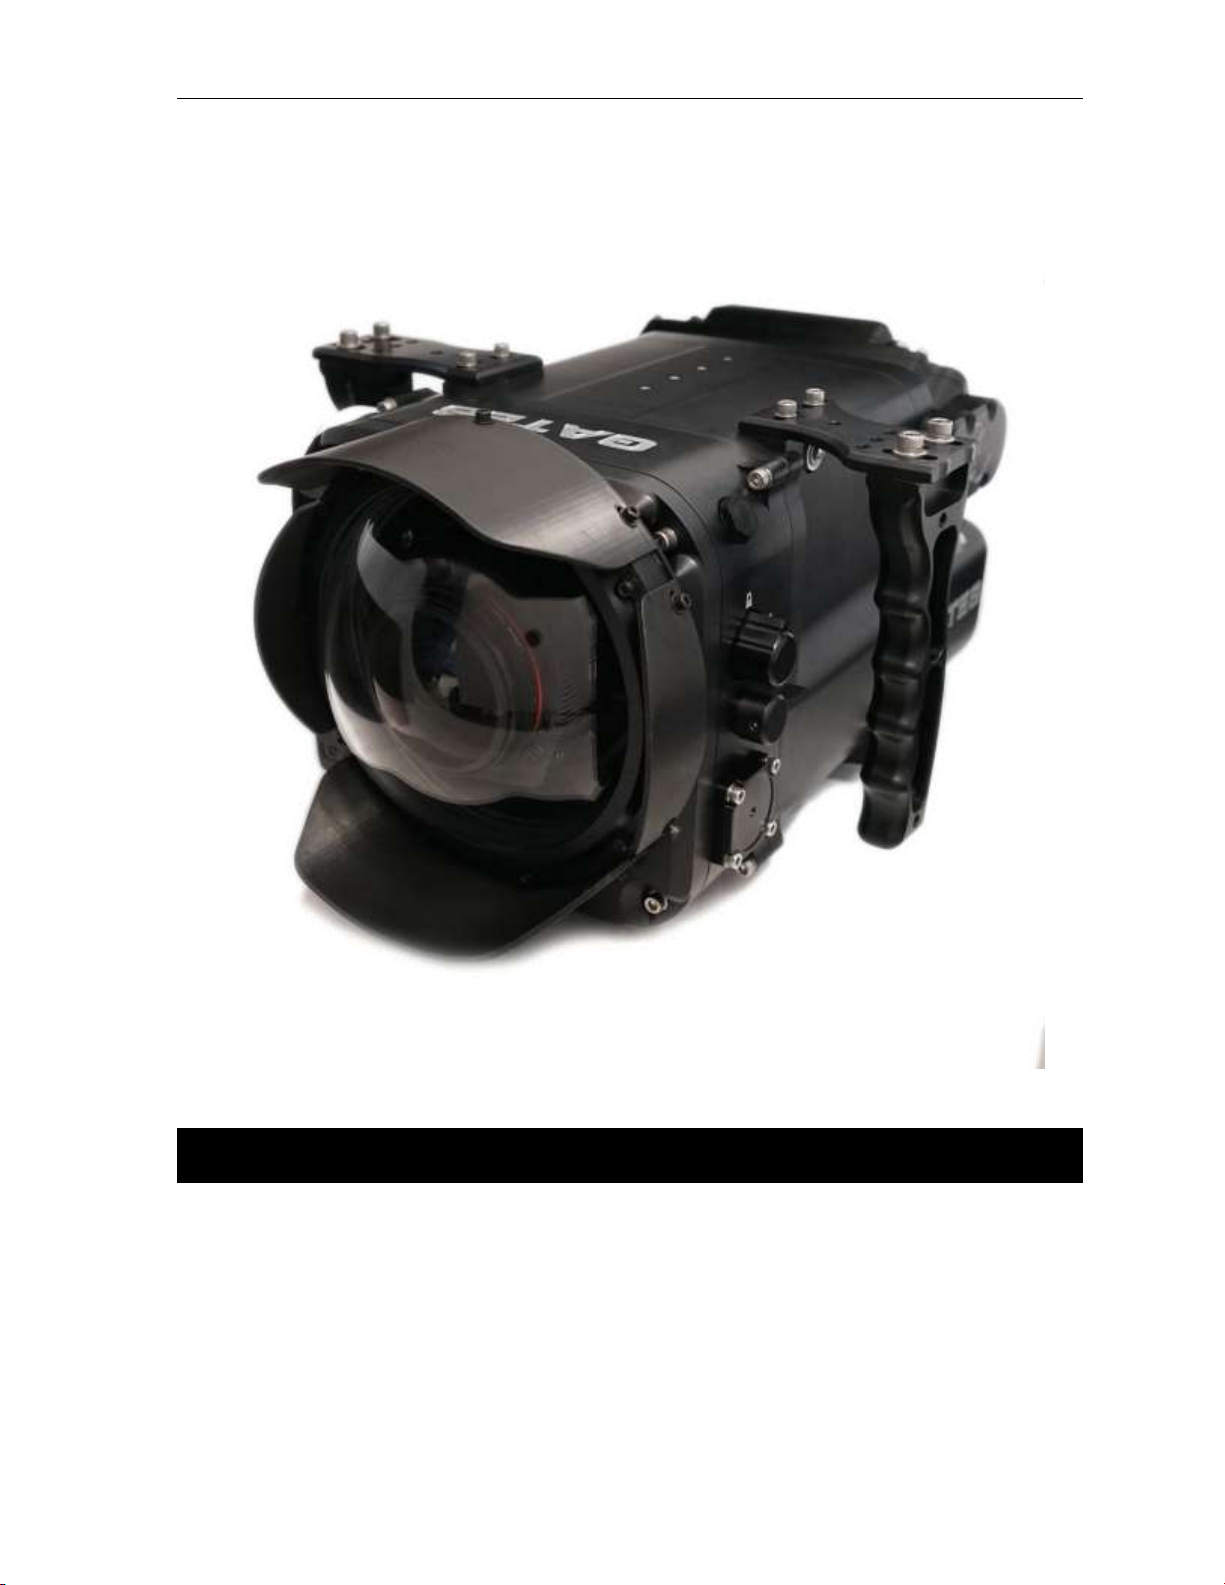
Pro Action –Nikonos RS Adapter Kit
Setup, Use, and Care Guide ADDENDUM

Introduction Page 2
Copyright 2017, Gates Underwater Products, Inc.
This manual and current revision is available in 8.5 x 11 size and full color at
http://www.gateshousings.com/documentation.html
Gates Underwater Products, Inc.
13685 Stowe Drive
Poway, California 92064 USA
Phone: 800.875.1052 toll-free in the U.S.
858.391.0052 outside the U.S.
Fax: 858.391.0053
Web: GatesHousings.com

Introduction Page 3
Table of Contents
Setup, Use, and Care Guide ADDENDUM .......................1
1: Introduction.......................................................................4
Warranty Disclaimer .........................................................4
Unpacking the Nikonos RS Kit..........................................4
2: Setup................................................................................5
Nikonos RS Mount Adapter ..............................................5
Camera Installation...........................................................6
Mate Focus / Iris Gears ....................................................7
Install Port Cover..............................................................8
Camera / Port Cover Alignment........................................9
Secure Camera ..............................................................11
Lens Mounting................................................................12
Post Dive Procedures.....................................................13
3: Customer Support ..........................................................14

Introduction Page 4
1: Introduction
The Nikonos RS Kit allows you to utilize Nikonos RS lenses with Pro Action.
Warranty Disclaimer
The Nikonos RS Kit is an accessory item for Pro Action. It is a tool that, like any tool,
requires knowledge and understanding to be effective.
Your responsibility is to learn the proper setup, use and care of the Nikonos RS Kit
We warrant Nikonos RS Kit as an image acquisition tool for a period of 2 years.
Gates does not warrant optical performance or image quality.
If you have any questions about this accessory kit, contact Gates directly. Details are in
section 3.
Unpacking the Nikonos RS Kit
The items included in your kit are listed below. If you discover any discrepancies,
contact Gates or your dealer immediately for assistance.
Kit Components
Nikonos RS Lens Mount Adapter for RED DSMC and DSMC2 Cameras(1ea)
Nikonos RS Lens Mount screws M4 x 8mmL (4ea)
Lens Mount Adapter body cap (1ea)
Port Base (1ea)
Hex Ball Drive Tool size M1.5 (1ea)
Spare screw kit M2 x 6mmL (8ea)
Spare Bulkhead Cover o-ring (1 ea)
This instruction manual
Setup Page 5
2: Setup
These instructions are an addendum to the setup section in the Pro Action Setup, Use
and Care Guide. Familiarity with the basic setup of Pro Action is a prerequisite for
these instructions.
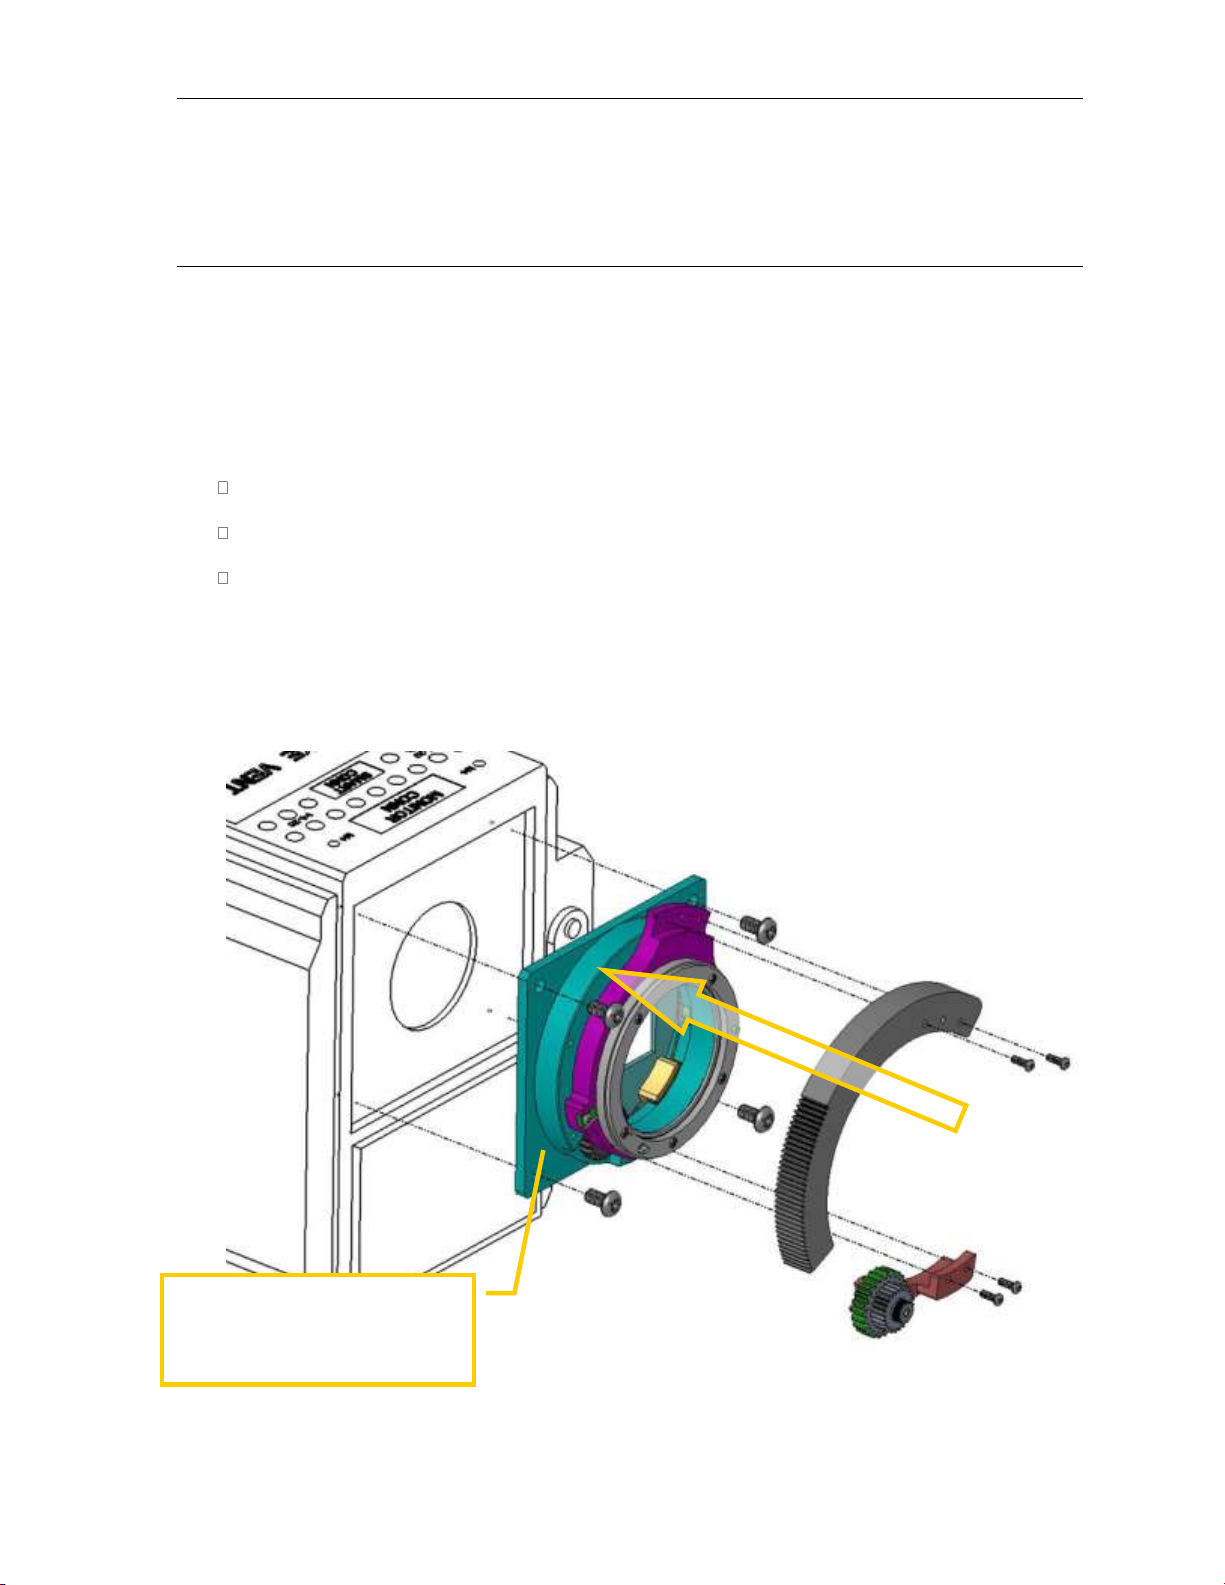
Nikonos RS Mount Adapter
First, Remove the Iris Gear and Focus Gears as shown in the image.
Install the Nikonos RS Mount to the Epic camera.
Re-install the Iris Gear and Focus Gears to the Nikonos RS Mount.
Install the Nikonos RS Mount as
shown. First install the Nikonos RS
Mount, then install the Iris and
Focus Gears.
Table of contents
Other Gates Camera Accessories manuals


Popular Camera Accessories manuals by other brands


Trojan
Trojan GC2 48V quick start guide

Calumet
Calumet 7100 Series CK7114 operating instructions

Ropox
Ropox 4Single Series User manual and installation instructions

Cambo
Cambo Wide DS Digital Series Main operating instructions

Samsung
Samsung SHG-120 Specification sheet

Ryobi
Ryobi BPL-1820 Owner's operating manual