manuals.online logo
Brands
  1. Home
  2. •
  3. Brands
  4. •
  5. Geca
  6. •
  7. Gas Detector
  8. •
  9. Geca Beta 752CO User manual

Geca Beta 752CO User manual

Carbon monoxide detector with
Interchangeable Sensor
series Beta model 752CO
Model Power supply Detected gas
752CO 230Vac-50Hz CO
GENERAL TERMS OF THE GUARANTEE
THIS CERTIFICATE IS THE ONLYDOCUMENT THAT ENTITLES
YOU TO REPAIR OF THE PRODUCT UNDER THE TERMS OF
THE GUARANTEE.
- The product is GUARANTEED for a period of 24 months from the date
of purchase.
- The GUARANTEE does not cover damage caused by tampering,
incorrect or improper use and installation.
- The GUARANTEE is valid only if it is duly compiled.
- In the event of defects covered by the GUARANTEE, the manufacturer
will repair or substitute the product free of charge.
SERVICINGAFTERTHE GUARANTEE PERIOD
Any repairs after the period of the GUARANTEE will be charged on the
basis of the parts substituted and the cost of labour.
Sensor Module
Detected gas
3.752.1634 Carbon monoxide 752CO
Code Beta
Toxic symptoms
When the concentration exceeds one of the alarm thresholds, there
is a slight delay and then the red LED on the front of the device
starts blinking and the internal buzzer is activated. At the same
time, the detector activates any device to which it is connected
(electric extractor, fan, buzzer, electric valve, etc.). The detector
automatically reverts to normal operating mode as soon as the
alarm turns off.
LEDSAND BUZZER
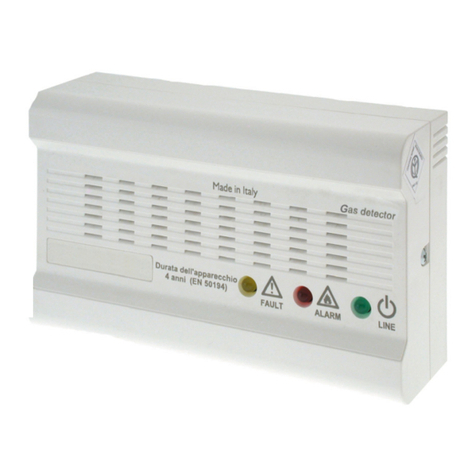
There are three LEDs on the front of the Beta 752/CO gas detector:
- GREEN LED (LINE): indicates the instrument is powered.
When the instrument is turned on, the LED blinks for
about 40 seconds to indicate the sensor is warming up;
the detector is not, therefore, ready for use until the LED stops
blinking.
- YELLOW LED (FAULT) + BUZZER: indicates the sensor
is broken.
- YELLOW LED (FAULT) blinking only: indicates the CO
sensor needs to be replaced.
50 ppm THRESHOLD 1
100ppm THRESHOLD 2
300ppm THRESHOLD 3
The relay and buzzer are activated after the time set for each threshold.
The Beta 752/CO gas detector has a built-in buzzer that warns people
of danger and malfunctioning of the device. The buzzer is sufficiently
loud to be heard in rooms adjacent to the one where the detector is
installed.
LIGHTING DELAYS
After turning on the Beta, it takes about 90 seconds for the CO sensor
in the detector to stabilize (this is the “stabilization time”). In the
meantime, the green LED blinks and the alarm control is disabled.
MALFUNCTIONING
You will need to replace the detector if all three LEDs are still blinking
5 minutes after you turned on the instrument. All three LEDs (RED,
YELLOW and GREEN) blink at the same time whenever the detector
malfunctions.
INSTALLATION
Attention: the instrument must be installed and put out of service
by a specialized technician.
Your gas supply and any shut-off devices must be installed in
conformity with the domestic laws in force.
The installation of this instrument does not replace the appropriate
installation, use and maintenance of gas appliances and suitable
ventilation and extractor systems.
- RED LED (ALARM): indicates the detector is in alarm
mode: it has detected a concentration of more than 50 ppm
(1st threshold) within a time-span of 70 minutes, or a
concentration of more than 100ppm (2nd threshold) within
a time span of 20 minutes, or a concentration of 300 ppm in
1 minute.
The red LED blinks at a different rate according to the threshold
concerned:
INTRODUCTION
This instrument is intended solely for the detection of carbon monoxide
(“CO”).
Carbon monoxide is a highly toxic, colourless and odourless gas and
combustion pollutant. The very toxic nature of CO is such that its
presence in air, even in low concentrations, can cause nausea and
cephalea, or loss of conscience in the case of prolonged exposure.
Prolonged exposure to higher concentrations can result in death, as
CO is able to bond with blood much easier than oxygen.
Below is a table illustrating the danger of CO according to level of
concentration and period of exposure:
Concentration of
CO in air
100ppm (0,01%) Slight headache in 2-3 hours
400ppm (0,04%) Slight headache in 1-2 hours, increased after
2-3 hours
1600ppm (0,16%) Headache, giddiness and nausea in 20
minutes, death within 2 hours
6400ppm (0,64%) 6400ppm (0.64%) Headache and giddiness in
1 or 2 minutes, death in 10-15 minutes
12800ppm (1,28%) 12800ppm (1.28%) Death in 1-3 minutes
As the data suggests, the CO detector needs to respond instantly
and even when the concentration of CO is minimal, in order to give
sufficient warning and, therefore, before the amount of CO absorbed
by the human organism reaches a dangerous level. The instrument
is calibrated at the factory to trigger an alarm when the detected
concentration of CO in the air is:
50ppm for 70 minutes
100 ppm for 20 minutes
300 ppm for 1 minute
GECA Srl guarantees these thresholds for a period of 5 years.
The Sensor module must be replaced after these 5 years, or when
the “FAULT” LED turns on.An adhesive label on the front of the detector
indicates the expiry date of the guarantee (5 years from the date of
production).
OPERATION
GENERAL
Beta 752/CO has an element that is sensitive to the concentration of
carbon monoxide in air.
ELECTRICAL CONNECTION
Attention: undertrack cables are required to connect the
instrument to the mains.
The Beta 752/CO gas detector must be powered at 230 Vac using
terminals 1 and 2 (Fig. 3).
INSTALLATION INSTRUCTIONS
Use a screwdriver to undo the screw on the right-hand side of the
instrument and lift the cover (Fig 2).
Position the base correctly and fasten it on the built-in 3-module
box or on the wall, using the screws and dowels provided. Drill
holes in the wall with a 5mm bit for the dowels.
Fig.2
Fig.3
CONNECTING LOADS
There is a JUMPER in the Beta 752/CO gas detector for selecting
the type of load to be used:
N.O. position pulse output:
In the event of an alarm, terminals 8 and 9
remain closed for 2 seconds every minute
(perfect for normally open electric valves, fig. 5).
N.C. position constant output:
In the event of an alarm, terminals 8 and 9 remain closed
until the alarm stops (perfect for controlling the Normally
Closed electric valve at the same time as an external
electric load).
Do not forget that the electric valve must be installed on the gas
pipe outside the room to be controlled as it cannot protect against
leaks upstream.
A circuit breaker must be fitted that is able to disconnect the detector
from the power supply, in accordance with the European standard
IEC EN 60335-1.
CHARACTERISTICS OF THE OUTPUT
The Beta 752/CO detector has an output relay with voltage free
contacts; contact rating 8A 250Vac / 30Vdc.
The output consists of a relay with exchange contacts to which any
suitable load can be connected (Fig. 4).
RELAYOUTPU
Fig.4
Fig.5 -Example of jumper with N.O. contact (PULSE OUTPUT) and Normally
Open electric valve.
BETAmod. 752/CO
JUMPER WITH N.O. CONTACT
(PULSE OUTPUT)
In the event of an alarm, it is possible to control any load powered
at 230Vac such as electric extractors, fans, buzzers, etc. (Fig. 5)
using the Normally Open contact of the relay output (terminals 8
and 9).
It is also possible to connect an electric valve which cuts off the
supply of gas in the event of an alarm. AN.O. 230 Vac electric valve
should be connected parallel to the electric load (Fig. 5) while a
N.C. 230 Vac electric valve should be connected using the Normally
Closed contact of the relay (Fig. 6).
GUARANTEE CERTIFICATE
TO COMPILE AND SEND IN CASE OF DAMAGE
DEVICE: Beta 752/CO
Serial number (s.n.)_________________________________________
DEALER
Stamp: Date of purchase:
_____/_____/_____
USER
Surname and name _________________________________________
Address _____________________________________ n°__________
Postcode ________________ Town/city ________________________
Telephone_________________________________________________
INSTALLING THE INSTRUMENT
The instrument MUST BE INSTALLED:
- Within easy reach (at a height of about 1.5 m), see Fig. 1.
- At a distance of between 1 and 4 metres from the flame that could
be a possible source of CO.
- If possible, in every room where there is a combustion appliance
(stove, gas boiler, heater with natural draught, etc.).
The instrument MUST NOT BE INSTALLED:
- In corners where there is no free circulation of air.
- Near walls or other obstacles that could prevent the flow of gas
from the flame to the detector, or extractors and fans that could
divert the flow of air.
- In environments where the temperature could exceed 40°C or
fall below – 5°C.
- In environments where there is a high level of humidity or steam.
Fig.1
Installation of the
Beta 752/CO gas
detector
1,5 m
1-4 m
1 2 7 8 9
NC C NA
230Vac 50Hz
1 2
230 Vac
230V/50Hz
NA
C
NC
1 2 7 8 9
7
N.O. MANUALRESET VALVE
OPERATION WITH NORMALLY
CLOSED (N.C.) VALVE
OPERATION TEST
Before carrying out the operation test, open the cover under the
three LED lights (Fig. 10) with a flat-headed screwdriver.
Fig.10
When this is done, it is possible to test operation of the instrument
by pressing and holding the little button on the Sensor module
(Fig. 11) for at least 2 seconds; all the LEDs turn on and the buzzer
and relay output are activated for 5 seconds.
Fig.11
You will then need to re-engage the electric valve connected to the
output of the gas detector (if present).
Fig.9
ROUTINE TESTING
You are advised to ask the installer to give the detector a general
test at least once a year.
IMPORTANT: Do not use pure gas, such as that in a lighter,
directly on the sensor since the sensor could be irremediably
damaged.
ELECTRICAL CONNECTION WITH SEVERAL
DETECTORS:
Connection of two detectors with a single electric valve (Fig. 8-9)
is shown in the diagrams below. It is possible to connect more
than two detectors, repeating the same connections.
OPERATION WITH NORMALLY
OPEN (N.O.) VALVE
Fig. 6 Example of jumper with N.C. contact (CONSTANT OUTPUT)
and Normally Open electric valve with load at 230Vac.
JUMPER WITH N.C.
(CONSTANT OUTPUT)
Fig.7 Esempio jumper su N.C. (USCITACOSTANTE) ed elettrovalvola
Normalmente Chiusa con carico a 230Vac.
Aspiratore, Ventilatore, Sirene...etc. .a 230Vac
Fig.8
N.O. MANUAL RESETVALVE
Fig.6
Extractor, Fan, Buzzer, etc. at 230Vac
N.C. MANUAL RESET VALVE
TO BE COMPILED BY THE INSTALLER:
Date of installation ________________________________________
Date of replacement ______________________________________
Attention: the detector must be replaced 15 years after the
date of installation on this voucher
Site of installation _________________________________________
Serial number (s.n.) _______________________________________
(Written on the inside of the plastic container).
Date of initial replacement of sensor module:____________________
Date of second replacement of sensor module:__________________
Attention: the entire detector must be replaced five years
after second replacement of the sensor module.
Stamp
Signed ________________
N.C. MANUAL RESET VALVE
N.O. MANUAL RESET VALVE
TECHNICAL CHARACTERISTICS
- Power supply: 230Vac, 50 Hz
- Power consumption: 20mA max
- Rating of relay contacts: 8A 250Vac/30Vdc
- Operation temperature: -10°C…. +40°C
- Relative humidity : 30%…. 90% RH
-Alarm thresholds:
50ppm for 70 minutes
100ppm for 20 minutes
300ppm for 1 minute
- Warming up period after the instrument is switched on:
about 1 minute 30 seconds
-Acoustic level of buzzer: 85 dB (A) at 1 metre
- Electrical self-diagnosis with signal to indicate malfunction or
failure of the sensor
- Rated to IP42
WARNING
Remove any dust on the surface of the instrument with a cloth. Do
not attempt to open or dismount the gas detector since this could
result in electric shock and damage to the product. Bear in mind
that the sensor is also sensitive to commonly used products such
as sprays, detergents, alcohol, glue and paint. These products
can contain substances which, in high quantities, could trigger
the sensor and cause false alarms.
It is advisable to ventilate the room when using these products.
The detector does not work when there is a power cut.
GECA Srl via E.Fermi n°98 25064 Gussago (BRESCIA) Italy
Tel. +39 030 3730218 Fax +39 030 3730228
www.gecasrl.it - [email protected]
Dis. 0134153a cod.2.710.2271
REPLACING THE SENSOR
N.B. The Sensor module must be replaced by a specialized
technician. Replace the Sensor module if the “FAULT” LED starts
blinking when there is no alarm, or by the expiry date on the label
on the cover.
After the instrument is turned on, the electrochemical CO sensor
in the detector takes about one and a half minutes to ‘warm up’
(the ‘stabilization time’), during which time the green LED blinks
to indicate the alarm is disabled.
You will need to replace the detector if all three LEDs are still
blinking 5 minutes after you have turned on the instrument.
1_Turn off the detector,
unplug it from the mains
and use a screwdriver to
lever off the little cover
under the three LEDs
(Fig. 12).
2_Undo the two screw
fasteners on the Sensor
module to be replaced
(Fig. 13)
3_Remove the Sensor
module to be replaced
(Fig. 14).
4_Check the new
Sensor module is
compatible with the one
to be replaced (if the
sensor module is not
compatible, the
YELLOW LED and
BUZZER turn on) and
carefully insert the 4
connectors in the correct
place (Fig. 15).
Fasten the Sensor module with
the two screws and close the
cover, first inserting the two tabs
at the bottom (Fig. 16). The
instrument can now be turned
on.
N.B. Make sure the code of the new Sensor module matches
the code on the Sensor module to be replaced.
Fig.16
Fig.12
Fig.13
Fig.14
Fig.15
ATTENTION! In the event of an alarm:
1) Open the doors and windows to increase ventilation in the
room.
If the alarm stops, find the cause and take appropriate
action.
If the alarm continues and you cannot find and eliminate the
cause of the leak, vacate the premises and, when you are
outside, contact the gas emergency service.
Geca s.r.l. reserves the right to make any aesthetic or functional
modification to the without prior notice at any time.

Other Geca Gas Detector manuals

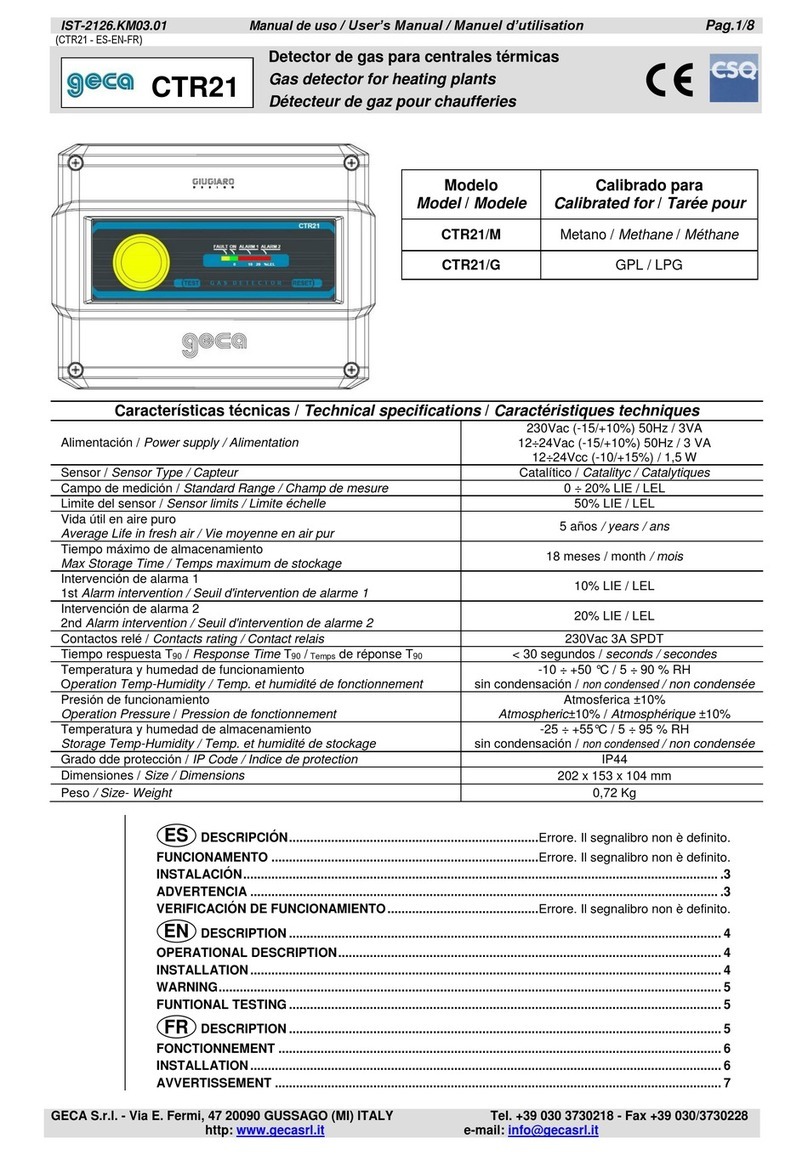
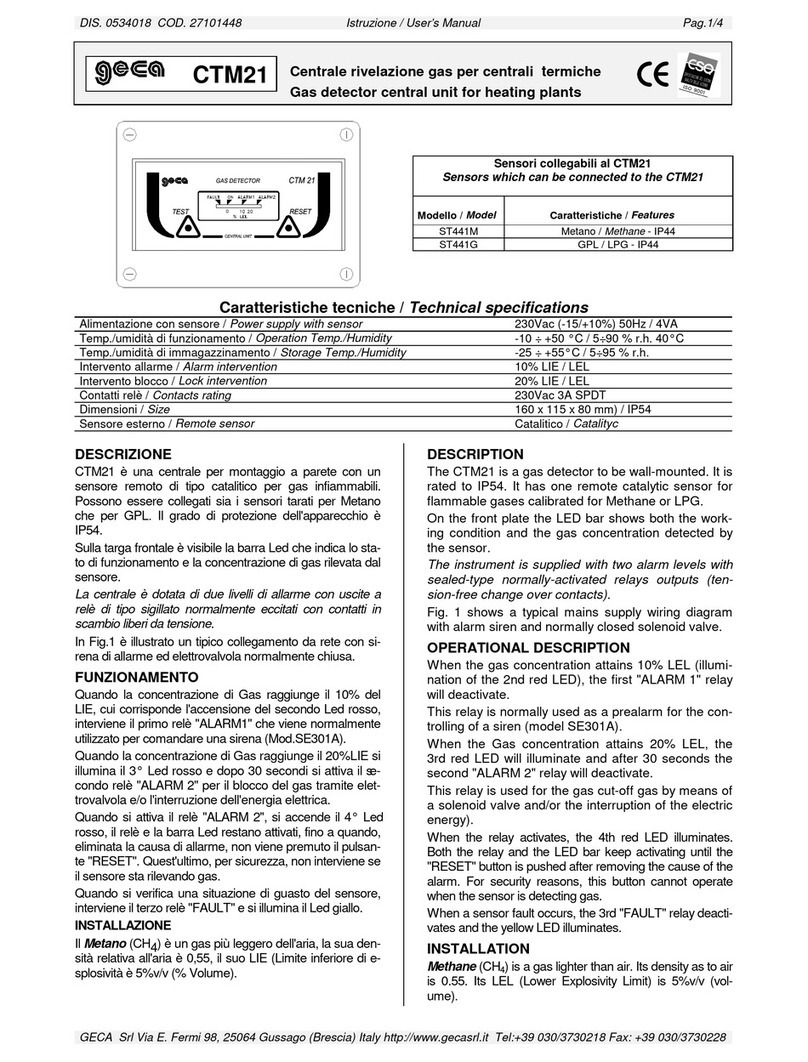
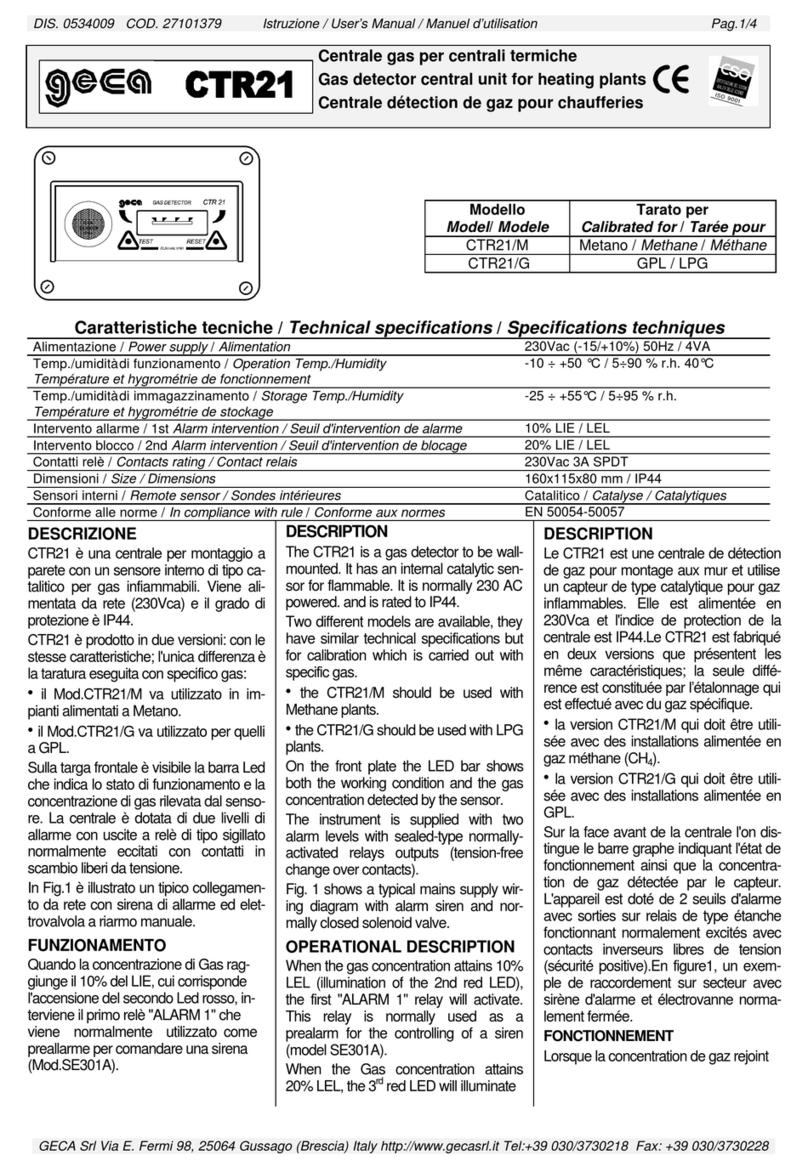
Geca CTR21/M User manual

Geca

Geca CTR21/M User manual

Geca GAMMA Series User manual

Geca

Geca GAMMA Series User manual

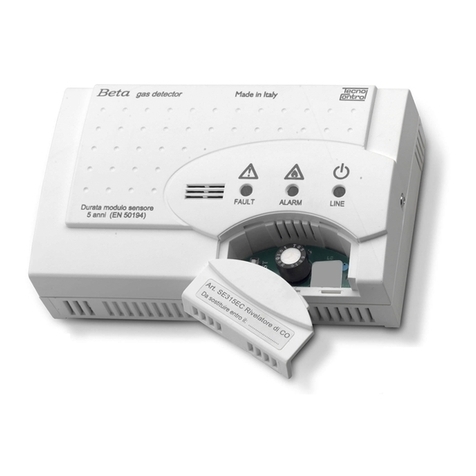
Geca Tecnocontrol Beta Series User manual

Geca

Geca Tecnocontrol Beta Series User manual

Geca SE235KM User manual

Geca

Geca SE235KM User manual

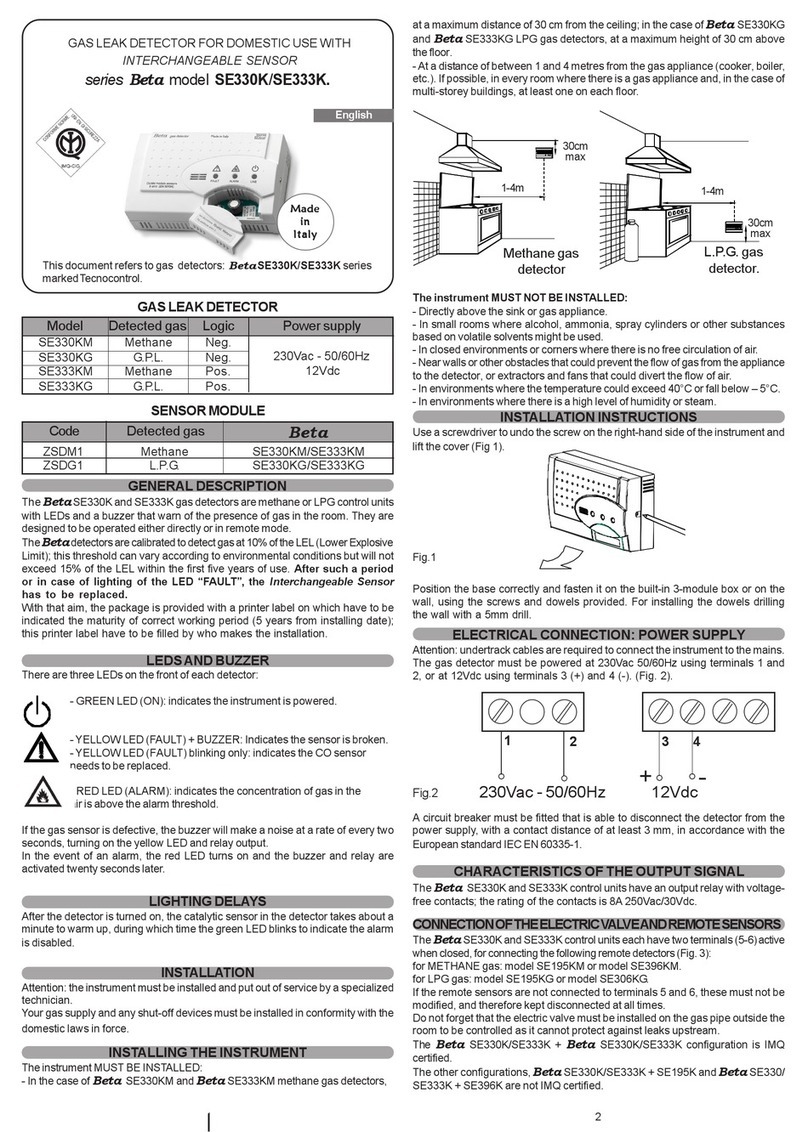
Geca SE330K User manual

Geca

Geca SE330K User manual

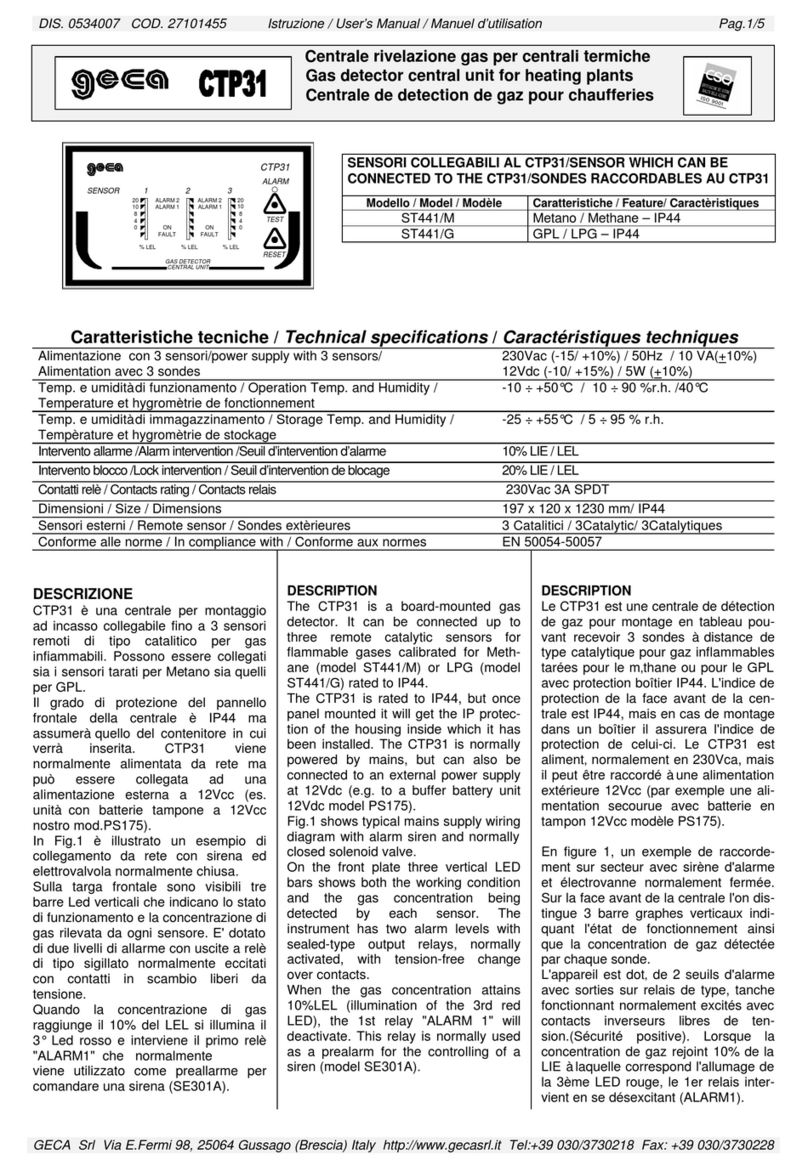
Geca CTP31 User manual

Geca

Geca CTP31 User manual

Geca CTR21/M User manual

Geca

Geca CTR21/M User manual

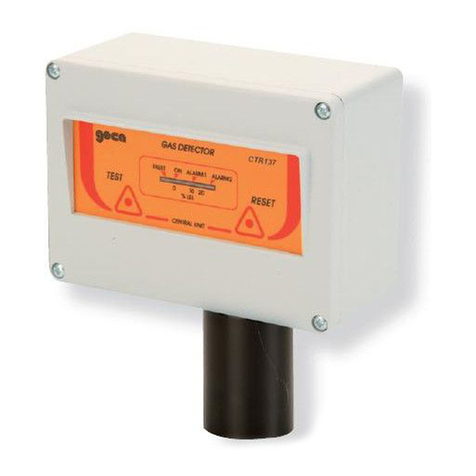
Geca CTR137M User manual

Geca

Geca CTR137M User manual

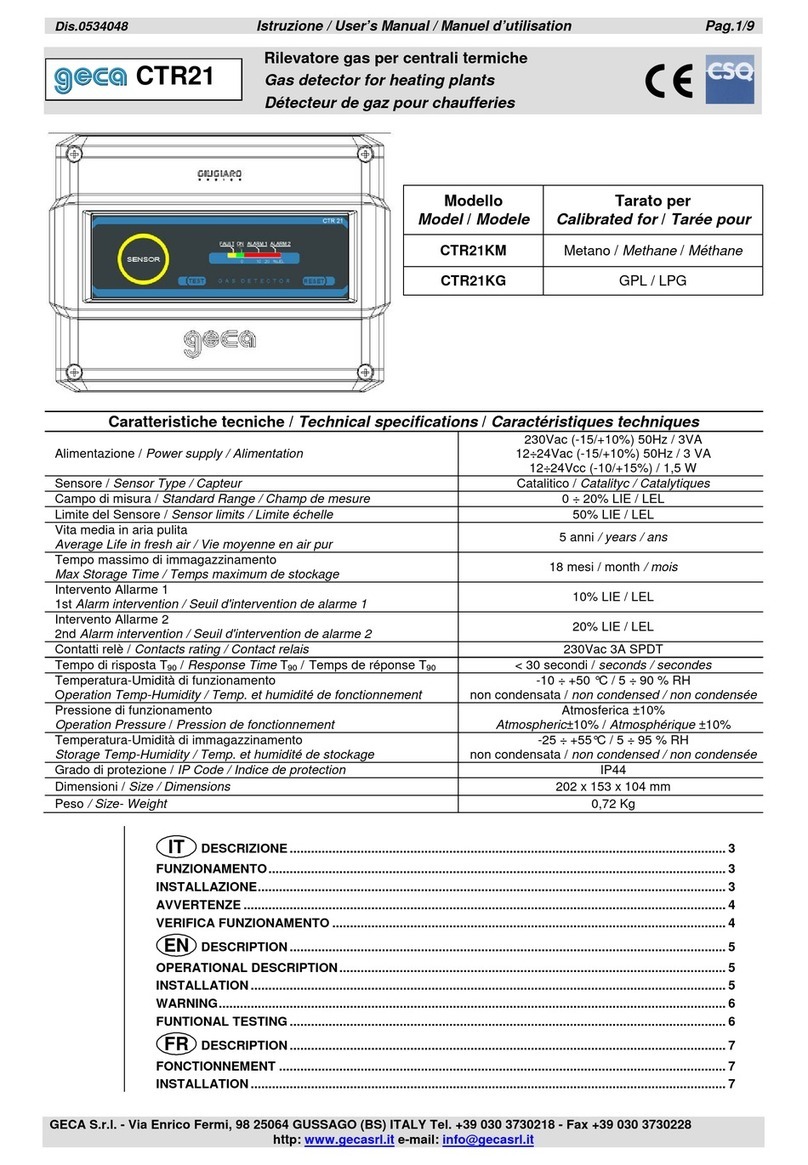
Geca CTR21 User manual

Geca

Geca CTR21 User manual

Geca CTM21 User manual

Geca

Geca CTM21 User manual

Geca GAMMA Series User manual

Geca

Geca GAMMA Series User manual

Popular Gas Detector manuals by other brands

ION TIGER LT user manual

ION

ION TIGER LT user manual

Crowcon SF6 Installation, operating and maintenance instructions

Crowcon

Crowcon SF6 Installation, operating and maintenance instructions

ANALOX CO2 BUDDY quick start guide

ANALOX

ANALOX CO2 BUDDY quick start guide

Trane 4190 4100 quick start guide

Trane

Trane 4190 4100 quick start guide

RKI Instruments SC-04 Operator's manual

RKI Instruments

RKI Instruments SC-04 Operator's manual

Heath Consultants RMLD-CS HPN 105301 Operator's manual

Heath Consultants

Heath Consultants RMLD-CS HPN 105301 Operator's manual

Riken Keiki SD-1D-AS operating manual

Riken Keiki

Riken Keiki SD-1D-AS operating manual

HSS Hire Safe and Sure 34074 Operating & safety guide

HSS Hire

HSS Hire Safe and Sure 34074 Operating & safety guide

Consilium Salwico SW2020 user manual

Consilium

Consilium Salwico SW2020 user manual

LaserLiner BBQ-GasCheck operating instructions

LaserLiner

LaserLiner BBQ-GasCheck operating instructions

Honeywell Rae Systems MeshGuard Deployment guide

Honeywell

Honeywell Rae Systems MeshGuard Deployment guide

CPS GS40 instruction manual

CPS

CPS GS40 instruction manual

IGD 2-Wire Systems Installer's guide

IGD

IGD 2-Wire Systems Installer's guide

Riken Keiki SD-1D-AS operating manual

Riken Keiki

Riken Keiki SD-1D-AS operating manual

HVTest HTJL-H manual

HVTest

HVTest HTJL-H manual

United Electric Controls UE VANGUARD WirelessHART TCD60HXY Installation and maintenance instructions

United Electric Controls

United Electric Controls UE VANGUARD WirelessHART TCD60HXY Installation and maintenance instructions

S&S Northern Merlin 1000BH Installation, operating and maintenance

S&S Northern

S&S Northern Merlin 1000BH Installation, operating and maintenance

Danfoss PAGM user guide

Danfoss

Danfoss PAGM user guide

manuals.online logo
manuals.online logoBrands
  • About & Mission
  • Contact us
  • Privacy Policy
  • Terms and Conditions

Copyright 2025 Manuals.Online. All Rights Reserved.