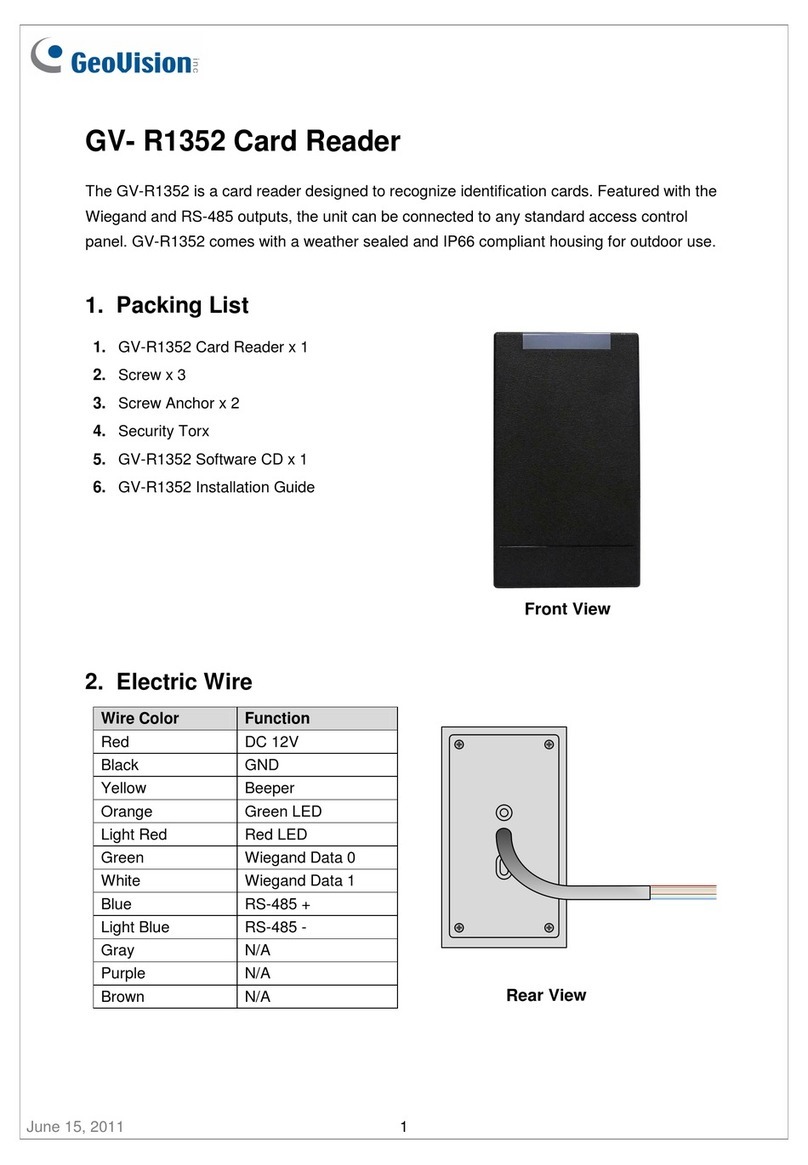
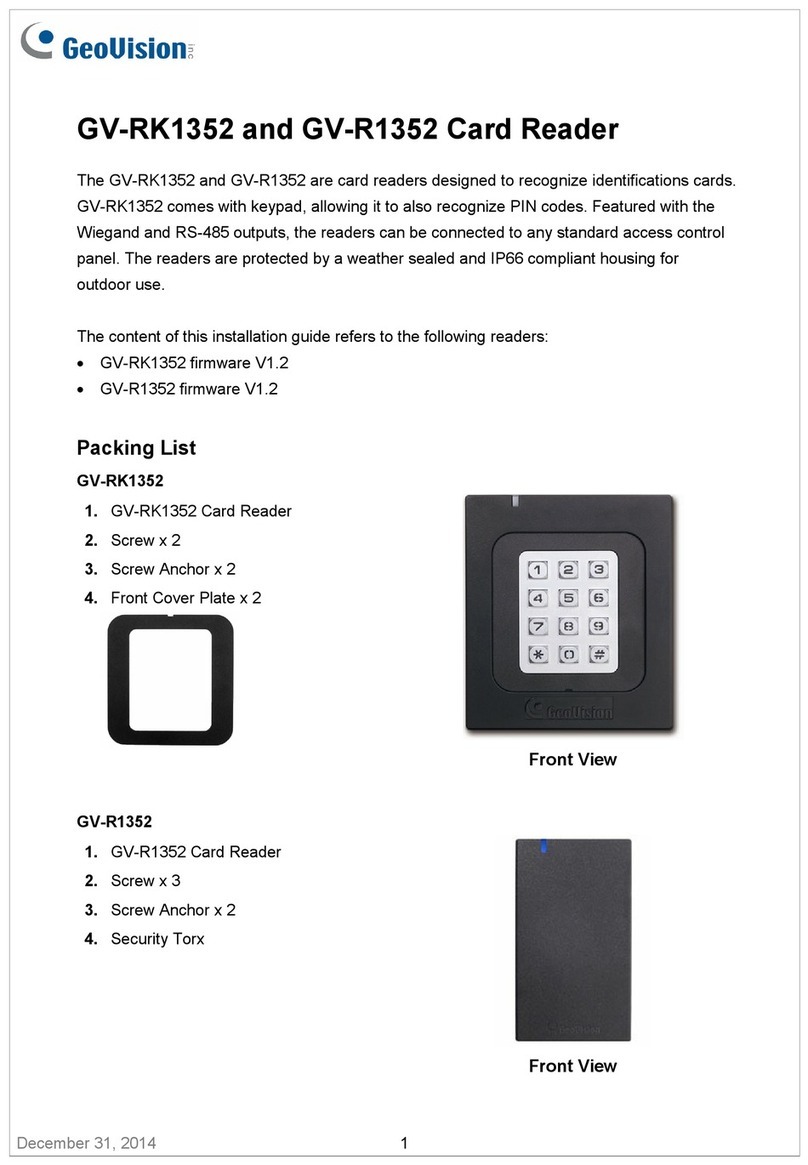
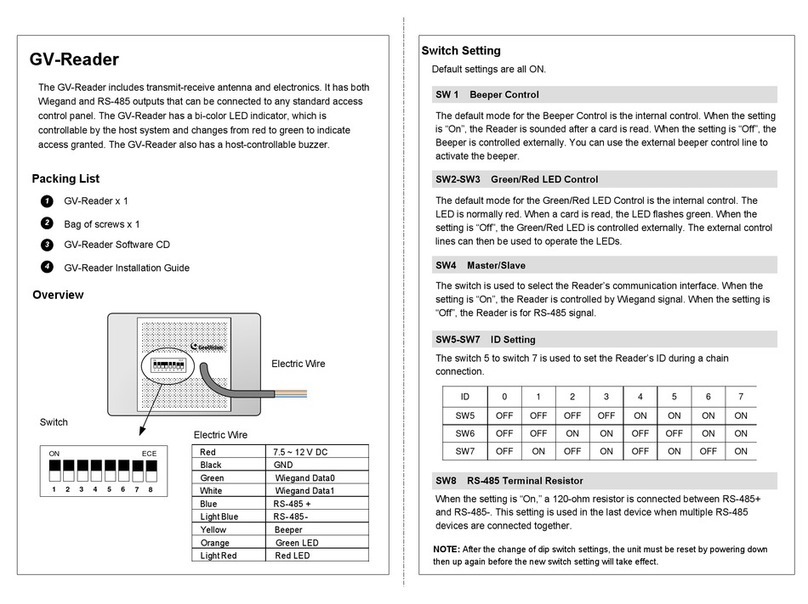
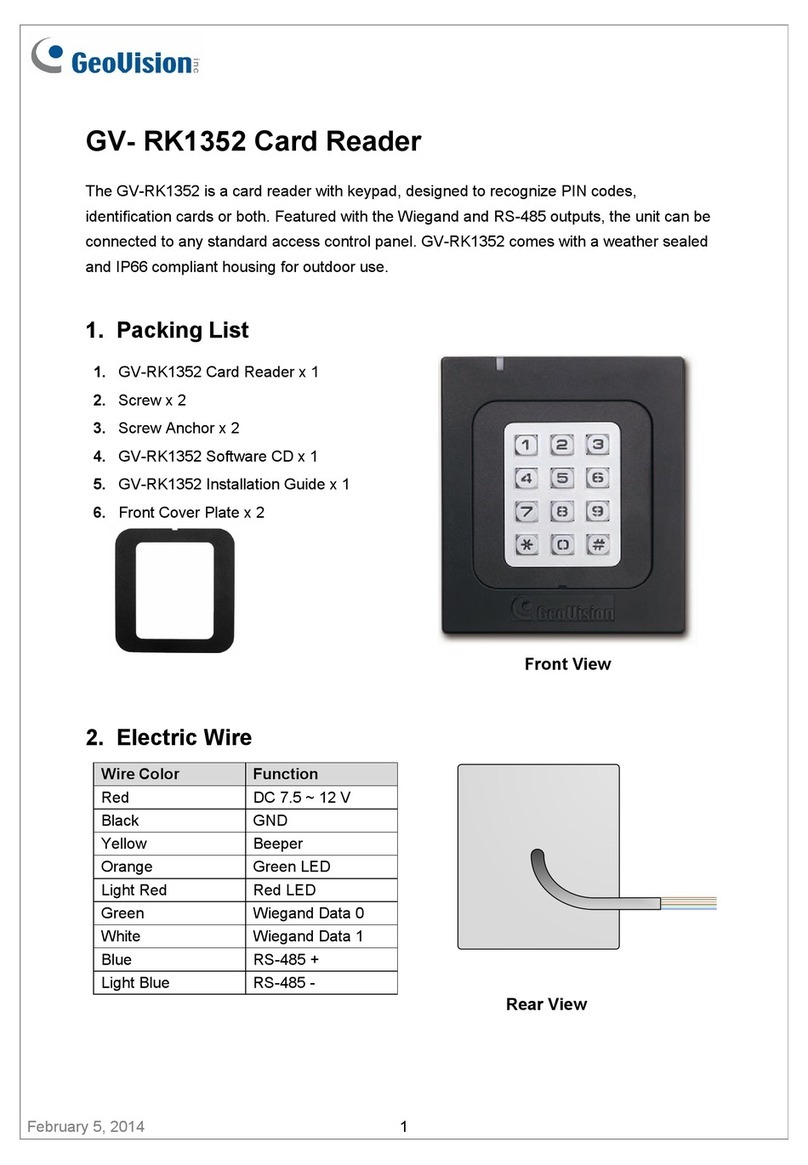
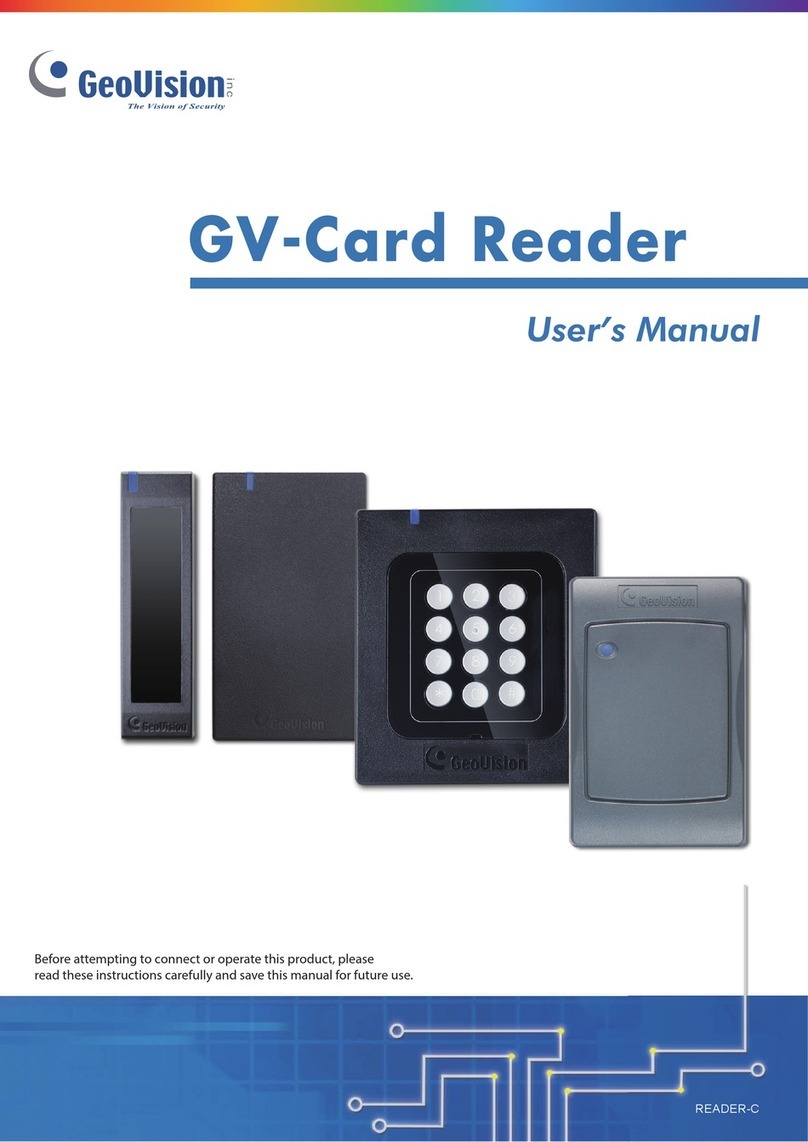
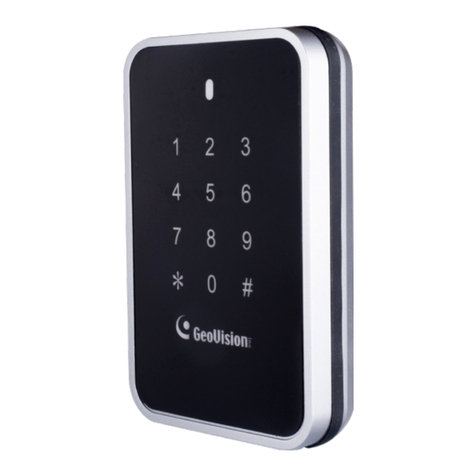
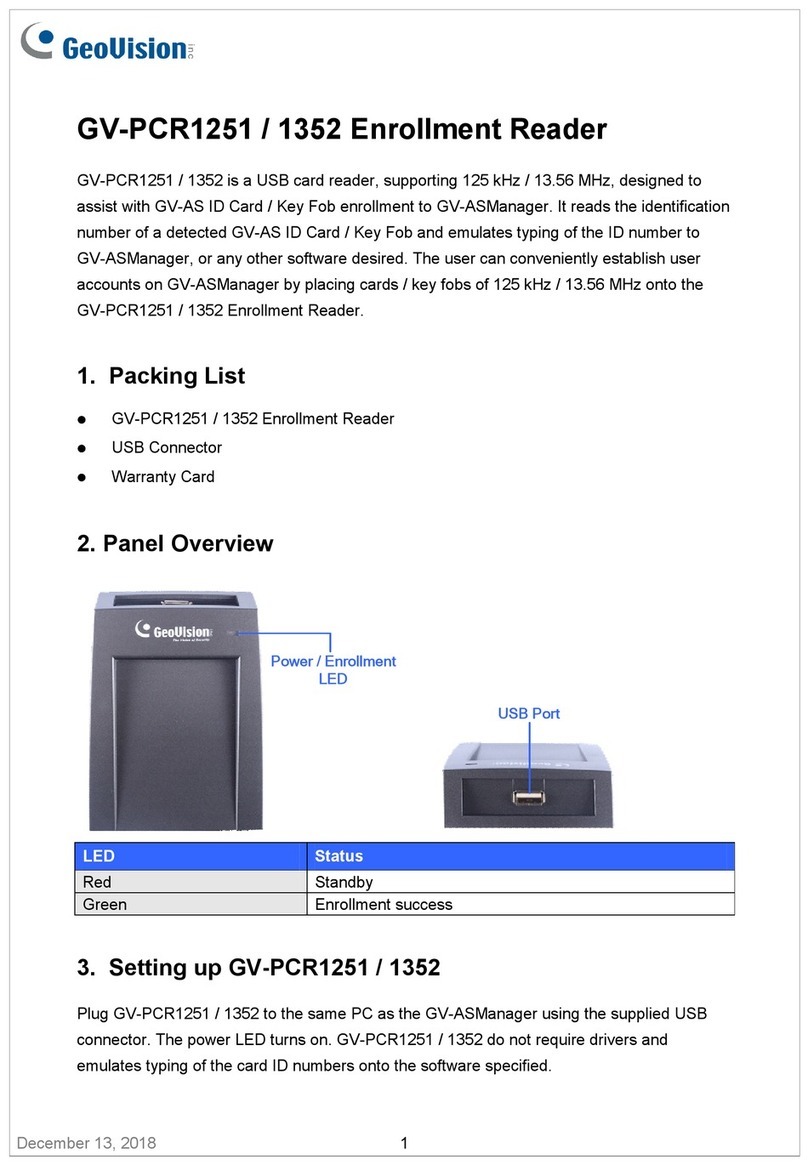
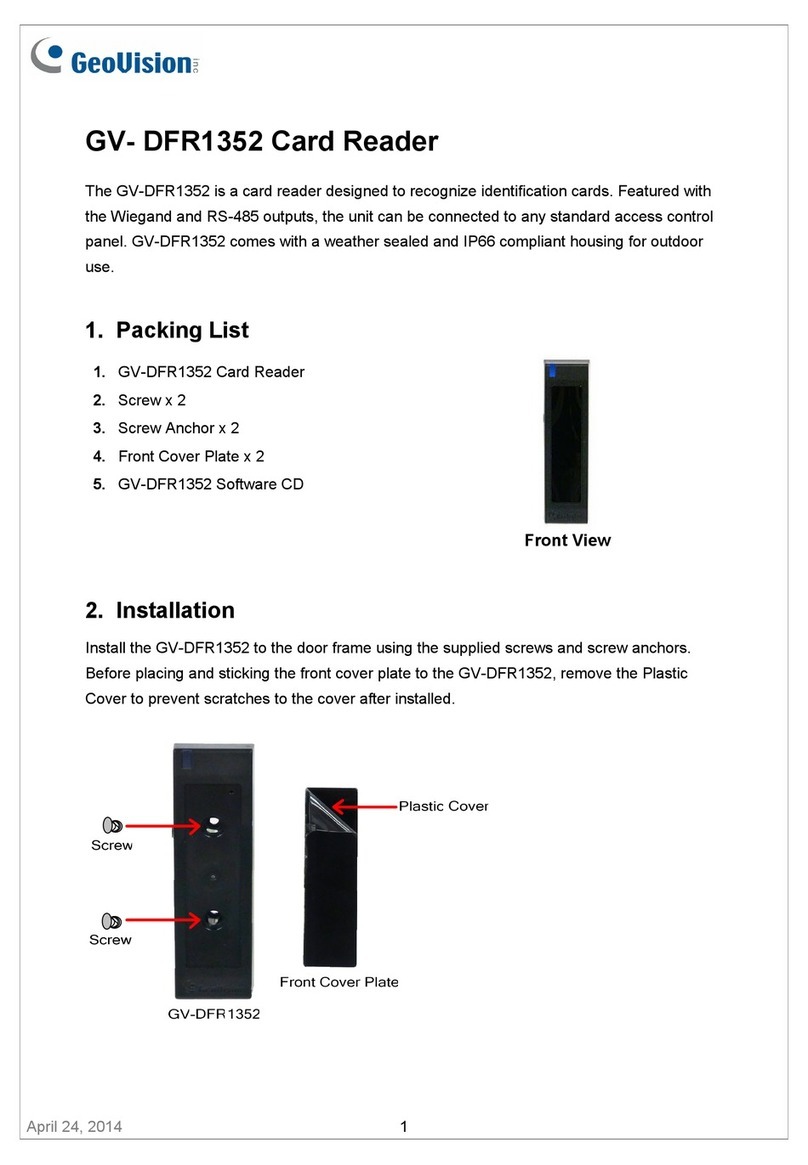
GeoVision GV-R1352 V2B User manual

GV-Card Reader
Before attempting to connect or operate this product, please
read these instructions carefully and save this manual for future use.
User’s Manual
READER-G

©2023GeoVision, Inc. All rights reserved.
Under the copyright laws, this manual may not be copied, in whole or in part,
without the written consent of GeoVision.
Every effort has been made to ensure that the information in this manual is
accurate. GeoVision, Inc. makes no expressed or implied warranty of any kind
and assumes no responsibility for errors or omissions. No liability is assumed
for incidental or consequential damages arising from the use of the information
or products contained herein. Features and specifications are subject to
change without notice.
GeoVision, Inc.
9F, No. 246, Sec. 1, Neihu Rd.,
Neihu District, Taipei, Taiwan
Tel: +886-2-8797-8377
Fax: +886-2-8797-8335
http://www.geovision.com.tw
Trademarks used in this manual: GeoVision, the GeoVision logo and GV
series products are trademarks of GeoVision, Inc. Windows is the registered
trademark of Microsoft Corporation.
February 2023
Scan the following QR codes for product warranty and technical support
policy:
[Warranty] [Technical Support Policy]

i
Notice
Notice for GV-R1352 V2B and GV-R1352 V2C: This device complies with Part 15 of the
FCC Rules. Operation is subject to the following two conditions: (1) This device may not
cause harmful interference, and (2) This device must accept any interference received,
including interference that may cause undesired operation.
Notice for GV-RKD1352
Federal Communication Commission Interference Statement
This equipment has been tested and found to comply with the limits for a Class B digital
device, pursuant to Part 15 of the FCC Rules. These limits are designed to provide
reasonable protection against harmful interference in a residential installation.
This equipment generates, uses and can radiate radio frequency energy and, if not installed
and used in accordance with the instructions, may cause harmful interference to radio
communications. However, there is no guarantee that interference will not occur in a
particular installation. If this equipment does cause harmful interference to radio or television
reception, which can be determined by turning the equipment off and on, the user is
encouraged to try to correct the interference by one of the following measures:
- Reorient or relocate the receiving antenna.
- Increase the separation between the equipment and receiver.
- Connect the equipment into an outlet on a circuit different from that to which the receiver
is connected.
- Consult the dealer or an experienced radio/TV technician for help.
FCC Caution: To assure continued compliance, any changes or modifications not expressly
approved by the party responsible for compliance could void the user's authority to operate
this equipment. (Example - use only shielded interface cables when connecting to computer
or peripheral devices).

ii
Preface
Welcome to the GV-Card Reader User’s Manual.
This Manual applies to the following GV-Card Readers:
Reader Models
GV-Reader1251 and 1352 V2
GV-SR1251
GV-RK1352 / R1352
GV-DFR1352 (Rev. B)
GV-DFK1355
GV-RKD1352
GV-R1355
GV-RKR1355
GV-RKV1355
GV-R1354

iii
Note for Waterproofing
To prevent water from penetrating the reader from the rear panel, use the following
waterproofing measures when installing GV-DFK1355, GV-RKV1355, GV-RKR1355, or GV-
RKD1352.
1. The rear panel of GV-DFK1355 or GV-RKV1355 has waterproofing rubber rings. Install
the reader tightly against the wall to prevent water from entering along the wall. Apply
silicone sealant to the sides of the reader if it is mounted on an uneven surface.
2. Apply silicone sealant to the sides of GV-RKR1355 or GV-RKD1352 readers to prevent
water from entering along the wall.
(X) A gap between the wall and the reader (O) The reader against the wall

iv
Contents
Notice......................................................................................................i
Preface...................................................................................................ii
Note for Waterproofing........................................................................iii
Contents ...............................................................................................iv
Chapter 1 GV-Reader1251 / 1352 V2 and GV-SR1251........................1
1.1 Packing List............................................................................................................. 1
1.2 Installation............................................................................................................... 2
1.2.1 Electric Wire.................................................................................................. 2
1.2.2 Switch Settings of GV-Reader1251 / 1352 V2............................................... 2
1.2.3 Define the ID of GV-SR1251 Using GV-Reader Config Utility........................ 4
1.3 Connect the Reader to GV-AS Controller................................................................ 5
1.3.1 Connect through Wiegand Interface.............................................................. 5
1.3.2 Connect through RS-485 Interface................................................................ 6
1.3.3 Connect to GV-DVR/NVR and Third-Party Access Controllers...................... 8
1.4 Overlay Card Numbers on GV-DVR/NVR Live View................................................ 9
1.5 Change the Default Settings of Beeper and LED....................................................10
1.6 Specifications.........................................................................................................11
Chapter 2 GV-RK1352 / R1352 / DFR1352.........................................12
2.1 Packing List.............................................................................................................13
2.2 Physical Descriptions .............................................................................................14
2.2.1 Electric Wire.................................................................................................14
2.2.2 Keypad (GV-RK1352 Only) ..........................................................................16
2.2.3 LED Indicator and Beeper ............................................................................16
2.3 Connect the Reader to GV-AS Controller...............................................................17
2.3.1 Connect through Wiegand Interface.............................................................17

v
2.3.2 Connect through RS-485 Interface...............................................................18
2.3.3 Define Readers on GV-AS Controller Web Interface ....................................19
2.4 Install GV-R/RK/DFR Config AP.............................................................................21
2.5 Overlay Card Numbers on GV-DVR/NVR Live View...............................................22
2.5.1 Define the ID and Set the Reader to Slave...................................................23
2.5.2 Add the Reader to GV-DVR/NVR.................................................................25
2.6 Control the Beeper and LED...................................................................................26
2.6.1 Enable External Control on the Reader ........................................................26
2.6.2 Connect the Beeper and LED.......................................................................28
2.6.3 Set the Beeper and LED for Each Door/Gate ...............................................29
2.7 Configure GID ........................................................................................................30
2.8 Firmware Upgrade..................................................................................................32
2.9 Specifications.........................................................................................................33
2.10 Accessory (GV-RK1352 and GV-R1352 Only)......................................................34
Chapter 3 GV-RKD1352......................................................................35
3.1 Packing List............................................................................................................35
3.2 Compatible Products..............................................................................................35
3.3 Physical Descriptions .............................................................................................36
3.4 Installation..............................................................................................................38
3.5 Keypad...................................................................................................................39
3.6 LED Status and Beeper..........................................................................................39
3.7 Firmware Upgrade..................................................................................................40
3.8 Specifications.........................................................................................................41
Chapter 4 GV-R1355...........................................................................42
4.1 Packing List............................................................................................................42
4.2 Compatible Products..............................................................................................42
4.3 Physical Descriptions .............................................................................................43
vi
4.5 LED Status and Beeper..........................................................................................46
4.6 Firmware Upgrade..................................................................................................46
4.7 Specifications.........................................................................................................46
Chapter 5 GV-RKR1355......................................................................47
5.1 Packing List............................................................................................................47
5.2 Compatible Products..............................................................................................47
5.3 Physical Descriptions .............................................................................................48
5.4 Installation..............................................................................................................50
5.5 Keypad...................................................................................................................51
5.6 LED Status and Beeper..........................................................................................51
5.7 Firmware Upgrade..................................................................................................52
5.8 Specifications.........................................................................................................52
Chapter 6 GV-RKV1355......................................................................53
6.1 Packing List............................................................................................................53
6.2 Compatible Products..............................................................................................53
6.3 Physical Descriptions .............................................................................................54
6.4 Installation..............................................................................................................56
6.5 Keypad...................................................................................................................57
6.6 LED Status and Beeper..........................................................................................57
6.7 Firmware Upgrade..................................................................................................57
6.8 Specifications.........................................................................................................57
Chapter 7 GV-R1354...........................................................................58
7.1 Packing List............................................................................................................58
7.2 Compatible Products..............................................................................................58
7.3 Physical Descriptions .............................................................................................59

vii
7.4 Installation..............................................................................................................60
7.5 ID, Beeper and LED Settings..................................................................................60
7.6 Firmware Upgrade..................................................................................................62
7.7 Specifications.........................................................................................................63
Chapter 8 GV-DFK1355......................................................................64
8.1 Packing List............................................................................................................64
8.2 Compatible Products..............................................................................................64
8.3 Physical Descriptions .............................................................................................65
8.4 Installation..............................................................................................................67
8.5 Keypad...................................................................................................................68
8.6 LED Status and Beeper..........................................................................................68
8.7 ID, DESFire and GID Settings................................................................................68
8.8 GV-Cloud Access Control Integration.....................................................................70
8.9 Firmware Upgrade..................................................................................................72
8.10 Specifications.......................................................................................................72
Appendix .............................................................................................73
What to do if RS-485 connection fails?..........................................................................73

GV-Reader1251 / 1352 V2 and GV-SR1251
1
1
Chapter 1 GV-Reader1251 / 1352 V2 and GV-SR1251
GV-Reader1251 / 1352 V2 / SR1251 includes transmit-receive antenna and electronics. It
has both Wiegand and RS-485 outputs that can be connected to any standard access control
panel. The LED indicator is controllable by the host system and changes from red to green to
indicate access granted. GV-Reader1251 / 1352 V2 / SR1251 also has a host-controllable
buzzer.
1.1 Packing List
If any of the items are missing or damaged, contact your dealer to arrange a replacement.
For GV-Reader 121 / 1352 V2
1. GV-Reader1251 / 1352 V2
2. Bag of screws
3. GV-Reader Software CD
4. Warranty Card
For GV-SR1251
1. GV-SR1251
2. Screw x 6
3. Plastic Screw Anchor x 4
4. Plastic Case
5. Warranty Card

2
1.2 Installation
1.2.1 Electric Wire
1.2.2 Switch Settings of GV-Reader1251 / 1352 V2
1234567 8
ON ECE
1234567 8
ON ECE
Electric
Wire
Switch
Default settings are all ON.
◼SW 1 Beeper Control: The default mode for the Beeper Control is the internal control.
When the setting is “On”, the Reader is sounded after a card is read. When the setting
is “Off”, the Beeper is controlled externally. You can use the external beeper control line
to activate the beeper.
Wire Color
Function
Red
DC 7.5 ~ 12 V
Black
GND
Green
Wiegand Data 0
White
Wiegand Data 1
Blue
RS-485 +
Light Blue
RS-485 -
Yellow
Beeper
Orange
Green LED
Light Red
Red LED

GV-Reader1251 / 1352 V2 and GV-SR1251
3
1
◼SW2-SW3 Green/Red LED Control: The default mode for the Green/Red LED Control
is the internal control. The LED is normally red. When a card is read, the LED flashes
green. When the setting is “Off”, the Green/Red LED is controlled externally. The
external control lines can then be used to operate the LEDs.
◼SW4 Master/Slave: The switch is used to select the Reader’s communication interface.
When the setting is “On”, the Reader is controlled by Wiegand signal. When the setting
is “Off”, the Reader is for RS-485 signal.
◼SW5-SW7 ID Setting: Switch 5 to switch 7 is used to set the Reader’s ID for wiring in a
daisy chain.
ID
0
1
2
3
4
5
6
7
SW5
OFF
OFF
OFF
OFF
ON
ON
ON
ON
SW6
OFF
OFF
ON
ON
OFF
OFF
ON
ON
SW7
OFF
ON
OFF
ON
OFF
ON
OFF
ON
◼SW8 RS-485 Terminal Resistor: When the setting is “On,” a 120-ohm resistor is
connected between RS-485+ and RS-485-. This setting is used in the last device when
multiple RS-485 devices are connected together.
Note: After changing the dip switch settings, the unit must be reset by powering down then
up again before the new switch setting will take effect.

4
1.2.3 Define the ID of GV-SR1251
Up to 8 readers can be connected to GV-AS Controller via a single RS-485 interface. To
create a daisy chain connection, use the Setup AP to define each reader's ID number.
1. Install and download the Setup AP. For details, see 2.4 Install GV-R/RK/DFR Setup AP.
2. Run GV-R/RK/DFR Setup AP.
3. Select the COM port that is connected to the reader and click Open COM. The red
square next to the COM port box should change to blue to indicate the COM port is
correct.
4. Select an ID number for the reader. The ID number ranges from 0 to 7.
5. Click Setup. The serial number and firmware version of the reader are automatically
detected. The settings are sent to the reader.
Note:
1. To define the ID number of GV-Reader1251 / 1352 V2, use the switches at the back of
the reader.
2. GV-SR1251 only reads UID. Therefore, the Only Read GID option in the GV-
R/RK/DFR Setup AP is not functional for GV-SR1251.

GV-Reader1251 / 1352 V2 and GV-SR1251
5
1
1.3 Connect the Reader to GV-AS Controller
GV-Reader1251 / 1352 V2 / SR1251 is compatible with any standard access controllers. The
following diagrams illustrate how to connect GV-Reader1251 / 1352 V2 / SR1251 to GV-AS
Controller through Wiegand or RS-485 interface, and how to connect GV-Reader1251 / 1352
V2 / SR1251 to third-party access controllers and GV-DVR/NVR.
For GV-Reader1251 / 1352 V2, after you wire the connection between the reader and the
access controller, ensure that related switch settings on GV-Reader1251 / 1352 V2 are
configured correctly.
Note: Each reader consumes 60 mA of power. The total power consumption of the output
devices and readers connected to GV-AS Controller must be under 2.5A (for GV-CS1320),
3A (for GV-AS1620, GV-AS210 / 2110 / 2120), 3.5A (for GV-AS410 / 4110) or 5A (for GV-
AS810 / 8110). Connect an external power supply if the power supplied from GV-AS
Controller is insufficient.
1.3.1 Connect through Wiegand Interface
12V
D0
D1
GL
RL
BZ
Wiegand
GV-AS Controller
(Black)
(Yellow)
(Light red)
(White)
(Orange)
(Green)
(Red)
GV-Reader
GV-Reader
⚫Switch Setting for Wiegand Connection (GV-Reader1251 / 1352 V2 only)
1234567 8
ON ECE
SW4 must be turned ON.

6
1.3.2 Connect through RS-485 Interface
Multiple readers can be connected to GV-AS Controller through a single RS-485 interface.
12V
-
+
GND (Black)
(Blue)
(Light blue)
(Red)
GV-AS Controller
GV-Reader
GV-Reader
⚫Switch Settings for RS-485 Connection (GV-Reader1251 / 1352 V2 only)
1 2 3 4 5 6 7 8
ON ECE
SW4 must be turned OFF.
⚫Switch Settings for Multiple GV-Readers (RS-485) (GV-Reader1251 / 1352 V2 only)
When connecting multiple readers to GV-AS Controller, turn SW8 on the last connected
GV-Reader to ON. Make sure to define the ID of each reader using SW5 to SW7 first.
GV-Reader 1 GV-Reader 8
1234567 8
ON ECE
1 2 3 4 5 6 7 8
ON ECE
⚫ID Number Settings for Multiple GV-Readers (RS-485) (GV-SR1251 only)
To define the ID of each GV-SR1251, see 1.2.3 Define the ID of GV-SR1251.

GV-Reader1251 / 1352 V2 and GV-SR1251
7
1
Defining Readers on GV-AS Controller Web Interface
After configuring the switch settings of GV-Reader1251 / 1352 V2 or defining the ID number
of GV-SR1251 using GV-R/RK/DFR Setup AP, you need to specify which door each reader
controls on the Web interface of GV-AS Controller.
1. On the controller’s Web interface, select Extended Reader. This page appears.
2. If the readers are connected using RS-485, select the RS485 checkbox in front of the ID
number. The ID number must match the ID you configured using SW5 –SW7 (for GV-
Reader1251 / 1352 V2) or GV-R/RK/DFR Setup AP (for GV-SR1251).
3. Leave the serial number field blank.
4. Select a door/gate for the reader under Function. Click Submit.

8
1.3.3 Connect to GV-DVR/NVR and Third-Party Controllers
GV-Reader1251 / 1352 V2 / SR1251 is compatible with third-party access controllers. With
its compatibility, you can also add a GV-DVR/NVR to this connection to empower your
management.
After connecting GV-Reader1251 / 1352 V2 / SR1251 to the access controller through the
Wiegand interface, connect the reader to GV-DVR/NVR via GV-COM, GV-Hub or GV-
NET/IO Card V3.1.
Note: GV-Reader1251 / 1352 V2 / SR1251 is not compatible with the GV-NET Card and
the GV-NET/IO Card of versions earlier than V3.
(Light blue) -
GV-System
GV-COM / GV-Hub /
GV-NET/IO Card V3.1
Access Controller
(third-party)
(power supply: 7.5~12 V)
(Red)
(Black)
(Blue) +
USB
(Green)
(White)
GV-Reader
GV-Reader
⚫Switch Setting (GV-Reader1251 / 1352 V2 only)
1 2 3 4 5 6 7 8
ON ECE
SW4 must be turned OFF.

GV-Reader1251 / 1352 V2 and GV-SR1251
9
1
1.4 Overlay Card Numbers on GV-DVR/NVR Live View
You can overlay card numbers recognized at GV-Reader1251 / 1352 V2 / SR1251 onto a
camera channel on GV-DVR/NVR. To overlay card numbers on GV-DVR/NVR channels,
connect the reader to GV-DVR/NVR through a RS-485 / USB converter (e.g. GV-COM, GV-
Hub or GV-NET/IO Card V3.1) as illustrated below. For details, see 2.5 Overlay Card
Numbers on GV-DVR/NVR Live View.
GV-HUB / GV-COM /
GV-NET/IO Card
GV-DVR/NVR
(Light Blue) RS-485 -
(Blue) RS-485 + USB
GV-Reader1251 /
1352 V2 / SR1251
Note:
1. For GV-Reader1251 / 1352 V2, you need to define the ID number and set the reader to
slave by configuring the switch settings. For details, see 1.2.2 Switch Settings of GV-
Reader1251 / 1352 V2.
2. For GV-SR1251, you need to define the ID number and set the reader to Slave using
GV-R/RK/DFR Setup AP. For details, see 2.5.1 Define the ID and Set the Reader to
Slave.

10
1.5Control the Beeper and LED
You can configure GV-AS Controller (AS210 / 2110 / 2120 / 410 / 4110 / 810 / 8110) to
control the reader's beeper or LED externally. Through the controller's Web interface, you
can configure the controller to activate the reader's red LED, green LED, or beeper in
response to a specific alert event.
1. For GV-SR1251, enable external controls of the reader’s beeper and LED by using the
GV-R/RK/DFR Setup AP. For details, see 2.6.1 Enable External Control on the Reader.
2. For GV-Reader1251 / 1352 V2, enable external controls of the reader’s beeper and LED
by configuring the switch settings. For details, see 1.2.2 Switch Settings of GV-
Reader1251 / 1352 V2.
3. Wire the beeper, Red LED or Green LED from the reader to the controller. For details,
see 2.6.2 Connect the Beeper and LED.
4. Specify the beeper and LED settings for each door through the controller’s Web interface.
For details, see 2.6.3 Set the Beeper and LED for Each Door/Gate.
Note: GV-AS1620 can also externally control the reader’s LED and beeper for access
granted and denied. For details, see GV-AS1620 User’s Manual.
IMPORTANT: When GV-RK1352 / R1352 / DFR1352 / SR1251 is connected to a
controller via an RS-485 connection, external control of the LED and beeper is not
supported.

GV-Reader1251 / 1352 V2 and GV-SR1251
11
1
1.6Specifications
GV-Reader1251
GV-SR1251
GV-Reader1352
(V2)
CPU
8-bit microprocessor
Wiegand
Interface
Wiegand 26 bits,
distance 30 m (98.43 ft) with
GV-AS210 / 410 / 810;
distance 100 m (328.1 ft) with
GV-AS2110 / 2120 / 4110 / 8110, GV-AS1620
Wiegand 26 / 34
bits, distance 30 m
(98.43 ft)
Power Source
DC 7.5~12V
Power
Consumption
60 mA
LED
Red, Green LED
Red, Green, Blue LED
Red, Green LED
Audio
Buzzer
Frequency
125 KHz
(Proximity EM Card)
13.56 MHz for
ISO14443A
(Mifare Class)
RS-485
9,600 bps, distance 600 m (1968.50 ft)
Color
Gray
Operating
Temperature
-35 °C ~ 65 °C (-31 °F ~ 149 °F)
Operating
Humidity
10 ~90% RH (non-condensing)
Dimensions
(W x H x D)
75 (W) x 115 (H) x 15 (T) mm, with enclosure 35 (T) mm
3 (W) x 4.5 (H) x 0.6 (T) in, with enclosure 1.38 (T) in
Weight
150 g / 0.33 lb
125 g / 0.27 Ib
150 g / 0.33 lb
Ingress
Protection
IP54
IP66
IP54
Certification
CE, FCC, RoHS
For the number of readers supported by a variety of GeoVision controllers, see the
compatibility table.
Other manuals for GV-R1352 V2B
1
This manual suits for next models
1
Table of contents
Other GeoVision Card Reader manuals

GeoVision
GeoVision GV- RK1352 User manual

GeoVision
GeoVision GV- RK1352 User manual

GeoVision
GeoVision GV-Reader1251 User manual

GeoVision
GeoVision GV-R1352 User manual

GeoVision
GeoVision GV- RK1352 User manual

GeoVision
GeoVision GV-R1352 V2B User manual

GeoVision
GeoVision GV- RK1352 User manual

GeoVision
GeoVision GV-Reader 1251 User manual

GeoVision
GeoVision GV- DFR1352 User manual

GeoVision
GeoVision GV-PCR310 User manual