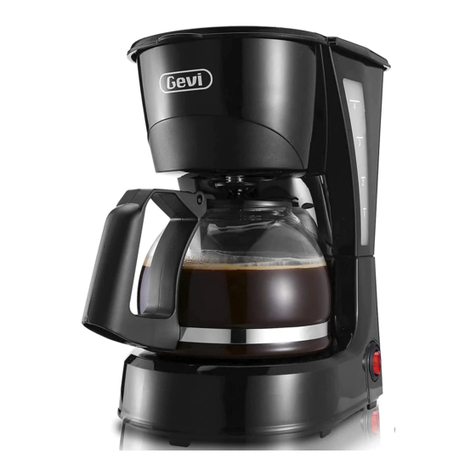
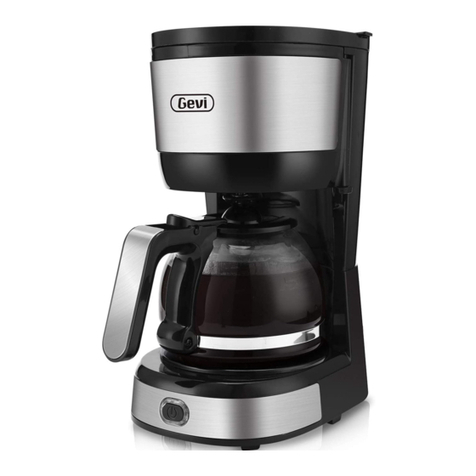
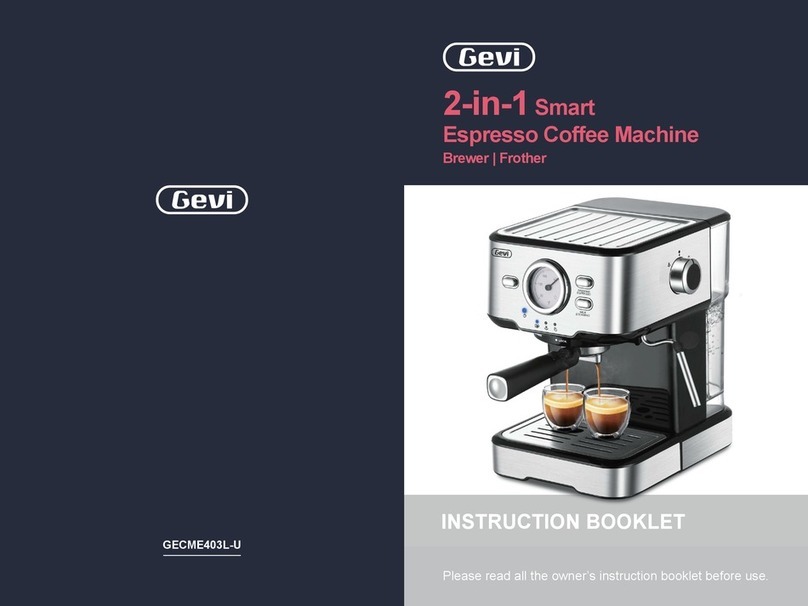
Gevi GECMA025A-U User manual

COFFEE MAKER
INSTRUCTION MANUAL
GECMA025A-U

IMPORTANT SAFEGUARDS
Dear Gevi customer
Gevi have focused on creating perfect home appliance
for our customer. In the past years, it took us time, lots
of research and many prototypes to achieve our goal.
We would like to give you a different using experience.
Thanks for purchasing our Gevi products, you could
search from our official website, to learn more products
information.
1. Read all instructions.
2. Check voltage to be sure that the voltage indicated on the
name plate agrees with your voltage.
3. Do not touch hot surfaces. Use handles or knobs.
4. To protect against fire, electric shock and injury to persons
do not immerse cord, plug, or in water or other liquid.
5. Do not allow children to use without supervision
6. Remove plug from wall outlet before cleaning and when
not in use. Allow appliance cool down completely before
taking off, attaching components or before cleaning.
7. Do not operate the appliance with a damaged cord or plug or
after the appliance malfunctions, or has been damaged in any
manner. Return the appliance to the nearest authorized
service facility for examination, repair or adjustment.
8. The use of accessory attachments not recommended by the
appliance manufacturer may result in fire, electric shock or
injury to person.
9. Overfilling can also cause scalding.
10. Only use the mill for grinding roasted coffee beans. Never use
it for other granular foods.
When using electrical appliances, basic precautions should
always be followed, including the following:

11. Do not let cord hang over edge of table or counter, or touch
hot surface.
12. Do not place on or near a hot gas or electric burner, or in a
heated oven.
13. Do not use a cracked container or a container having a loose
or weakened handle.
14. This appliance is not intended for used by person
(including children) with reduced physical, sensory or mental
capabilities, or lack of experience and knowledge, unless they
have been given supervision or instruction concerning use of
the appliances by a person responsible for their safety.
15. Children should be supervised to ensure that they do not play
with the appliance.
16. Do not use appliance for other than intended use.
17. Avoid contacting moving parts, as the blade is sharp.
18. Never use warm or hot water to fill the water tank. Use cold
water only.
19. Do not use outdoors.
20. This appliance is intended to be used in household and similar
applications such as:
‒ Staff kitchen areas in shops, offices and other working
environments;
‒ Farm houses;
‒ By clients in hotels, motels and other residential type
environments;
‒ Breakfast type environments.
21. Save these instructions.
KNOW YOUR WATER KETTLE
Bean box cover
Knob Bean box
Water tank cover
Funnel press key
Water gauge
Control panel
Filter
Funnel
Anti drip valve
Funnel Support
Carafe
Electrical parameters: 120V AC 60Hz 950W

OPERATION INSTRUCTION
MAKE DRIP COFFEE WITH COFFEE BEANS
KNOW YOUR WATER KETTLE
BEFORE THE FIRST USE
1. Open the water tank cover, pour in the cups of water as same
as the cups of coffee you select,If you pour the water amount
more than cups of coffee you select, it will cause weak coffee
since the machine would brew all water in tank. )
NOTE: 1) The coffee you get would less than the water you pour
in as some water had been absorbed by coffee powder.
2) Never pour hot water, milk, coffee powder or tea into
water tank.
3) Please don’t fill the water tank exceed 10 mark
indicated on water gauge.
2. Press Funnel Key to check the filter is inside of the Funnel
Support.
3. Put proper coffee beans (less than 200g) into Bean Box,
then cover its lid. We suggest not placing too much coffee
bean in Bean Box to avoid the moist of coffee beans.
WARNING: TO PREVENT THE GRINDER FROM BEING BLOCKED,
PLEASE DON’T USE UNROASTED OR DAMPED COFFEE BEANS.
4. Connect the machine to power. The display will show
“12:00” (see “control panel”), and the number will flash,
then press‘HOUR ’and‘ MIN ’button to set local time.
Inspect whether all the accessories are included.
1. Ensure that the machine is at the power-off situation.
2. Press funnel key to take out funnel/filter/funnel cover for clean.
3. Pour drinking water into water tank with some lemon juice if
have. Plug the power outlet, press “GRIND OFF” to cancel
grinding function , then press “ON/OFF” button to start
machine ,let it brew water for 3 times before brewing coffee.
PROGRAM
GRIND OFF
STRENGTH
CONTROL ON/OFF
POWDER 2-10
HOUR
MIN

MAKE DRIP COFFEE WITH COFFEE POWDER DIRECTLY
1.
2.
3.
Press Funnel Key and check the filter is inside the Funnel
Support. Add desired coffee powder into the filter according
to your experience, then lock the Funnel Support firmly.
Open the water tank cover, pour in the cups of water as you
expect. If you pour too much water, it will cause weak coffee
since the machine would brew all water in tank.
NOTE: 1) The coffee you get would less than the water you pour
in as some water had been absorbed by coffee powder.
2) Never pour hot water, milk, coffee powder or tea into
water tank.
3) Please don’t fill the water tank exceed 10 mark indicated
on water gauge.
Connect the machine to power. The display will show
“12:00” (see “control panel”), and the number will flash, then
press‘HOUR ’and‘ MIN ’button to set local time.
NOTE: Number will flash until Pressing Hour or Min button to
set time. Automatic function is unavailable when number
is flashing.
5. Set the number of cups (2,4,6,8,10) through press “ POWDER
2-10 ” button (see “control panel”), the default number of cup
is 10. Then you can turn the Knob to set the thickness of coffee
powder.
NOTE: 1) Please ensure the cups of coffee you set is the same as the
water amount filled in water tank, such as fill in 2 cups of
water, you should choose 2 cups of coffee,otherwise the
machine will finish boiling all the water in water tank would
cause weak of coffee.
2) You can adjust the coffee powder coarseness by turning the
knob, we recommend you turn the knob to the middle
position.
6. Press “STRENGTH CONTROL ” to select coffee strength.
7. Press the “ON/OFF ” button , waiting for about 3 seconds, the
grinder will start grinding, after grinding, wait for about 3
seconds, the LCD will display the Photo of “ ”.
8. After brewing, the “ ” on the LCD will disappear, and buzzer
will sound 3 times.
9. When finish brewing, if you do not unplug the power cord, the
coffee could be warmed in the carafe for about 2 hours, after 2
hours, the machine will cut off power automatically.
NOTE: Number will flash until Pressing Hour or Min button to
set time. Automatic function is unavailable when number is
flashing.
appliance into automatic mode.
NOTE: the time cycle is 24 hours.
4. The coffee maker will start to brew at the preset time,
the “PROGRAM” indicator will be extinguished and the
“ON/OFF ” indicator will be illuminated. The appliance will
start to work automatically.
AUTOMATIC START FUNCTION
1. Operate according to 1-7steps of “make drip coffee with
coffee beans or 1-4steps of make drip coffee with coffee
powder directly” section.
2. Set the current time, the number will stop flash, pressing
“PROGRAM”button until the time into timer mode
(the number flash again), setting the time of AUTOMATIC START
you wanted through pressing “Min” and “Hour”button.
3. Press “PROGRAM” button again, the “ ” will show on the
display, the blue “PROGRAM” indicator will be illuminated, the
4.
5.
6.
Press the “GRIND OFF” button, the blue “GRIND OFF ”
indicator will be illuminated.
Then press the “ON/OFF ” button once, the LCD will display
the “ ”,the coffee maker will brew directly. After brewing,
the“ ”on the LCD will disappear, and buzzer will sound 3 times.
When finish brewing, if you do not unplug the power cord,
the coffee could be warmed in the carafe for about 2 hours,
after 2 hours, the machine will cut off power automatically.

1. Fill the tank with water and descaler to the MAX level
(the scale of water and descaler is 4:1, the detail refers to
the instruction of descaler.) Please use “household descaler”
(you can use the citric acid instead of the descaler, every one
hundred parts of water and three parts of citric acid).
2. Press “Grind off ”button, the blue “Grind off ” indicator will be
illuminated, then press the “ON/OFF ” button once, the
appliance will start to brew directly.
3. Rinse by operating the appliance with clean water at
least 3 times.
If the coffee maker is at the state of presetting (the “PROGRAM”
indicator is on), you just need to press “PROGRAM”button once,
then the “PROGRAM” indicator will be extinguished, the automatic
mode will be canceled.
CAUTION: Be sure to unplug this machine before cleaning. To
protect against electrical shock, do not immerse cord, plug
or machine in water or liquid.
1) Clean the funnel, filter and coffee carafe after each use.
2) Wipe the bean container and the product’s exterior surface
with a soft, dry cloth to remove stains.
3) Use a damp cloth to gently wipe the keeping warm plate.
Never use abrasive cleaner to clean it.
CANCEL THE PRESETTING PROGRAM
CLEANING AND MAINTENANCE
CLEANING MINERAL DEPOSITS

ENVIRONMENT FRIENDLY DISPOSAL
You can help protect the environment!
Please remember to respect the local regulations:
hand in the non-working electrical equipments to
an appropriate waste disposal center.
Please feel free to contact us if have situation below. We will solve
your problem after get your email.
1>. The product was received in damaged.
2>. There is any missing piece.
3>. Something is wrong with the product when use
4>. Any question about the product
Please send us the email with your order ID and evidence of the
problem, then we can solve your problem immly.
After Sales Service Email: gevi-home@gevi-home.com
THANK YOU FOR YOUR ORDER!
Table of contents
Other Gevi Coffee Maker manuals

Gevi
Gevi GECME400BA-U User manual

Gevi
Gevi GECMD329AE-U User manual

Gevi
Gevi GECMD008-U User manual

Gevi
Gevi GECME418E-U User manual

Gevi
Gevi GECMA025AK-U User manual

Gevi
Gevi GECMD008-U User manual

Gevi
Gevi GECME400BA-U User manual

Gevi
Gevi GECME022-U User manual

Gevi
Gevi GECMD276-U User manual

Gevi
Gevi GECMD627BK-U User manual

Gevi
Gevi GECMA025A-U User manual

Gevi
Gevi GECME003D-U User manual

Gevi
Gevi GECMA082T-U User manual

Gevi
Gevi GECMA162A-U User manual

Gevi
Gevi GECME003D-U User manual

Gevi
Gevi GECME022-U User manual

Gevi
Gevi GECMA160A-U User manual

Gevi
Gevi GECMA409-U User manual

Gevi
Gevi GECME022-U User manual

Gevi
Gevi GECMA409-U User manual