manuals.online logo
Brands
  1. Home
  2. •
  3. Brands
  4. •
  5. Gianni Industries
  6. •
  7. Keypad
  8. •
  9. Gianni Industries DK-100 User manual

Gianni Industries DK-100 User manual

Copyright © Gianni Industries, Inc. All Rights Reserved.
P-MU-DK100 Ver.B Published on 2007.09.12 Page: 1/ 3
DK-100 Stand Alone Digital Keypad (5 Codes)
Operation User’s Manual
I. Product Characteristic:
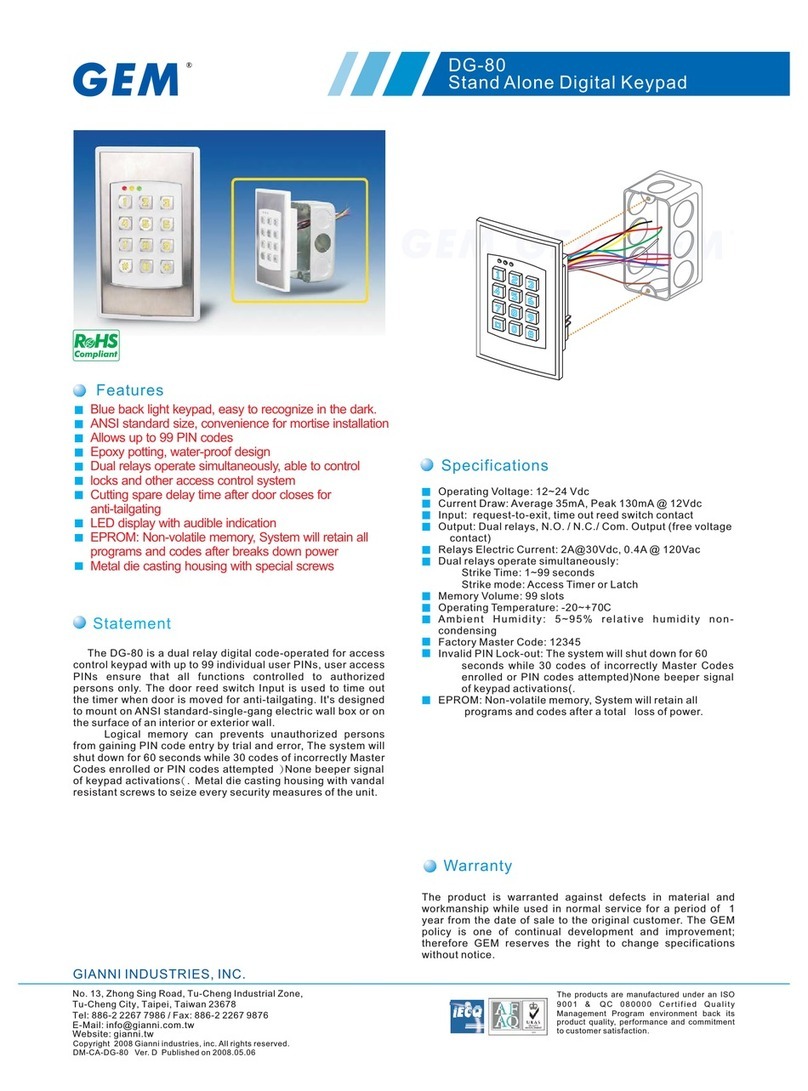
Blue back light keypad, easy to recognize in the dark.
ANSI standard size, convenience for mortise installation
Allows up to 99 PIN codes
Epoxy potting, water-proof design
Dual relays operate simultaneously, able to control locks and other access control
system
Cutting spare delay time after door closes for anti-tailgating
LED display with audible indication
EPROM: Non-volatile memory, System will retain all programs and codes after breaks
down power.
Metal die casting housing with special screws
II. Specifications:
Operating Voltage DC 12~24V
Current Draw Average 35mA, Peak 130mA @ 12Vdc
Keyboard 12 keys, (0~9, *, #)
LED Red/ Yellow/Green
Input request-to-exit & door status contacts
Output Dual relays, N.O./N.C./Com. Output (free voltage contact)
Relay Activation Time
Dual relays operate simultaneously (*100)
Strike Time: 1~99 seconds(adjustable)
Strike mode: Pulse (1~99 Sec.) or Latch (0 sec.)
Relays Rated 2A MAX @30Vdc ;0.4A @ 120Vac
User codes capacity 99 slots (*001~*099)
Operating Temperature -20~+70℃
Ambient Humidity 5~95% relative humidity non-condensing
Copyright © Gianni Industries, Inc. All Rights Reserved.
P-MU-DK100 Ver.B Published on 2007.09.12 Page: 2/ 3
III. The indicator signal chart & Default:
Green LED Relay activated
Red LED Power on, stand-by
Yellow LED Programming mode
1 Flashing Yellow LED Key-in Code Confirmed
Blue LED Controller Stand-by
LED signal
Flashing Blue LED Controller Locked
Bi Key-in, Effective PIN codes
Bi-x 2 Entering or Exiting from the Program mode
Bi-x 3 Data computing error, other operation
mistakes
Audio
Bi-x 5 Master Code reset to default(12345)or
remove all stored user codes
Master code 12345 (changeable)
Time delay of relays 5 seconds
Time delay of Keypad 5 seconds
Time delay of programming mode 60 seconds
Default value
Time delay of Invalid PIN Lock-out 12345 (changeable)
IV. Wiring Diagram:
Attention:
The varistor or diode must be connected across the lock terminal (electric strike...) operated by the
device. The varistor controls the overload produced by the strike coil (EMP)
Cutting spare delay time after door closes for anti-passback: Time delay settled in 10 seconds. If the
door is closed in 3 seconds, the remaining 7 seconds will be ignored and door locks automatically once
the door closes.
V. Operation Instruction:
Copyright © Gianni Industries, Inc. All Rights Reserved.
P-MU-DK100 Ver.B Published on 2007.09.12 Page: 3/ 3
Enter Program Mode:
1. Compose twice the master code (Factory master is 「12345」)→(2 beeps), LED: yellow →
"programming mode"
2. Attention:
zIf the system is not entered any codes or data in 60 seconds, it will exit from the programming
mode automatically.
zAfter 30 wrong codes attempts to enter the master code, the lockout facility will operate for 60
seconds. (Keypad flashes with blue back light)
Exiting from the program mode:
Press「#」 to exit from the programming mode.
Add PIN codes
Enter the Programming modeÆEnter the slot position code 「*001~*099」Æ(beep)Æ????? (Enter
5 digital PIN codes) Æ(beep) ÆEnrolled.
Please repeat the procedure to set another user PIN code.
Press 「#」 to exit from the programming mode, or program other operating.
Remarks: The codes「00000」、「1234」、or master code「12345」are not used to be PIN code.
To Set Time delay for Opening door
Enter the Programming modeÆ「*100」Æ(beep)Æ01~99 ( Pressing 05 represents for 5
seconds)Æ( 2 beeps)ÆEnrolled.
Press 「#」 to exit from the programming mode, or program other operating.
Press 00 for the time delay to be “Latch mode”: The first time PIN codes are entered, the relay
changes from N.C. to N.O. (Red LED lights up); The second time PIN codes are entered, the
relay changes from N.O. to N.C. (Red LED extinguished)
To Delete a User Code
Enter the Programming mode→Press the slot position code of your choice to delete (e.g. "06")
→Press「*006」→(beep)Æ「00000」→(beep) →deleted
Press「#」to exit from the programming mode, or programming other operating.
Changing the Master codes
Enter the Programming modeÆEnter「*000」Æ(beep)ÆPress the 5 digits to be the new master
code→(beep)→Enrolled
Press 「#」to exit from the programming mode, or program other operating.
Master Code reset to default value 「12345」,
Insert the jumper RESETÆ1-2 positionÆ(5 beeps)Æreset successfullyÆInsert the jumper to 2-3
positions to back to normal operation mode.
Remarks: The occupied PIN codes can’t be the master codes.
Other Gianni Industries Keypad manuals

Gianni Industries DG-80 User manual

Gianni Industries

Gianni Industries DG-80 User manual

Gianni Industries DG-26 User manual

Gianni Industries

Gianni Industries DG-26 User manual

Gianni Industries DG-800 User manual

Gianni Industries

Gianni Industries DG-800 User manual

Gianni Industries DG-100 User manual

Gianni Industries

Gianni Industries DG-100 User manual

Gianni Industries DG-600H User manual

Gianni Industries

Gianni Industries DG-600H User manual

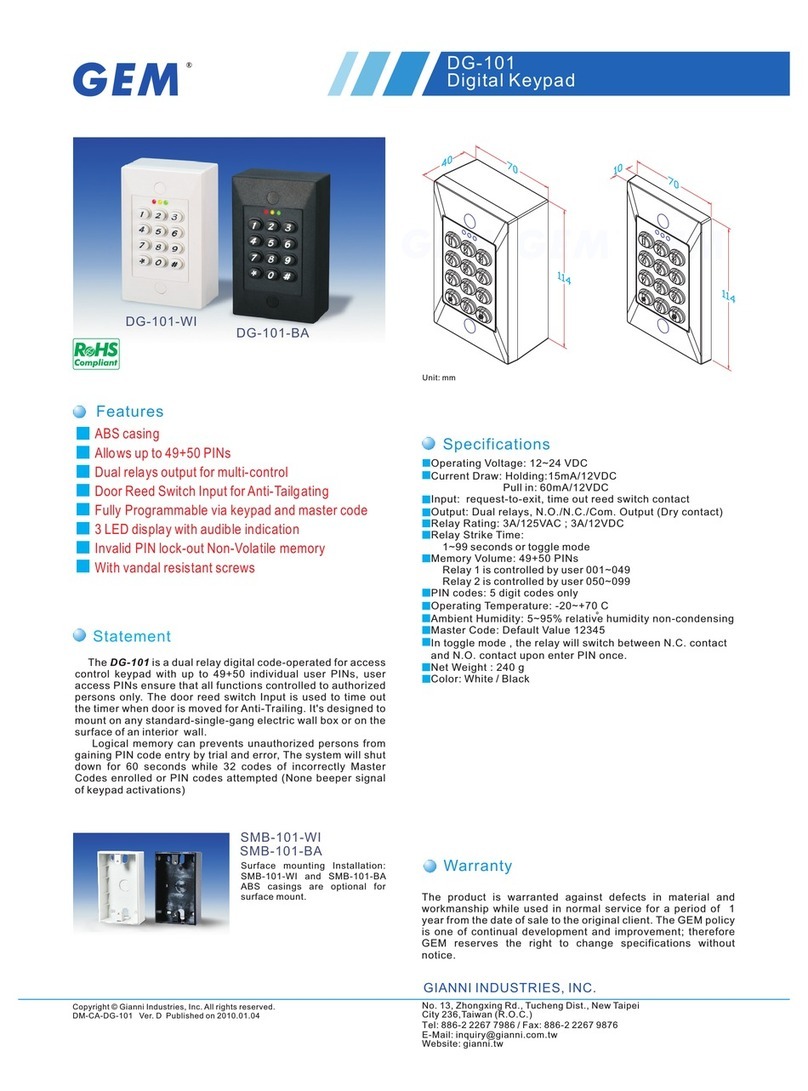
Gianni Industries DG-101 User manual

Gianni Industries

Gianni Industries DG-101 User manual

Gianni Industries DG-200 User manual

Gianni Industries

Gianni Industries DG-200 User manual

Gianni Industries GEM DG-15LD User manual

Gianni Industries

Gianni Industries GEM DG-15LD User manual

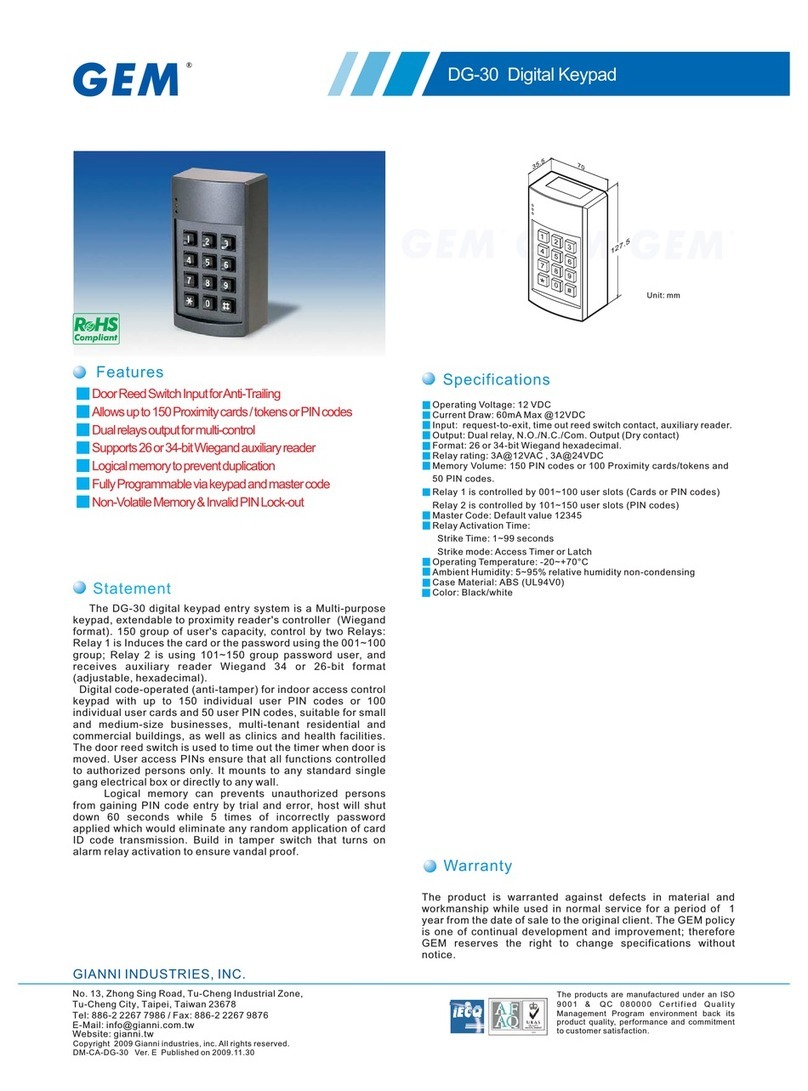
Gianni Industries DG-30 User manual

Gianni Industries

Gianni Industries DG-30 User manual

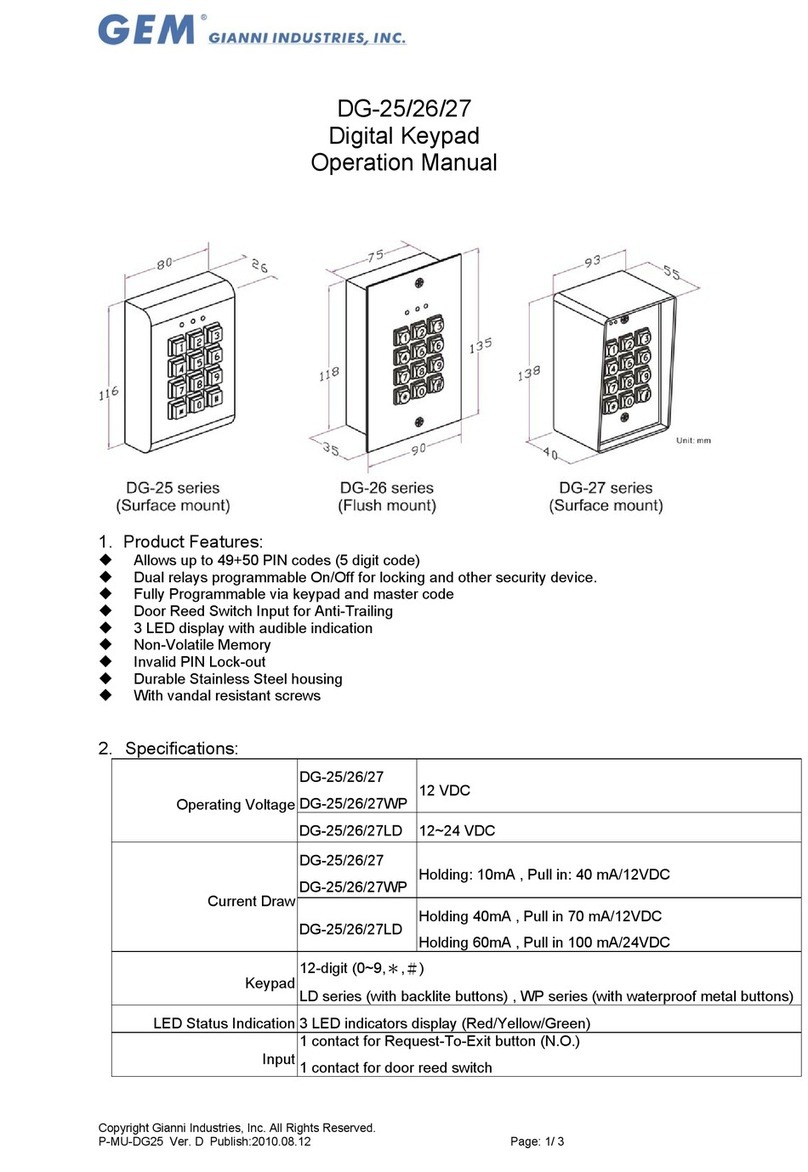
Gianni Industries DG-27 Series User manual

Gianni Industries

Gianni Industries DG-27 Series User manual

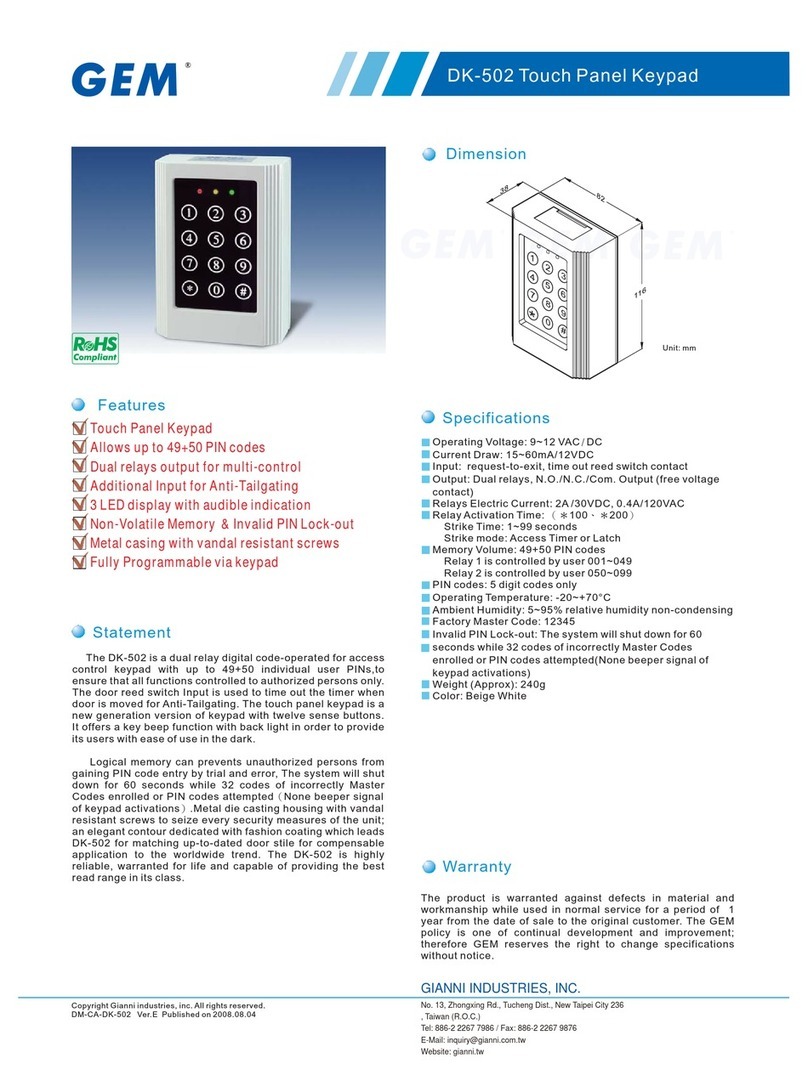
Gianni Industries DK-502 User manual

Gianni Industries

Gianni Industries DK-502 User manual

Popular Keypad manuals by other brands

AMX DAS-KP-LCD-G Operation/reference guide

AMX

AMX DAS-KP-LCD-G Operation/reference guide

CAMDEN CV-6268W installation instructions

CAMDEN

CAMDEN CV-6268W installation instructions

Vantage Hearth EQ40TB-TI Installation

Vantage Hearth

Vantage Hearth EQ40TB-TI Installation

Risco lightsys 2 Quick user guide

Risco

Risco lightsys 2 Quick user guide

Honeywell ADEMCO 6152RF Installation and setup guide

Honeywell

Honeywell ADEMCO 6152RF Installation and setup guide

Contro l4 C4-SKC installation guide

Contro l4

Contro l4 C4-SKC installation guide

Harman Kardon AB 2 owner's manual

Harman Kardon

Harman Kardon AB 2 owner's manual

SEA 23105198 manual

SEA

SEA 23105198 manual

AJAX KeyPad user manual

AJAX

AJAX KeyPad user manual

alphatronics UNii installation manual

alphatronics

alphatronics UNii installation manual

ADEMCO 6150PL3 installation guide

ADEMCO

ADEMCO 6150PL3 installation guide

SOMFY CLAVIER TOUCHE FILAIRE installation guide

SOMFY

SOMFY CLAVIER TOUCHE FILAIRE installation guide

DMP Electronics 781 Installation

DMP Electronics

DMP Electronics 781 Installation

Icy Box IB-289U3 user manual

Icy Box

Icy Box IB-289U3 user manual

Bosch D1260 Series Brochure & specs

Bosch

Bosch D1260 Series Brochure & specs

KEF BST30 user manual

KEF

KEF BST30 user manual

Satel INT-TSG2 user manual

Satel

Satel INT-TSG2 user manual

DMP Electronics Thinline 7300 Series Installation and programming guide

DMP Electronics

DMP Electronics Thinline 7300 Series Installation and programming guide

manuals.online logo
manuals.online logoBrands
  • About & Mission
  • Contact us
  • Privacy Policy
  • Terms and Conditions

Copyright 2025 Manuals.Online. All Rights Reserved.