manuals.online logo
Brands
  1. Home
  2. •
  3. Brands
  4. •
  5. Gianni Industries
  6. •
  7. Lock
  8. •
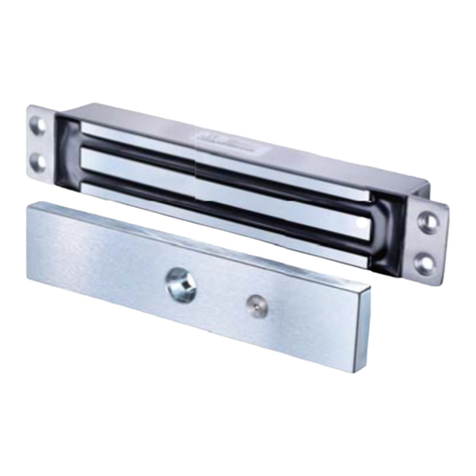
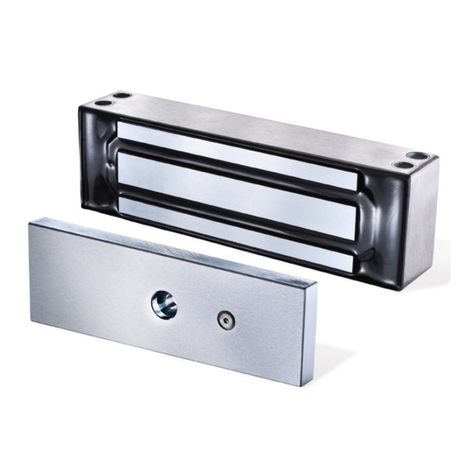
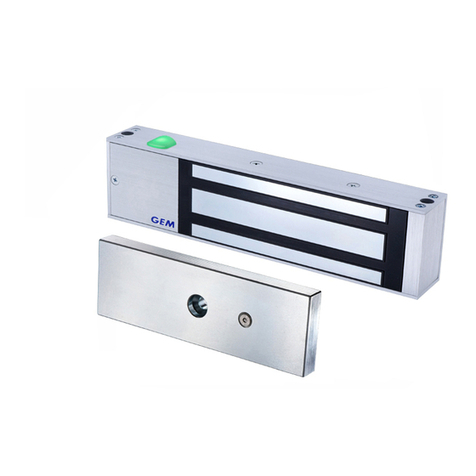
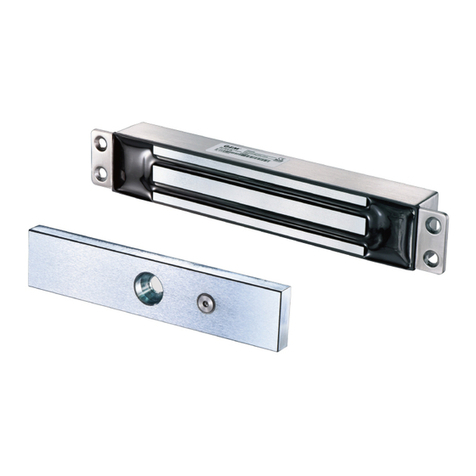
  9. Gianni Industries GS250 Series User manual

Gianni Industries GS250 Series User manual

Mini Shear Lock Installation Instruction (Indoor Series)
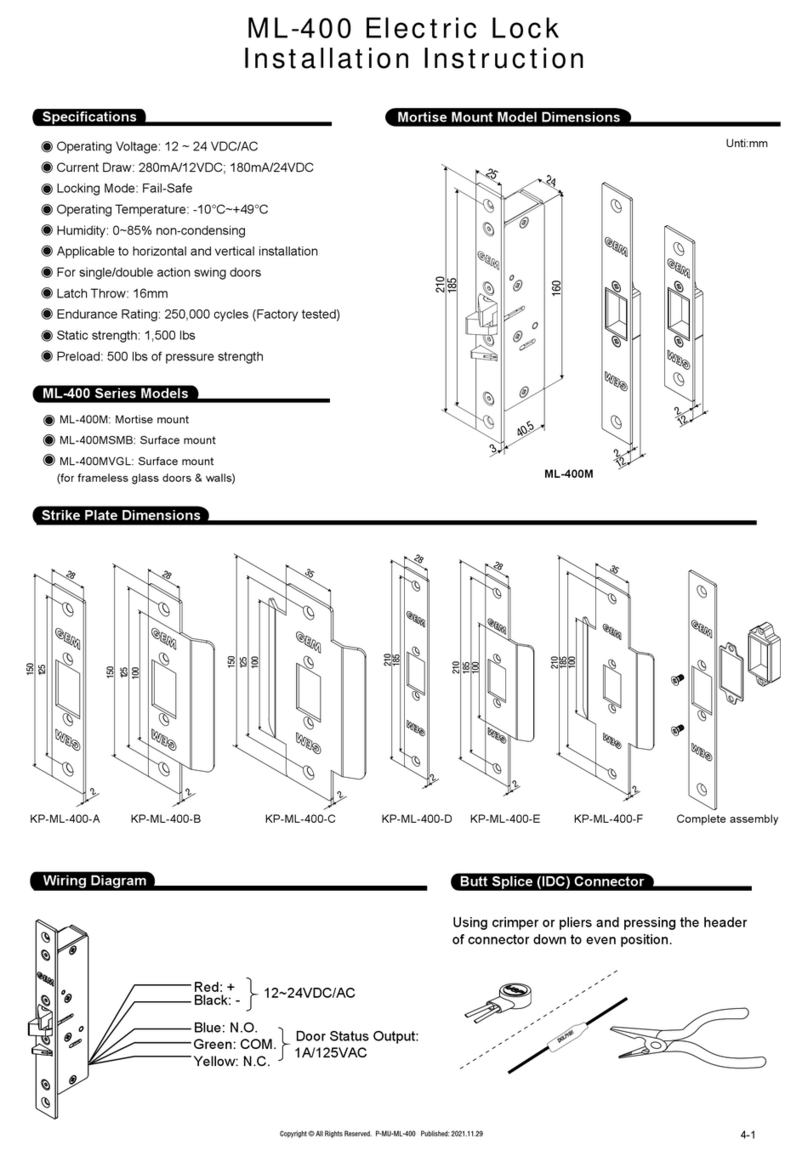
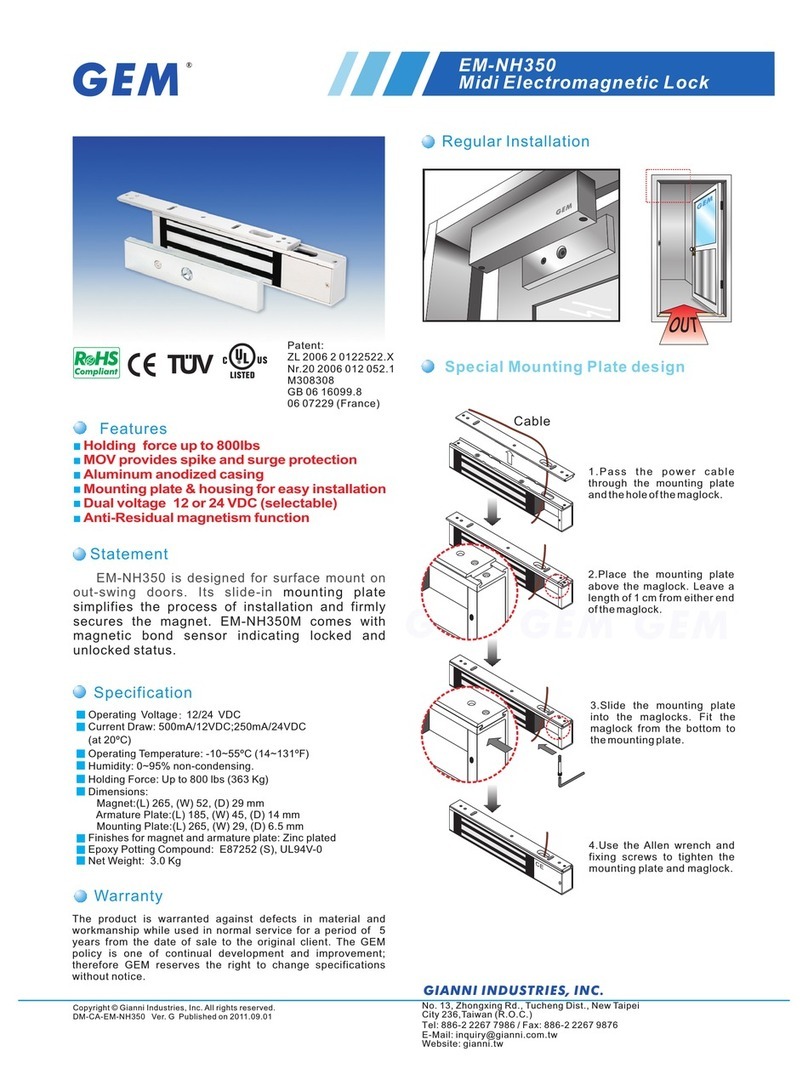
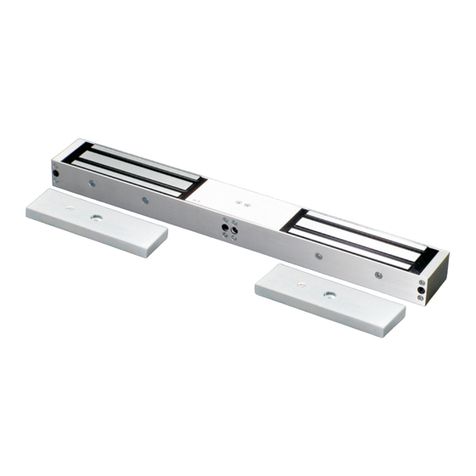
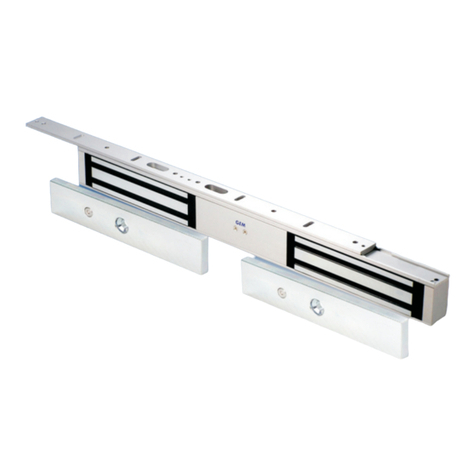
Dimension & Accessories
Copyright © All rights reserved. P-MU-GS250 Published on: 2024.01.16
GS250 & GS250MDT Series
Surface Temperature
Holding Force
Current Draw
Finish
Humidity
Operating Temperature
Door Gap
Operating Voltage
500mA/12VDC ; 250mA/24VDC
32° to +120.2°F ( 0° to +49°C )
1200 lbs
≤Current temperature +20°C
1/16" (2mm)
0 to 85% Non condensing
Magnet and Armature: Zinc plated
Mounting Brackets
Models GS250 GS250MDT-VGLGS250MDT-SGS250MDT
SMB-300 SMB-300
UBK-182
-
Mounting
Time Delay (2 seconds)
Bond Sensor
Mode Fail-Safe
●●●
Standard Surface Mount Glass Door Mount
●●●
GS250S GS250VGL
-
-
-
-
-
-
12/24VDC12/24VDC
12-24VDC
(self-regulating)
12/24VDC 12-24VDC
(self-regulating)
12-24VDC
(self-regulating)
4-1
Technical Specification
(Magnet Assembly)
Locking Bolt
Anti-Residual Magnetism
Design
Bolt Recess
Armature vertical
adjustment screws
(Armature Assembly)
Magnet Assembly
Armature Assembly
Lug (x4)
26
40.5
25 40
167
30
27.5
147
26.7
42.3
Unit: mm
GS250/GS250MDT
GS250/GS250MDT
147
182
58.5
48
14
182
36
48
147
GS250S/GS250MDT-S
GS250S/GS250MDT-S
GS250VGL/GS250MDT-VGL
Copyright © All rights reserved. P-MU-GS250 Published on: 2024.01.16 4-2
Leading edge of door
Frame
Magnet Midpoint
Armature Midpoint
1. Make sure the gap between the door top rail and frame
header is 2 mm.
2. Mark the central lines on the door and frame where
the magnet and armature assembly will be installed.
3. Attach the templates to the door and frame.
4. Cut and drill holes where the templates indicate.
Connect the wires. Install the shear lock and armature
assembly towards the leading edge of the door.
5. Connect to the power and check the unit.
A. For proper operation, the armature assembly must
be close and parallel to the shear lock, without interfering
with opening and closing of the door.
Keep a distance of 2 mm between the armature assembly
and the magnet.
B. If the magnet attracts the armature assembly when
the door is not in position, please adjust the door
operator and floor hinges.
The gap between the lock
and armature plate is 2 mm.
For proper operation please ensure the gap between
the armature plate and the magnet is no more than 2
mm. Use the Allen wrench provided to adjust the
armature to shorten or lengthen the gap.
Use tapping
screws on
wooden door
Frame
Leading edge of door
Mortise Mount
Mortise Mount
Tighten the set screws with the Allen wrench provided once
the armature plate has been adjusted for optimum door gap.
This will firmly secure the armature plate and prevent it from
becoming loose over time
Armature Plate Set Screws
Copyright © All rights reserved. P-MU-GS250 Published on: 2024.01.16 4-3
Use M6 screws to secure the
SMB-300 brackets.
Blind Nut
M6 Screw
Allen wrench
654
321
Use a wrench or vice-grip to tightly hold
the nut. Then use the included Allen
wrench to slowly tighten the screw until
it does not turn any further.
Drill a 9.4mm hole and hammer the
blind nut assembly into the hole.
This compresses the blind nut so that it
remains permanently fixed in the hole.
Remove the installation tool from the
blind nut. Repeat step 2 through 4 for
the other blind nuts.
Blind Nut Assembly
Blind nut
Nut
Hex screw
Installation tool
Washer
Blind Nut Installation
For hollow metal frames, use blind nuts provided for reinforcement.
SMB-300
Magnet
Assembly
Armature
Assembly
Frame
Metal
Jamb
Out
In
Double action
metal door
Surface Mount
SMB-300
UBK-182
UBK-182
GS250VGL consists of GS250
shear lock, SMB-300 (a pair of
housings) and UBK-182 (a pair
of brackets). Suitable for full
frameless glass door and wall
of 10~13 mm thickness. Out
In
Double action
glass door
2mm
Frameless Glass Door
Frameless
Glass Door
Frameless
Glass wall
Spacer
SMB-300
GS250
Double action
glass door
Semi-surface Mount
Frame
Jamb
Out
In
Surface Mount
Surface Mount
Glass Door Mount
Glass Door Mount
For semi-flush mount, only one of the SMB-300 housing brackets is required
(for the armature plate side). The magnet is mortised into the frame.
Copyright © All rights reserved. P-MU-GS250 Published on: 2024.01.16 4-4
Vertical Installation
Replace the spring with the longer one
provided in the screw pack as shown.
Allen Wrench
For Vertical Installation
The product must be powered from a UL-listed regulated, power-limited, power supply.
If power switch is not wired between DC source voltage(+) and magnet, it will take a longer time to de-energize the
magnet simulating residual magnetism. The minimum permissible wire size to be used shall not be less than 22 AWG.
Power supply:
Power supply:
Power
Input
Control Device
N.C. contact or Access Relay
POWER
SUPPLY
To lock the door, the shear
lock must meet the armature
plate in the direction shown
above or the holding force
will be greatly reduced.
Wipe the surface of shear lock
with anti-rust oil regularly.
Make sure the contact area of the
shear lock and the armature plate
is clean.
Connecting Diagram
Connecting Diagram
Make sure that the”+”and “-”wires are connected correctly. Please ensure the voltage selection (see Jumper Setting
below) is correct for the power supply that is used. Failure to observe polarity and the correct voltage will result in
damage to the product and is not covered by the warranty.
Caution:
Caution:
Important Notes
Important Notes
Remove any diode installed
across the shear lock if using
GS250MDT.
The shear lock is fitted with a
metal oxide varistor to prevent
back EMF.
+
-
N.O.
COM.
N.C.
Power
Input
Magnet bond
sensor output
Magnet bond sensor output
SPDT rated: 1A/24VDC
GS250
GS250MDT
12-24VDC (self-regulating)
Jumper Setting
12 VDC 24 VDC

This manual suits for next models

7

Other Gianni Industries Lock manuals

Gianni Industries EM-2200 User manual

Gianni Industries

Gianni Industries EM-2200 User manual

Gianni Industries EM-150M User manual

Gianni Industries

Gianni Industries EM-150M User manual

Gianni Industries PBT-900 Series User manual

Gianni Industries

Gianni Industries PBT-900 Series User manual

Gianni Industries EB-300 User manual

Gianni Industries

Gianni Industries EB-300 User manual
Gianni Industries 10010ST User manual

Gianni Industries

Gianni Industries 10010ST User manual

Gianni Industries EM-NH350 User manual

Gianni Industries

Gianni Industries EM-NH350 User manual

Gianni Industries 10006S User manual

Gianni Industries

Gianni Industries 10006S User manual

Gianni Industries EM-600 User manual

Gianni Industries

Gianni Industries EM-600 User manual

Gianni Industries EM-1200 User manual

Gianni Industries

Gianni Industries EM-1200 User manual

Gianni Industries EB-220-32 User manual

Gianni Industries

Gianni Industries EB-220-32 User manual

Gianni Industries Shear Lock P-MU-GS705N-30 User manual

Gianni Industries

Gianni Industries Shear Lock P-MU-GS705N-30 User manual

Gianni Industries 10040DS User manual

Gianni Industries

Gianni Industries 10040DS User manual

Gianni Industries 10020 User manual

Gianni Industries

Gianni Industries 10020 User manual

Gianni Industries EM-NH300 User manual

Gianni Industries

Gianni Industries EM-NH300 User manual

Gianni Industries EM-750 User manual

Gianni Industries

Gianni Industries EM-750 User manual

Gianni Industries EB-262 User manual

Gianni Industries

Gianni Industries EB-262 User manual

Gianni Industries EB-200N User manual

Gianni Industries

Gianni Industries EB-200N User manual

Gianni Industries Electromechanical Lock User manual

Gianni Industries

Gianni Industries Electromechanical Lock User manual

Gianni Industries ML-210 User manual

Gianni Industries

Gianni Industries ML-210 User manual

Gianni Industries EB-180 User manual

Gianni Industries

Gianni Industries EB-180 User manual

Gianni Industries P Series User manual
Gianni Industries

Gianni Industries P Series User manual

Gianni Industries GEM EM-NH2300 User manual

Gianni Industries

Gianni Industries GEM EM-NH2300 User manual

Gianni Industries Mortise Series User manual
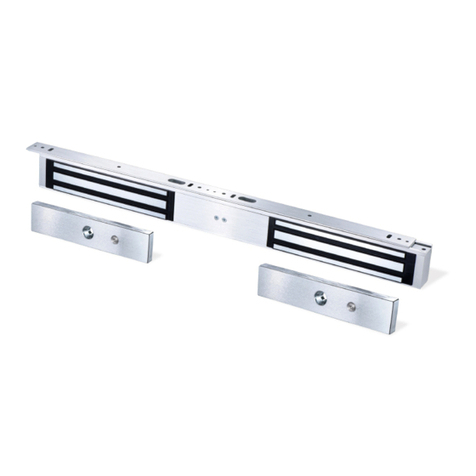
Gianni Industries

Gianni Industries Mortise Series User manual

Gianni Industries Gk300 Series User manual

Gianni Industries

Gianni Industries Gk300 Series User manual

Popular Lock manuals by other brands

CISA 1-13100-65-0 installation manual

CISA

CISA 1-13100-65-0 installation manual

Taymor Centinel 3 installation instructions

Taymor

Taymor Centinel 3 installation instructions

Safety 1st OutSmart SECRET BUTTON quick start guide

Safety 1st

Safety 1st OutSmart SECRET BUTTON quick start guide

Arrow Revolution quick start guide

Arrow

Arrow Revolution quick start guide

Turbolock TL116 manual

Turbolock

Turbolock TL116 manual

YLI YM-500 Wiring instructions

YLI

YLI YM-500 Wiring instructions

Hafele DT 750 Installation and maintenance instructions

Hafele

Hafele DT 750 Installation and maintenance instructions

Arrow Revolution quick start guide

Arrow

Arrow Revolution quick start guide

Zennio ZVIIDAC Assembly instructions

Zennio

Zennio ZVIIDAC Assembly instructions

DOM Tronic Pro instructions

DOM

DOM Tronic Pro instructions

CODELOCKS Kit-Lock KL1100 installation instructions

CODELOCKS

CODELOCKS Kit-Lock KL1100 installation instructions

TimePilot Extreme Blue II quick start guide

TimePilot

TimePilot Extreme Blue II quick start guide

Phoenix SELO-B User instructions

Phoenix

Phoenix SELO-B User instructions

Simons Voss Technologies PinCode-Tastatur quick guide

Simons Voss Technologies

Simons Voss Technologies PinCode-Tastatur quick guide

Command access MLB51 installation instructions

Command access

Command access MLB51 installation instructions

I.H.T DDL - 909 user manual

I.H.T

I.H.T DDL - 909 user manual

DOM RONIS CoverK Assembly

DOM

DOM RONIS CoverK Assembly

Spectrum Weiser 62884 / 01 installation guide

Spectrum

Spectrum Weiser 62884 / 01 installation guide

manuals.online logo
manuals.online logoBrands
  • About & Mission
  • Contact us
  • Privacy Policy
  • Terms and Conditions

Copyright 2025 Manuals.Online. All Rights Reserved.