4
Before using the equipment, read and
understand the Owner’s Manual and all DANGER, WARNING & CAUTION
labels posted on the machine. SERIOUS INJURY OR DEATH CAN OCCUR IF
THESE RULES ARE NOT FOLLOWED:
1. Inspect the equipment before each use for wear and tear, loose
ttings, and welded joints for cracks. If it appears to be inoperable
or damaged, DO NOT USE equipment until repaired. Use only
genuine TuStu parts. Failure to do so will void warranty and
could result in serious injury or death.
2. Children must not be allowed near this machine. Teenager must
be supervised.
3. Stop exercising if you feel faint or dizzy. Consult a physician if you
are experiencing pain.
4. Use this equipment only for exercises shown on the EID-42
and EWC-25 Owners Manual.
5. Use spotters/helpers to assist when using weights.
6. Keep body, clothing and hair clear from all moving parts. Do not
attempt to free any jammed parts by yourself.
7. Always warm-up before and cool-down after weight training.
Warm-up for 10-15 minutes with stretching and cardiovascular
exercises. Cool-down should include light stretching exercises for
5-15 minutes.
8. Never hold your breath – will limit the ow of oxygen to your brain
and may cause dizziness. The most often used breathing pattern is
inhaling during least resistance and exhaling during maximum
resistance.
9. Do not remove any decals axed to the machine. Replace if
damaged.
10. Periodic maintenance is required to keep your equipment in safe
and proper operating condition. Follow the maintenance schedule
as shown in“Inpection”and“Schedule”labels.
11. Do not use accessories or accessory attachments that are not
recommended by TuStu.
12. Make sure all pull-pins are fully engaged and secured in the holes
before performing the exercises.
13. Do not use the equipment outdoors.
Personal Safety During Assembly
Before beginning assembly, it is important to take the time to read and
review all of the assembly the instructions provided in this manual.
Read each step in the assembly instructions and follow the steps in
sequence. Do not skip ahead as you may learn later the you have to
disassemble the components and that you may have damaged the
components or parts.
Assemble, lubricate all moving parts, and operate the ELC-18 on a solid,
level and clean surface.
Locate the unit a few feet from the walls or furniture to provide easy
access.
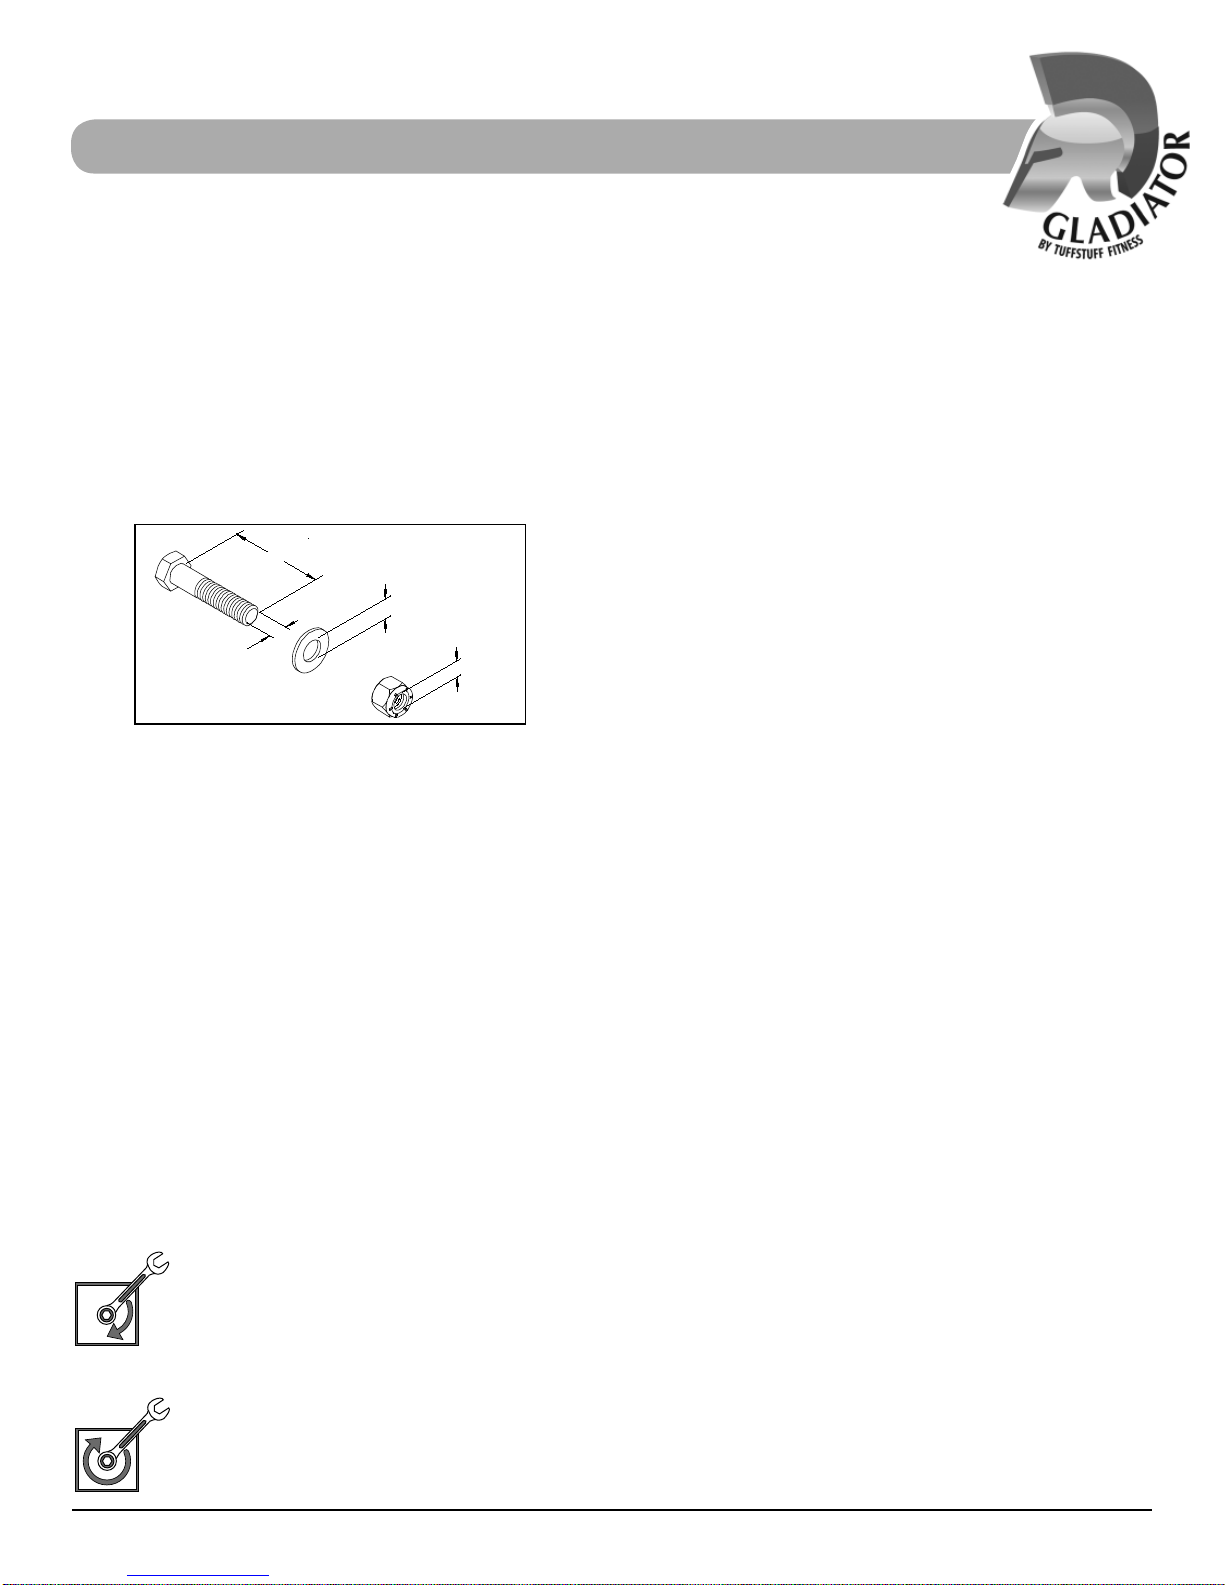
After assembly, you should check all nuts & bolts that are wrench-
tightened, and all functions to ensure correct operation. If you experience
problems, rst recheck the assembly instructions to locate any possible
errors made during assembly. If you are unable to correct the problem(s),
call the dealer from whom you made the purchase rst before contacting
TuStu Customer Service.
Obtaining Service
Please use this Owner’s Manual as your guide to all parts included in
your shipment. When ordering parts, you must specify the part number
and description from this manual. Use only genuine TuStu replacement
parts when servicing the equipment. Failure to do so will void your
warranty and could result in serious injury or death.
For information about product operation or service:
Phone: 909-629-1600
Fax: 909-629-4967
Toll Free: 888-884-8275
E-mail: service@tustu.net
Hours: M–F 8:00 – 4:30 PST
Or write to: TuStu Fitness Equipment Inc.
Customer Service
13971 Norton Avenue, Chino, CA 91710
Retain this Owner’s Manual for future reference when ordering
service or parts. To assist you better, please be prepared to
provide the following information:
1. Model Number
2. Place of Purchase
3. Serial Number
4. Part # and Description
MAXIMUM
LOAD
150 lbs
DO NOT ATTEMPT to use over
maximum weight capacity
Important Safety Instructions
Before beginning any form of exercise program, it is important to get your physician approval. If you have
not participated in a regular exercise program, smoke or have signs of high blood pressure, you must consult
with your personal physician before performing any form of physical activities.
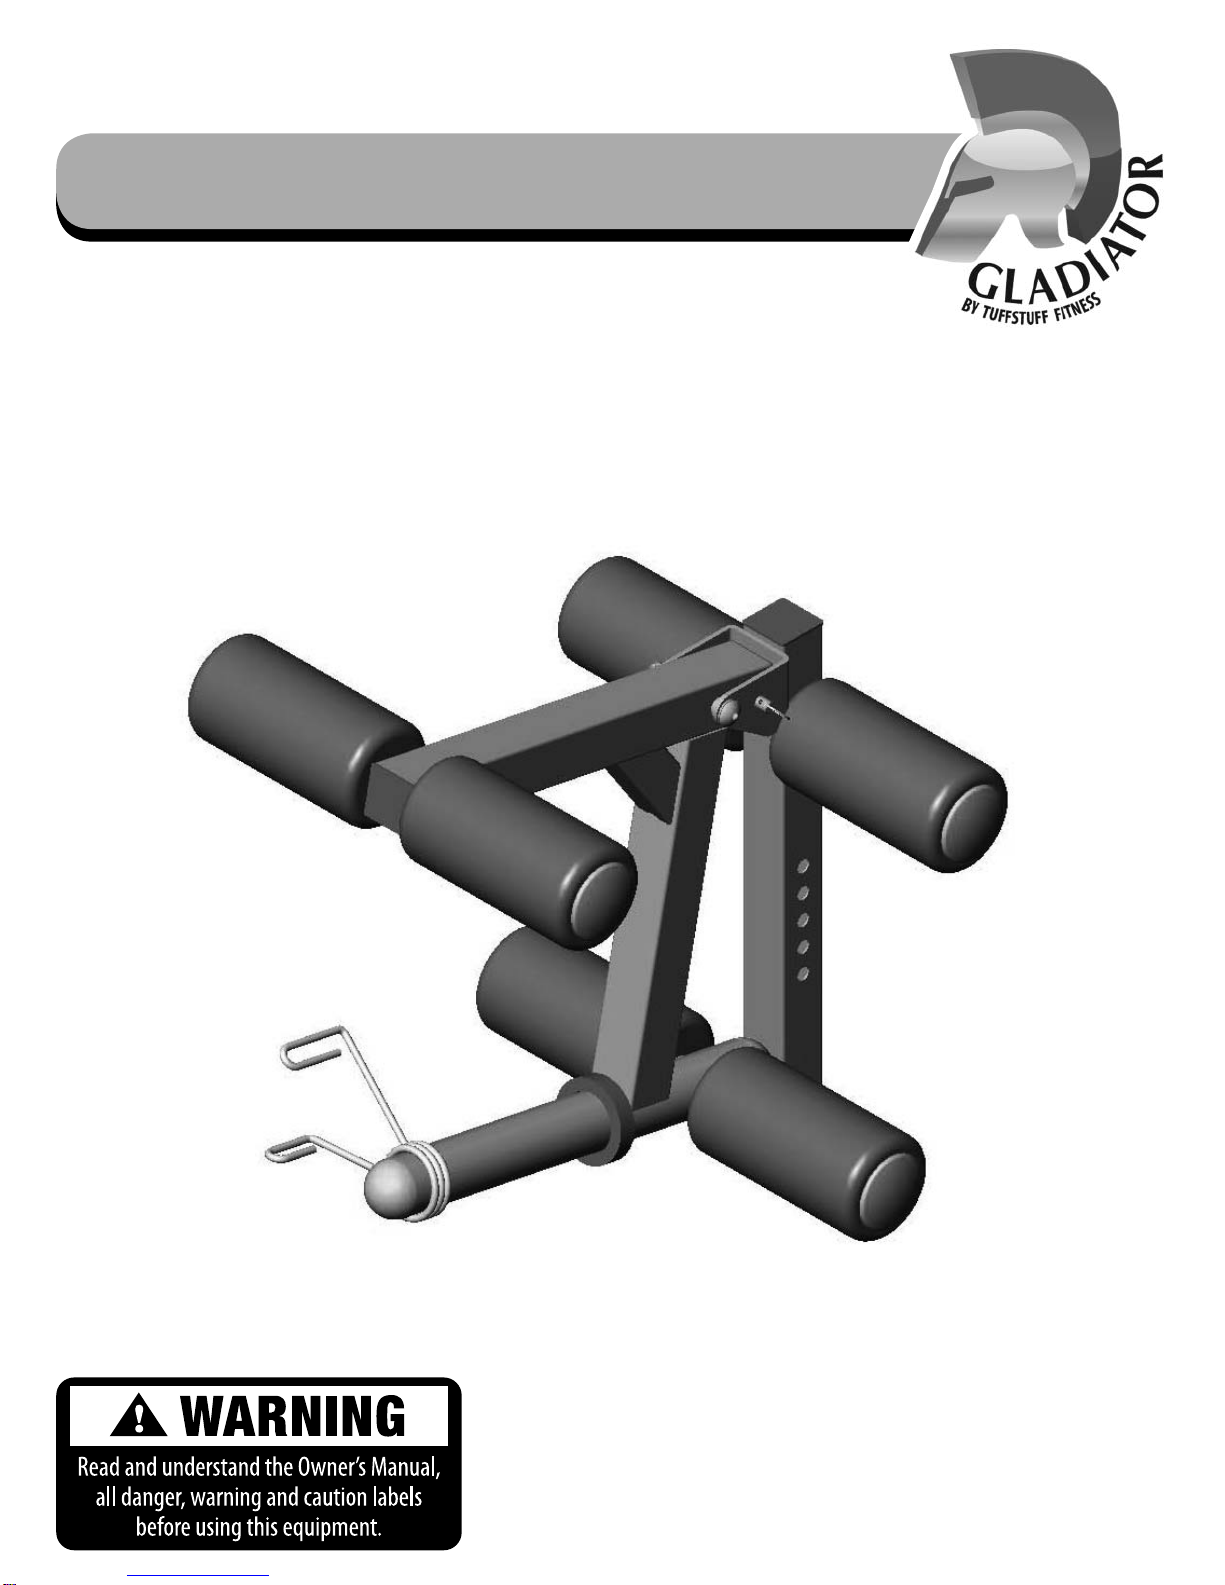
ELC-18 Leg Developer Attachment