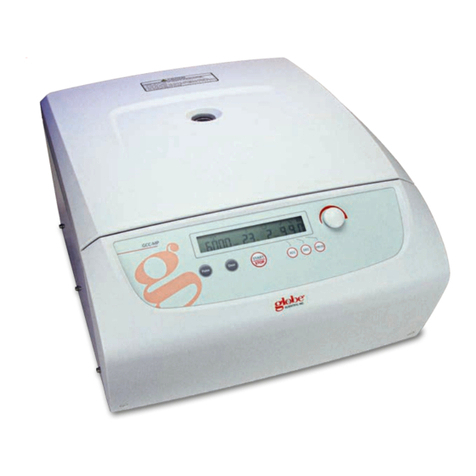
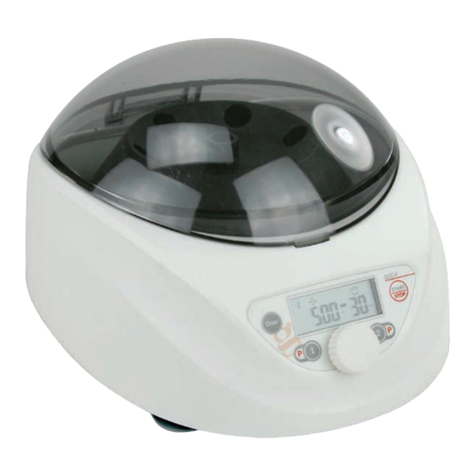
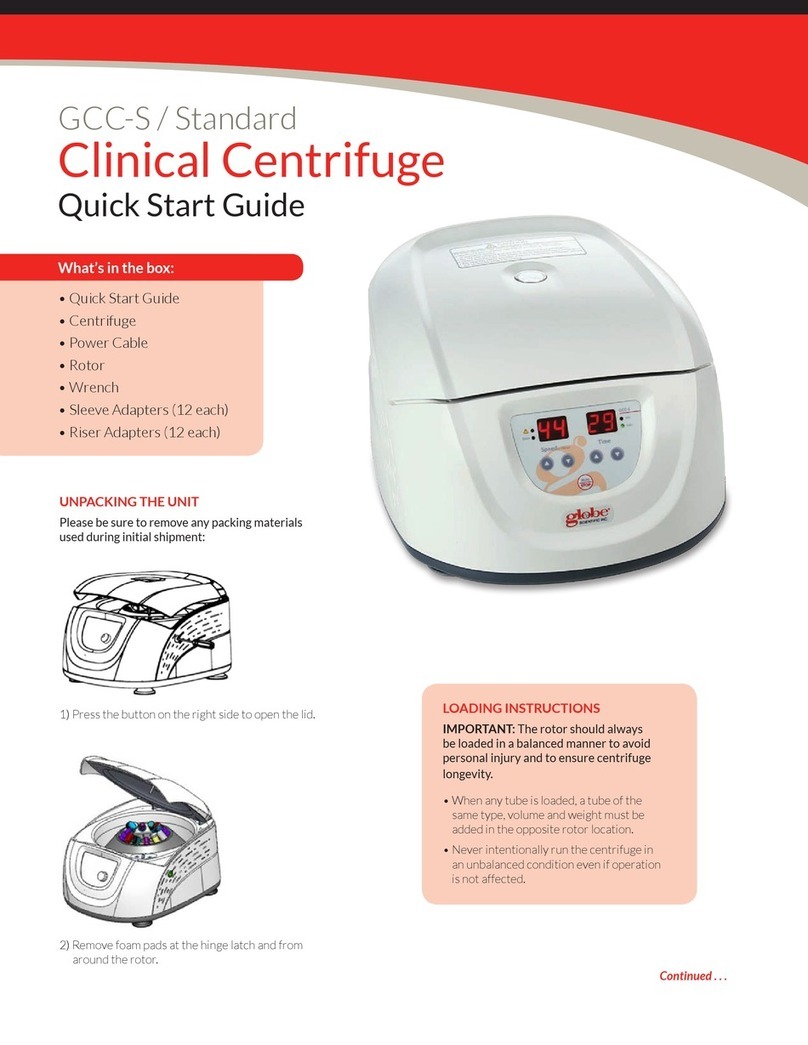
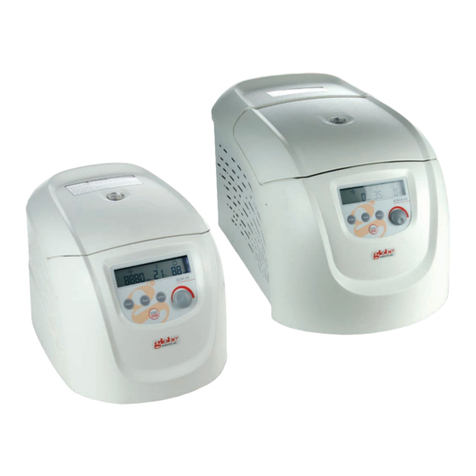
Globe Scientific GCC-S User manual

®
USER MANUAL
Clinical Centrifuge
Low Speed Clinical Centrifuge
GCC-S
www.globescientic.com
IMPORTANT: Carefully and completely read this user manual to ensure user safety and achieve most efcient operation.

Contents
Important Safety Information ................................................ 1-2
1. Specications.........................................................................2
2. Required Operating Conditions....................................3
2.1 Basic Operating Conditions...........................................3
2.2 Transport and Storage Conditions..............................3
3. Installation..............................................................................3
3.1 Location .................................................................................3
3.2 Connection of the Power Cord and Grounding.......3
4. Unit Overview.......................................................................4
5. Control Panel.........................................................................4
6. Rotor Preparation ...............................................................5
6.1 Inspect the Rotor ...............................................................6
6.2 Symmetrically Load Tubes Into Rotor .......................6
7. Operation........................................................................... 5-6
7.1 Starting the Centrifuge....................................................6
7.2 Stopping the Centrifuge..................................................6
8. Maintenance..................................................................... 6-7
8.1 Cleaning............................................................................ 6-7
8.2 Rotor Installation...............................................................7
9. Troubleshooting Tips..........................................................8
10. Rotor Instructions .......................................................... 8-9
10.1 Rotor Structure...................................................................8
10.2 Available Rotors and Adapters.....................................9
11. Calculating RCF ....................................................................9
12. Returning and Disposal.....................................................9
12.1 Returning the Unit.............................................................9
12.2 Disposal .................................................................................9
13. Ordering Information ...................................Back Cover
14. Warranty ............................................................Back Cover
15. Service .................................................................Back Cover
© 2019 Globe Scientic Inc. all rights reserved. Globe Scientic Inc. and the Globe Scientic logo are registerd trademarks of Globe Scientic Inc. No part
of this manual may be reproduced or otherwise transmitted without the prior written consent of Globe Scientic Inc.
Globe Scientic Inc. reserves the right to change information at any time. Note that specications of the centrifuge are subject to change.
Version 1.0 19134
USER MANUAL
®
GCC-S Clinical Centrifuge

1
Important Safety Information
Common Safety Precautions
Carefully read the following safety precautions for a thorough understanding.
• Follow the instructions and procedures described in this manual to operate this centrifuge safely.
• Carefully read all safety messages in this manual and the safety instructions on the centrifuge.
• Safety messages are labeled as indicated below. They are in combination with signal words of “WARNING” and
“CAUTION” with the safety alert symbol to call your attention to items or operations that could be dangerous to
you or other persons using this centrifuge. The denitions of signal words are as follows:
WARNING: Personal Danger
Warning notes indicate any condition or practice, which if not strictly observed, could result in personal injury or
possible death.
CAUTION: Possible Damage to Centrifuge
Caution notes indicate any condition or practice, which if not strictly observed or remedied, could result in
damage or destruction of the centrifuge.
NOTE: Notes indicate an area or subject of special merit, emphasizing either the product’s capability or common
errors in operation or maintenance.
• Do not operate the centrifuge in any manner not described in this User Manual. When in doubt or if you have any
troubles with this centrifuge, please CONTACT GLOBE SCIENTIFIC AND ASK FOR HELP.
• The precautions described in this User Manual are carefully developed in an attempt to cover all the possible risks.
However, it is also important that you are alert for unexpected incidents. Be careful operating this centrifuge.
WARNING
• This centrifuge is not explosion-proof. Never use explosive or ammable samples.
• Do not install the centrifuge in or near places where inammable gases are generated or chemicals are stored.
• Do not place dangerous materials within 30cm (approximately 12 inches) of the centrifuge.
• Prepare all necessary safety measures before using samples that are toxic, radioactive or contaminated with
pathogenic micro-organisms. Use of these materials are at your own risk.
• If the centrifuge, rotor and accessories have been contaminated by solutions with toxic, radioactive or
pathogenic materials, clean them according to the decontamination procedure as specied.
• If you require service, please sterilize and decontaminate the centrifuge in advance and then notify the service
center the details of the materials and procedure.
• To avoid electrical shocks, ensure hands are dry before handling the power cord or turning on/off the power
switch.
• For safety purposes, do not come within 30cm (approximately 12 inches) around the centrifuge when in
operation.
• While the rotor is rotating, never release the lid lock.
• Unauthorized repairs, disassembly, or modifying the centrifuge except by an authorized Globe Scientic service
center or service technician is strictly prohibited.
2
CAUTION
• This centrifuge must be located on a rm and level table.
• Make sure the centrifuge is horizontal before running.
• Do not move or relocate the centrifuge when it is running.
• If uid spills in the rotor chamber, please promptly clean and dry with a dry cloth to avoid sample
contamination.
• Ensure removal of any objects and/or fragments of the tubes dropped inside the rotor chamber before running
the centrifuge.
Rotor Cautions:
• Always check for corrosion and damage on the rotor surface before using it. Do not use the rotor if an
abnormality is found.
• Do not set the speed beyond the allowable maximum speed of the rotor kits (rotor and adapters).
• Do not exceed the allowable imbalance.
• Use the rotor and tubes within their actual capacities.
• If any abnormal condition occurs during operation, please stop immediately and contact our service center.
Notify the service center of the warning code (if displayed) along with the model and serial numbers and a
detailed description of the issue.
• Vibrations are likely to damage the centrifuge. Please contact our service center if any abnormality is observed.
1. Specications
Maximum Speed 4500rpm(300-4500rpm)
Maximum RCF 2490×g
Maximum Capacity 10ml×12, 15ml×8
Timer 10seconds to 99minutes
Noise 56dB(A)
Driving Motor DC motor
Safety Devices Door interlock, over-speed detector
Power Requirements Single-phase, 110V-240V, 50Hz/60Hz, 3A.
220V-240V, 50Hz/60Hz, 3A
Operating Conditions
-Location Indoors only
-Altitude Up to 2000 m above sea level
-Ambient Temperature 2°C ~ 40°C
-Humidity 80% RH, non-condensing
Device Protection Class I
EMC EN/IEC 61326-1 FCC Class A
-Emitted Interference,
-Interference Immunity Class A
Dimensions (mm) 280 × 364 × 266 (L x W x H)
Weight 6kg
Important Safety Information (Cont.)

3
2. Required Operating Conditions
2.1 Basic Operational Conditions
• Power: 110V-240V, 50Hz/60Hz, 3A
• Ambient temperature: 2ºC~40ºC
• Relative humidity: ≤80%, non-condensing
• No vibration and airow around the centrifuge
• No static, explosive and corrosive gases around the centrifuge
2.2 Transport and Storage Conditions
• Storage temperature: -40ºC-55ºC
• Relative humidity: ≤93%
3. Installation
This section describes the instructions that you should adhere to when installing the centrifuge to ensure your safety and
optimum performance of the unit. Before moving the centrifuge, the rotor must be removed.
WARNING
• Improper power supply may damage centrifuge
• Make sure the power source conforms to the required power supply before connecting
3.1 Location
1. Place this centrifuge on a rm, at and level surface and ensure the four feet of this centrifuge stand on the counter
rmly. Avoid installing on a slippery surface or a surface prone to vibration.
2. Ideal ambient temperature is 20ºC ± 5ºC, avoid placing the centrifuge in direct sunlight if the ambient temperature
exceeds 30ºC.
3. Keep obstructions clear of the centrifuge at least 10cm on both sides and at least 30cm behind it to ensure optimal
cooling efciency.
4. Keep away from heat or water to avoid sample temperature issues or centrifuge failures.
3.2 Connection of the Power Cord and Grounding
WARNING
• To avoid electrical shocks, ensure your hands are dry when touching the power cord.
• This centrifuge must be grounded properly.
A minimum 10A outlet providing a sufcient ground is required, and this must meet local safety requirements.

4
4. Unit Overview
FRONT VIEW SIDE VIEW
Rotor
Control Panel
Lid Lock Hook
Lid Release Hole
View
Air Vents
Power Cord
Socket
Power Switch
Lid Release Button
5. Control Panel
The main interface is shown above. Left up and down keys are for setting speed; right up and down keys are for setting
time. Once set, press RUN/STOP and the centrifuge will run. During operation, the Speed display will show actual speed
and Time will begin to count down once the set speed is achieved.
Error Indicator
Open Lid
Indicator
Speed Adjustment Time Adjustment
Seconds
Minutes
Run/Stop

5
6. Rotor Preparation
CAUTION
• Do not overload samples into the centrifuge as this will cause leaking.
• Do not exceed the actual capacity allowed in this user manual.
6.1 Inspect the Rotor
Check the rotor for corrosion or scratches before using.
CAUTION
• If any abnormality such as corrosion or scratches are found, stop using the rotor and contact Globe Scientic.
• Only Globe Scientic rotors may be used with the centrifuge.
6.2 Symmetrically Load Tubes Into Rotor
IMPORTANT: The rotor should always be loaded in a balanced manner to avoid personal injury and to ensure
centrifuge longevity.
• When any tube is loaded, a tube of the same type, volume and weight must be added in the opposite rotor location.
• Never intentionally run the centrifuge in an unbalanced condition even if operation is not affected.
CAUTION
• Make sure the rotor and shaft are tightened. Otherwise, the rotor may come apart while operating and cause
damage to the centrifuge and rotor.
7. Operation
CAUTION
• If the centrifuge makes a strange noise during operation, stop it immediately and contact Globe Scientic.
Please include any warning code(s), if displayed.
7.1 Starting the Centrifuge
Turn on the power and momentarily afterwards the display screen will light up.
• Press the speed buttons to adjust to the desired setting.
• Press the time buttons to adjust to the desired time setting (for set times more than 60 seconds, the “MIN” (minute)
light will be lit. Less than 60 seconds, the “SEC” (second) light will be lit).
• Press the “RUN/STOP” button, starting the centrifuge.

6
7. Operation (Cont.)
7.2 Stopping the Centrifuge
There are three conditions in which the centrifuge will stop running:
• The centrifuge will stop running when the set time runs out.
• Press the “RUN/STOP” button to shut down the centrifuge before the set time runs out.
• Opening the door while the centrifuge is running and the centrifuge will brake the rotor and stop.
8. Maintenance
8.1 Cleaning
CAUTION
• Failure to follow the recommended instructions for cleaning and disinfecting may result in damage to the
centrifuge.
1. Centrifuge
• If the centrifuge is exposed to ultraviolet rays for a long period of time, the lid may discolor or the label may be peel off.
It is recommended to cover the centrifuge with a piece of cloth to protect it from direct exposure or to move it from
direct exposure.
• If the centrifuge needs cleaning, clean it with a cloth or sponge moistened with a neutral detergent solution.
• Sterilize the centrifuge by wiping with a cloth moistened with a 70% ethanol solution.
2. Rotor Chamber
CAUTION
• Do not directly pour water, neutral detergent or disinfectant solution into the rotor chamber, otherwise uids
may leak into the drive units and cause corrosion or deterioration to the bearings.
• If the rotor chamber needs cleaning, clean with cloth or sponge moistened with a neutral detergent solution. Sterilize
the centrifuge by wiping with a cloth moistened with a 70% ethanol solution.
3. Drive Shaft
• We recommend regular maintenance for the drive shaft. You can wipe the drive shaft with a soft cloth, and then apply
a thin coat of silicon grease.
4. Lid
• Clean and sterilize the lid using the same method as in step one above.

7
5. Rotor
• To prevent corrosion, remove the rotor from the rotor chamber. If not in use for a long period of time, turn the rotor
upside down to dry the tube cavities and keep clean.
• For sample leaks in the rotor, rinse the rotor with water. Apply a thin coat of silicon grease to the rotor when it is
completely dry.
• The rotor should be checked every 3 months to ensure the tube and rotor cavities are clean and to apply a thin coat of
silicon grease.
8. Maintenance (Cont.)
2. Adjustment
8.2 Rotor Installation
1. Installation
1 2
3 4
IMPORTANT:
Before locking the rotor, rotate it and carefully observe to see if there is any
obvious wobbling. If so, remove the rotor, turn slightly and install it again until it
rotates smoothly. Then lock in place.

8
9. Troubleshooting Tips
Problem Cause Solution
Power lamp does not light when No power at the outlet Reset the circuit breaker
the POWER is turned on
Fuse is blown Check Fuse and replace
Abnormal Vibration
Rotor misaligned with motor shaft Reinstall rotor as shown in
Section 8.2
Samples are unbalanced
Ensure tube weights match,
install symmetrically as
described in section 6.2
Door Fault
The door opened during operation Close the lid immediately
Door switch failure Close the lid and then start
normal operation
No Speed Signal The centrifuge runs at very low speed Check the speed sensor,
reconnect or replace it
Over Speed The cenrifuge runs much higher than Contact Globe Scientic
set or maximum speed
10. Rotor Instructions
CAUTION
• Read the instructions thoroughly to properly load and use the rotor.
• Do not exceed the allowable maximum speed of the rotor, tube and adapters etc. Ensure the allowable
maximum speed of the adapters is lower than the rotor’s maximum speed.
10.1 Rotor Structure
Sleeve Sleeve
Riser
RiserRotor Body
Screw Nut Rubber Cap
Spindle Hole

9
10. Rotor Instructions (Cont.)
10.2 Available Rotors and Adapters
Rotor Tube Tubes Dimension Adapters Maximum Radius Maximum
Type Type Per Rotor (ø×L mm) Required Speed (rpm) (cm) RCF (×g)
15mL Conical 8 17×120 None 4500 11 2490
1.5 - 5mL 12 13×82 CC-AD1 4500 9.8 2218
Vacuum CC-PLUG
4 - 7mL 13×106 CC-AD1 11 2490
Vacuum 12 16×75 CC-AD1 4500
CC-PLUG 9.8 2218
8.5 - 10mL Vacuum 12 16×107 CC-AD1 4500 11 2490
2.7 - 3mL (EU) 12 11×66 CC-AD1 4500 9.8 2218
Collection CC-PLUG
7.5 - 8.2mL (EU) 12 15×92 CC-AD1 4500 11 2490
Collection
CC-R1
(Standard
Rotor)
Note: The centrifuge rotor can separate samples with a density lower than 2.0g/ml. If the sample density is over 2.0g/ml,
calculate allowable speed using the following formula:
11. Calculating RCF
The RCF can be determined with the following formula:
RCF = 1.118 × r × n2 × 10-5
r = rotating radius, unit: cm; n = rotating speed, unit: rpm
12. Returning and Disposal
12.1 Returning the Unit
Before returning the unit, a transport securing device must be installed.
Before the unit or its accessories are returned to Globe Scientic, they must be decontaminated and cleaned to protect
people, the environment and property.
12.2 Disposal
Before disposal, the device must be decontaminated and cleaned to protect people, the environment and property. When
you are disposing of the device, the respective statutory rules must be observed.
Pursuant to guideline 2002/96/EC (WEEE), all devices supplied after August 13, 2005 may not be disposed of as part
of domestic waste. The device belongs to group 8 (medical devices) and is categorized in the business-to-business eld.
The icon of the crossed-out trash can shows that the device may not be disposed of as part of domestic waste. The waste
disposal guidelines of the individual EC countries may vary. If necessary, contact your supplier.

© 2019 Globe Scientic Inc. All rights reserved. The Globe Scientic logo is a registered trademark of Globe Scientic Inc. GCC-S Manual 19134
13. Ordering Information
Item # Descriptions Unit
GCC-S Clinical Centrifuge, 12-Place, 120v, 60Hz, US Plug Each
GCC-S-UK Clinical Centrifuge, 12-Place, 230v, 50Hz , UK Plug Each
GCC-S-EU Clinical Centrifuge, 12-Place, 230v, 50Hz , EU Plug Each
Accessories
GCC-ADP Rotor Cavity Sleeves and Risers, converts the rotor cavity for use with: 24
5mL, 7mL and 10mL Tubes, 12 Each of Both Sleeves and Risers
GCC-AD1 Rotor Cavity Adapter Sleeves for 5mL, 7mL and 10mL Tubes 12
GCC-PLUG Rotor Cavity Adapter Risers for 5mL, 7mL and 10mL Tubes 12
14. Warranty
This centrifuge is guaranteed for two years from the date of delivery provided that it has been operated and maintained
properly.
Instances that would void the warranty include:
1. Failures caused by incorrect installation.
2. Failures caused by rough or improper handling.
3. Failures caused by transportation or relocation after installation.
4. Failures caused by unauthorized disassembly or modication.
5. Failures caused by using non-standard spare parts or accessories and/or unauthorized modication of the rotor or
centrifuge.
6. Failures caused by natural disasters including re, earthquakes, etc. (force majeure).
15. Service
To ensure safe and efcient operation of your GCC series centrifuge, it is necessary to keep the centrifuge clean and to use
as recommended in this manual. If centrifuge has problems, do not attempt to repair it by yourself. In the unlikely event you
require service or assistance, please contact Globe Scientic at:
E-Mail:
service@globescientic.com
Sales and Technical Support:
1 800-394-4562 ext. 2
1 201-599-1400
1 201-599-1406 fax
International Sales:
1 201-599-1400
internationalsales@globescientic.com
®Customer Service:
1 800-394-4562 ext. 1
1 201-599-1400
1 201-599-1406 fax
Address:
Globe Scientic Inc.
400 Corporate Drive
Mahwah, New Jersey 07430
USA
Other manuals for GCC-S
1
This manual suits for next models
2
Table of contents
Other Globe Scientific Laboratory Equipment manuals

Globe Scientific
Globe Scientific GCH-24 User manual

Globe Scientific
Globe Scientific GHS-550HS User manual

Globe Scientific
Globe Scientific GCC-E User manual

Globe Scientific
Globe Scientific GCC-P User manual

Globe Scientific
Globe Scientific GCC-MP User manual

Globe Scientific
Globe Scientific GCM-R-24 User manual

Globe Scientific
Globe Scientific GTR-ID User manual

Globe Scientific
Globe Scientific GCM-12 User manual

Globe Scientific
Globe Scientific GCM-24 User manual

Globe Scientific
Globe Scientific GCC-S User manual