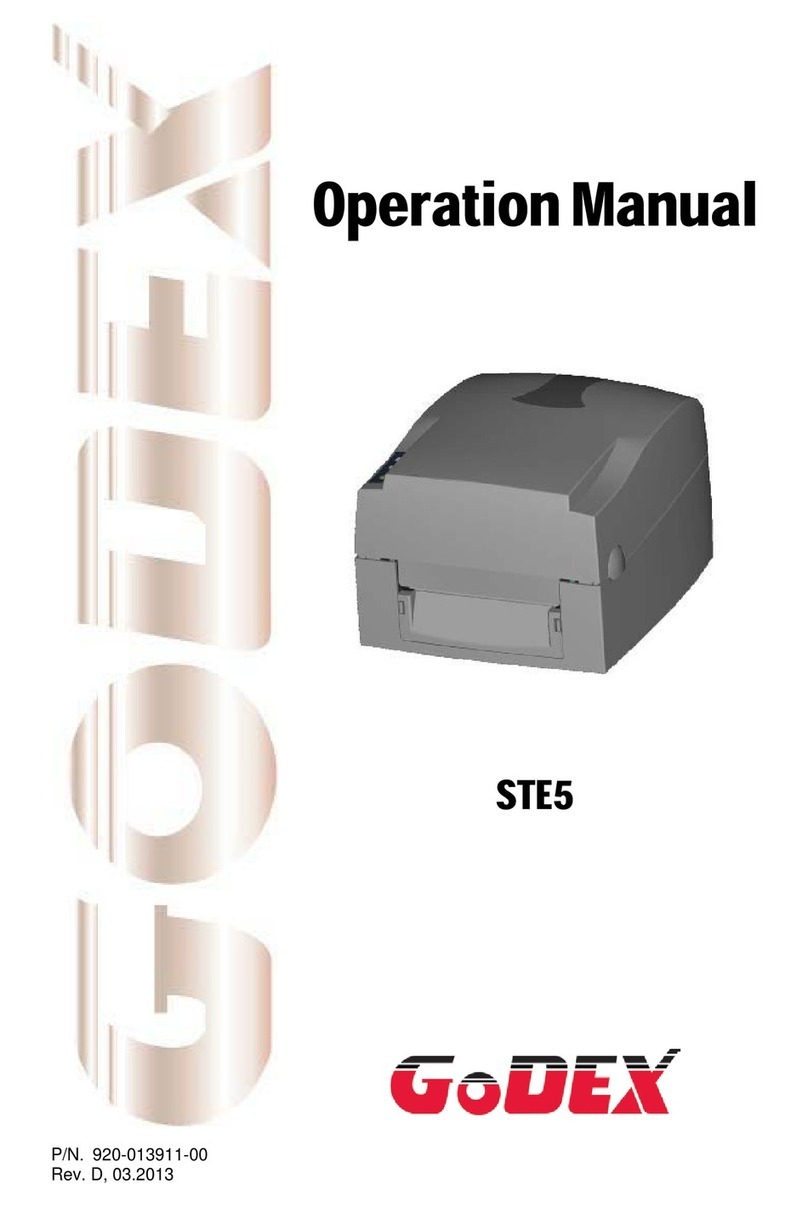
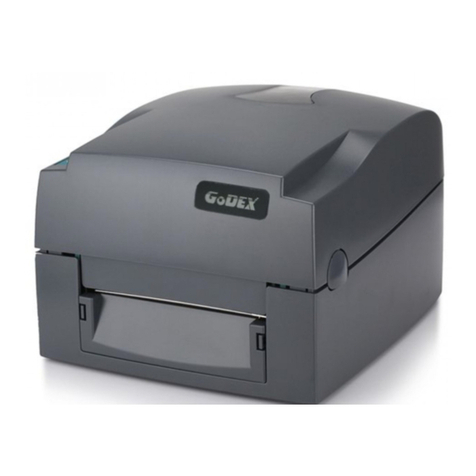
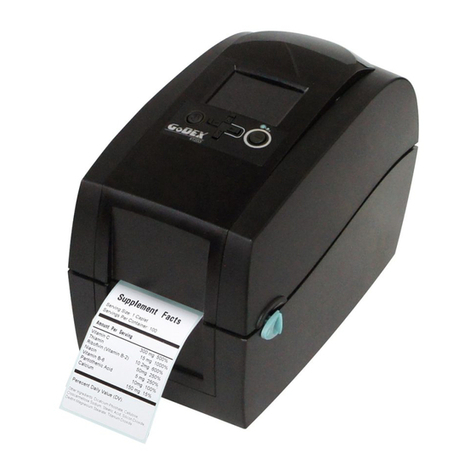
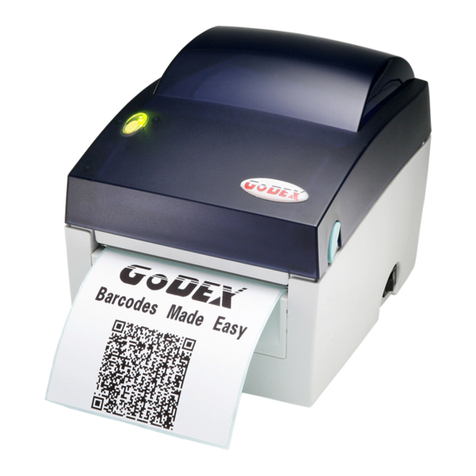
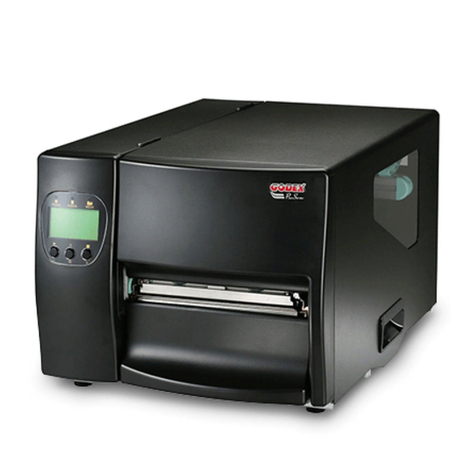
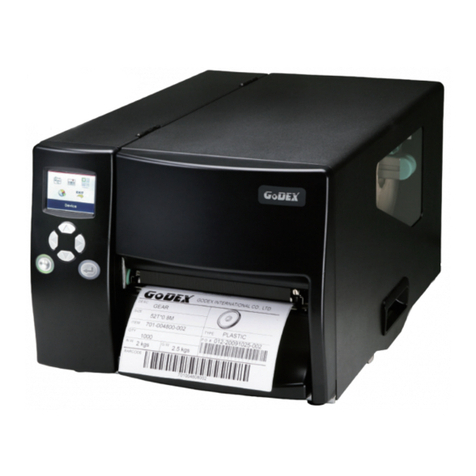
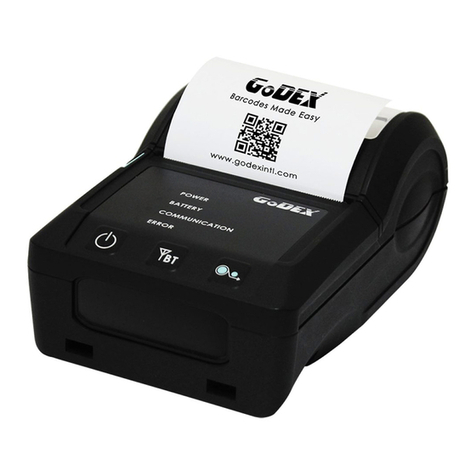
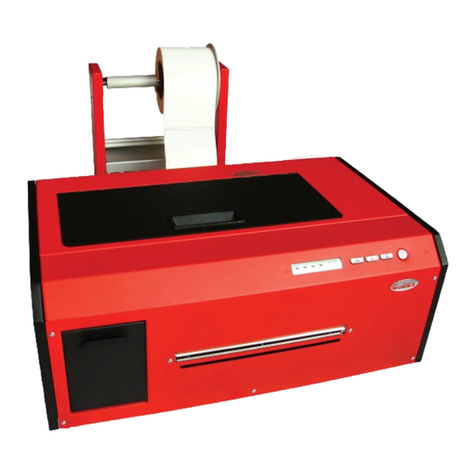
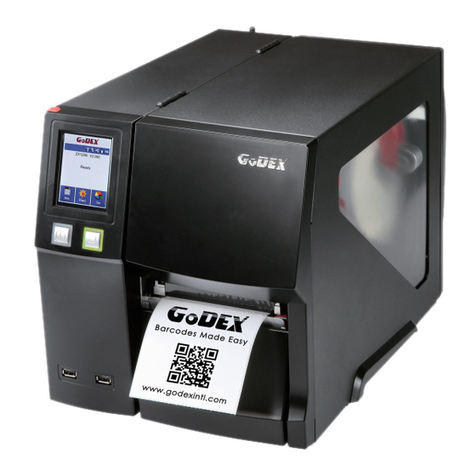
Godex BP1000i Series User manual

BP1000
i Series
THERMAL LABEL PRINTER
USER MANUAL
User Manual
Version
Issue Date
P/N
: BP1000i series
: Rev. 1.1
: 2017.11
: 920-016211-00

Contents
BP1000
i Series
USER MANUAL
CONTENTS
1 Barcode Printer
1.1
1.2
Box Content
Getting to Know Your Printer
2 Printer Setup
2.1
2.2
2.3
2.4
Loading the label roll
Loading & Removing the Ribbon
Connecting the Printer to the Host Computer
Wizard CD Standard Installation
3 Printer Setting and Control
3.1
3.2
3.3
3.4
3.5
3.6
Operation Panel
LCD Interface Introduction
LCD Interface Function
Label Calibration and Self-Test
Error Alerts
USB Host
4 NetSetting for Ethernet
4.1
4.2
Installing the NetSetting Software
The Interface of NetSetting
5 Accessories
5.1
5.2
Preparation Steps
Installing the Cutter
5.3 Option Rewind Ribbon Hub Removing Ribbon
6 Maintenance and Adjustment
6.1
6.2
6.3
6.4
6.5
6.6
6.7
6.8
Installing / removing the print head module
Adjusting the print line
Adjusting ribbon tension
Cleaning the thermal print head
Adjusting the balance and print head tension
Ribbon shield settings
Cutter settings
Troubleshooting
Appendix
001
001
002
004
004
008
010
011
014
014
015
020
025
027
029
031
031
032
039
039
040
043
045
045
046
047
048
049
050
051
052

Declaration
USER MANUAL
FCC COMPLIANCE STATEMENT
FOR AMERICAN USERS
Federal Communication Commission Interference Statement
This equipment has been tested and found to comply with the limits for a Class B digital device, pursuant to
Part 15 Subpart B of the FCC Rules. These limits are designed to provide reasonable protection against harmful
interference in a residential installation. This equipment generates, uses and can radiate radio frequency
energy and, if not installed and used in accordance with the instructions, may cause harmful interference
to radio communications. However, there is no guarantee that interference will not occur in a particular
installation. If this equipment does cause harmful interference to radio or television reception, which can be
determined by turning the equipment off and on, the user is encouraged to try to correct the interference
by one of the following measures:
● Reorient or relocate the receiving antenna.
● Increase the separation between the equipment and receiver.
● Connect the equipment into an outlet on a circuit different from that to which the receiver is connected.
● Consult the dealer or an experienced radio/TV technician for help.
This device complies with Part 15 Subpart B of the FCC Rules. Operation is subject to the following two conditions:
(1) This device may not cause harmful interference, and (2) this device must accept any interference received,
including interference that may cause undesired operation.
FCC Caution: Any changes or modifications not expressly approved by the party
responsible for compliance could void the user’s authority to operate this equipment.
TO WHICH THIS DECLARATION RELATES
IS IN CONFORMITY WITH THE FOLLOWING STANDARDS
FCC CFR Title 47 Part 15 Subpart B:2013 Class B,CISPR 22:2008 ANSI C63.4: 2009 ICES-003 Issue 5:2013, Class B
IEC 60950-1:2005(Second Edition)+Am1:2009+Am2:2013
UL 60950-1 & CAN/CSA C22.2 No. 60950-1-07, 2nd Edition,2011-12(Information Technology Equipment -
Safety - Part 1: General Requirements)
TO WHICH THIS DECLARATION RELATES
IS IN CONFORMITY WITH THE FOLLOWING STANDARDS
EN60950-1:2006+A11:2009+A1:2010+A12:2011+A2:2013
EN55022:2012+AC:2013 Class B
EN61000-3-2:2014
EN61000-3-3:2013
AS/NZS CISPR 32:2013
EN55024:2010+A1:2015
IEC61000-4-2 Ed. 2.0:2008
IEC61000-4-3 Ed. 3.2:2010
IEC61000-4-4 Ed. 3.0:2012
IEC61000-4-5 Ed. 3.0:2014
IEC61000-4-6 Ed. 4.0:2013
IEC61000-4-8 Ed. 2.0:2009
IEC61000-4-11 Ed. 2.0:2004

SAFETY INSTRUCTIONS
Please read the following instructions carefully.
1. Keep the equipment away from humidity.
2. Before you connect the equipment to the power outlet, please
check the voltage of the power source.
3. Make sure the printer is off before plugging the power connector
into the power jack.
4. It is recommended that you connect the printer to a surge
protector to prevent possible transient overvoltage damage.
5. Be careful not to get liquid on the equipment to avoid electrical
shock.
6. For safety and warranty reasons, ONLY qualified service personnel
should open the equipment.
7. Do not repair or adjust energized equipment under any
circumstances.
**** Danger of explosion if battery is incorrectly replaced. Replace only with the equivalent type recommended by
the manufacturer.
**** Dispose of used batteries according to the manufacturer’s instructions.
****Only use with designated power supply adapter model.
**** Changes or modifications not expressly approved by the party responsible for compliance could void the user's
authority to operate the equipment.
Specifications are subject to change without notice.
Caution
BP1000
i Series
USER MANUAL

1
1Barcode Printer
1.1 Box Content
Please check that all of the following items are included with your printer.
BP1200i / BP1300i / BP1600i Barcode Printer
CD
Including software and user’s manual.
BP1200i / BP1300i / BP1600i Series
4XLFN*XLGH
BP1200i Series
USB Cable
Label Stock
Ribbon
Power Adapter
Power Cord

2
Front View
1Barcode Printer
1.2 Getting to Know Your Printer
Device Overview
Rear View
Stylus Pen
TOUCH PANEL
POWER BUTTON
FEED BUTTON
LOWER COVER PLATE
USB HOST
PRINTER COVER
VIEWING WINDOW
Feed slot for continuous labels
Calibration button
Ethernet port
Serial port (DB-9)
Applicator Interface(OPTION)
USB port
USB Host
Parallel port(OPTION)
Power jack
On/Off switch

3
1Barcode Printer
The Internal View of Printer
Ribbon rewind hub
Ribbon supply hub
Print mechanism
Platen roller
Release lever
for print head
Paper guide Label tension guide Label supply hub Label roll guide
Adjustable Sensor
RFID module
RFID module
Paper guide

4
This printer supports the following printing methods:
Thermal transfer printing (TTP)ƝRequires a ribbon for transferring a printed image to a medium.
Direct thermal printing (DTP)ƝDoes not require a ribbon, only thermal paper.
Please check which printing method you are using and alter the settings accordingly in the printer driver,
printer menu, and/or software.
Turn it anticlockwise to a top right position as shown in the illustration
2.1 Loading the label roll
2Printer Setup
Place the printer on a flat surface
and open the printer cove

5
Now slide the label roll guide forward and fold it down
Place the label roll on the label supply hub
, pushing it right up to the printer housing.
(Do not apply too much pressure to avoid
damaging the label stock.)
*:KHQPRYLQJWKHODEHOUROOJXLGHKROGLWRQO\E\WKHHQGWKDWLVDWWDFKHGWRWKHEUDFNHWQRWE\LWVWRS
1RWH
2Printer Setup

6
Load the label roll into the printer as shown in the illustration.
Pass it through the printer as indicated by the red arrows.
Pass the label stock through the
Adjustable Sensor and up to the tear-off plate.
* Remember to set the movable sensor to gap, black mark, or tag hole by changing the position of the sensor with the
adjustment wheel.
1RWH
2Printer Setup

7
1. The labels pass between the wall of the printer housing
and the adjustable paper guide.
1
2. Return the print head release lever to its original position.
Then close the printer cover.
2Printer Setup
1
2

8
Place the printer on a flat surface
and open the printer cover
Place a new ribbon on the ribbon supply hub.
The two illustrations as below show you how to install the ribbon depending on the ribbon type (ink side in or out).
Ink side out Ink side in
2Printer Setup
2.2 Loading & Removing the Ribbon
Loading Ribbon

9
* Do not pass the ribbon under the sensor.
1RWH
2Printer Setup
Pass the ribbon under the print head and back up on the other side.
Attach it to the empty ribbon core.

10
2Printer Setup
2.3 Connecting the Printer to the Host Computer
1. Please make sure that the printer is switched off.
2. Connect the power cord to the AC adapter and connect the adapter to the printer.
3. Connect the USB cable to the printer and host computer.
4. Switch on the printer. The operator panel should now light up.
BP1200i / BP1300i / BP1600i BARCODE PRINTER

11
1. ,QVHUWWKHSURGXFW&'LQWKH&'520GULYH$XWRPDWLFDOO\RSHQWKHZHESDJHVHWXSVFUHHQ
6HOHFWWKHPRGHO\RXSXUFKDVHG&OLFN”,QVWDOO3ULQWHU'ULYHU”
2. &OLFNƅI accept the terms in the license agreementƅFOLFN”1H[W”
3. &OLFN”1H[W”
4. &OLFN”)LQLVK”to step 5.
2Printer Setup
2.4 Wizard CD Standard Installation

12
2Printer Setup
5. The Driver Wizard will guide you through the installation procedure. Select "Install printer drivers" and click “Next”.
7. Enter the printer name (you can use default), then click "Next" to display as right diagram.
Click "Finish" button to start installation.
6. With a USB connection, search models such as the right diagram printer device. Specify your printer model
and click ”Next”.
BP1200i
BP1200i
BP1200i
BP1200i
BP1200i

13
8. Driver installation completed.
2Printer Setup
‘BP1200i’.

14
3Printer Setting and Control
3.1 Operation Panel
OPERATION TOUCH PANEL
FEED BUTTON
POWER BUTTON
TOUCH PANEL
POWER Button
Press the POWER button to turn on the printer, and the START UP SCREEN appears. The printer is on “ready to print”
status, the LCD screen should display the message “READY“ on the screen.
When printer is turned on, hold and press down the POWER button for 3 second will turn the printer off.
FEED Button
Turn on the printer and press the FEED button.
When you press the FEED button, the printer will advance media until the FEED button is released.
If you are using continuous labels, pressing the FEED button will advance a length of media until the button is released.
If you are using media with gaps, pressing the FEED button once will advance only one label.
If the label does not stop at the correct position, you need to run the auto-detection function for your media,
please see Section 3.4 Label Calibration and Self-Test.
PAUSE PRINTING_FEED Button
Pressing the FEED button while the printer is in standby mode will set the printer to pause mode. In this mode,
the printer can receive commands, but it will only process them when it is reset to standby mode. Pressing the
FEED button again will reset the printer to standby mode.
Pressing the FEED button during printing will interrupt printing. When the FEED button is pressed again, the printer
resumes printing. Example: While a 10-label print job is running, you press the FEED button to pause the printer.
Two of the labels have been printed. To resume printing and print the remaining eight labels, you will need to press
the FEED button again.
CANCEL PRINTING_FEED Button
Press and hold the FEED button for 3 seconds during printing cancels a print job. The current print job is cancelled.
Example: While a 10-label print job is running, you press the FEED button. Two of the labels have been printed.
The print job is cancelled and the remaining eight labels will not be printed.

15
3Printer Setting and Control
3.2 LCD Interface Introduction
Getting Started
Press the POWER button to turn on the printer, and the START UP SCREEN appears.
Power on
If the printer is on “ready to print” status, the LCD screen should display the message “Ready“ on the screen.
Use touch gestures to get around the Home screen and other screen for setting.
Wizard Test
Main
BP1200 V2.0000
Test
Tap the screen with your finger or the stylus pen when you want to select
on screen items such as settings icons.

16
Wizard
0
Continuous
6
10
Darkness
Speed
Media
Type
0
X-Offset
Y-Offset
Wizard Test
Main
BP1200 V2.0000
Wizard Test
Main
BP1200 V2.0000
Test
Self-Test page
Out of Dump Mode
Wizard Test
Main
BP1200 V2.0000
Main
LCD
Language
Printer
Setting
Label
Setting Device Printer
Control
Codepage
Dump
Mode
Recall
Label
3Printer Setting and Control
On the Ready Page, three function mode for setting. You can make various setting functions in FUNCTIONAL MODE.
Tap‘’Main ‘’--
Screen could show more detail of‘’ Main‘’
Tap‘’Wizard ‘’--
Set up printer of ‘’Darkness’’ ‘’Speed ‘’...
Tap‘’Test ‘’--
self-Test page and Out of Dump Mode for setting.
This manual suits for next models
3
Table of contents
Other Godex Label Maker manuals

Godex
Godex G E300 User manual

Godex
Godex GE300 User manual

Godex
Godex MX3 series: MX30 User manual

Godex
Godex EZPi-1300 User manual

Godex
Godex EZ-DT-2 User manual

Godex
Godex STE5 User manual

Godex
Godex DT4C User manual

Godex
Godex AG3000T User manual

Godex
Godex GE300 User manual

Godex
Godex ZX400+ Series User manual

Godex
Godex ZX1000i+ Series User manual

Godex
Godex EZ6000 Plus Series User manual

Godex
Godex DT Series User manual

Godex
Godex DT200 Series User manual

Godex
Godex RT700 SERIES User manual

Godex
Godex LZX400i User manual

Godex
Godex EZ6000 Plus Series User manual

Godex
Godex HD830i User manual

Godex
Godex DT2L User manual

Godex
Godex BZB-2U User manual