3
Table of Content
1. INTRODUCING EP210 VOIP PHONE .............................................................................................. 5
1.1.
T
HANK YOU FOR YOUR PURCHASING
EP210 ...................................................................................... 5
1.2.
D
ELIVERY
C
ONTENT
.......................................................................................................................... 5
1.3.
K
EYPAD
............................................................................................................................................ 5
1.4.
P
ORT FOR CONNECTING
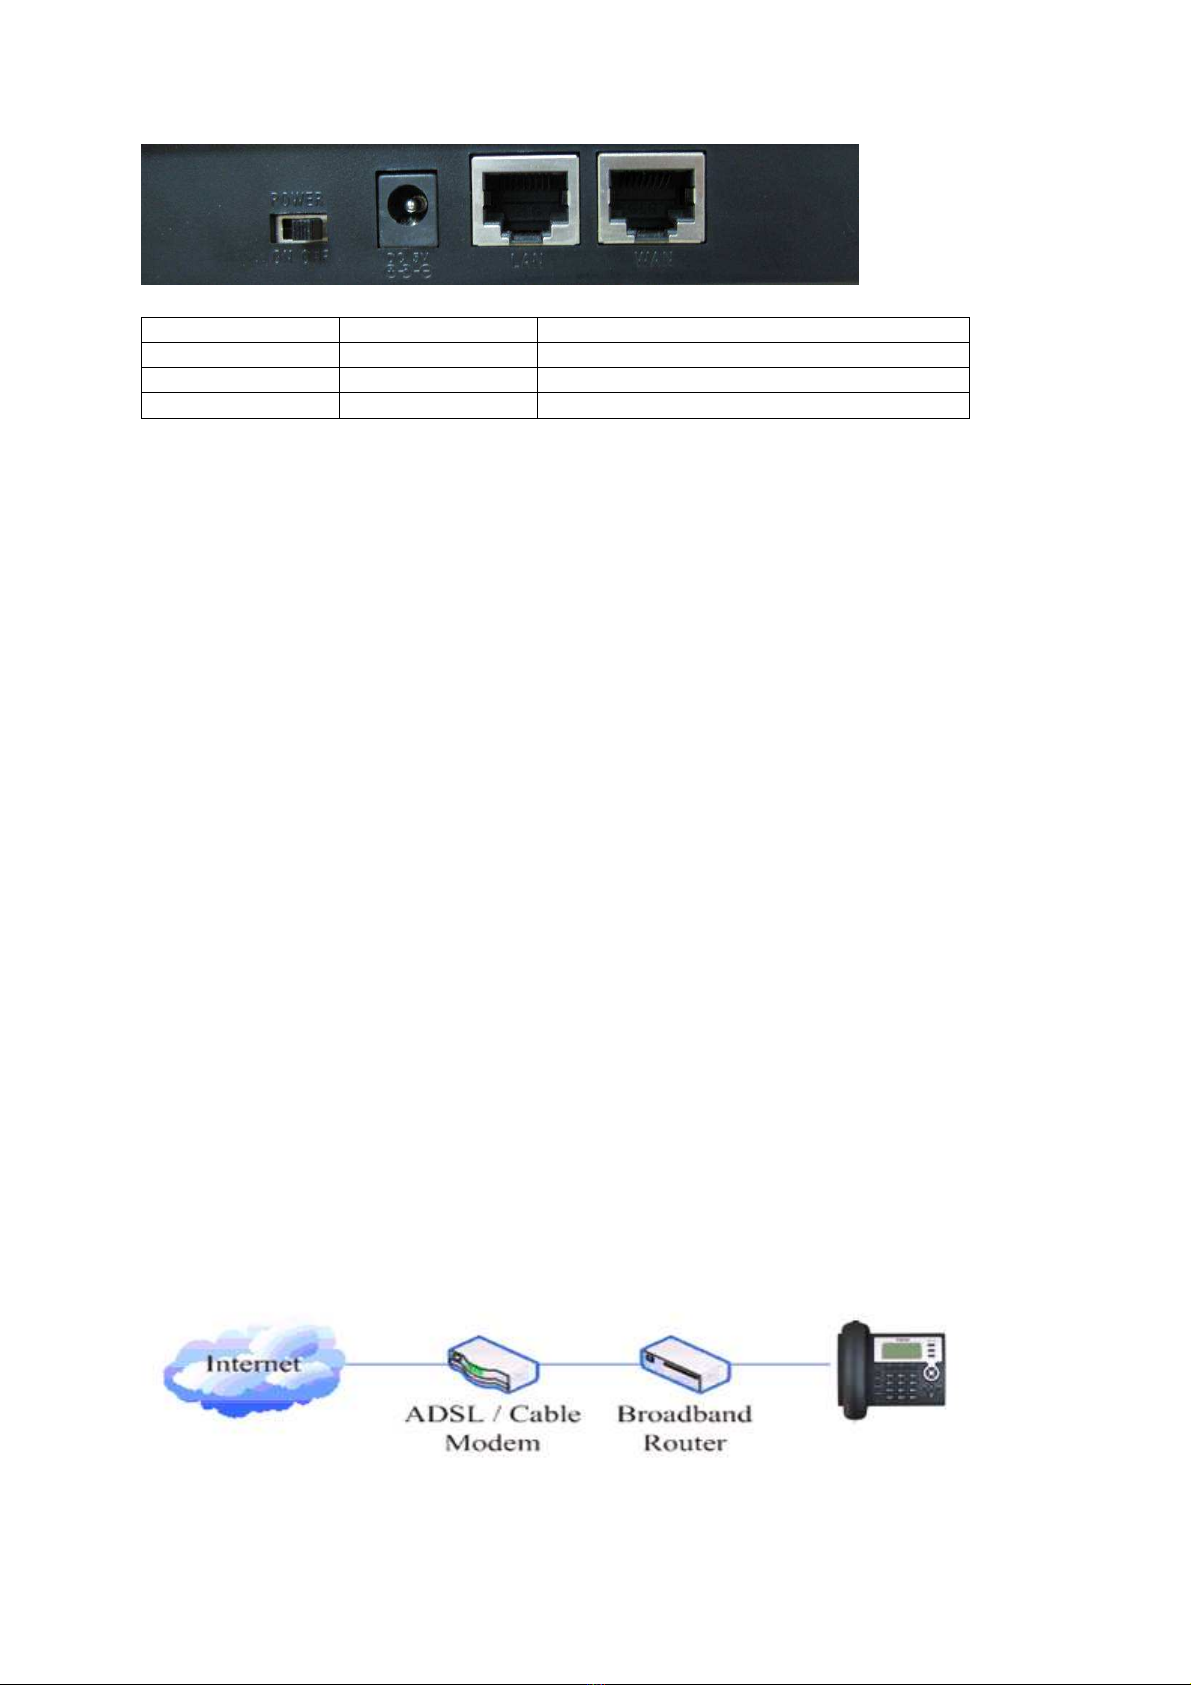
.................................................................................................................... 6
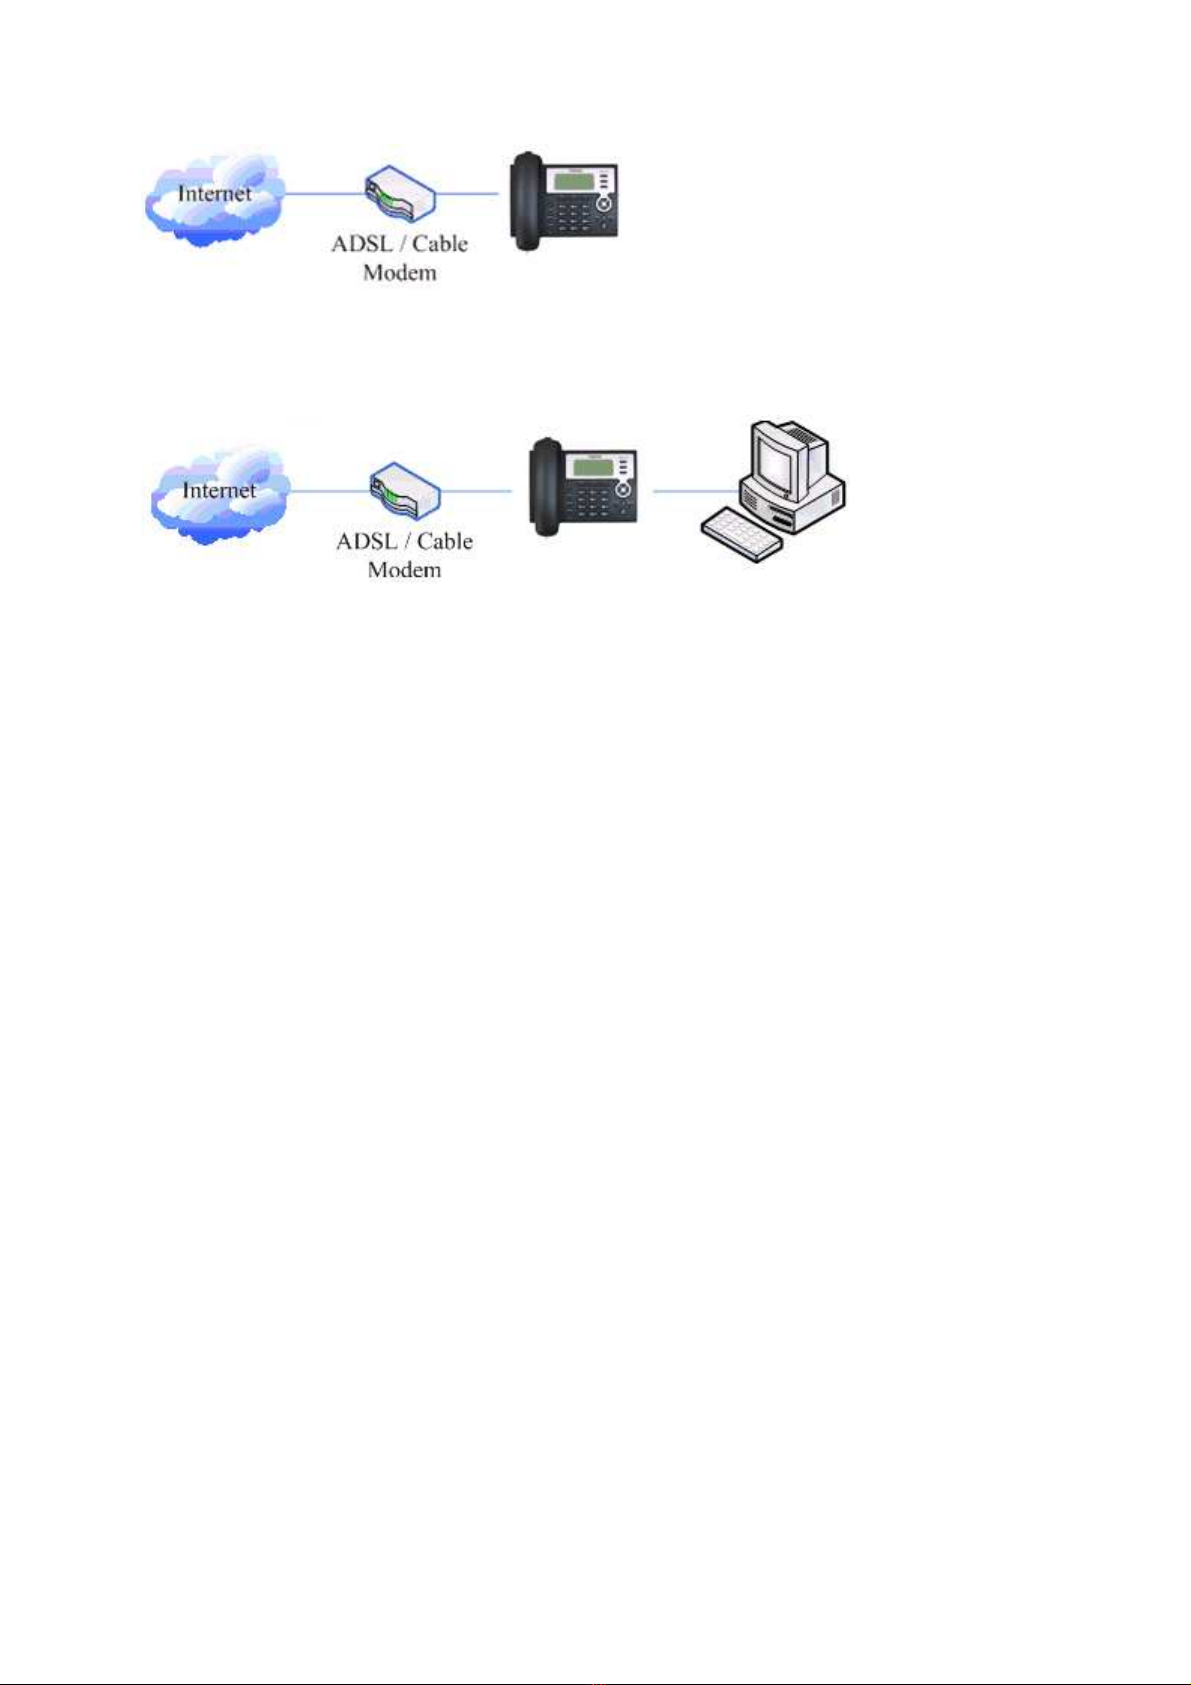
2.INITIAL CONNECTING AND SETTING ................................................................................................ 7
2.1.
CONNECT THE PHONE
........................................................................................................................ 7
2.2.
I
NITIAL
S
ETTING
................................................................................................................................ 8
2.2.1. PPPoE mode. .......................................................................................................................... 8
2.2.2. Static IP mode: ....................................................................................................................... 9
2.2.3. DHCP mode .......................................................................................................................... 10
3. BASIC FUNCTIONS ............................................................................................................................ 11
3.1.
B
ASIC OPERATION
............................................................................................................................ 11
3.1.1. Accepting a call ..................................................................................................................... 11
3.1.2. Making a call .......................................................................................................................... 11
3.1.3. Ending a call ......................................................................................................................... 12
3.1.4. Tran ferring a call ................................................................................................................ 12
3.1.5. Calling Hold and 3 way call ............................................................................................... 13
3.1.6. Caller ................................................................................................................................... 13
3.2.
T
HE HIGH
-
LEVEL OPERATION
........................................................................................................... 14
3.2.1. Special Key ......................................................................................................................... 14
3.2.2. Call pickup ............................................................................................................................ 14
3.2.3. join call .................................................................................................................................. 14
3.2.4. redial/unredial ...................................................................................................................... 15
3.2.5. click to dial ........................................................................................................................... 15
4. SETTING ............................................................................................................................................. 15
4.1.
S
ETTING METHODS
.......................................................................................................................... 15
4.2.
S
ETTING VIA
EB
B
RO SE
............................................................................................................. 15
4.3.
C
ONFIGURATION VIA
EB .............................................................................................................. 16
4.3.1. BASIC .................................................................................................................................... 16
4.3.1.1. Statu ............................................................................................................................. 16
4.3.1.2. Wizard ............................................................................................................................ 17
4.3.1.3. Call Log .......................................................................................................................... 19
4.3.1.4. MMI SET ......................................................................................................................... 19
4.3.2. Network ................................................................................................................................. 19
4.3.2.1. WAN Config ................................................................................................................... 19
4.3.2.2. Qo Config ..................................................................................................................... 21
4.3.2.3. Service Port ................................................................................................................... 23
4.3.2.4. SNTP ............................................................................................................................... 24
4.3.3. VOIP ...................................................................................................................................... 25
4.3.3.1. SIP Config ...................................................................................................................... 25
4.3.3.2. Stun Config .................................................................................................................... 27
4.3.3.3. DIAL PEER etting ........................................................................................................ 29
4.3.4. Phone .................................................................................................................................... 32
4.3.4.1. DSP Config .................................................................................................................... 32
4.3.4.2. Call Service .................................................................................................................... 32
4.3.4.3. Digital Map Configuration ............................................................................................ 34
4.3.4.4. Phone Book ................................................................................................................... 35
4.3.5. Maintenance ......................................................................................................................... 36
4.3.5.1. Auto Provi ion............................................................................................................... 36
4.3.5.2. Sy log Config ................................................................................................................ 36
4.3.5.3. Config Setting................................................................................................................ 37
4.3.5.4. Update ............................................................................................................................ 38