manuals.online logo
Brands
  1. Home
  2. •
  3. Brands
  4. •
  5. Gooxi
  6. •
  7. Server
  8. •
  9. Gooxi RMC2108-670-HS User manual

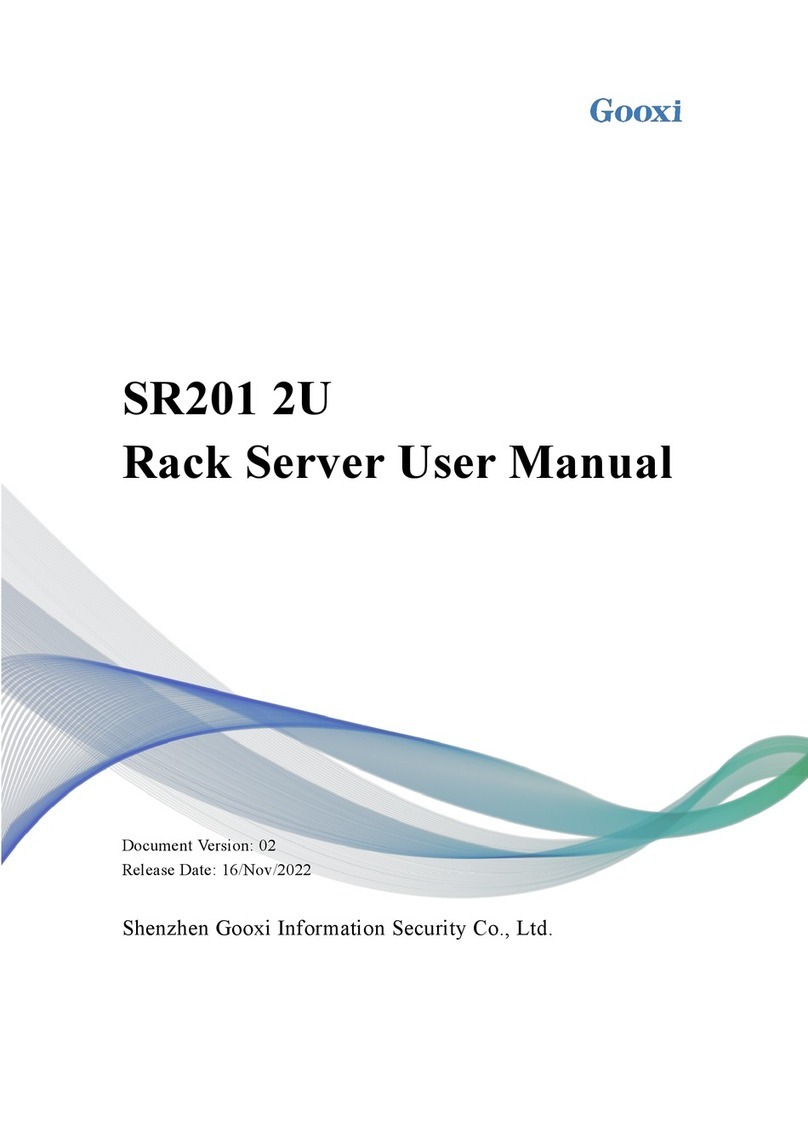
Gooxi RMC2108-670-HS User manual

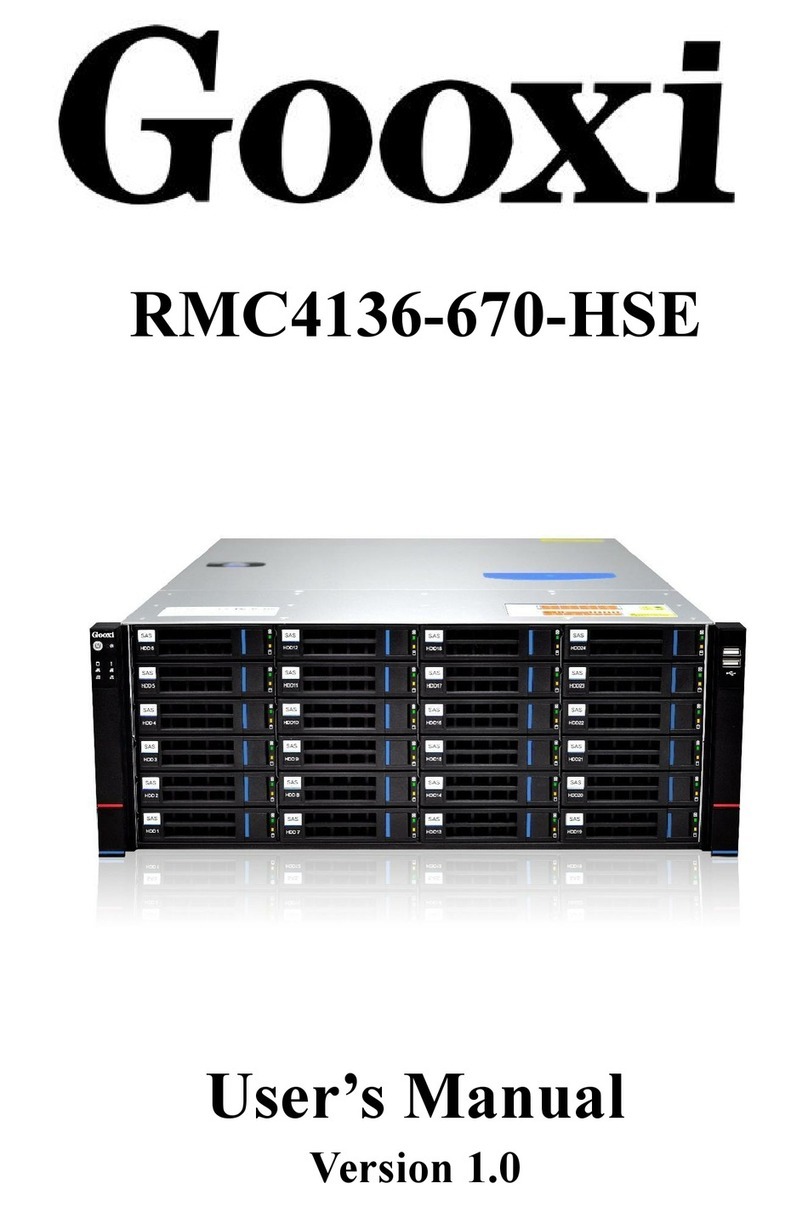
RMC2108-670-HS
User’s Manual
Version 1.0
Shenzhen Gooxi Information Security Co., Ltd
Contents
Manual Structure
Foreword
Chapter 1 Chassis Overview
Chapter 2 Installation Instruction
Chapter 3 Chassis Parameters
Shenzhen Gooxi Information Security Co., Ltd
Foreword
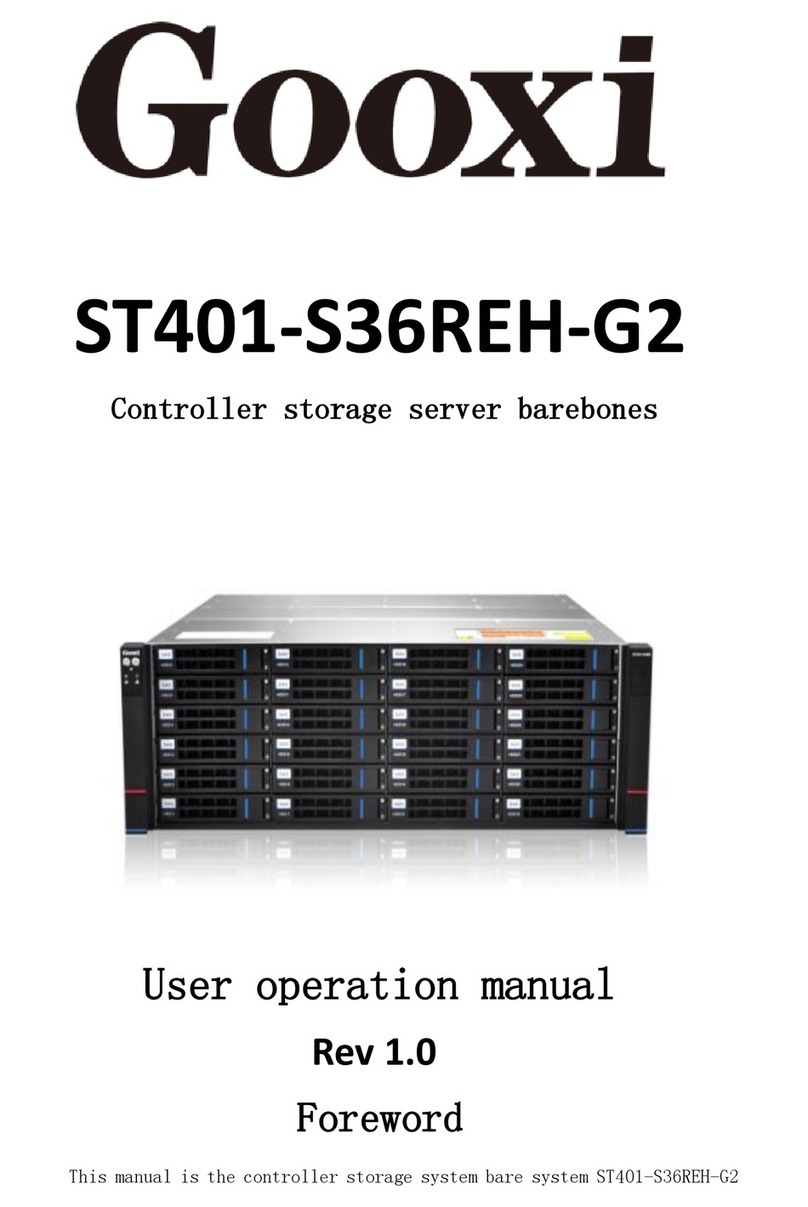
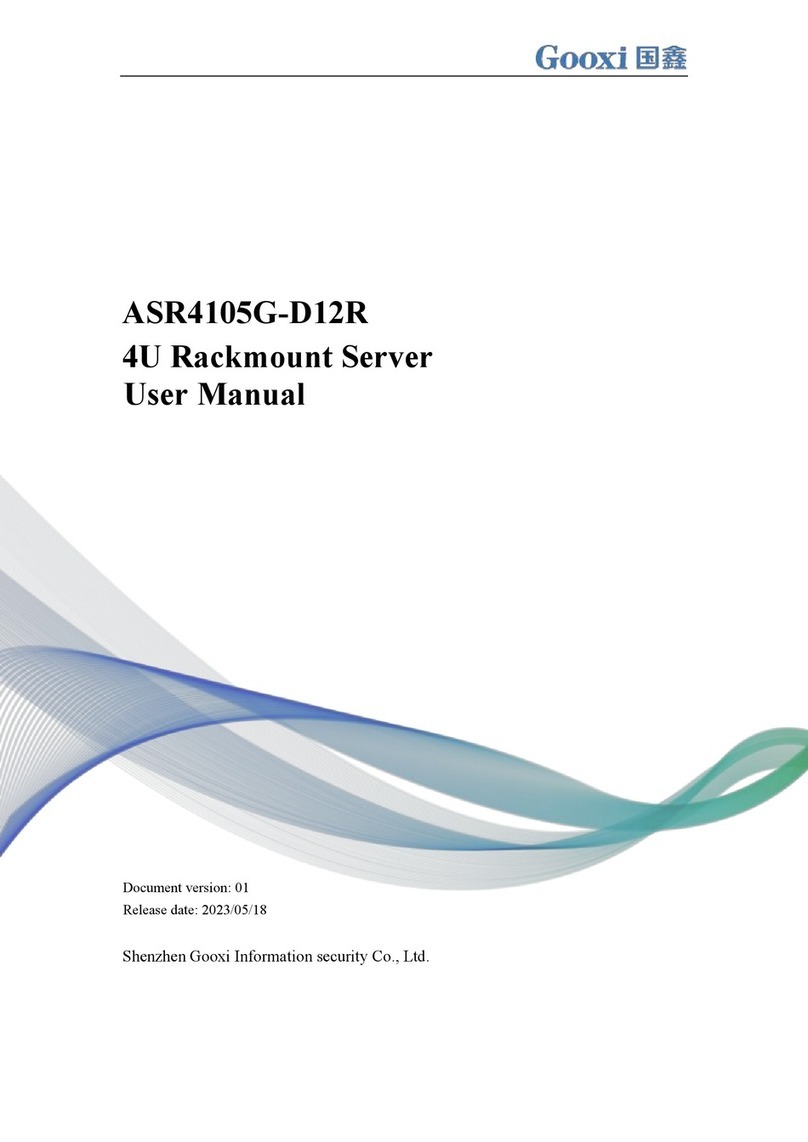
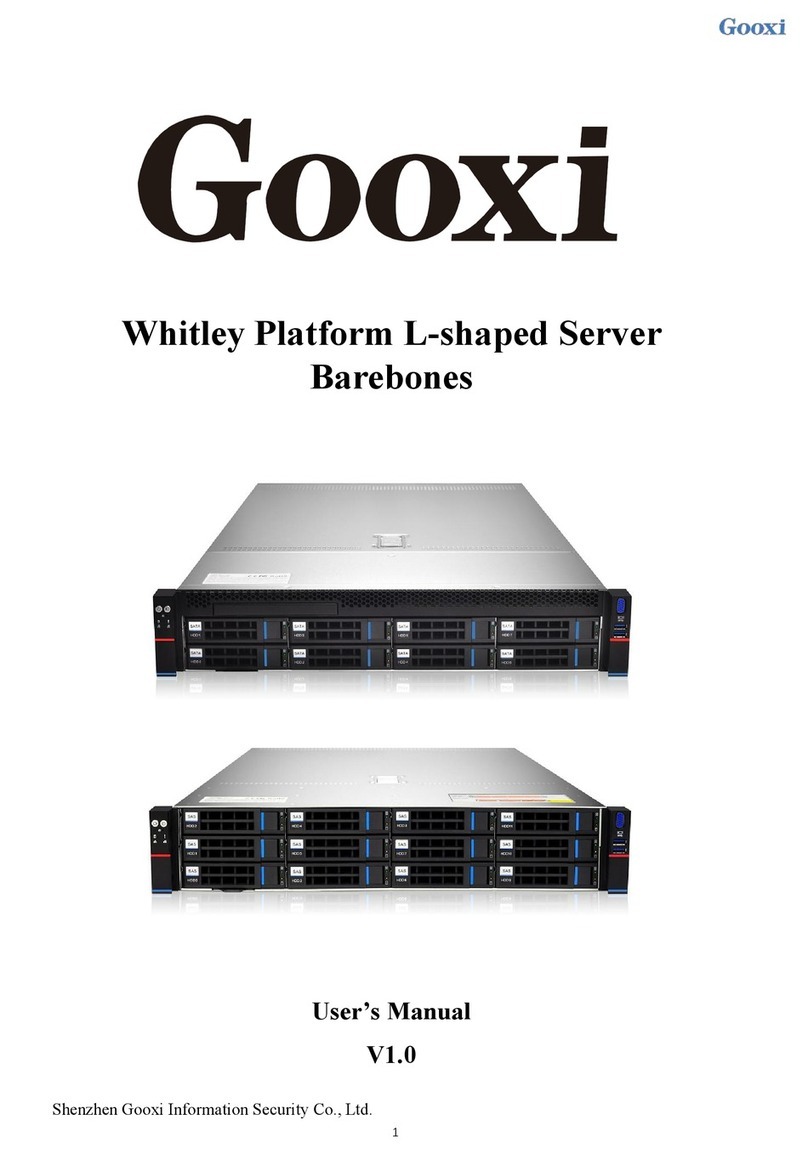
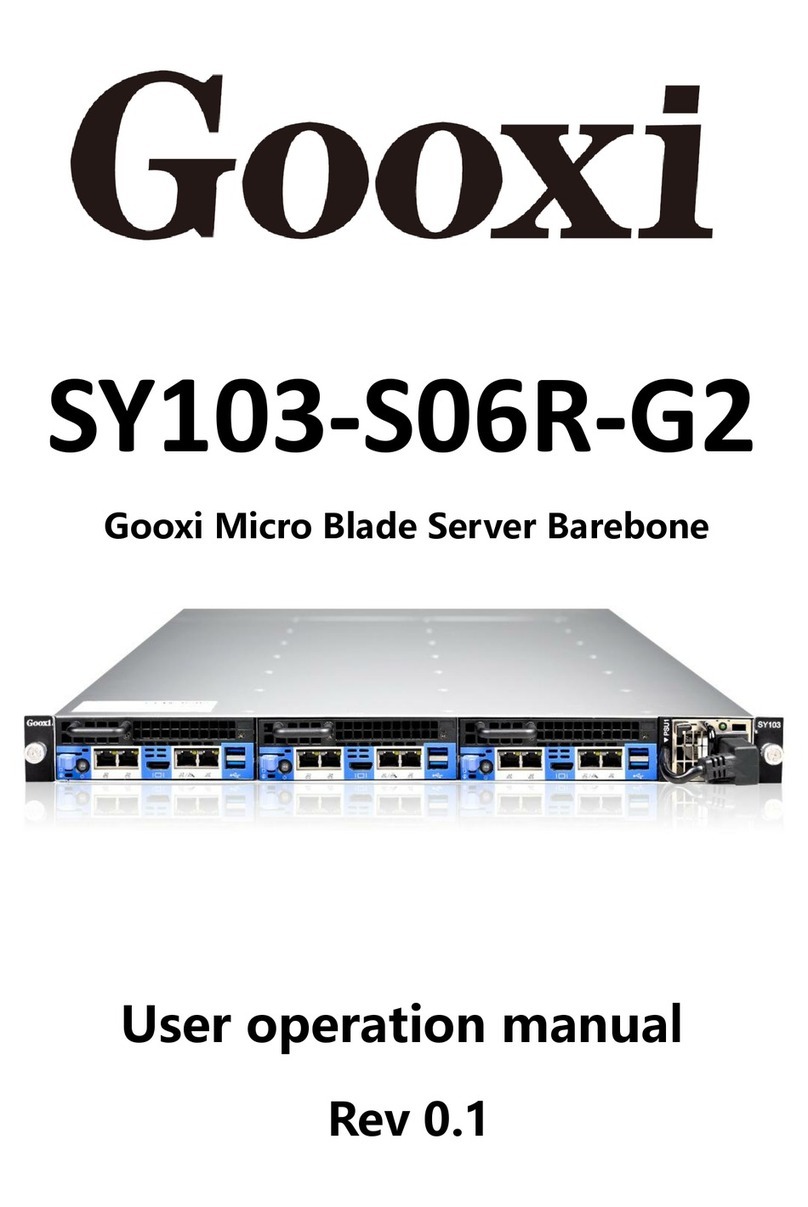
This manual is about the installation and use information of RMC2108-670-HS
chassis that provided to professional system integrators and personal computer
technicians. The installation and maintenance should be conducted by experienced
technicians only.
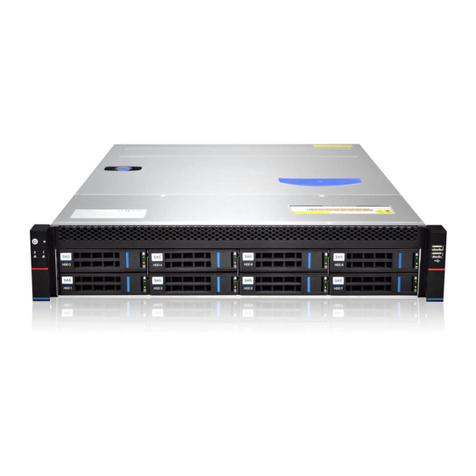
Gooxi RMC2108-670-HS, fourth generation of server chassis is designed based
on standard 2U server and can be assembled into common computing server, storage
server, Internet cafe server, database server, VOD storage server, HPC server, and so
on. The server chassis is different from ordinary desktop chassis that pays more
attention to appearance design, as it focuses on the quality and content.The server
chassis uses imported first-class SGCC galvanized steel, and possessed with the
characteristics of fingerprint resistance, corrosion resistance, heat resistance, heat
transfer and thermal reflectivity, formability as well as weldability.
In addition, taking into account the higher stability requirements of the server
during usage, this server chassis has excellent heat dispersion. To be specific, the heat
dissipation channel is reasonably designed, which can take away a large amount of
heat in the chassis to ensure the stable operation of the server.
The scalability is an important factor to determine whether the server chassis
design is reasonable. Gooxi RMC2108-670-HS server chassis has stronger scalability
than ordinary chassis, such as: hard disk expander, peripheral expander, etc.
Shenzhen Gooxi Information Security Co., Ltd
Chapter 1 Chassis Overview
1.1 Chassis Structure
⑴Base
⑵Rear window
⑶Ventilation wall
⑷Hard disk module
⑸Front cover
⑹Upper cover
⑺Handle
⑻Hard drive bracket
⑼Fan
1.2 Rear Window
Shenzhen Gooxi Information Security Co., Ltd
①Power site
②I/O washer position
③Expansion slot
1.3 Materials Package
32 pieces of #6-32*5mm countersunk screws are used for fixing hard disks.
10 pieces of active studs with the total height of 8mm are used to install the
motherboard.
16 pieces of #6-32*6mm cross recessed pan head screws are used for fastening
the motherboard and power supply.
0~7 SAS - label.
One 100 * 120 * 0.045mm PE valve bag.
1.4 Chassis View
Front view:
Shenzhen Gooxi Information Security Co., Ltd
Rear view:
1.5 Related Indicators of Chassis Panel
The above picture shows the front panel buttons and LED indicators; each button
or indicator light has its own function and status description that are described in the
following table:
LED Status Description
No.
Picture
LED Appearance
Description
1
-
LOGO label (labeling or
customized acrylic label)
Left-ear Panel
Right-ear Panel
Shenzhen Gooxi Information Security Co., Ltd
②
The green light is on
The device is on
③
Reset
The button is used to restart
the server
④
The green light
flashes
The system is running
normally
⑤
The yellow light is
on
Alarm indication, including
system alarm, fan alarm,
power alarm, etc.; the
specific can be viewed
through IPMI management
software
⑥
The green light is on
Internet access1 connection
is normal
⑦
The green light is on
Internet access2 connection
is normal
⑧
USB interface
2* USB2.0 interfaces
1.6 Introduction to Hard Disk Indicator
1. Act LED
2. Fault LED
3. Status LED
4. LED description is as follows:
Function
Act LED
Fault LED
Status LED
Hard disk at
site
ON
OFF
OFF
Hard disk
activity
Flash 4Hz/s
OFF
OFF
Act LED
Fault LED
Status LED
Shenzhen Gooxi Information Security Co., Ltd
Hard disk
location
ON
Flash 4Hz/s
OFF
Hard disk
fault
ON
OFF
ON
RAID rebuilt
ON
OFF
Flash 1Hz/s
1.7 Introduction to Backplane
The standard configuration of Gooxi backplane model is RMC2108-BP-12G, and
the specific description is as follows:
RMC2108-BP-12G
Corresponding
site
Interface / jumper /
slot
Corresponding
site
Interface / jumper / slot
1, 2
2 * ATX power inputs
5, 6, 7, 8
Sockets of 4 temperature control
fans
3, 4
SFF-8643 12Gb SAS
interface
1.8 Introduction to the Output Interface of Backplane Hard Disk
Shenzhen Gooxi Information Security Co., Ltd
Chapter 2 Installation Instruction
2.1 Introduction to the Disassemble Steps of Gooxi 2108 Chassis Cover
(1) Unscrew the upper cover screws
(2) Press the button of chassis back cover
(3) Push the back cover
(4) Pull the back cover
Shenzhen Gooxi Information Security Co., Ltd
2.2 Introduction to the Insert and Plug Steps of Gooxi2108 Chassis Hard Disk
⑴Press the button to pull out the hard disk from the hard disk site.
(2) Install the 3.5-inch hard drive to the hard drive bracket according to screw holes,
as shown in the figure below.
Press the button
Shenzhen Gooxi Information Security Co., Ltd
(3) The installed hard disk is shown in the following figure:
(4) Insert hard disk to the chassis, and close the switch. As shown in the following
figure.
Shenzhen Gooxi Information Security Co., Ltd
2.3 Introduction to the Installation Steps of Gooxi2108 Chassis Power Supply
(1) Place the power supply case to the chassis according to the hole site, as shown in
the figure below
(2) Install the power to the chassis according to the correct position, and then screw
on the power supply screws at the position marked below.
(3) Fix the power supply bracket, and screw on the screws at the position marked in
the figure below.
Shenzhen Gooxi Information Security Co., Ltd
(4) Insert the hot-swap power modules PSU1 and PSU2, respectively
(5) The final installation effect of power supply.
Shenzhen Gooxi Information Security Co., Ltd
2.4 Introduction to the Installation Steps of Motherboard on Gooxi 2108 Chassis
(1) Open the chassis, and place insulation pad according to the correct orientation.
Based on the hole of motherboard screw, motherboard active stud (8mm height) is
installed at the corresponding position on the insulation pad. As shown in the figure
below:
(2) After the motherboard active stud (8mm height) is installed, place the motherboard
into the chassis and fasten motherboard screw at the hole site. As shown in the figure
Shenzhen Gooxi Information Security Co., Ltd
below:
2.5 Introduction to the Installation Steps of Expanding Hard Disk on Gooxi 2108
Chassis
2.5.1 Installation Steps of Two 2.5-inch Non-Hot Swap Hard Disks
(1) Remove the screws marked at the following figure, lift the upper cover and
remove it. As shown in the figure below:
Shenzhen Gooxi Information Security Co., Ltd
(2) Fix the two 2.5 inch hard disks with expandable bracket, respectively
(3) The final installation effect is as follows
(4) Install the expandable hard disk to the chassis, as shown in the figure below:
Shenzhen Gooxi Information Security Co., Ltd
(5)The final installation effect of expandable hard disk shown in the figure below
(6) Restore the front cover when the expandable hard disk is finished installation
2.5.2 Installation Steps of Two Rear 2.5-inch Hot-swap Hard Disks
⑴Install 2.5-inch hot-swap hard drive module, as shown in the figure below:
Shenzhen Gooxi Information Security Co., Ltd
(2) Install two 2.5-inch hard drives on the hard disk box, respectively
(3) Insert two 2.5-inch hard drives to the rear hard disk module, respectively
Shenzhen Gooxi Information Security Co., Ltd
(4) Finished installation effect is shown as follows:
Note: If customer selects two optional rear 2.5-inch hot-swap hard drives,
then CRPS power of Gooxi-style should be equipped with.
Shenzhen Gooxi Information Security Co., Ltd
Chapter 3 Chassis Parameters
Basic Parameters
Chassis style
Rackmount
Chassis structure
2U
Applicable motherboard
EEB(12*13)/CEB(12*10.5)/ATX(12*9.5)/Micro ATX
Supported motherboard
brands
Gooxi, Intel, ASUS, SuperMicro, TYAN, MSI, GIGABYTE and more
Power type
Single power and 1+1 redundant power
Number of supported
power supplies
1
SGPIO
Support
Backplane
12Gb/s SAS data backplane
Supported hot-swap
hard drives
Supportive, compatible with SAS and SATA drives
Supported hot-swap
hard fans
Support
Hard driver site
Eight 3.5-inch (or 2.5-inch) hot-swap hard disk sites; one optional
3.5-inch or 2.5-inch non-hot-swap expandable site
Hard disk shockproof
system
Hard disk bracket is designed with EMI spring. The unique shockproof
fan design can reduce the resonance between the fan and hard disk
without affecting the I/O speed of hard disks.
Cooling system
3* 8038 fans are the standard configuration
Windshield
Optional configuration
Intelligent control of
temperature
Support
Expanded card site
7 half-height PCI or PCI-E expansion card slots, and 3 optional
transversal full-height expansion card slots
Supported rails
Optional
Apparent Parameters
Front panel interface
2* USB, 1 power button, 1 restart button, 1 hard disk indicator, 1 system
failure light, 2 network indicators
Free screws dismantle
Support
Fixed mode of cabinet
Normal
Configuration Parameters
Product material
Imported SGCC (galvanized steel sheet), ABS panel and punching net
Chassis dimension
670*444*87.6mm (Depth * Width * Height)
Chassis weight
10kg

Other manuals for RMC2108-670-HS

2

Other Gooxi Server manuals

Gooxi SL201 User manual

Gooxi

Gooxi SL201 User manual

Gooxi RMC4136-670-HSE User manual

Gooxi

Gooxi RMC4136-670-HSE User manual

Gooxi SL101-D04R-G3 User manual

Gooxi

Gooxi SL101-D04R-G3 User manual

Gooxi SY103-S06R-G2 Mounting instructions

Gooxi

Gooxi SY103-S06R-G2 Mounting instructions

Gooxi SR4108G4U User manual

Gooxi

Gooxi SR4108G4U User manual

Gooxi Purley Platform 1U User manual

Gooxi

Gooxi Purley Platform 1U User manual

Gooxi ST401-S36REH-G2 Mounting instructions

Gooxi

Gooxi ST401-S36REH-G2 Mounting instructions

Gooxi SR201 2U User manual

Gooxi

Gooxi SR201 2U User manual

Gooxi SR401 4U User manual

Gooxi

Gooxi SR401 4U User manual

Gooxi SR101 1U User manual

Gooxi

Gooxi SR101 1U User manual

Gooxi RMC2108-670-HS User manual

Gooxi

Gooxi RMC2108-670-HS User manual

Gooxi SL201-G4 User manual

Gooxi

Gooxi SL201-G4 User manual

Gooxi ASR4105G-D12R User manual

Gooxi

Gooxi ASR4105G-D12R User manual

Gooxi R Series User manual

Gooxi

Gooxi R Series User manual

Popular Server manuals by other brands

QAT MS5 user manual

QAT

QAT MS5 user manual

Olive Olive OPUS N5 user manual

Olive

Olive Olive OPUS N5 user manual

NEC Express 5800/R120f-1M System configuration guide

NEC

NEC Express 5800/R120f-1M System configuration guide

LG CloudDevice 24CN670NK owner's manual

LG

LG CloudDevice 24CN670NK owner's manual

Moxa Technologies NPort 5600 Series user manual

Moxa Technologies

Moxa Technologies NPort 5600 Series user manual

Supero SuperServer 6013L-8 user manual

Supero

Supero SuperServer 6013L-8 user manual

SafeNet Luna SA Configuration guide

SafeNet

SafeNet Luna SA Configuration guide

EVS XT-3 Hardware technical reference manual

EVS

EVS XT-3 Hardware technical reference manual

IBM PC Server 325 User handbook

IBM

IBM PC Server 325 User handbook

Fujitsu PRIMEQUEST 1000 Series Getting started guide

Fujitsu

Fujitsu PRIMEQUEST 1000 Series Getting started guide

Intel R2000GZ series installation guide

Intel

Intel R2000GZ series installation guide

Cisco MCS-7825-H1-IPC1 Installation

Cisco

Cisco MCS-7825-H1-IPC1 Installation

IBM Flex System x240 Compute Node Product guide

IBM

IBM Flex System x240 Compute Node Product guide

Gateway ALR 7300 Maintaining and troubleshooting

Gateway

Gateway ALR 7300 Maintaining and troubleshooting

HP Tc4100 - Server - 256 MB RAM Configuration guide

HP

HP Tc4100 - Server - 256 MB RAM Configuration guide

Asus AP100 Hardware reference guide

Asus

Asus AP100 Hardware reference guide

GeoVision GV-VS04H user manual

GeoVision

GeoVision GV-VS04H user manual

NEC 120Ra-1 Installation

NEC

NEC 120Ra-1 Installation

manuals.online logo
manuals.online logoBrands
  • About & Mission
  • Contact us
  • Privacy Policy
  • Terms and Conditions

Copyright 2025 Manuals.Online. All Rights Reserved.