EN 7
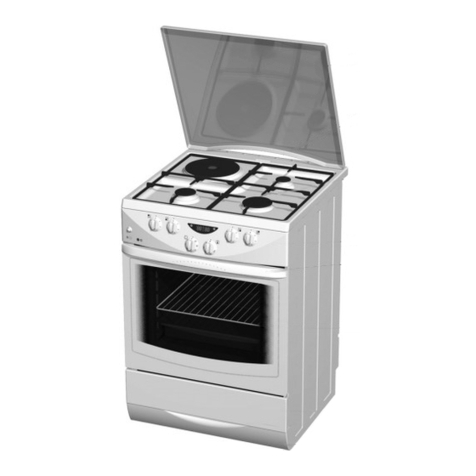
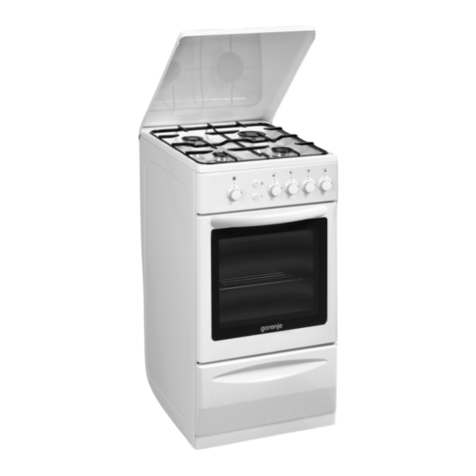
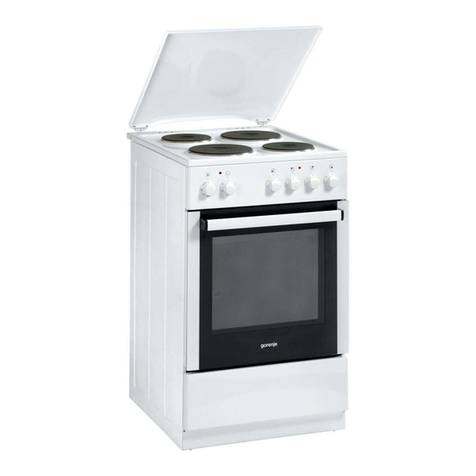
APPLIANCE LID
Make sure the lid is clean and that there is no liquid
spilt on it before raising it. The lid may be lacquer-
coated or glass. It may only be closed when the
cooking zones have completely cooled down.
Do not close the lid when the burner is lit!
The symbol on the product or its
packaging indicates that glass lids
may shatter when heated. Turn off all
the burners before shutting the lid.
APPLIANCE DRAWER
Do not store combustible, explosive,
volatile or temperature-sensitive
items (such as paper, dish cloths,
plastic bags, cleaners or detergents
and spray cans) in the oven's storage
drawer, as they can ignite during over
operation and cause a fire.
OVEN EQUIPMENT AND
ACCESSORIES
(depending on the model)
WIRE GUIDES
The wire guides allow preparation of the food on four
levels.
Appliance operation is safe with and without tray
guides.
TELESCOPIC PULL-OUT GUIDES
Telescopic pull-out guides may be fitted for the 2nd,
3rd, and 4th level. Pull-out guides can be partly or
fully extendible.
EMBOSSED
The oven has stamped side grooves in four levels
for inserting of the grid and baking sheets.
The appliance and some of the
accessible parts tend to heat up during
cooking. Use oven mitts.
GRID
There is a safety latch on the grid. Therefore,
lift the grid slightly at the front when pulling it out from
the oven.
The grid or the tray should always be inserted into
the groove between the two wire profiles.
With telescopic extendible guides, first pull out the
guides of one level and place the grid or the baking
tray onto them. Then, push them in with your hand
as far as they will go.
Close the oven door when the telescopic
guides are retracted all the way into the oven.
As baking accessories heat up, their form may
change. This does not affect their functionality and
their original form will be restored when they cool
down.
CONTROL UNIT
(depending on the model)
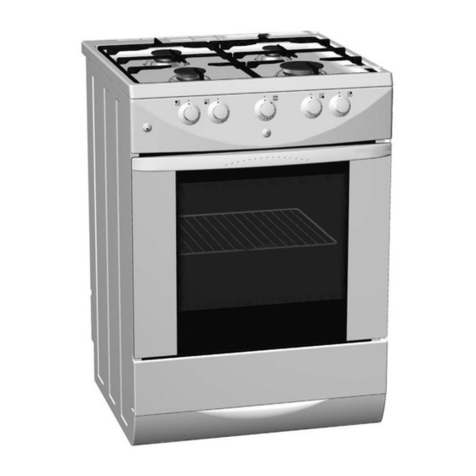
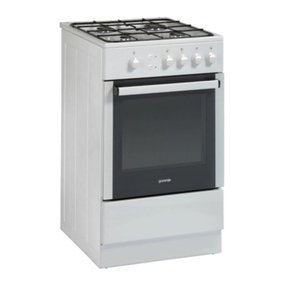
1. Cooking zone knob front left (gas burner)
2. Cooking zone knob rear left (gas burner)
3. Cooking zone knob rear right (gas burner)
4. Cooking zone knob front right (gas burner)
5. Cooking system selector knob
6. Oven lighting knob
7. Electric ignition knob
USING THE APPLIANCE
BEFORE USING THE APPLIANCE FOR
THE FIRST TIME
Upon receiving the appliance, remove all parts,
including any transport equipment, from the oven.
Clean all accessories and utensils with warm water
and regular detergent. Do not use any abrasive
cleaners.
When the oven heats up for the first time, the
characteristic smell of a new appliance will be
emitted. Ventilate the room thoroughly during the
first operation.
COOKING HOB
GAS BURNERS
To sear the food, set the burner to maximum
power first, and then continue to cook at minimum
power.
In some models, the cooker burners are fitted with
thermoelectric safety devices. If the burner flame
is extinguished (due to boiling over, draft etc.),
gas supply will be shut off automatically. Any
chance of gas leaking into the room is eliminated.

