Gourmia GSV-138 User manual
Other Gourmia Kitchen Appliance manuals
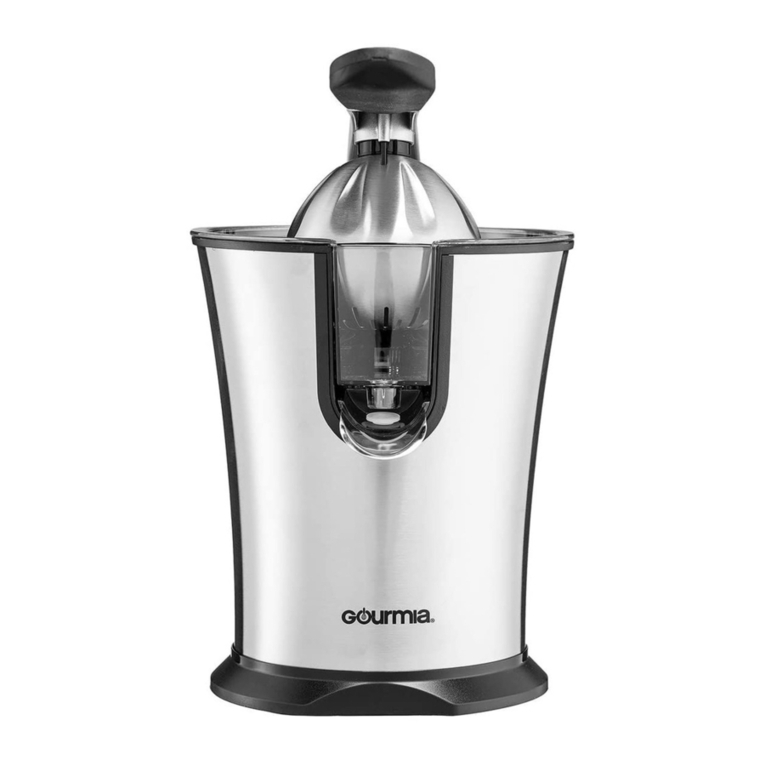
Gourmia
Gourmia EPJ-100 User manual

Gourmia
Gourmia GFD1550 User manual
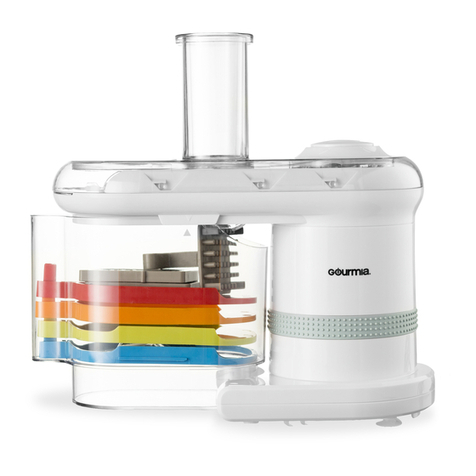
Gourmia
Gourmia GMS100 User manual

Gourmia
Gourmia GFD1550 User manual

Gourmia
Gourmia GVS425 User manual
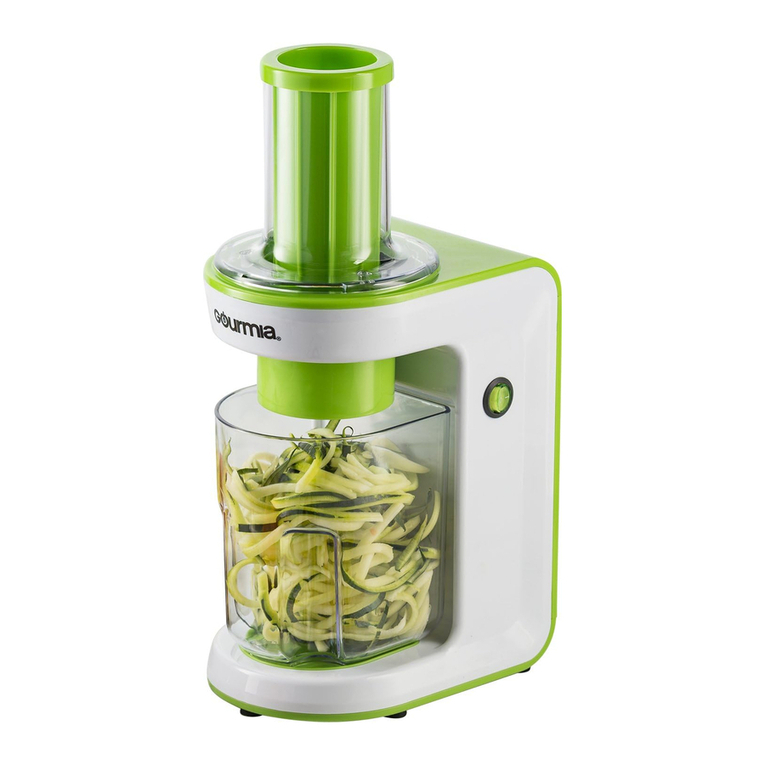
Gourmia
Gourmia GES580S User manual
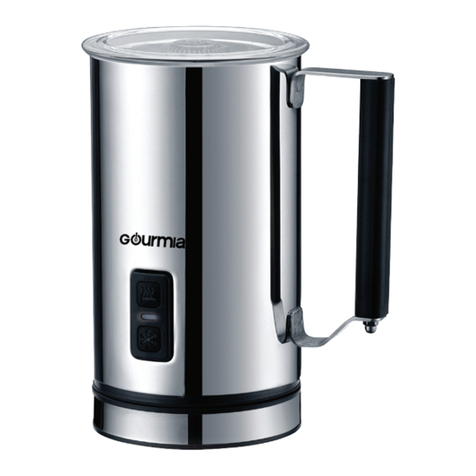
Gourmia
Gourmia GMF215 User manual

Gourmia
Gourmia GMF225 User manual

Gourmia
Gourmia GST-210 User manual
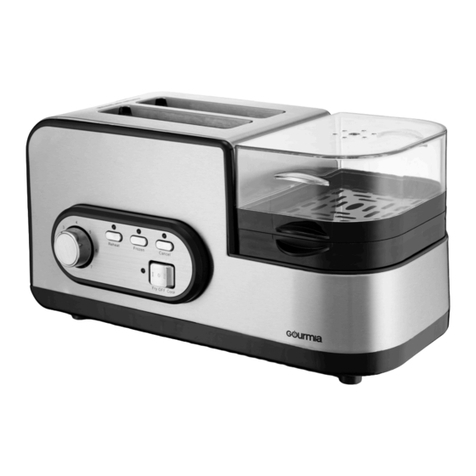
Gourmia
Gourmia GBF-470 User manual

Gourmia
Gourmia GES335 User manual
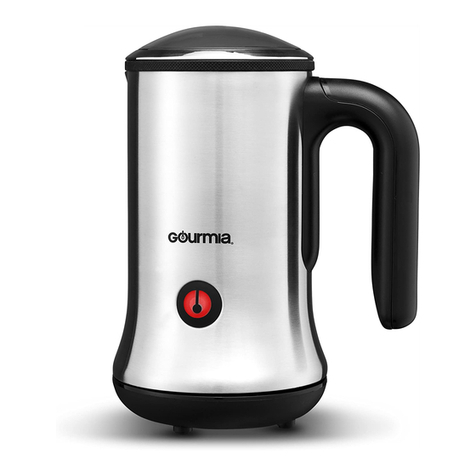
Gourmia
Gourmia GMF245 User manual

Gourmia
Gourmia GVS425 User manual

Gourmia
Gourmia GSI180 User manual
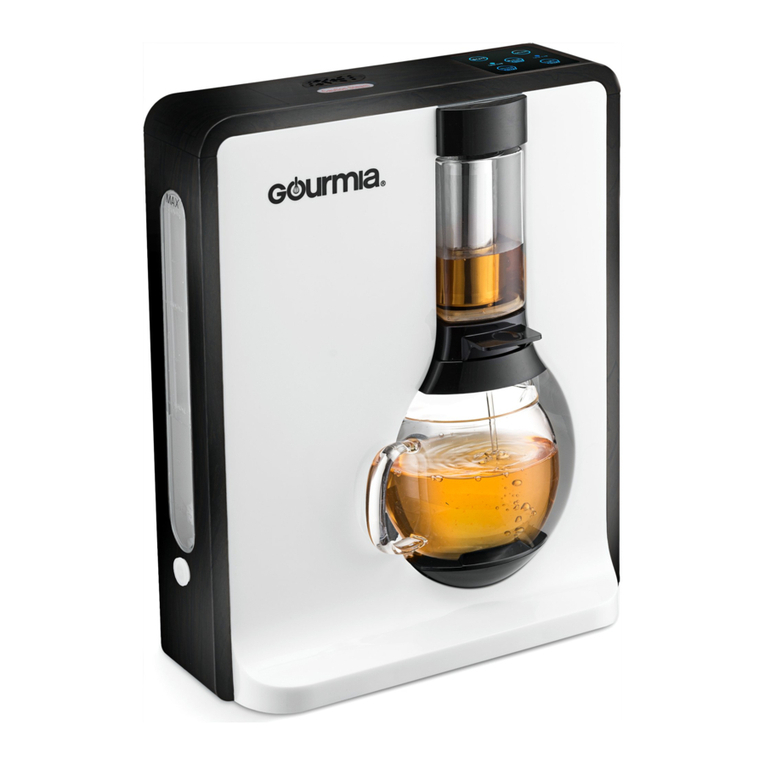
Gourmia
Gourmia GTC8000 User manual
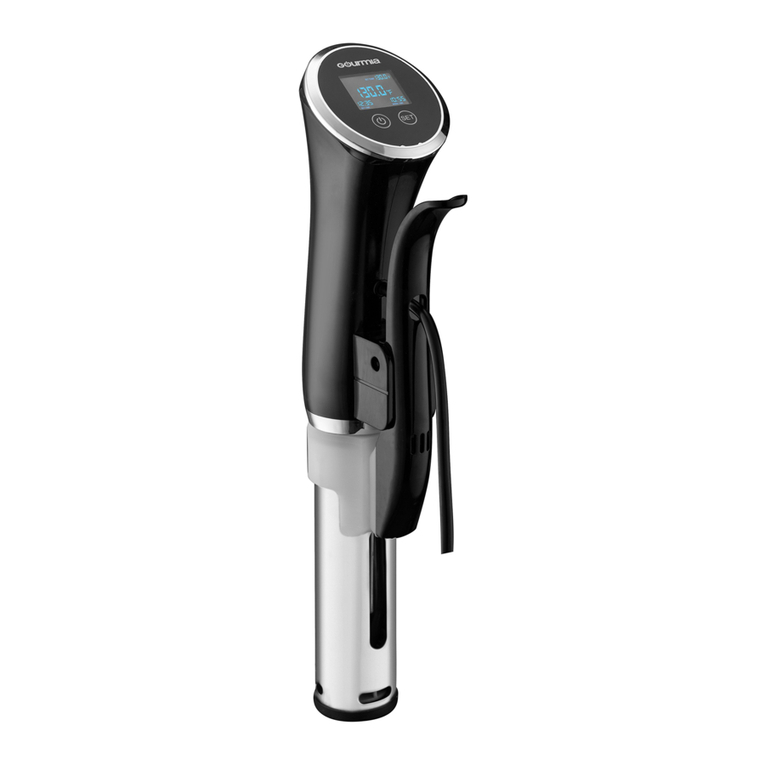
Gourmia
Gourmia GSV-138 User manual

Gourmia
Gourmia GHB2360 User manual

Gourmia
Gourmia GFD1650 User manual
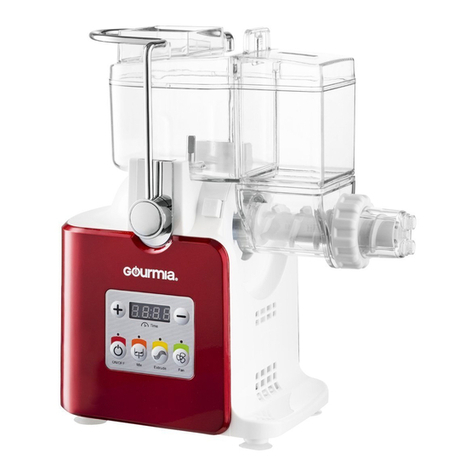
Gourmia
Gourmia GMP500 User manual

Gourmia
Gourmia GMF215 User manual
Popular Kitchen Appliance manuals by other brands

Tayama
Tayama TYG-35AF instruction manual

AEG
AEG 43172V-MN user manual

REBER
REBER Professional 40 Use and maintenance

North American
North American BB12482G / TR-F-04-B-NCT-1 Assembly and operating instructions

Presto
Presto fountain popper instruction manual

Westmark
Westmark 1035 2260 operating instructions

